Vim in WebStorm
IdeaVim is a Vim engine for the WebStorm editor. It supports the normal, insert, and visual modes, Command-line and Ex modes, Vim regexp and configuration, and other features.
Install the IdeaVim plugin
In the Settings dialog (Ctrl+Alt+S) , select Plugins.
Find the IdeaVim plugin in the Marketplace and click Install.
Restart WebStorm.
After you restart the WebStorm, Vim is enabled and the editor starts operating in the Vim mode. To disable it, deselect in the main menu.
Configure shortcuts
Both Vim and WebStorm are keyboard-centric. Your keymap in WebStorm may conflict with Vim's key combinations. To resolve this, select the shortcuts you prefer for different actions.
Press Ctrl+Alt+S to open settings and then select .
Find the shortcut and corresponding IDE action, and select how you want to handle it when you are using Vim:

Undefined: show a popup notification that suggests to either redefine the IDE shortcut or configure the handler in the settings.

IDE: perform the IDE action associated with this shortcut.
Vim: handle it as a Vim shortcut.
Editing modes
With Vim, the caret is a block when you are in the Normal mode:

To change to the Insert mode, press i, and the cursor will become a line:

In this mode you can type new code or change existing code. You can also enter other Vim modes: for example, press R for the Replace mode.
To return to the Normal mode, press Escape.
Vim configuration
Vim is configured using a vimrc file. Similarly, the IdeaVim plugin uses an ideavimrc file with the same syntax.
Create a .ideavimrc file
In the status bar at the bottom of the IDE window, click the IdeaVim widget and select Create ~/.ideavimrc.

WebStorm creates the file and opens it in the editor. You can use this widget later on to quickly access your ideavimrc file.
The configuration file will be created in one of the following locations depending on the operating system:
%HOMEPATH%\_ideavimrc
~/.ideavimrc
~/.ideavimrc
If the configuration already exists
If you already have a vimrc file with your configuration, you can do one of the following:
Include the configuration from vimrc with the
sourcecommand in your ideavimrc file:source ~/.vimrcThis way you can also include other commands in your ideavimrc file, which will be applied only to your Vim in WebStorm and will not affect actual Vim configuration.
If you don't want to use your Vim configuration, you can rename .vimrc to .ideavimrc.
Create ideavimrc as a symlink to vimrc if you don't want to modify your Vim in WebStorm compared to actual Vim configuration:
mklink _ideavimrc _vimrcln -s "$HOME/.vimrc" "$HOME/.ideavimrc"ln -s "$HOME/.vimrc" "$HOME/.ideavimrc"
IDE actions
IdeaVim allows you to map IDE features using action IDs.
Learn an action ID
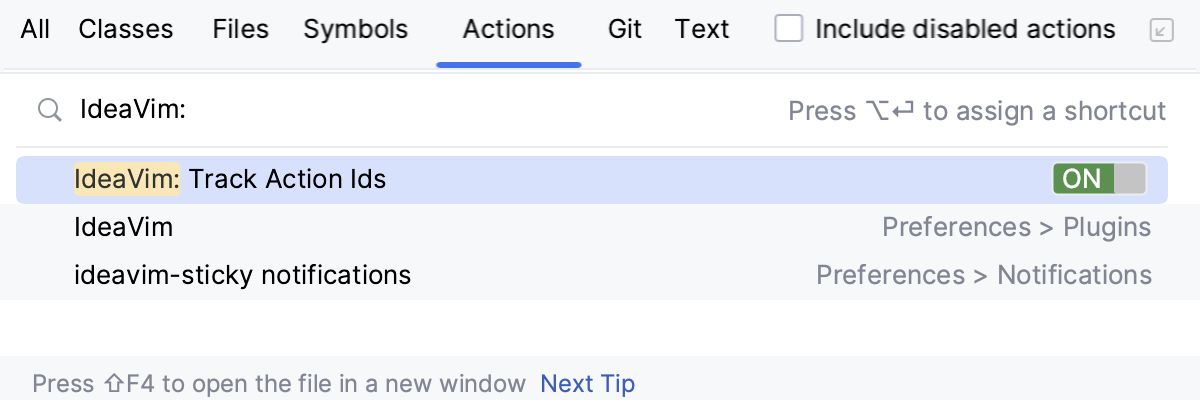
Press Ctrl+Shift+A and type
IdeaVim: Track Action Ids.Toggle the feature on using the switcher on the right.

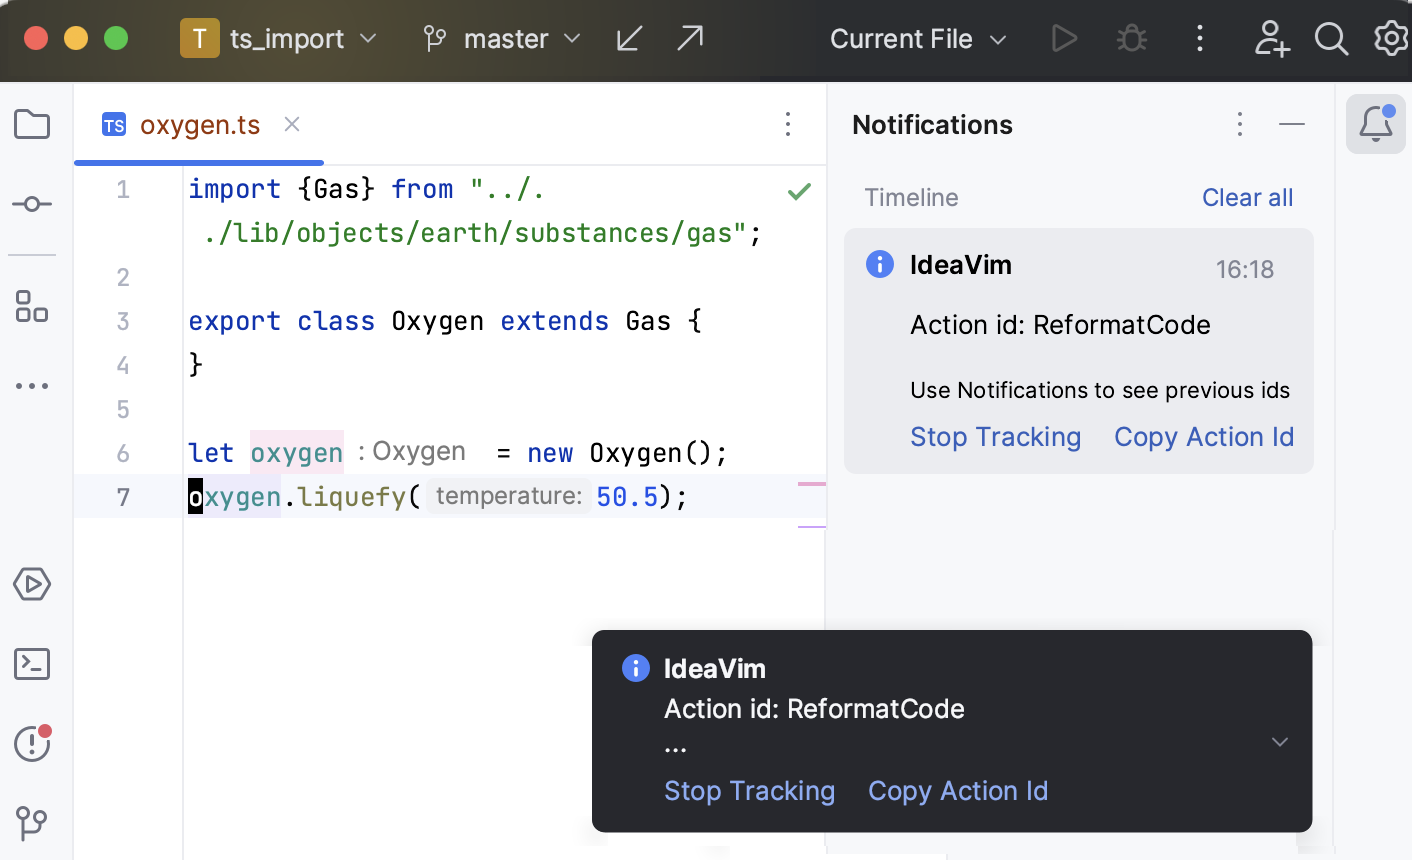
Now the IDE will be showing you IDs of actions that you click with the mouse in a popup notification at the bottom of the screen and in the Notifications tool window. Note that some actions do not have an ID.

Click Copy Action Id to copy an ID or Stop Tracking to disable the tracking mode.
Map an action in ideavimrc
In the ideavimrc file, map an action using the
mapcommand and the<Action>keyword, for example:map \r <Action>(ReformatCode)Press Ctrl+Shift+O to reload the changes.