Tables
A database table is a structure that organizes data into rows and columns. Data in a table is stored in a cell that is an intersection of a vertical column and horizontal row. The table has a specified number of columns, but can have any number of rows. With WebStorm, you can perform data manipulation and data definition operations with tables.
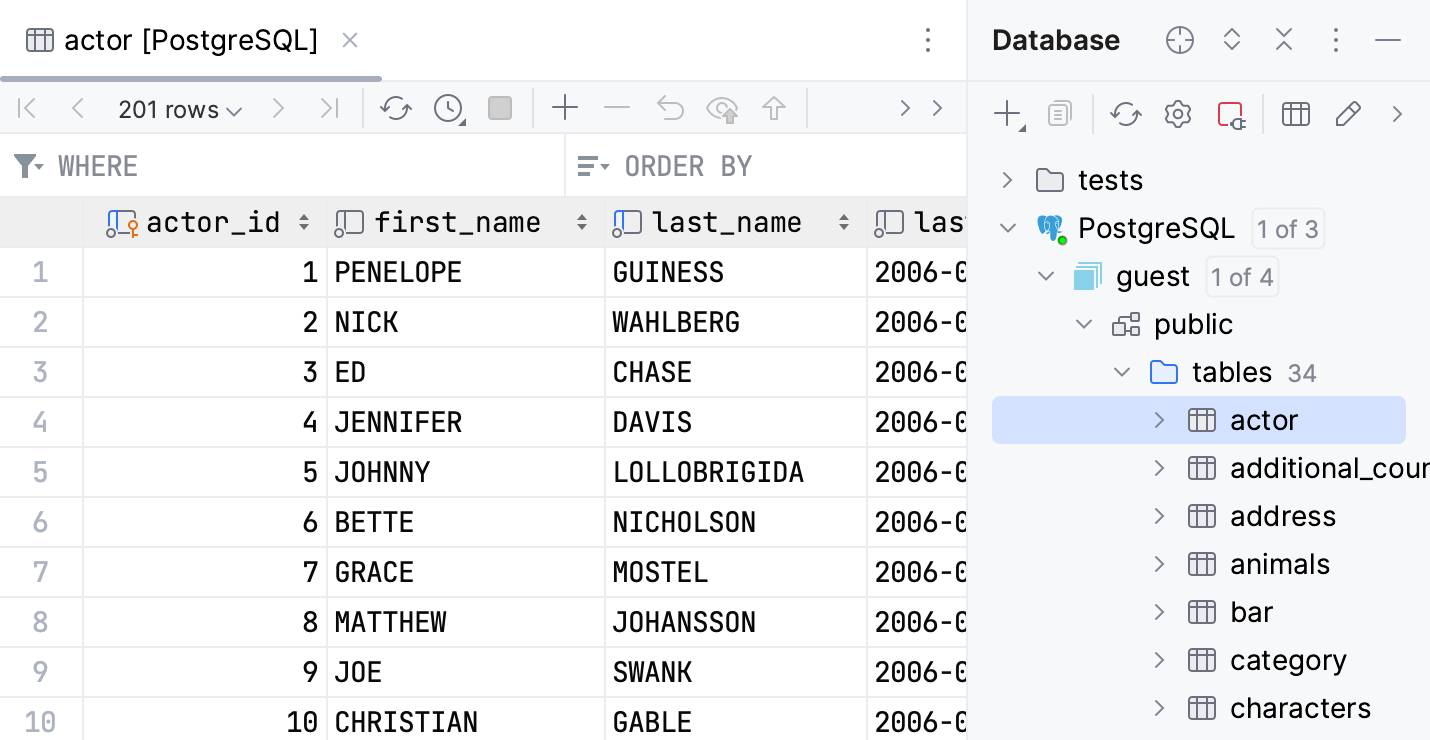
In WebStorm, you can work with a table in data editor. When you double-click a table in the Database tool window () , the table is opened in the Table viewing mode of data editor.
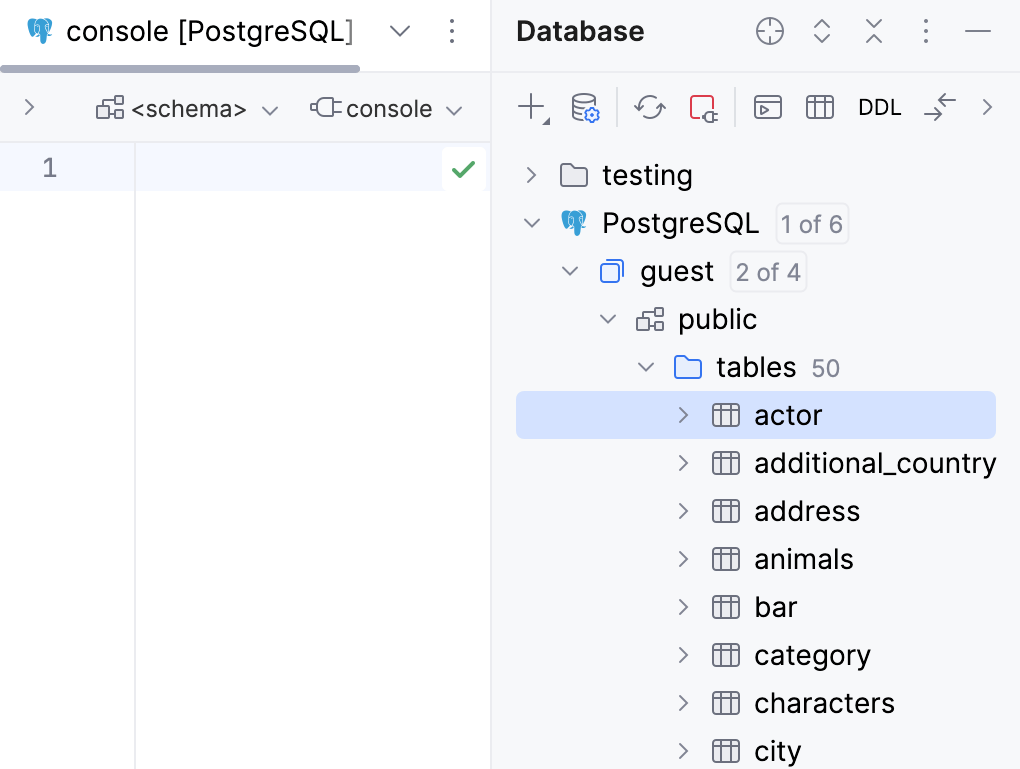
Tables ( ) can be found in the Database tool window.
For the reference on other node and object icons, refer to the Data sources and their elements chapter of Database tool window topic.
For the table column icons, refer to the Possible icon combinations for columns chapter.
Hide, sort, filter, and group tree objects using the tree objects view options in the View Options menu.
In WebStorm, each table opens in a separate tab. The following rules are applied to long tab titles:
The Always show qualified names for database objects option is now turned off by default. Tab names for objects are qualified if you open two tabs of objects with the same name. For example, if you open two
actortables from different schemas, the schema name is added in the tab name.If the data source has a name that is longer than 20 symbols, the name is truncated.
If you have only one data source, WebStorm does not display the data source name in the tab name.
If a qualified object name has more than 36 symbols, it is truncated.
Create
In the Database tool window, expand the data source tree until the nodes of databases or schemas.
Right-click the database or schema node and select .
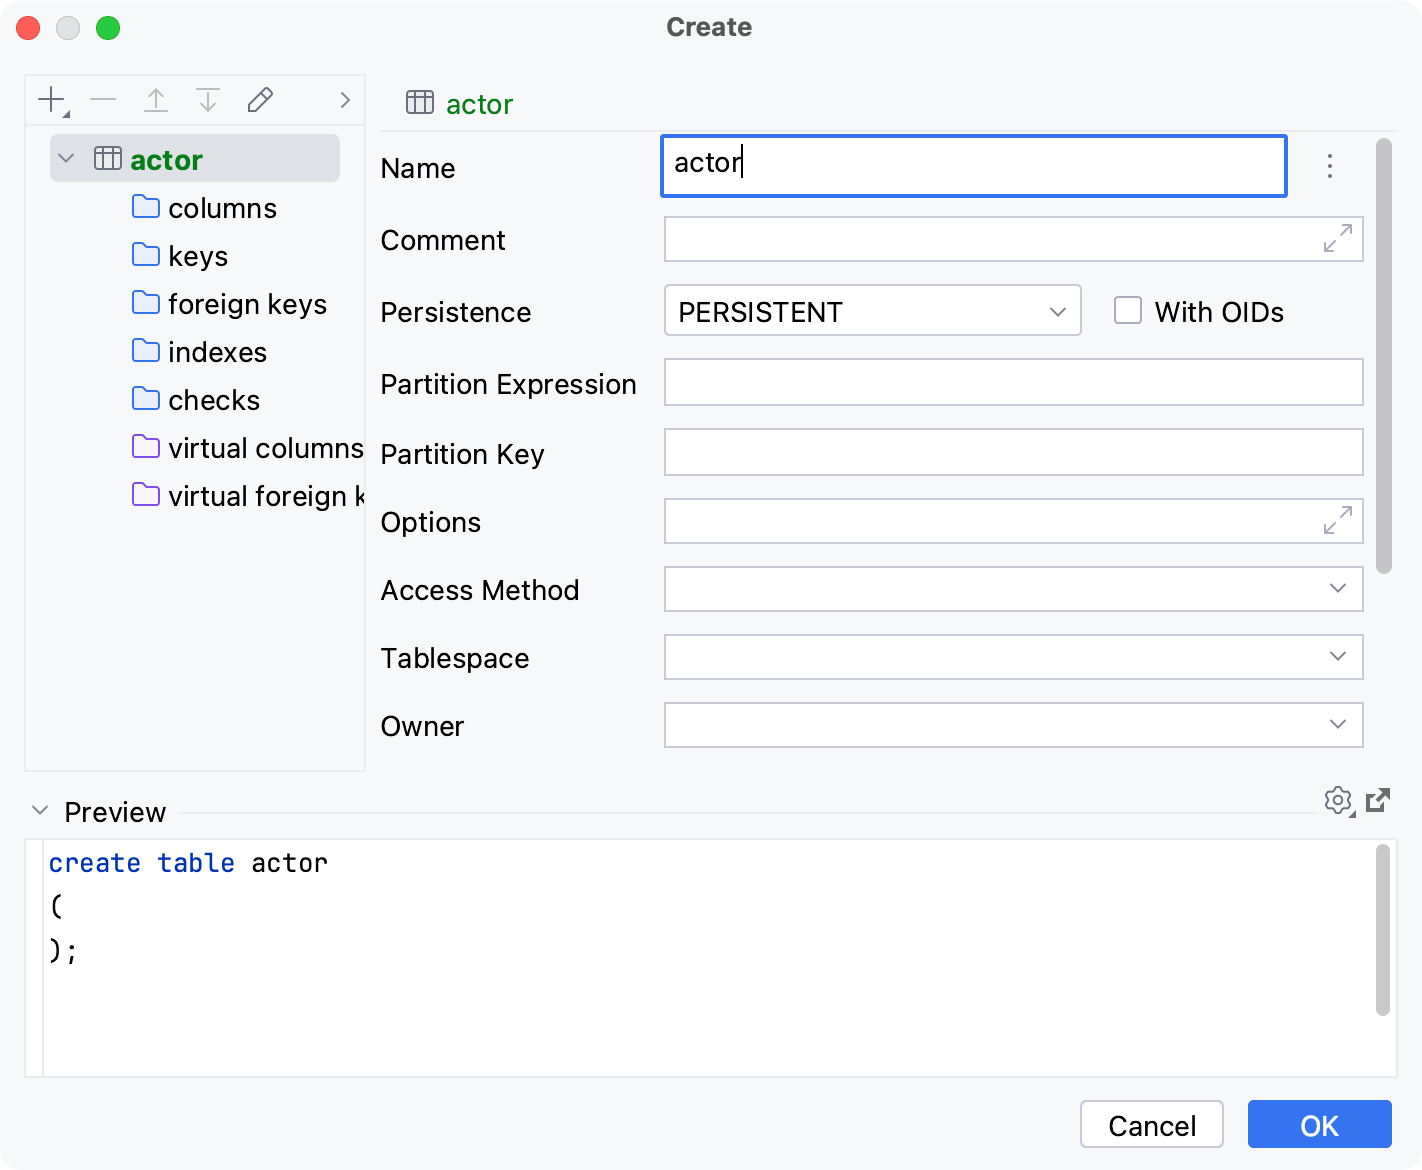
In the Create dialog that opens, enter the name of your table in the Name field.
Specify table settings (columns, keys, indexes, foreign keys, grants).
In the Preview pane, you can view and change the generated SQL code.
Click OK to add your table.
Delete
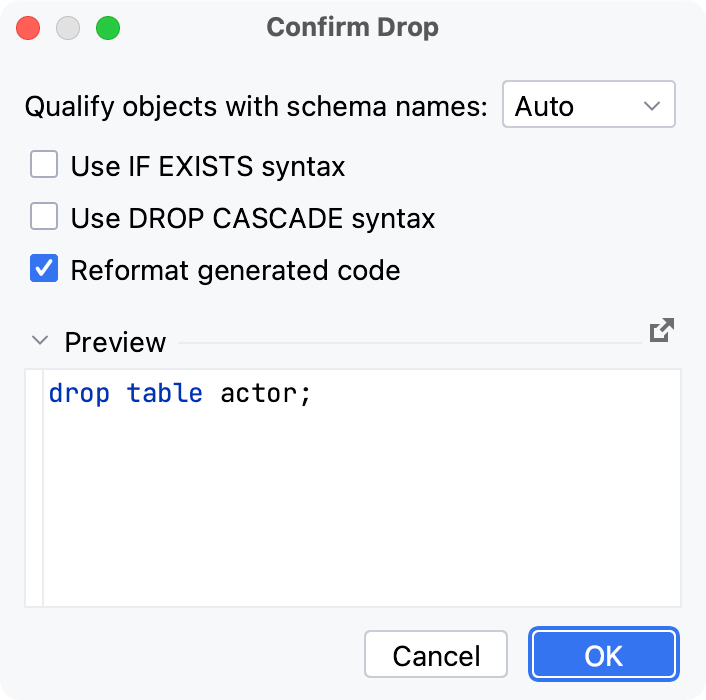
Right-click a table and select . Alternatively, press Delete.
Click OK to save your changes and close the dialog.
For more information about the dialog options, refer to Confirm Drop dialog.
Modify
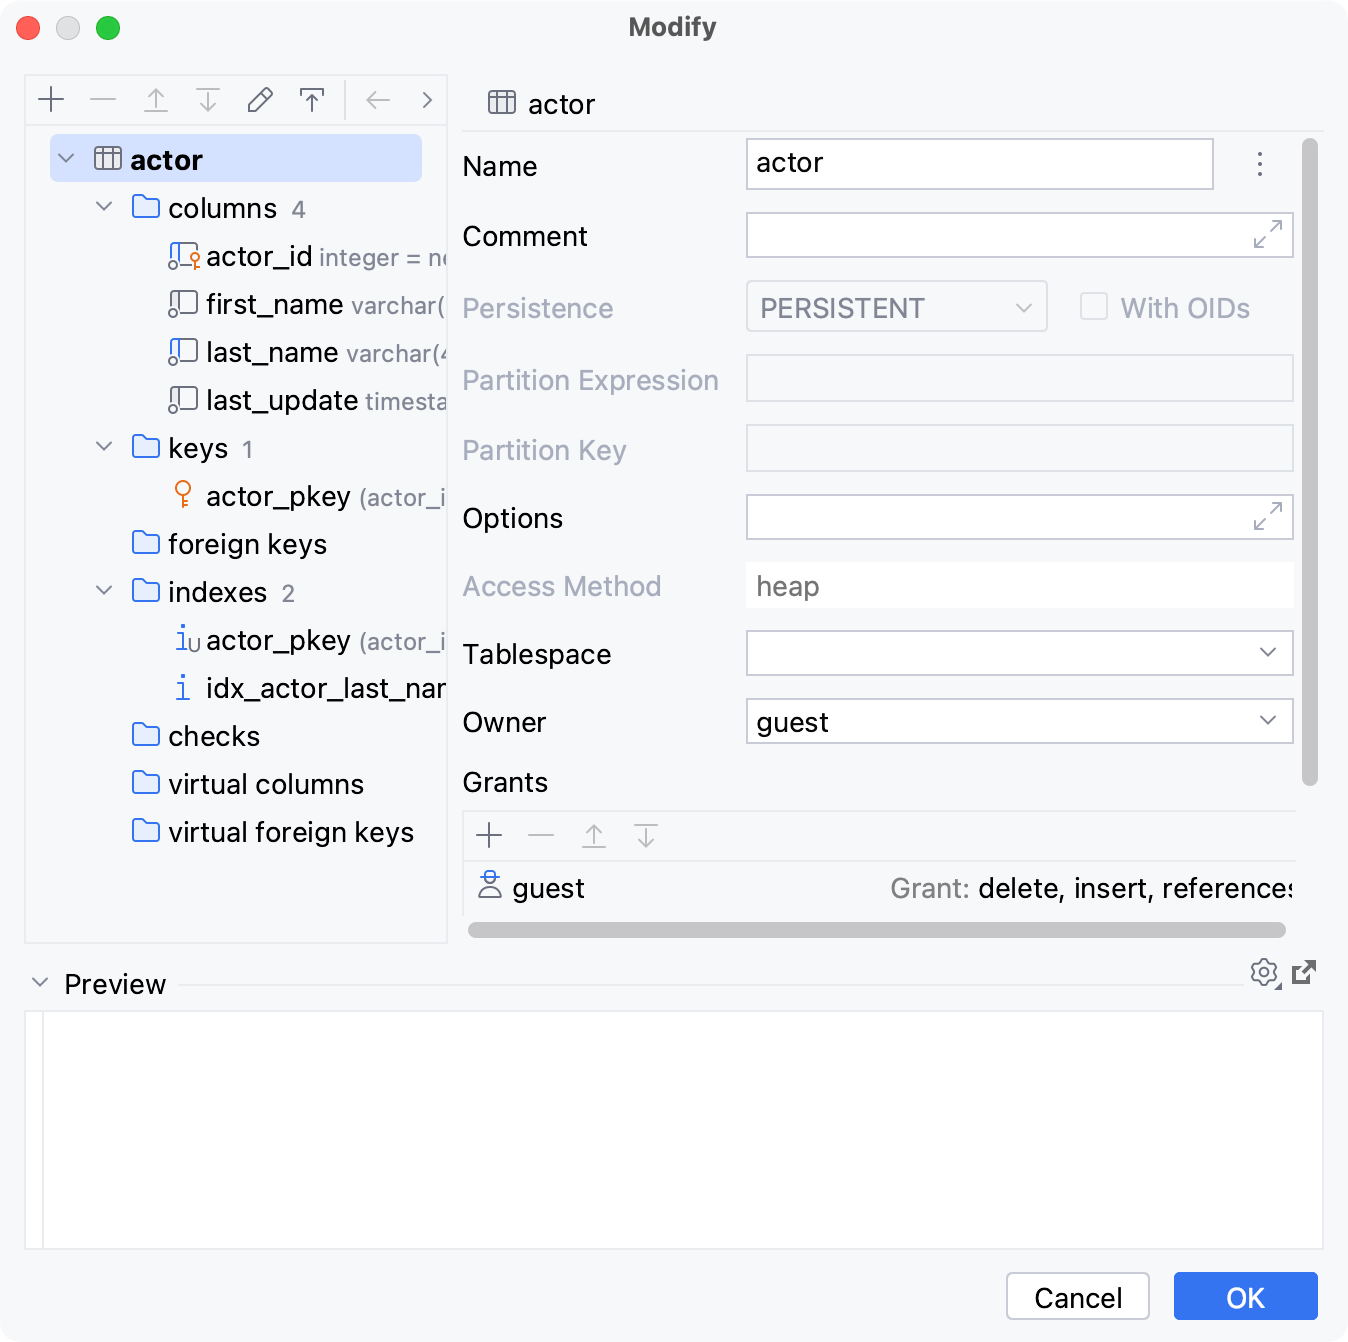
Modify a table
Starting with WebStorm 2022.1, you can change database-specific parameters of a table. The IDE generates fields for the Modify dialog automatically according to the properties received during the introspection. For example, by using this dialog in PostgreSQL, you can add and edit column check constraints.
In the Database tool window, right-click a table and select Modify Table.
In the Modify dialog, specify object settings that you need.
Click OK to save your changes.
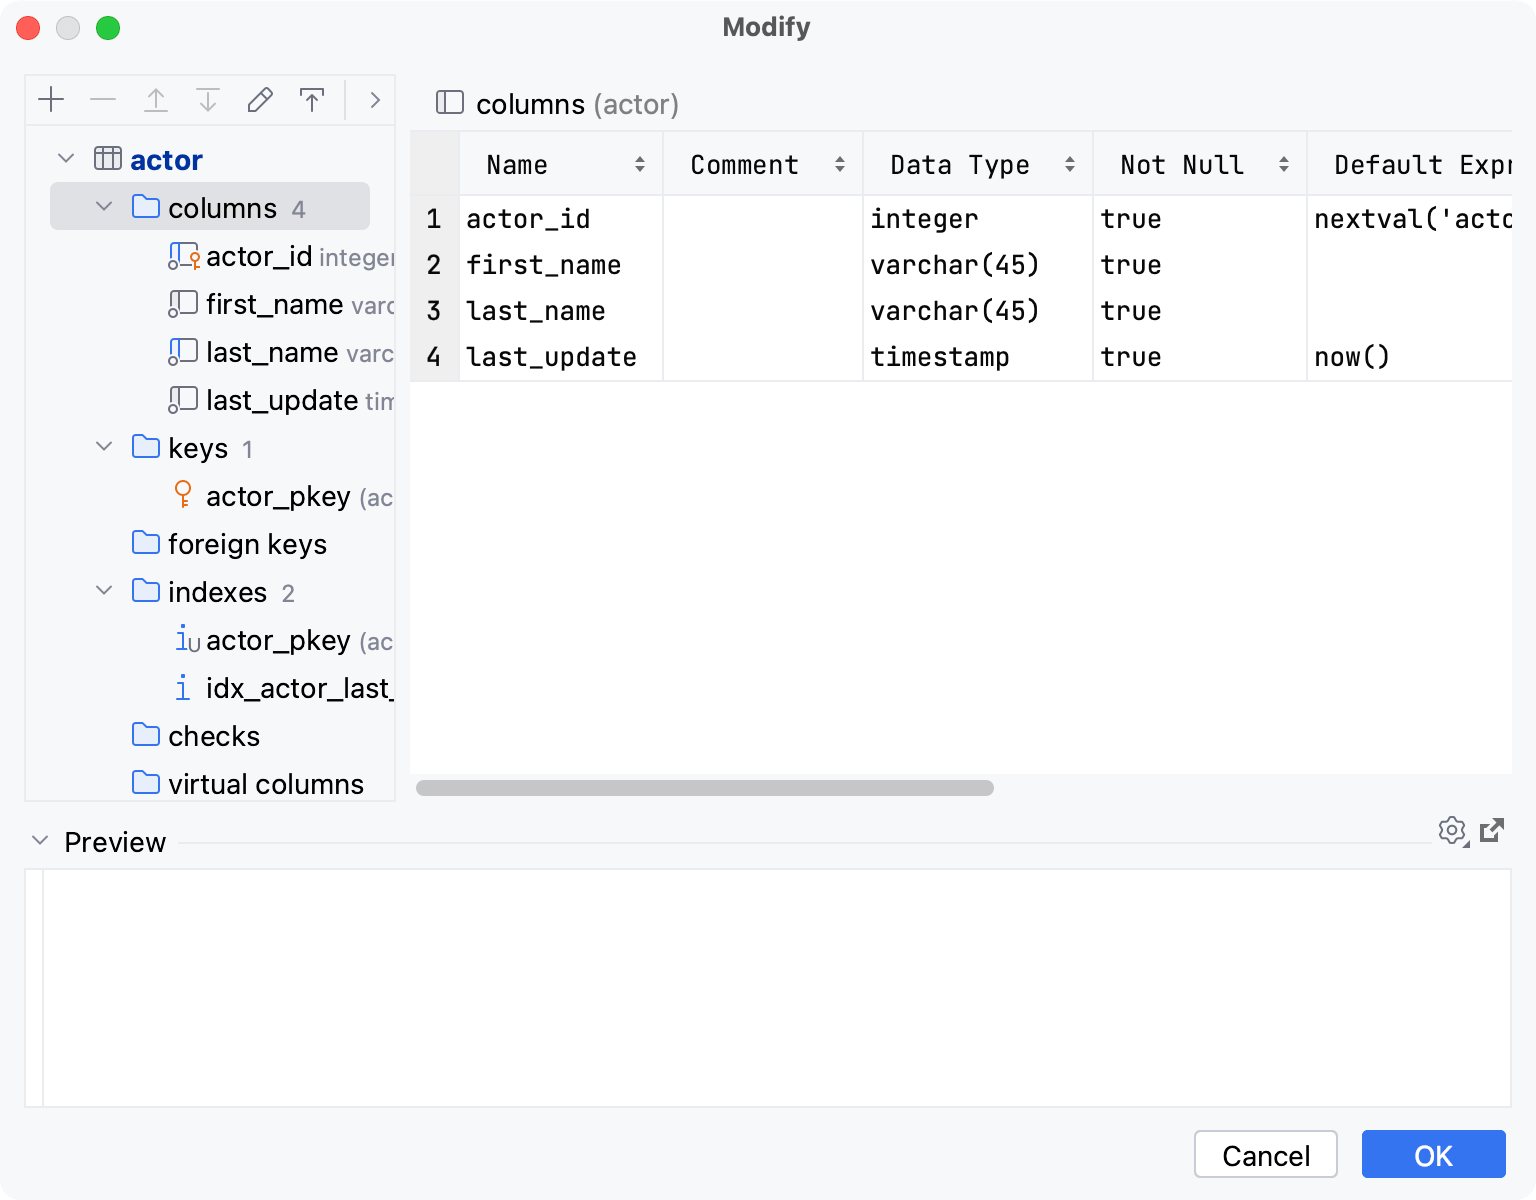
Inspect same family objects in a table
In the Database tool window, right-click a table and select Modify Table.
In the Modify dialog, double-click the family node.
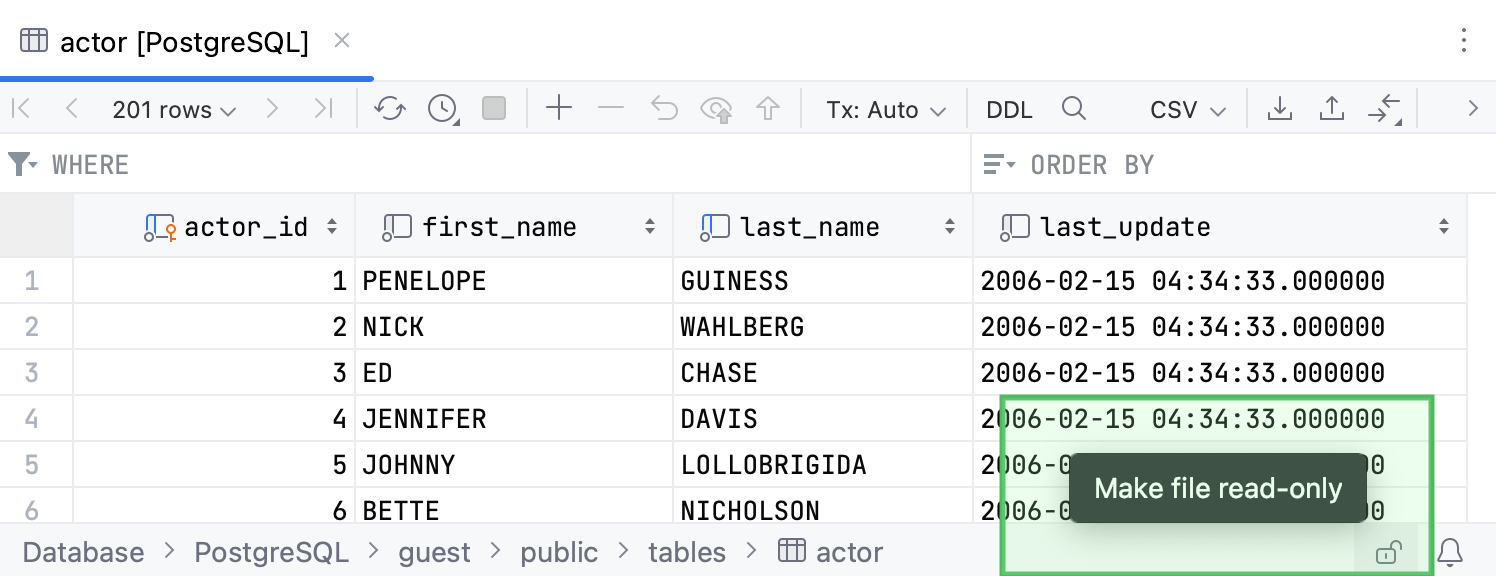
Enable read-only mode for a table
To protect a table from accidental modifications in the data editor, you can make the table read-only.
To enable read-only mode, click the Click to toggle the read-only attribute icon (
) in the lower-right corner of the editor.
To turn off read-only mode, click the Click to toggle the read-only attribute icon again.
Productivity tips
Modify a table from the data editor
You can modify a table while you edit table data.
Double-click a table to open it in the data editor.
Press Ctrl+F6.
Modify data and click OK.
Press Ctrl+F5 to reload the page.
Copy
You can duplicate the table data in the current schema or copy it to another schema or data source.
Copy table data
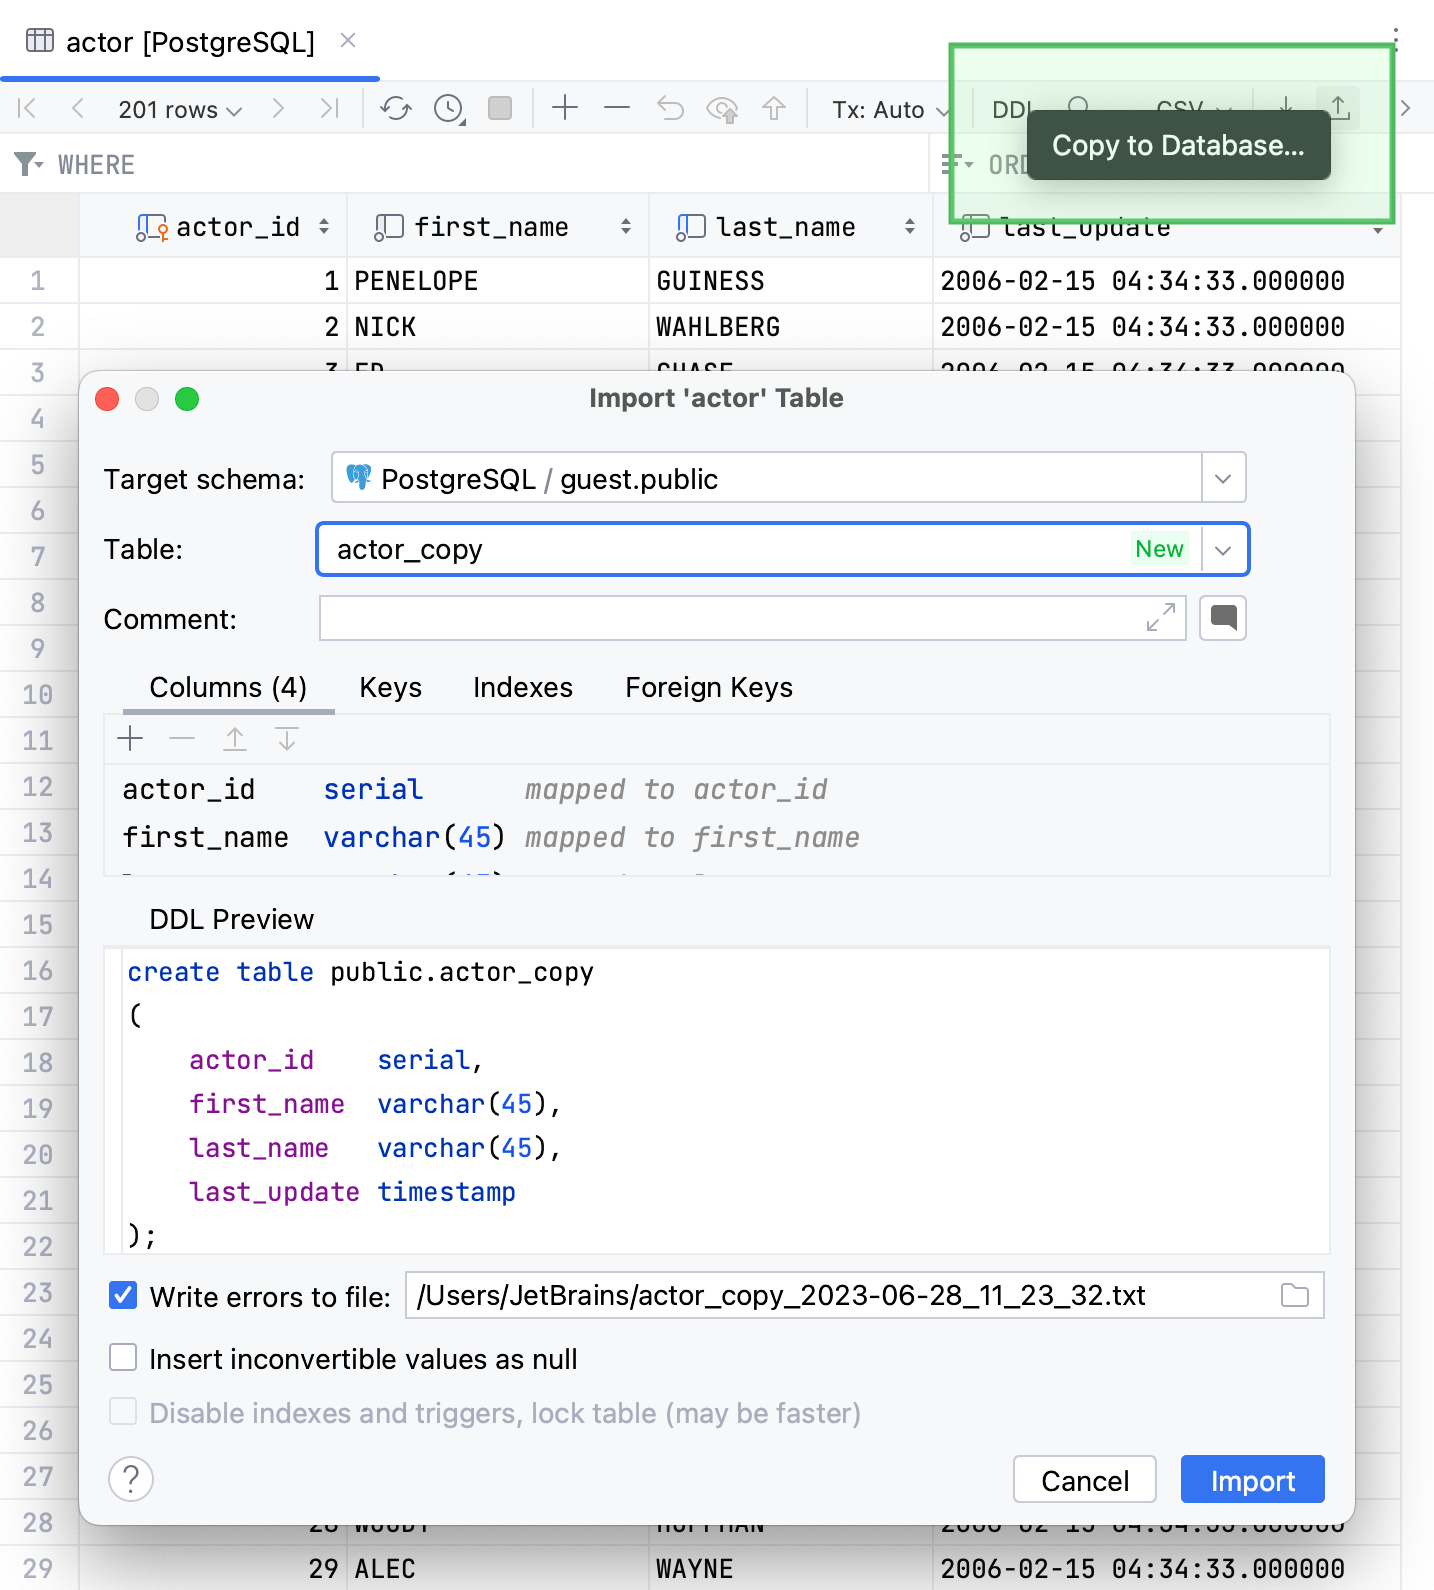
Drag a table to the node in which you want to create a copy. In the Import <table_name> Table dialog, ensure that mappings are correct and click Import.
Right-click a table and select (F5). In the Import <table_name> Table dialog, select the schema in which you want to create a copy, ensure that mappings are correct, and click Import.
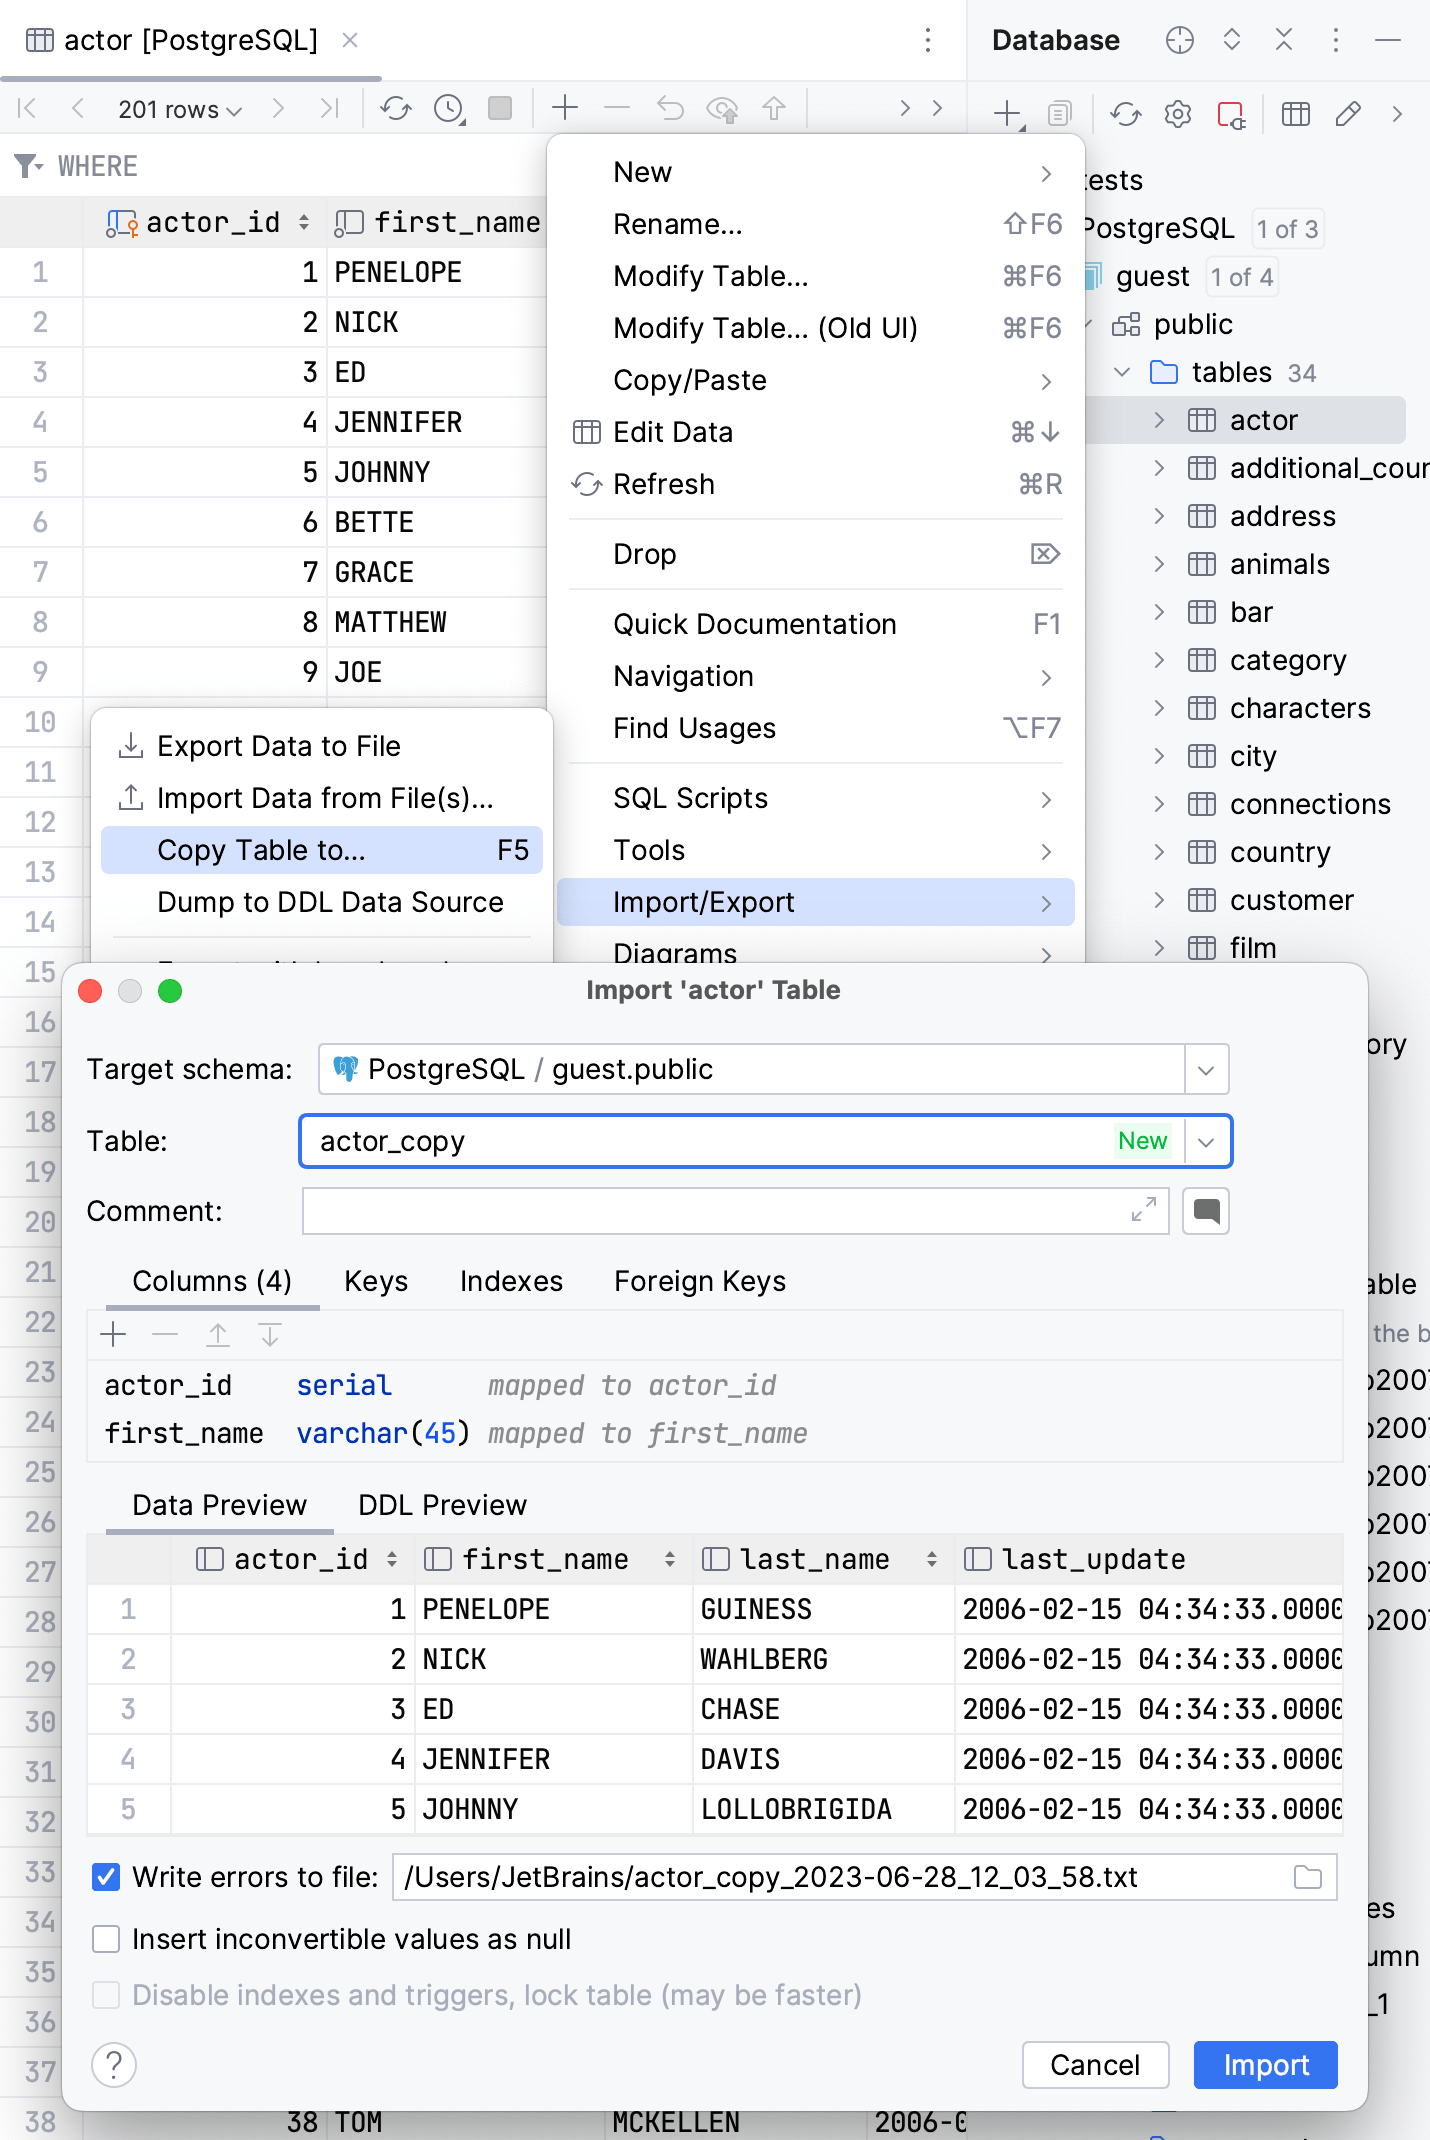
In the data editor, click the Copy to Database icon (
) and select a schema to which you want to copy the table.
Check the video at youtube.com to see the live example.
Copy table structure
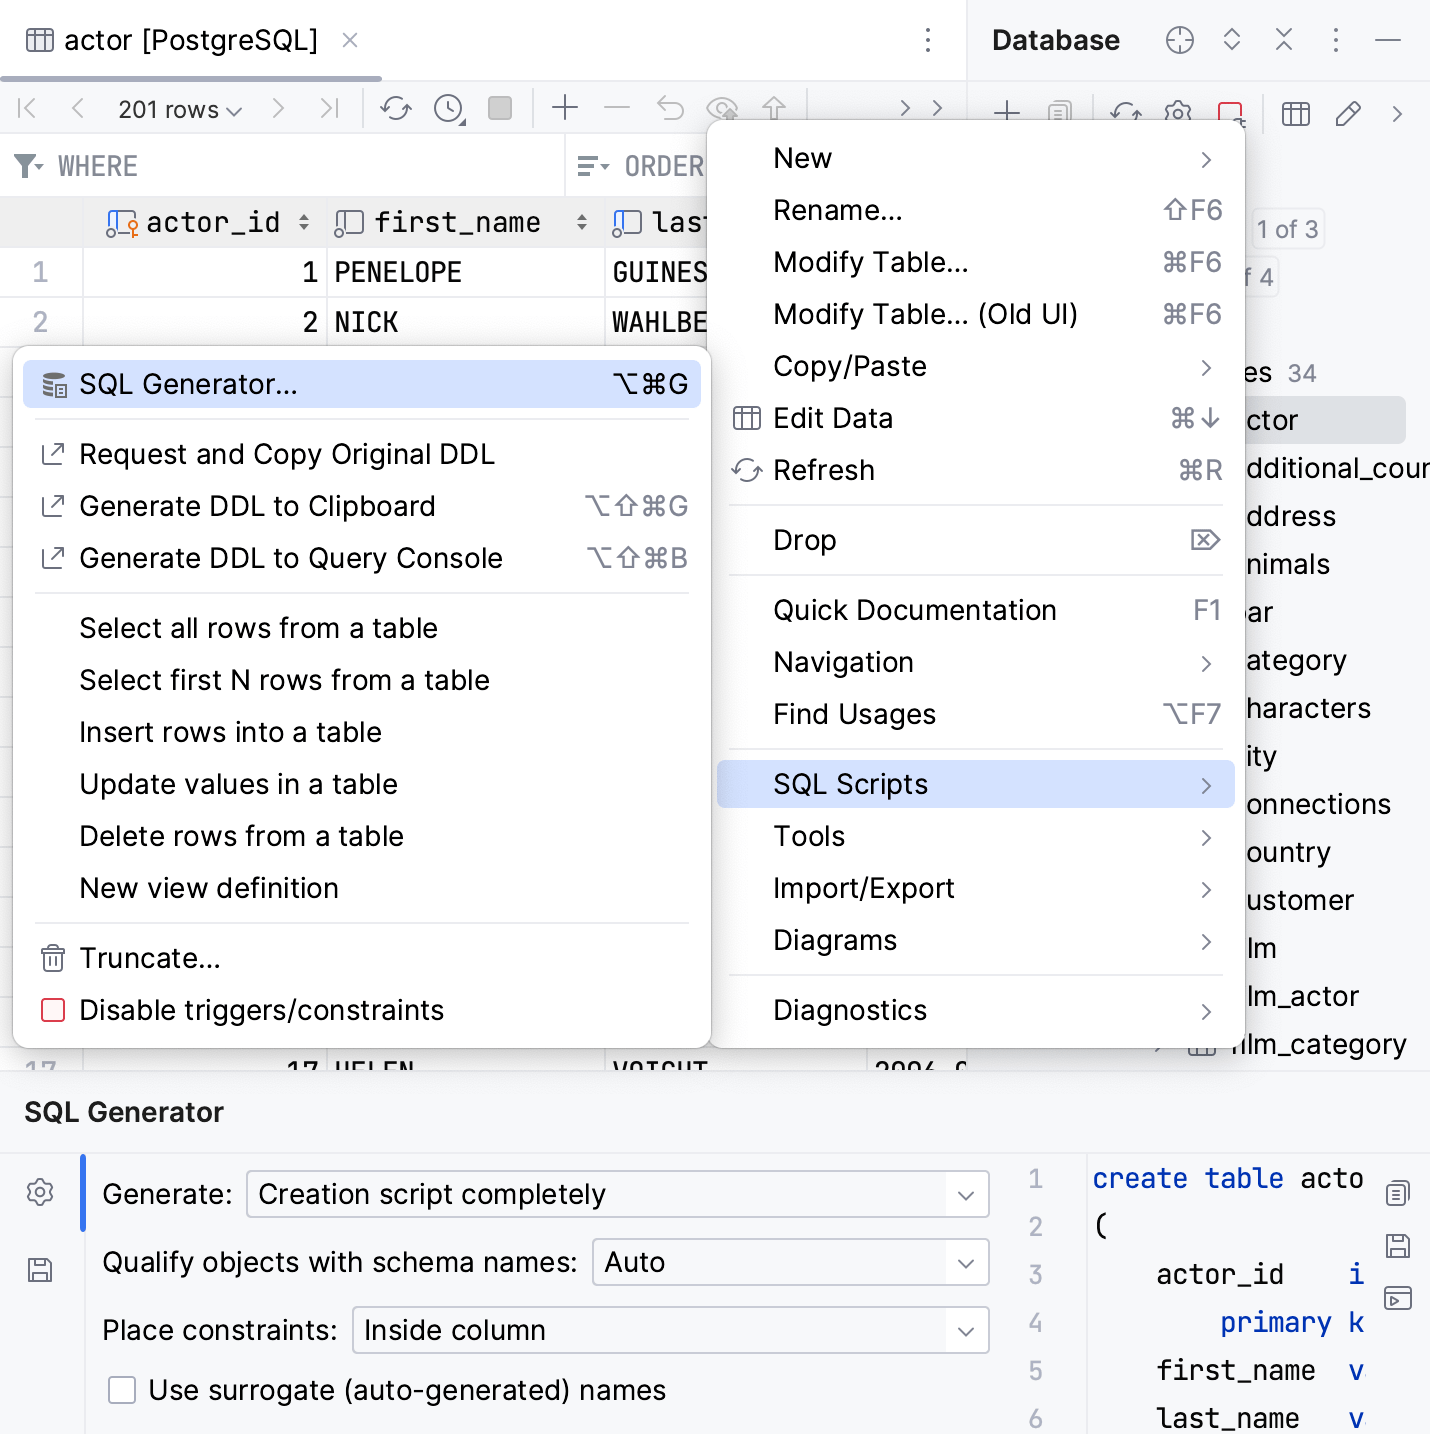
You can copy the table structure using SQL Generator. To do that, in the Database tool window (), right-click the table and select . Alternatively, press .
For more information about the SQL Generator controls, refer to Generate DDL definitions for database objects.
Quick documentation
Quick documentation (Ctrl+Q) displays information about a table: data source, database, schema, name, auto-generated definition, and table preview. To see the table preview, click Show table preview.
In the editor:
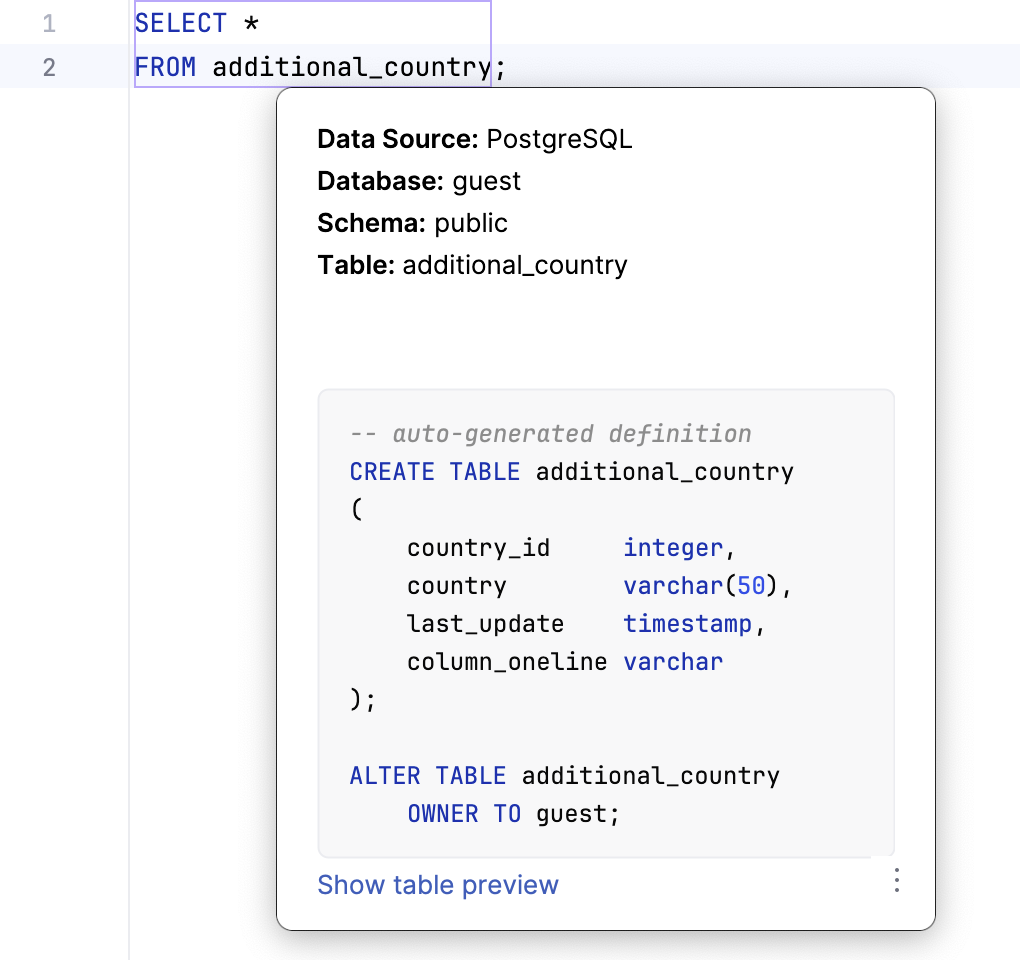
In Database tool window:

For PostgreSQL and MySQL databases, table preview also contains information about the table size.