Create an Article
Whenever you have a piece of information that you want to share with users who have the appropriate level of access in a particular project, you can add an article to the knowledge base.
When you add an article to the knowledge base, it is created as a draft. Your drafts are only available to you, even when the visibility restrictions for the article are undefined.
This means that you can take all the time you need to polish the article to perfection before you publish and share it with a larger audience.
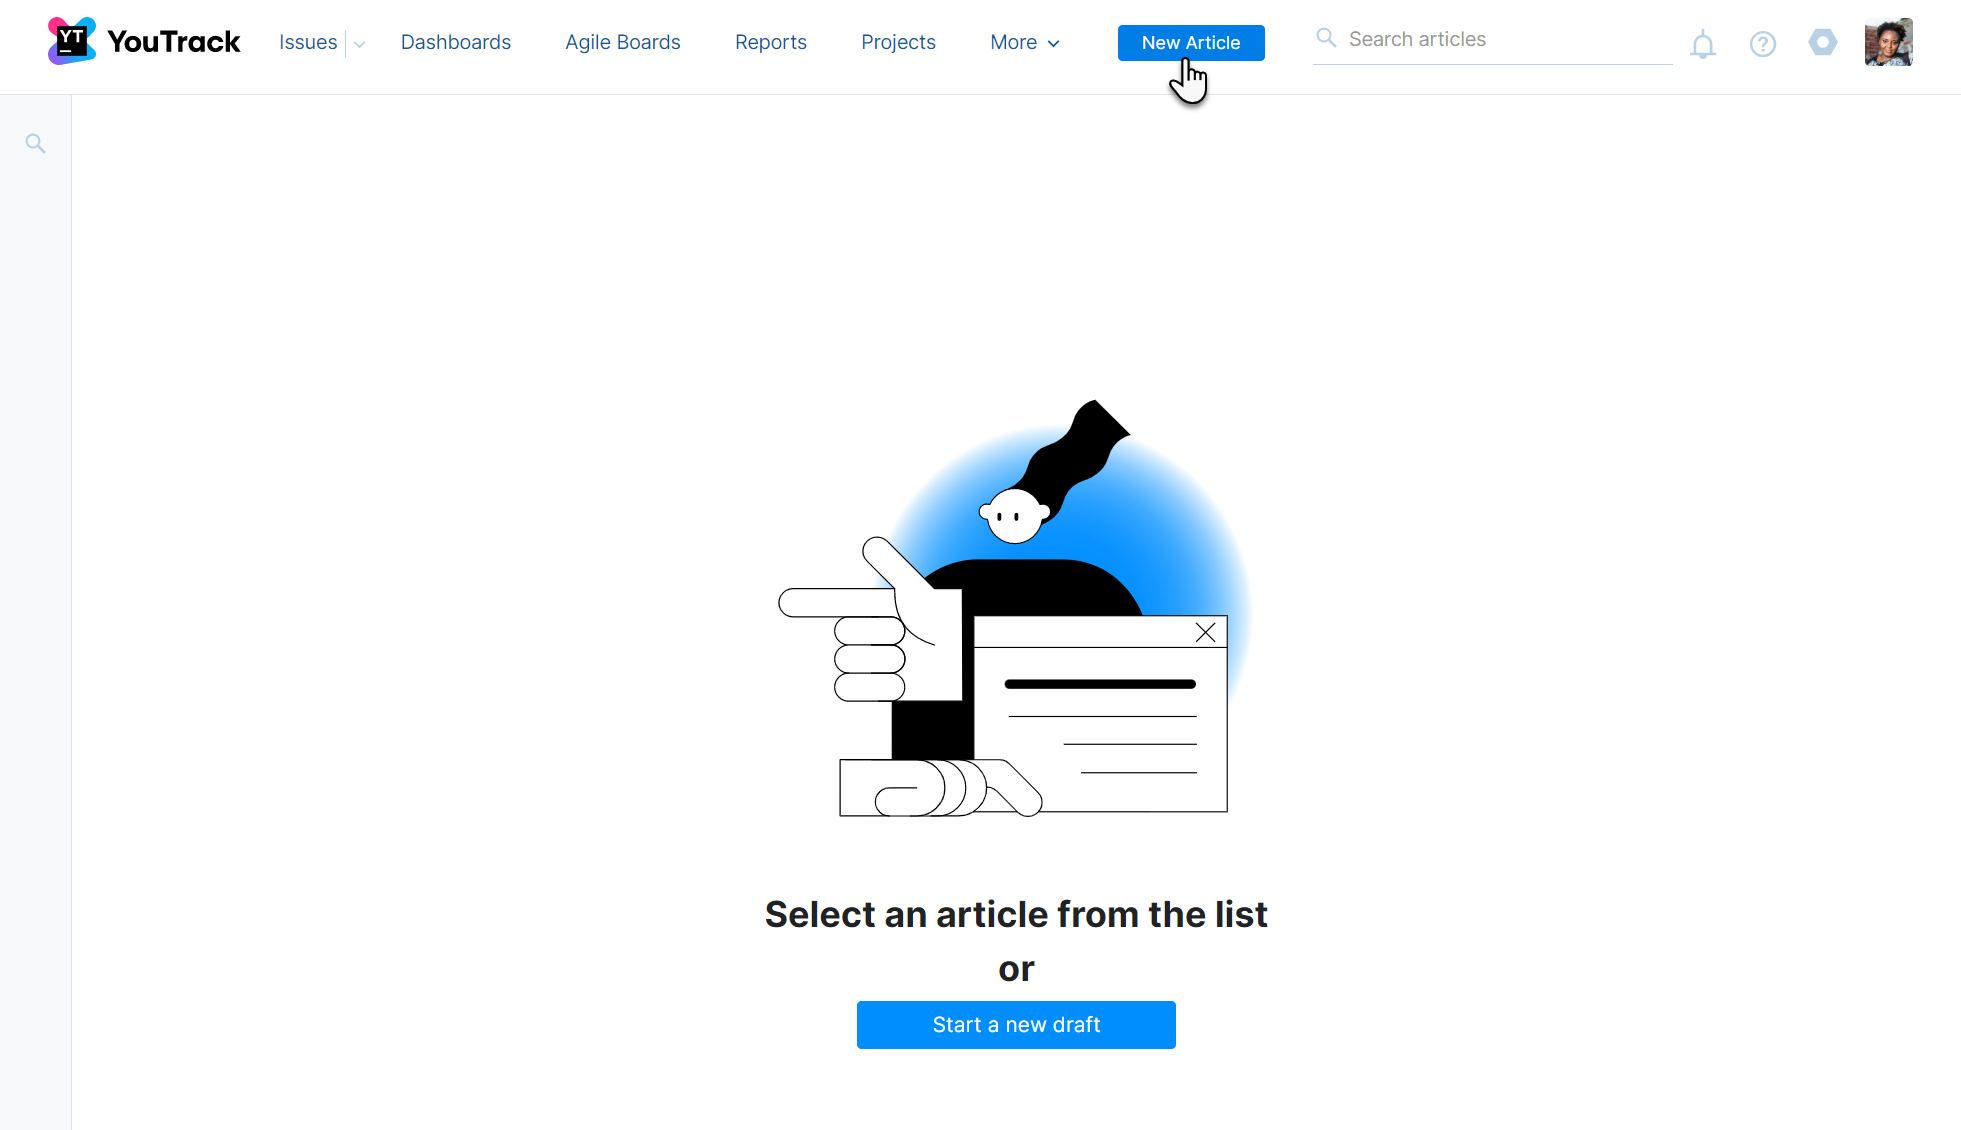
If you're writing the first article in a project, use the control in the application header. Once you have one or more articles in a project, whether published or in draft form, you can add articles and sub-articles using the controls in the table of contents in the side panel.
To create your first article in a project:
Click the Knowledge Base link in the application header.
Click the New Article button, which is also located in the header.

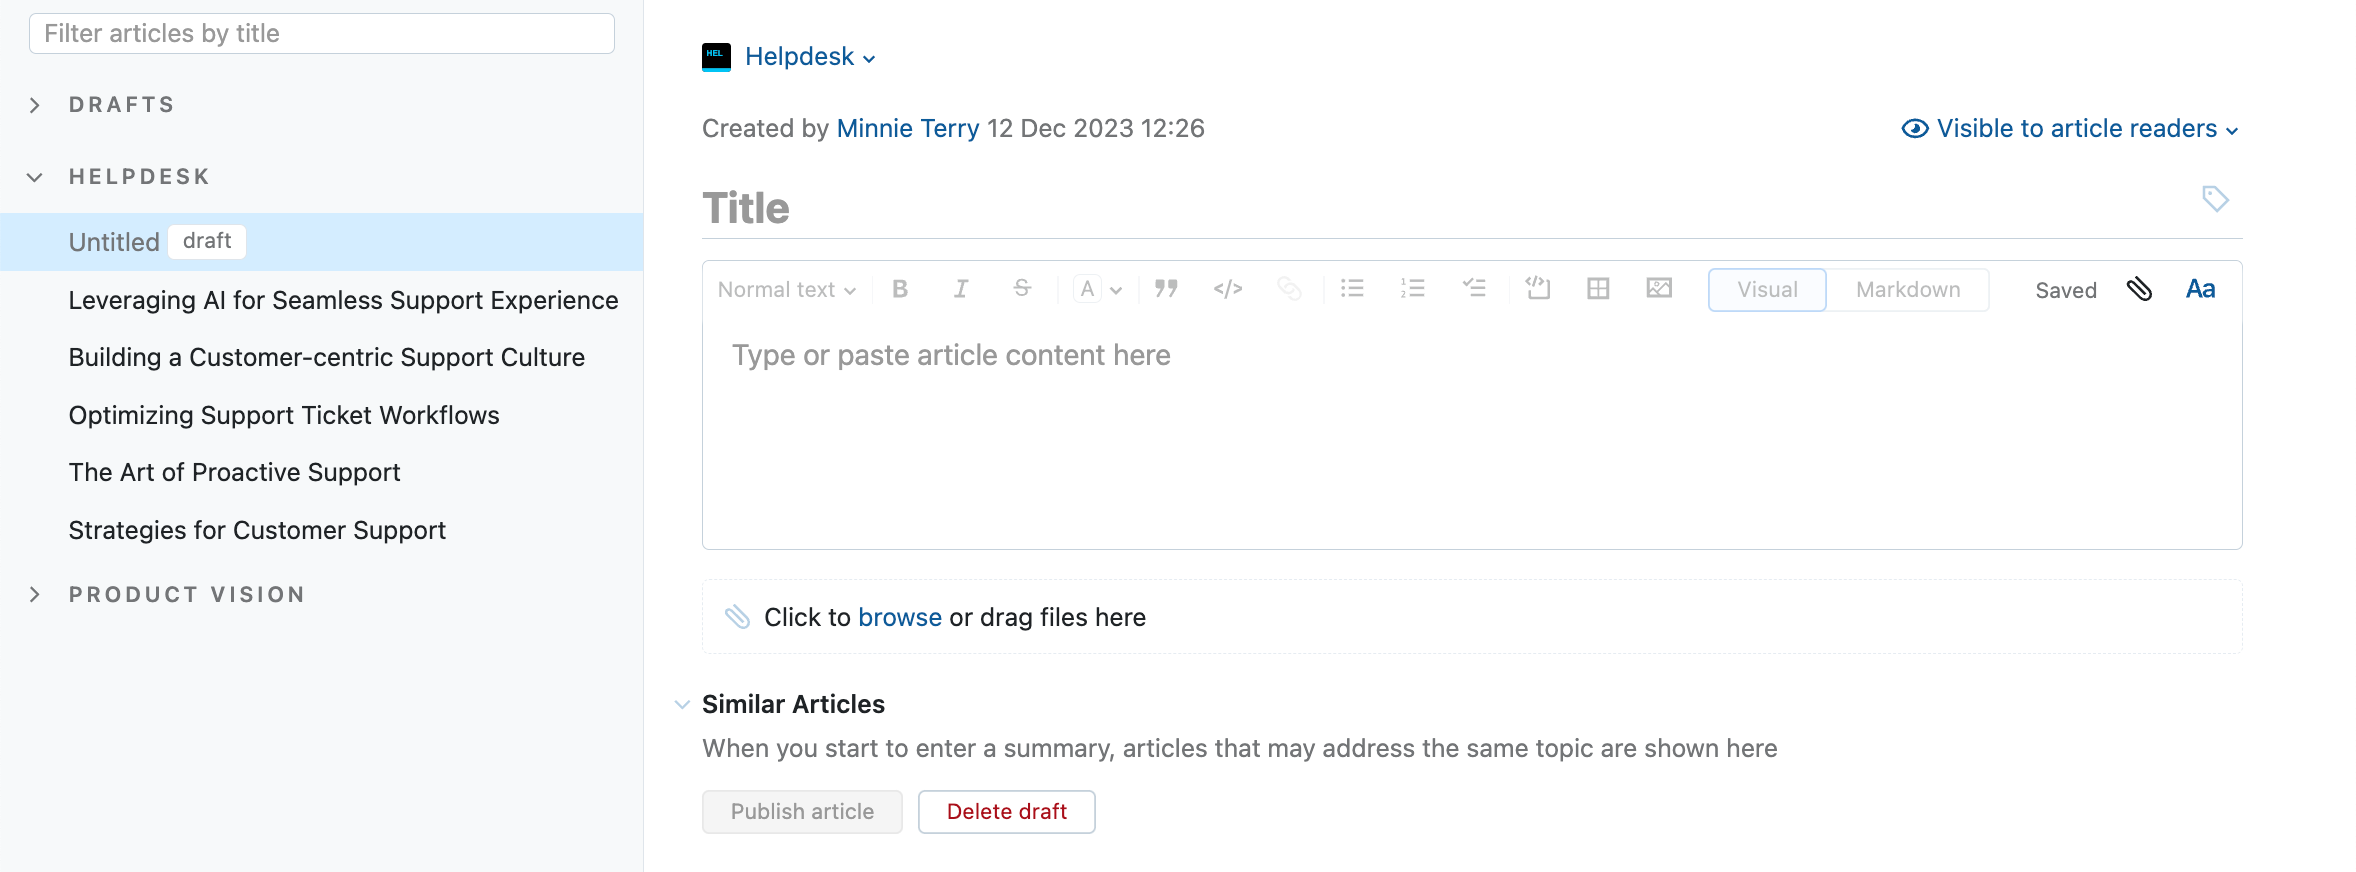
The page displays a new, untitled draft.
The article draft is listed in the Drafts section in the table of contents.

Give your article a title by typing directly into the Title field.
Enter or paste the article content into the content editor.
To learn more about formatting text in the editor, see Edit an Article.
To learn how to attach and embed content, see Attach Files to Articles and Embed Content in Articles
A table of contents (ToC) is automatically created for articles containing heading elements. Learn more about the Internal Table of Contents.
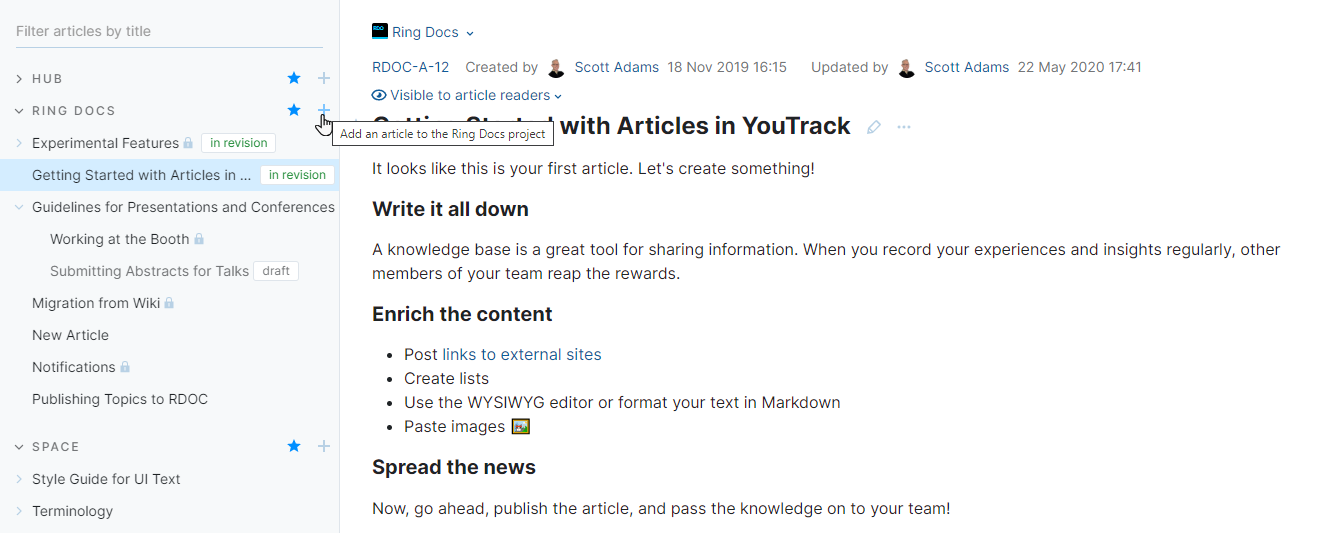
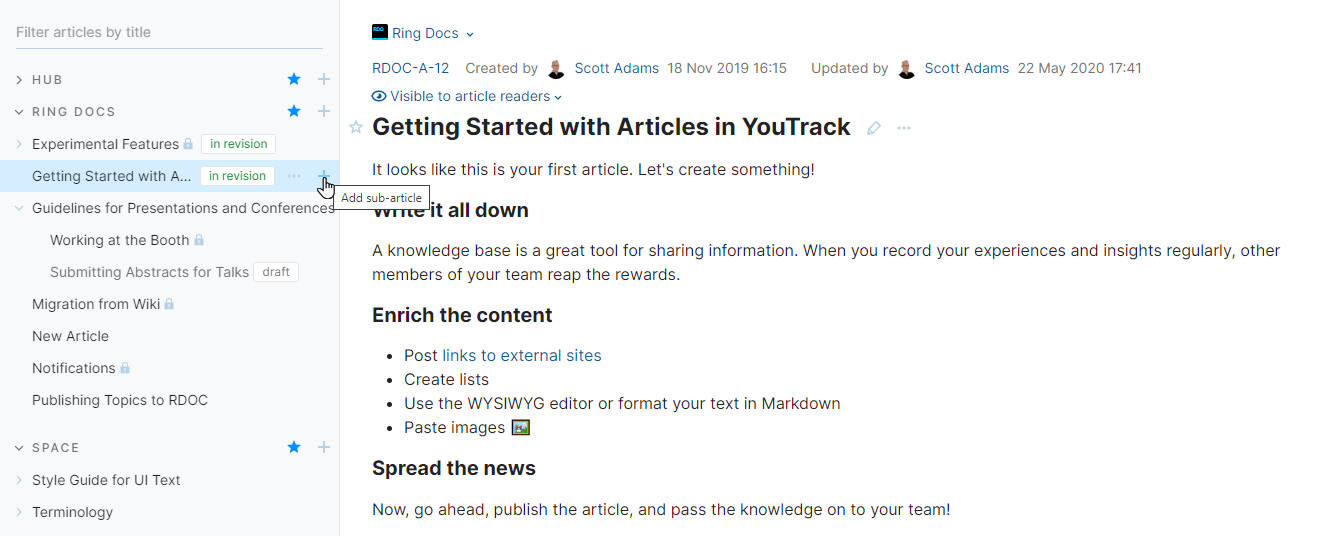
Once you have one or more articles in a project, whether published or in draft form, you can add articles and sub-articles using the controls in the table of contents in the side panel.
To add subsequent articles to a project, click the plus icon to the right of the project name.

To add sub-articles to an existing article, click the plus icon to the right of the article title.
