Dashboards
Dashboards are a convenient way to view the current status of your tasks and monitor the progress of your team.

Dashboards are the default start page in YouTrack. Click Dashboards in the main navigation menu to access your dashboards. Every YouTrack site has a single default dashboard. This dashboard is available to all registered users and provides a central place for your organization to display and share key data. There is also a default dashboard that you can use to display information to guest users. For more information, see Default Dashboards.
Widgets
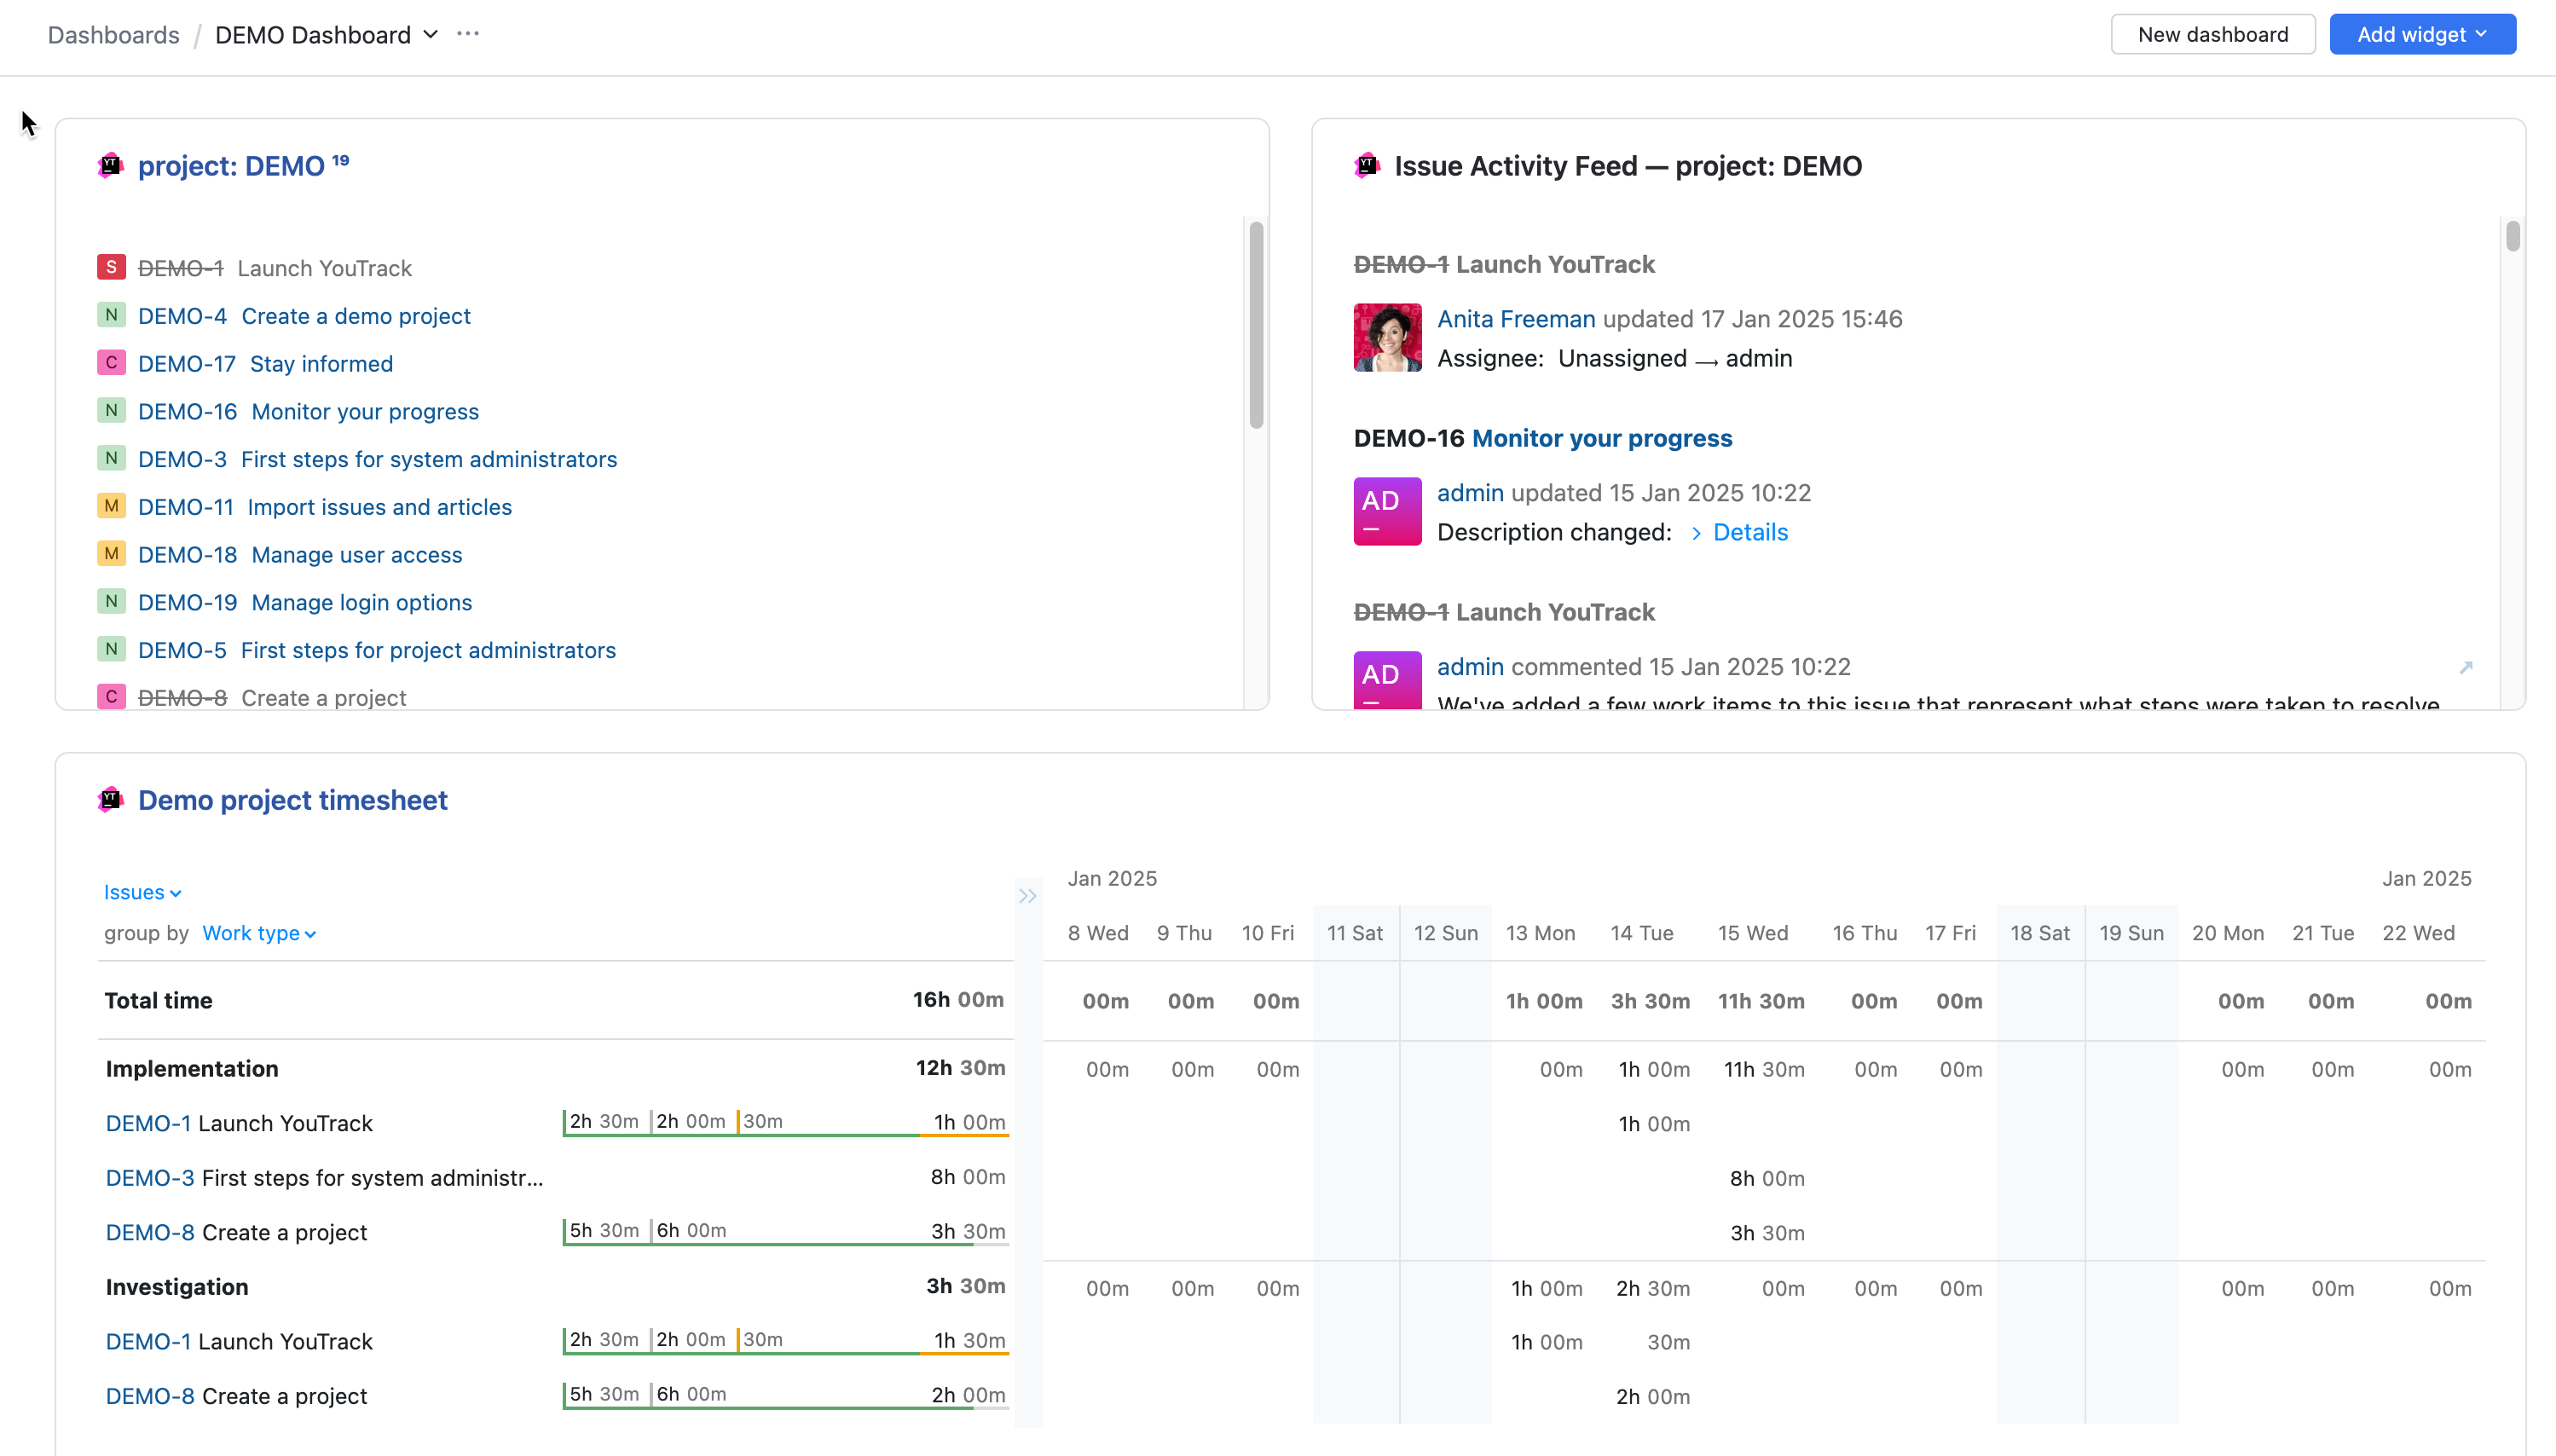
A dashboard displays widgets. The different widgets provide you with a quick view of data and insights for information in your YouTrack environment.
Check out a few examples of popular dashboard widgets:
You can add as many widgets to a dashboard as you like. Select preinstalled widgets or install additional apps that contain dashboard widgets from the JetBrains Marketplace.
To learn how to install more widgets for your dashboards, see Manage Apps.
To add a widget to the dashboard:
From the main navigation menu, select
Dashboards.
Click the Add widget button.

Select the widget you want to add to the dashboard.
Configure the settings of the widget.
The settings are dependent on the widget selected.
Click Save.
The widget is added to your dashboard.
Multiple Dashboards
You can create and view multiple dashboards, each with their own set of widgets. This feature lets you set up and monitor dashboards for different projects.
To add another dashboard:
View a list of accessible dashboards by clicking the name of current dashboard you're viewing.
Your dashboards are separated into favorite and
non-favorite dashboards. Click the star icon in the dashboard list to change its status. Both sections are sorted alphabetically.

Press Shift + Down to expand the list of dashboards.
Shared Dashboards
In addition to the dashboards you create yourself, you can view dashboards that have been shared with you.
When another user shares a dashboard with you directly or with a group of which you're a member, the shared dashboard is added to your non-favorite dashboard section.
You can still view the shared dashboard even if you haven't added it to your favorites section.

The current sharing options are displayed as a link in the dashboard header.

If the dashboard is shared with a single user or group, the name of the user or group is displayed in the link.
If the dashboard is shared with multiple users or groups, the link displays the number of users and groups who can access the dashboard. Click the link to display the complete list of users and groups who can access the dashboard.
If another user shared the dashboard with you, the name of the dashboard owner is also shown in the link.
For more information, see Share a Dashboard.
Organize a Dashboard
To organize your dashboard, drag the widgets around the dashboard and place them in the order you like.
You can size the widgets on the dashboard. Drag the edge of the card to set the height and width. The size of the card automatically snaps to the closest intersection of the grid.
More Options for Dashboards
In addition to the option to add widgets to your dashboards, the following options are available:
Option | Description |
|---|---|
Rename | You can change the name of your dashboard at any time. To access this option, click . |
Share | You can configure a dashboard and share it with another user or group. To access this option, click . For more information, see Share a Dashboard. |
Clone | You can clone a dashboard and customize it for personal use or to share it with another user or group. To access this option, click . For more information, see Clone a Dashboard. |
Delete | If you no longer want to use a dashboard on your list, you can delete it. To access this option, click . Only the owner of a dashboard may delete it. |
More Options for Widgets
There are several operations that you can use to customize your dashboard and share its content with your team. To open the list of options that are available for a widget, click the More options icon in the widget.
If you would like to give a widget with the settings you created to other users, you can share the widget with a link.
To share a widget with a link:
From the main navigation menu, select
Dashboards.
Open the
dashboard that has the widget you want to share.
Click the
More options icon in the top right corner of the widget that you want to share.
Select the
Share link option.
Click the Copy button in the Share link dialog and send it to your teammates.
When a user pastes this link into the address bar in their web browser, the shared widget is added to their current dashboard. This can either be the dashboard that they're currently viewing in YouTrack or the dashboard that they most recently accessed.
If the person with whom you shared the widget doesn't have permission to view the data that is used in the widget, the widget is empty.
You can create a clone of an existing widget on your dashboard. This option comes in handy when you want to add a similar widget with minor changes.
To clone a widget:
From the main navigation menu, select
Dashboards.
Open the
dashboard that has the widget you want to clone.
Click the
More options icon in the top right corner of the widget that you want to clone.
Select the
Clone widget option.
A copy of the widget is added to your dashboard.
You can move a widget from the current dashboard to another dashboard.
To move a widget to another dashboard:
From the main navigation menu, select
Dashboards.
Open the
dashboard that has the widget you want to move.
Click the
More options icon in the top right corner of the widget that you want to move to another dashboard.
Select the
Move to another dashboard option.
In the Move the widget to another dashboard dialog, select the name of the target dashboard.
Click the Move button.
The widget is moved to the selected dashboard.
If you want to modify the settings of the widgets on your dashboard, you can edit them at any time.
To edit an existing widget:
From the main navigation menu, select
Dashboards.
Open the
dashboard that has the widget you want to edit.
Click the
More options icon in the top right corner of the widget that you want to edit.
Select the
Edit option.
Modify the settings or content of the widget.
Click the Save button.
The edited changes are displayed in your widget.
If you no longer want to see a widget on your dashboard, you can remove it.
To remove a widget from a dashboard:
From the main navigation menu, select
Dashboards.
Open the
dashboard that has the widget you want to remove.
Click the
More options icon in the top right corner of the widget that you want to remove from the dashboard.
Click the
Remove option.
Click the Delete button in the confirmation dialog.
The widget is removed from your dashboard.
Refresh Widgets
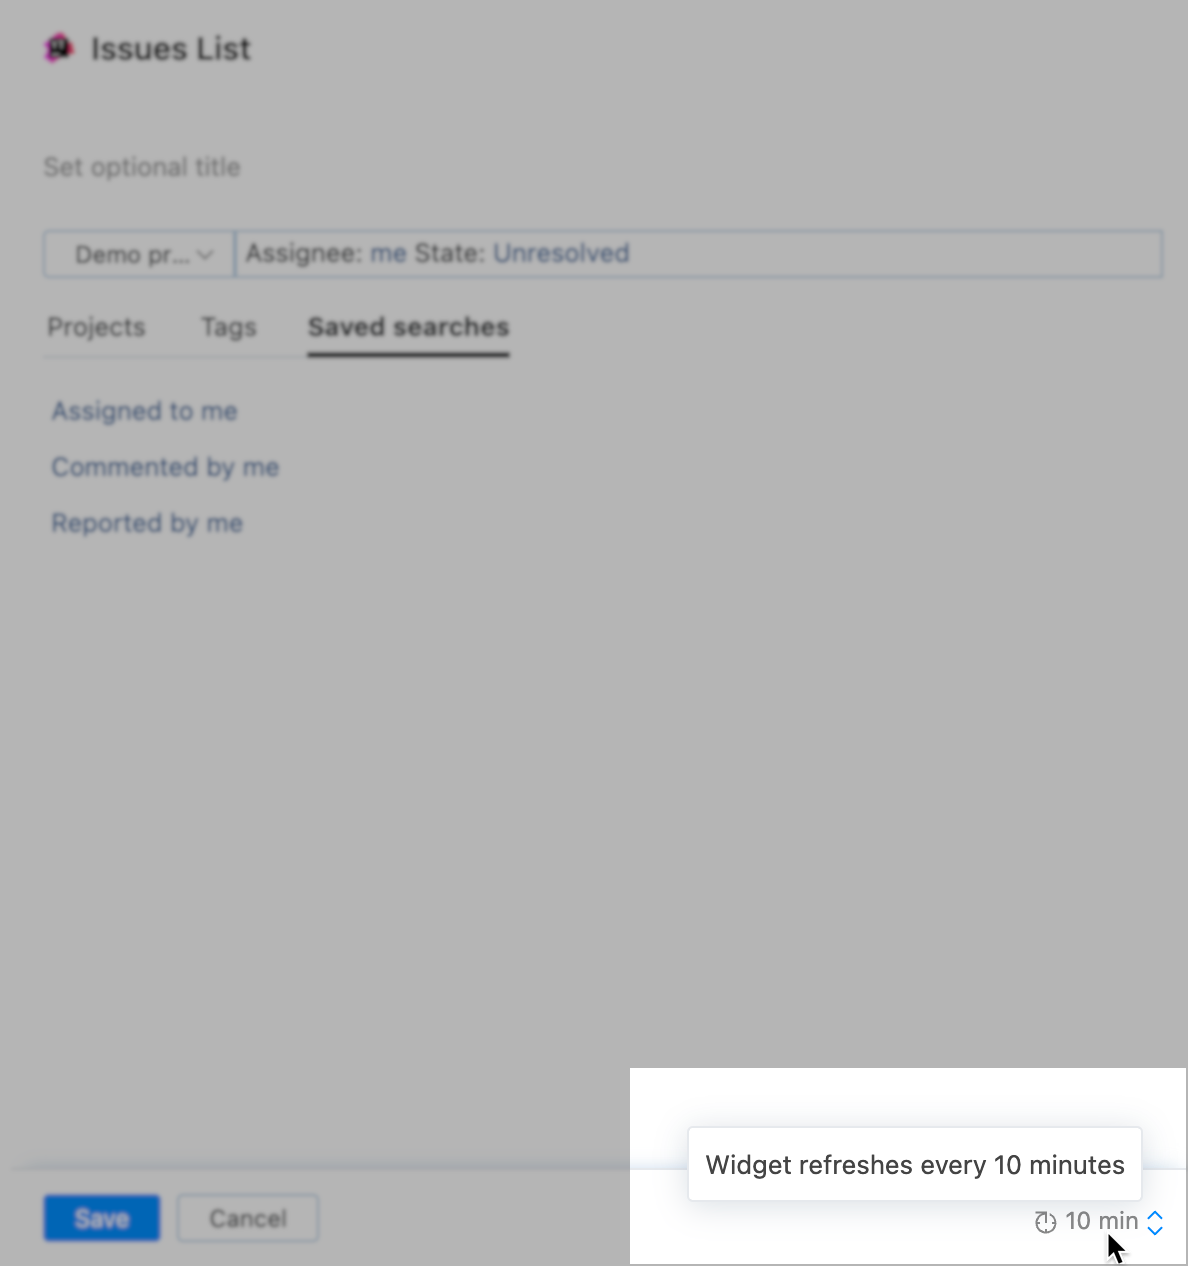
Dashboard widgets are designed for dynamic data, giving you up-to-date information that you can use while tracking your project issues. YouTrack gives you options on how often you would like your widgets to refresh.
You can manually refresh widgets at anytime by clicking the Refresh icon in the top right corner of a widget.

