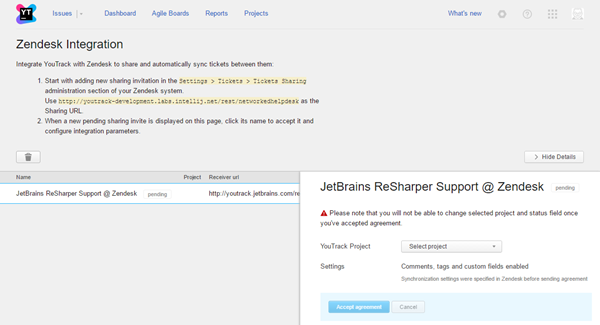
Zendesk Integration
On this page:
The Zendesk integration lets you share Zendesk tickets with issues in YouTrack. When the integration is enabled and configured, shared Zendesk tickets and the issues that are created from them in YouTrack are synced automatically. Customer fields are synchronized in one direction, from Zendesk to YouTrack. Changes to customer fields in the YouTrack issue are not applied to the shared ticket in Zendesk. Tags and comments are synchronized both ways.
Enable and Configure Zendesk Integration
To enable and configure the Zendesk integration, follow these steps:
- Send YouTrack an invite to share tickets from your Zendesk instance.
- Accept the sharing invite in YouTrack and configure the integration settings in YouTrack.
To send YouTrack an invite to share tickets:
- In your Zendesk instance, open the administration page.
- Click add sharing invite.
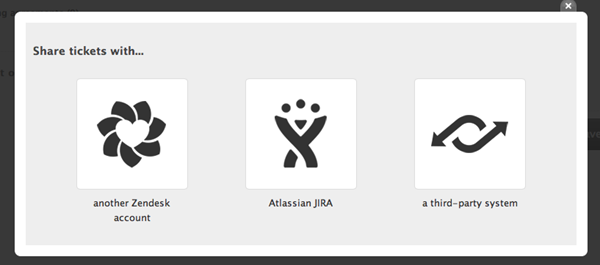
- In the Share tickets with dialog, select a third-party system.
- In the Sharing tickets with third-party system form, enter values for the following settings:
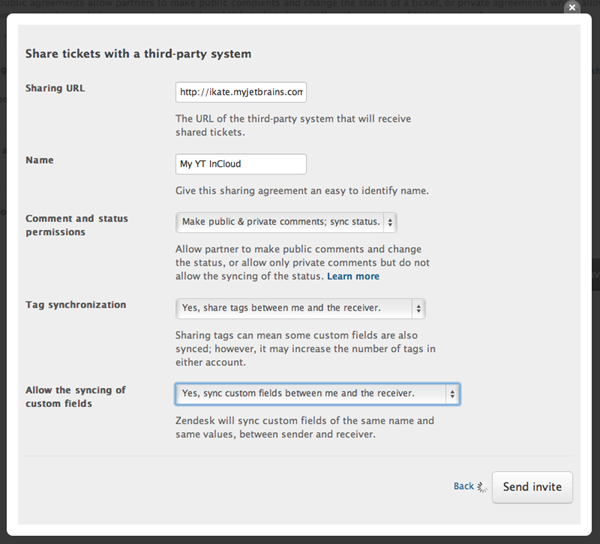
- Use the remaining settings to determine which information is synchronized between Zendesk and YouTrack.
- When done, click the Send invite button.
To continue with the second step of the integration, log in to your YouTrack server.
To accept the sharing invite from Zendesk and configure the integration:
- In YouTrack, open the page. If the invite parameters were correct, you see the pending sharing invite that you sent from Zendesk.
- Click the name of the sharing agreement.
- In the integration settings dialog, enter values for the following settings:
- When done, click the Accept agreement button.
Use the Zendesk Integration
To share a ticket with YouTrack, select the name of the sharing agreement in the Sharing field when you create or edit a ticket in Zendesk.
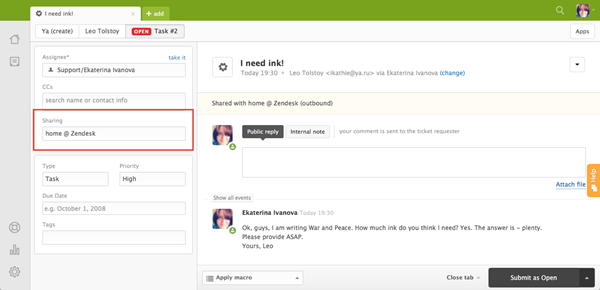
As soon as you submit or update the ticket, an issue is created in YouTrack.
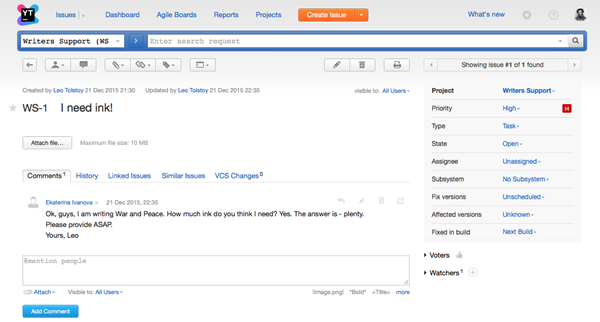
New tickets are processed in YouTrack as follows:
- The current status of the Zendesk ticket is entered in the custom field that you set in the integration settings.
- If the user who reported the ticket in Zendesk does not have an account in YouTrack, a new user account is created.
