Import from GitHub
The new option to import data from GitHub lets you migrate data from a GitHub project including issues, comments, and users.
In essence, an import configuration is a graphic UI representation of an import script. A setup wizard navigates you through the import configuration process, which covers standard issue settings in GitHub. If your project has a custom set of fields for issues, you can use an option to directly edit a client GitHub import script in YouTrack itself.
Create new import configuration
To add a new import configuration, you need to preliminary create a personal access token in GitHub that will grant access to the target project in GitHub. Then you can use the token for authorization when setting up the import in YouTrack.
Create Access Token in GitHub
To set up import of issues from GitHub, you must preliminary create a personal access token for the github account that you use to access issues in GitHub repository.
To create a Personal Access Token in GitHub, please follow the instructions in the GitHub documentation.
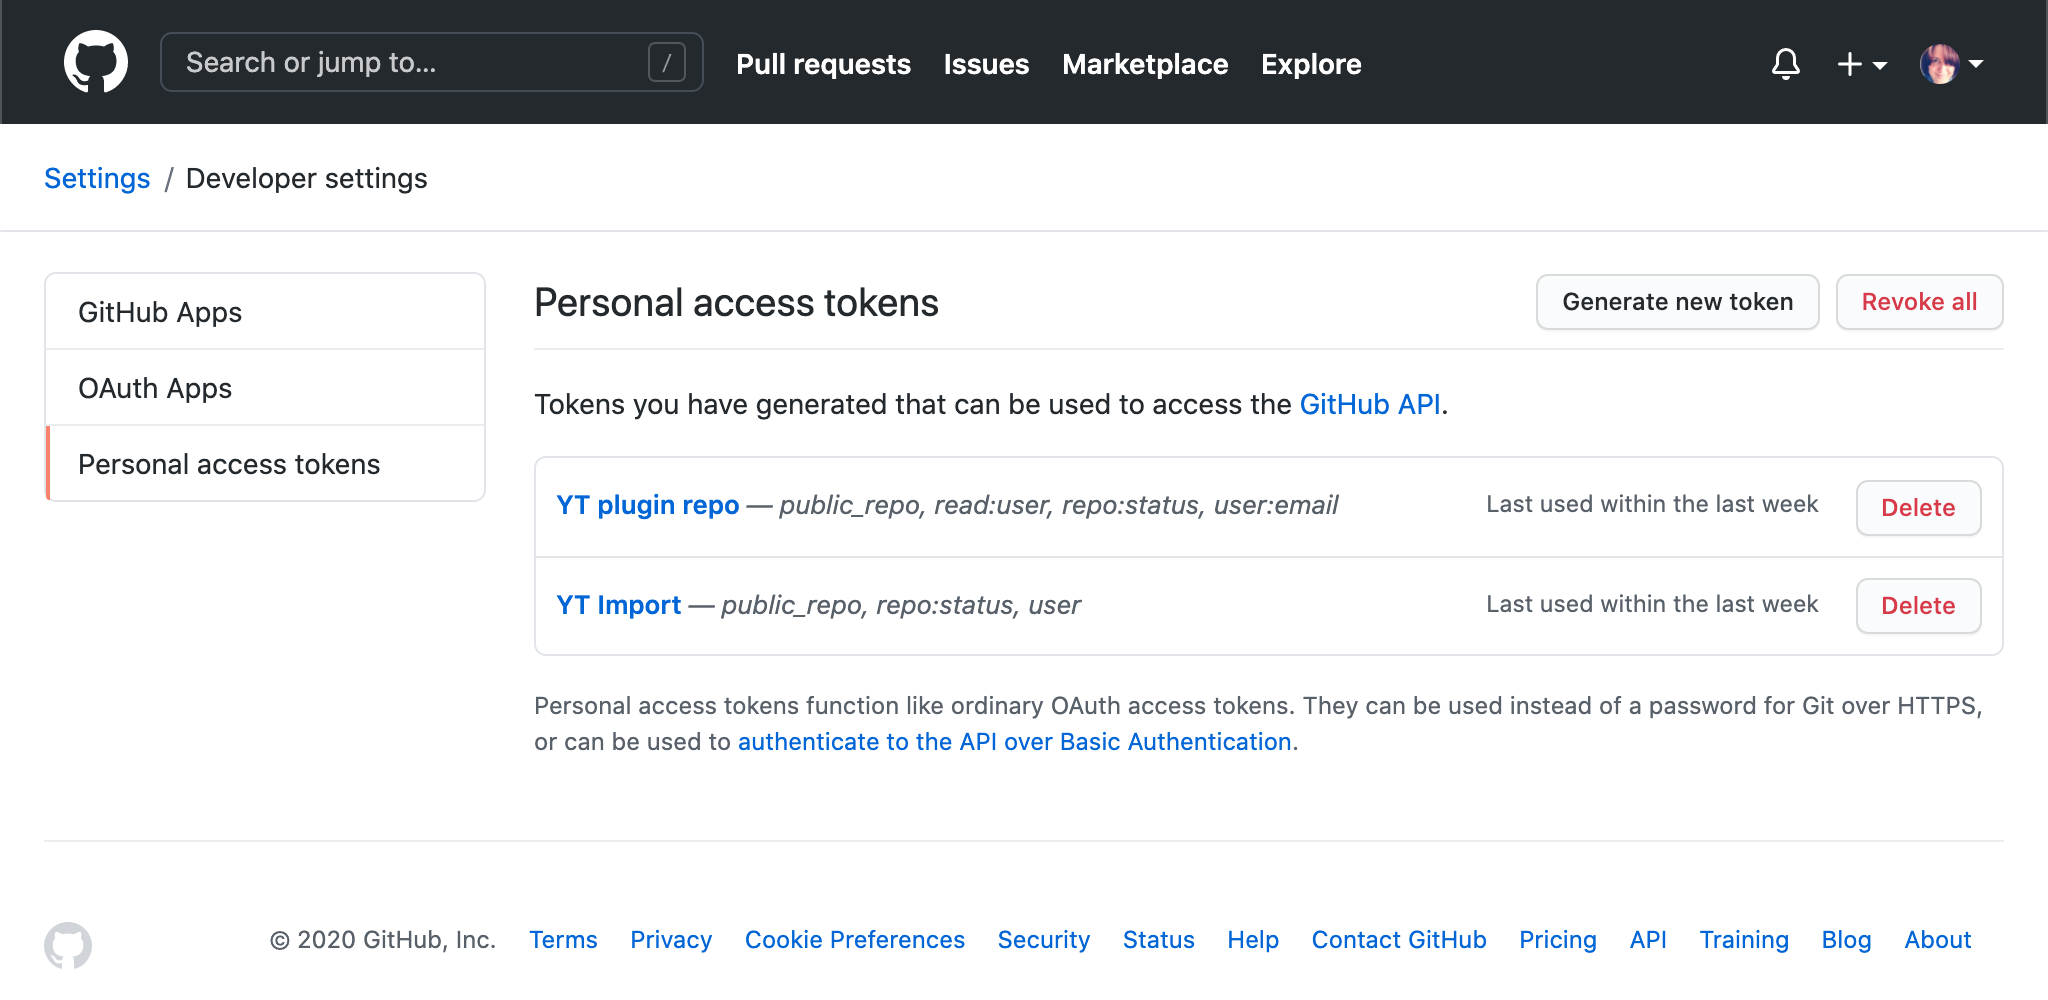
We recommend to use the following minimal set of scopes for the token to import GitHub issues depending on the repository type:
-
repo:-
repo:status -
public_repo
-
-
user:-
read:user -
user:email
-
-
repo:To import issues from a private repo, you need to enable the complete set or thereposcopes. -
user:-
read:user -
user:email
-
Set up import from GitHub
To set up import from GitHub:
Select Imports from the Integrations section of the Administration menu.
-
Click New import to open the setup dialog.
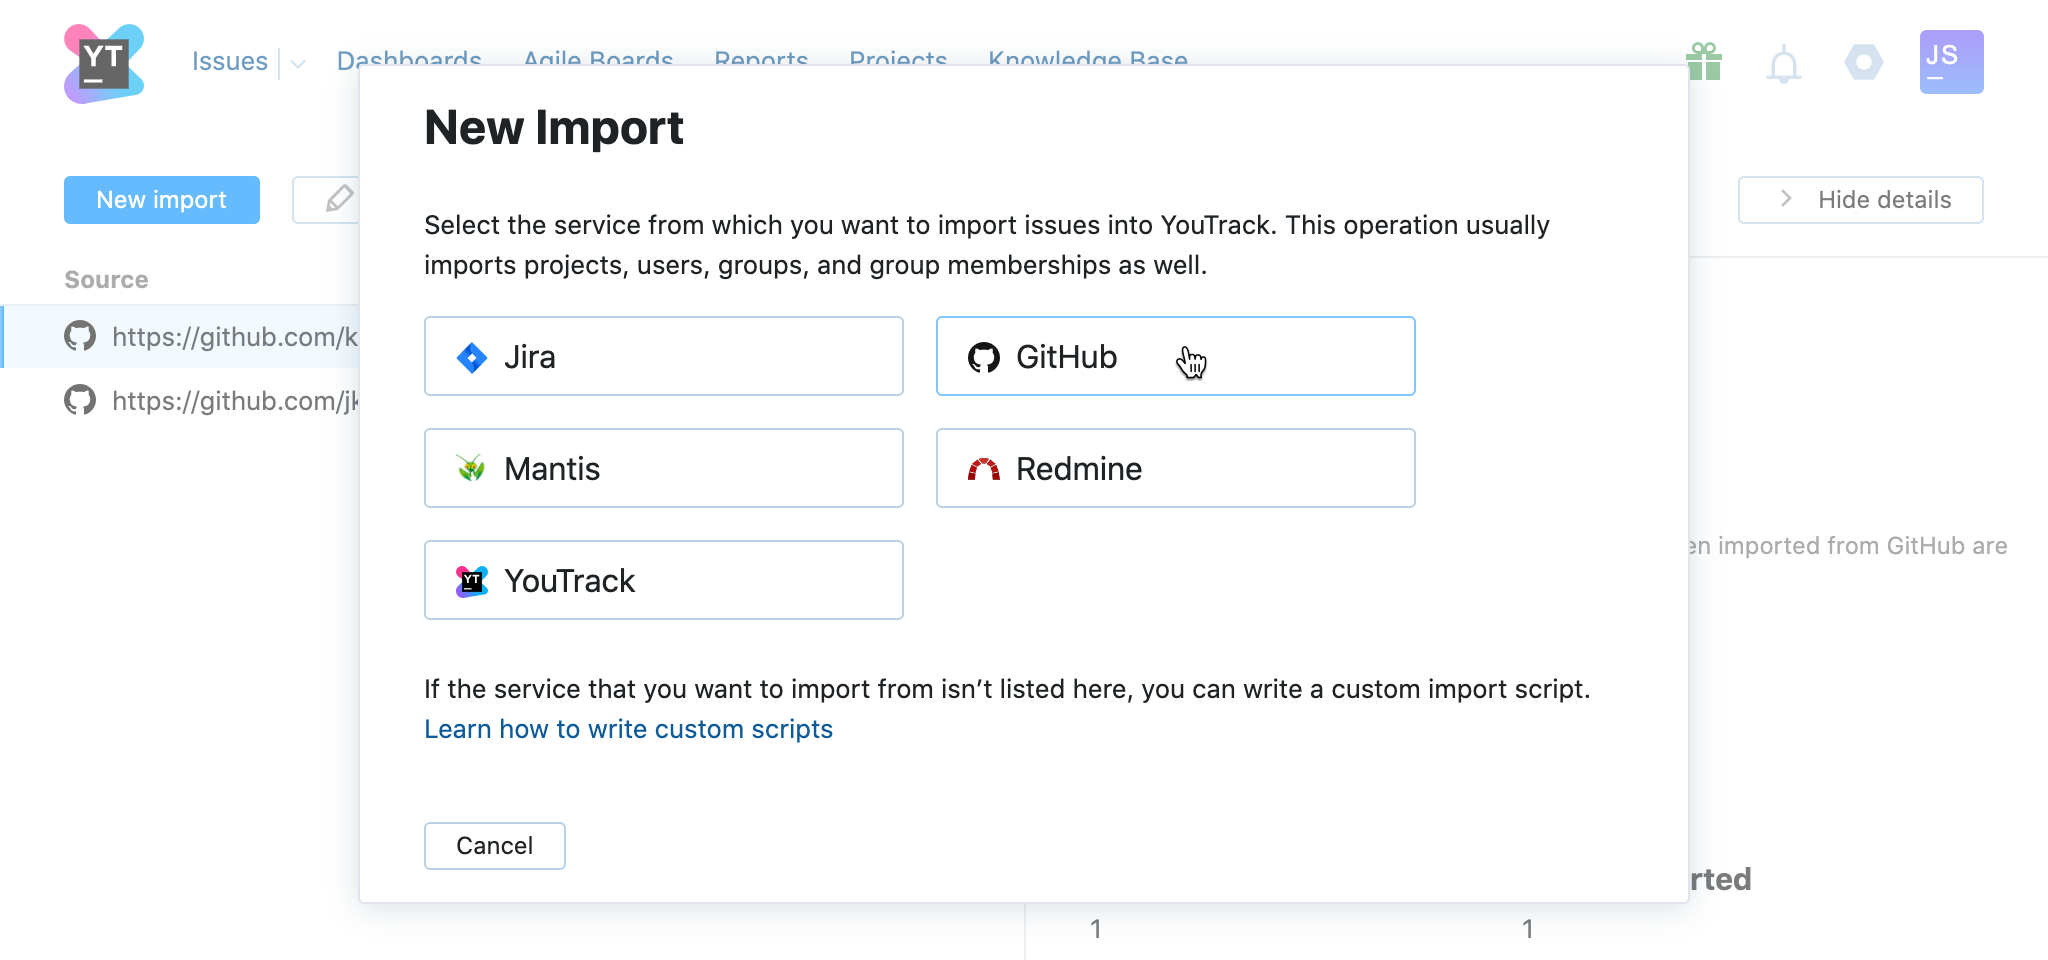
Select GitHub.
-
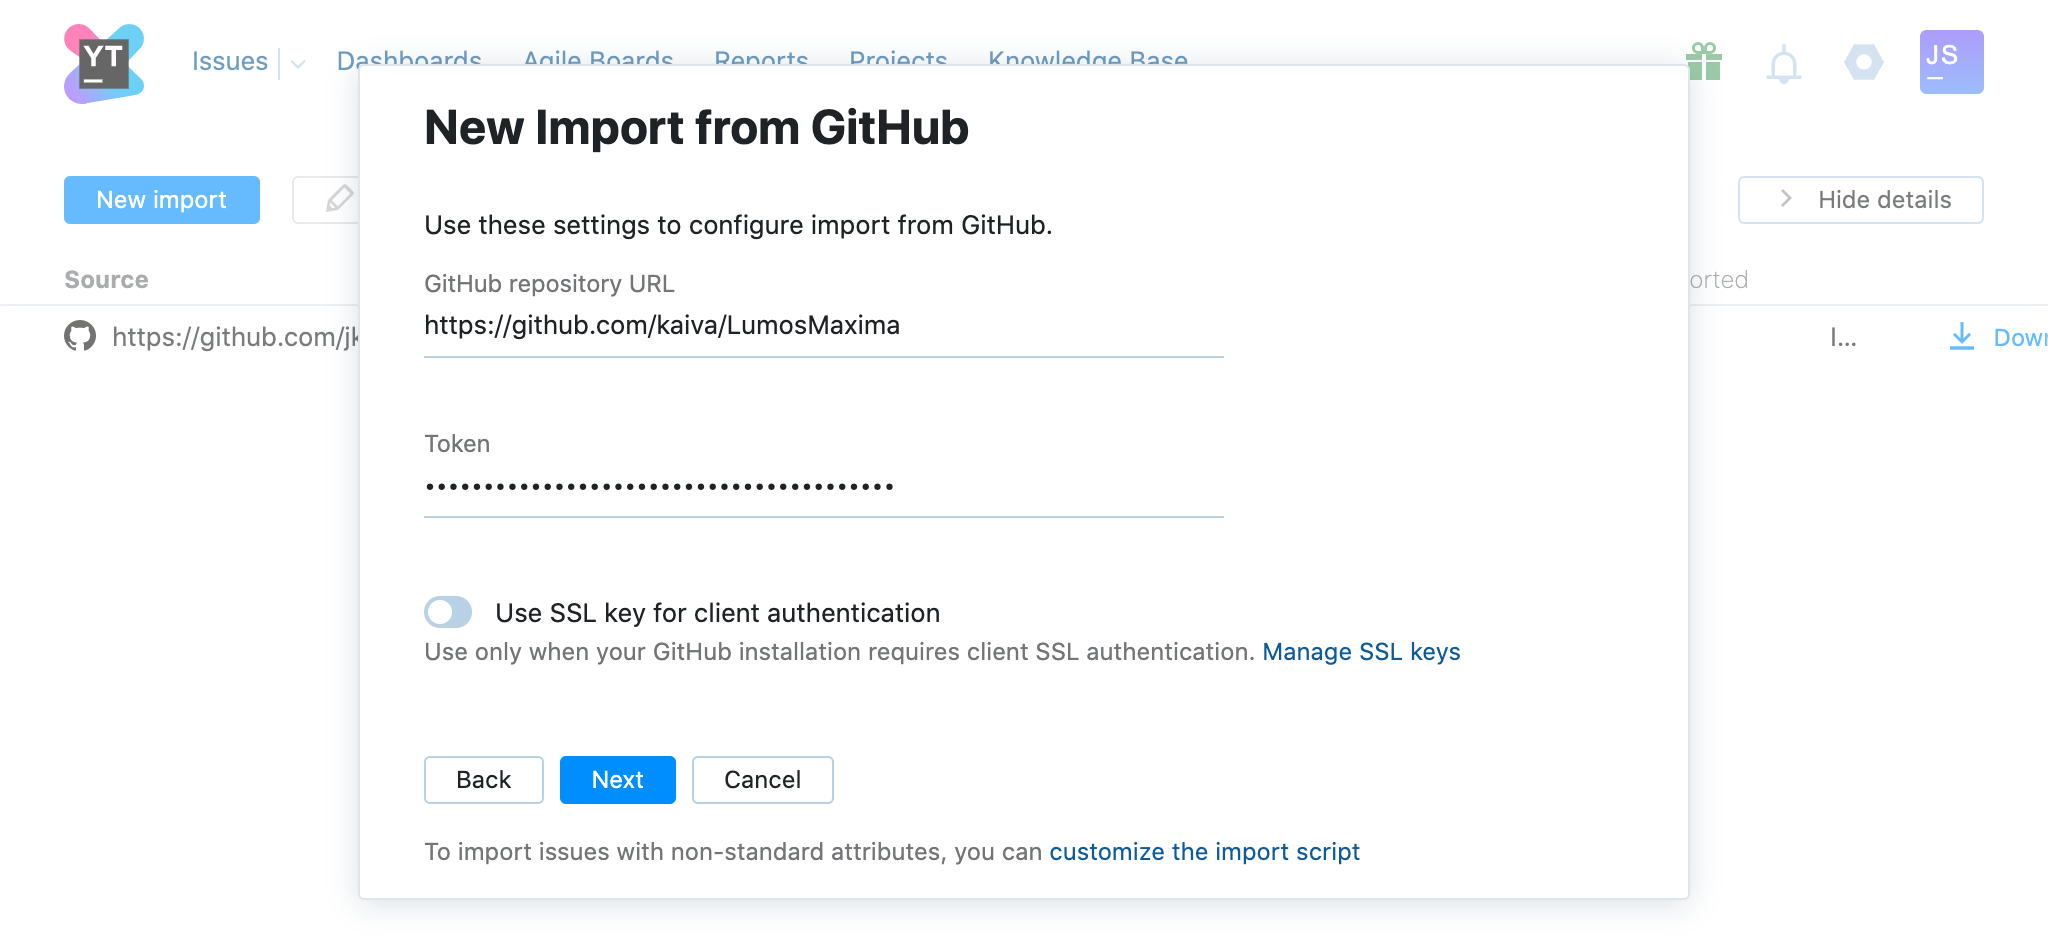
Configure the import settings:
Setting
Description
GitHub repository URL
The URL of the target repository. Please note that it is not the clone URL, that is: there should not be
.gitsuffix.Token
The personal access token that you have generated on the GitHub for the user account that you use to access the target issues.
If required by your GitHub installation, enable the Use SSL key for client authentication option.
When done, click Next.
-
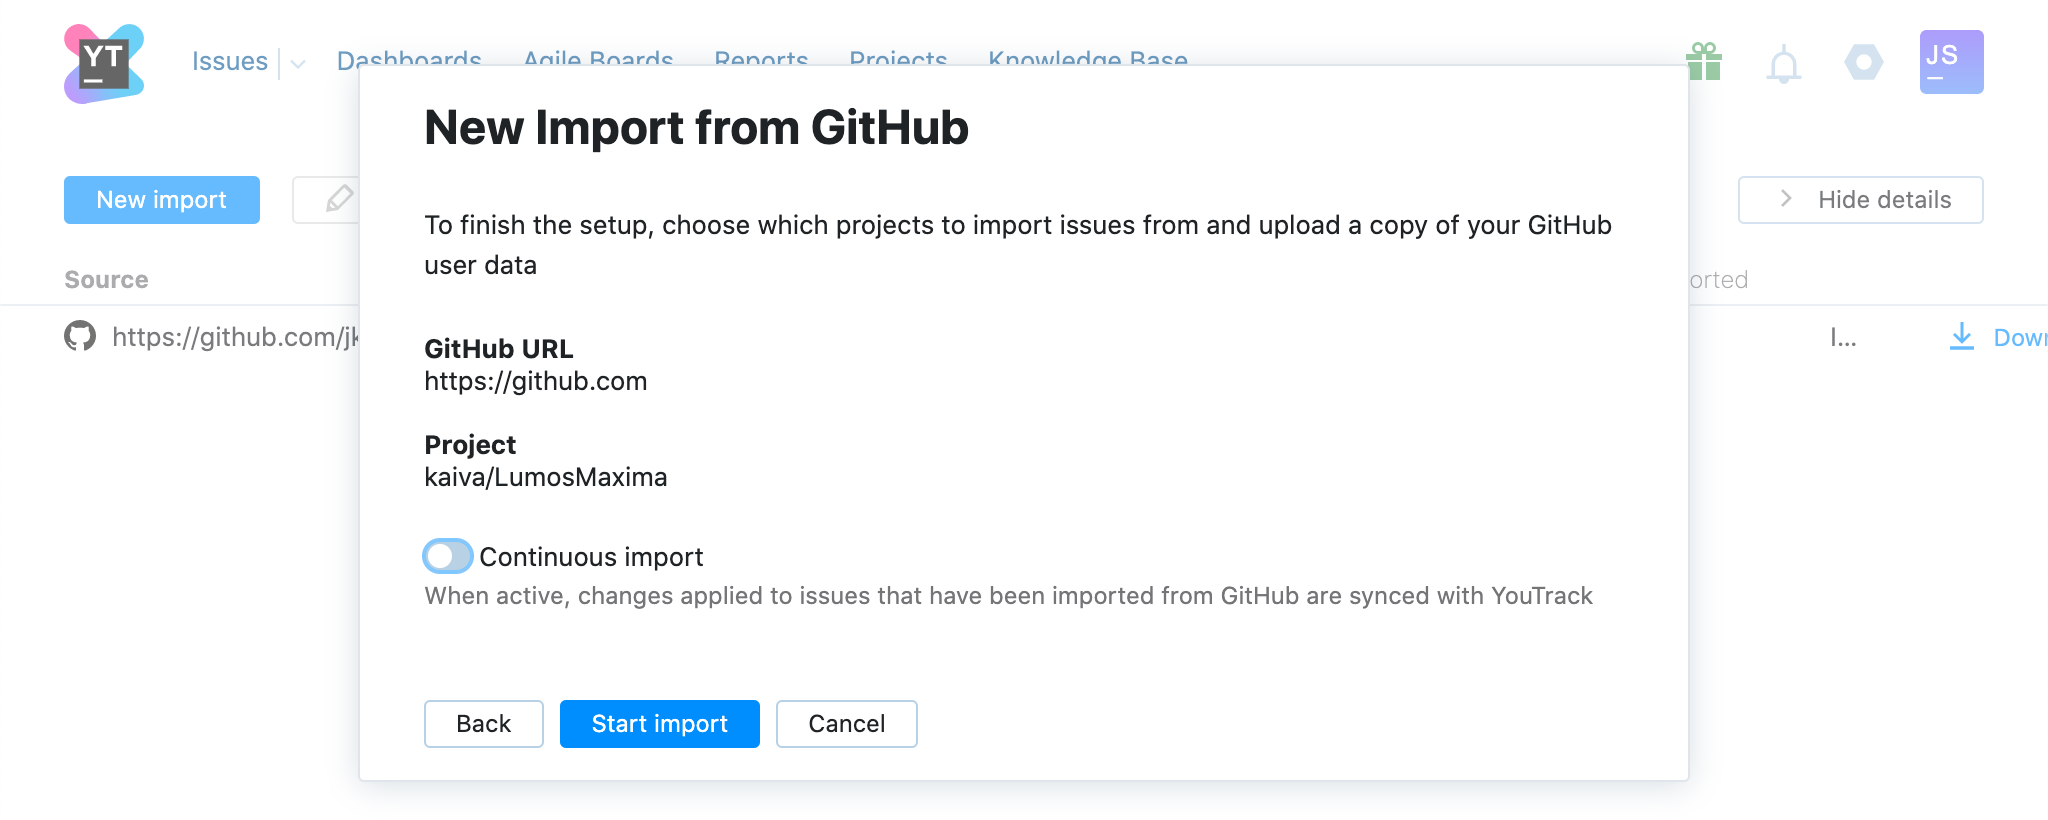
Review the settings that you have provided.
Optionally, enable the Continuous import. When enabled, YouTrack will periodically poll the GitHub project and import updated and new issues that were made since the last sync.
-
When done, click Start import.
YouTrack will create a project of the same name as the target project in GitHub, and import found issues, articles, and users.
If the Continuous import option is enabled, YouTrack will periodically check target GitHub project for updated and new issues.
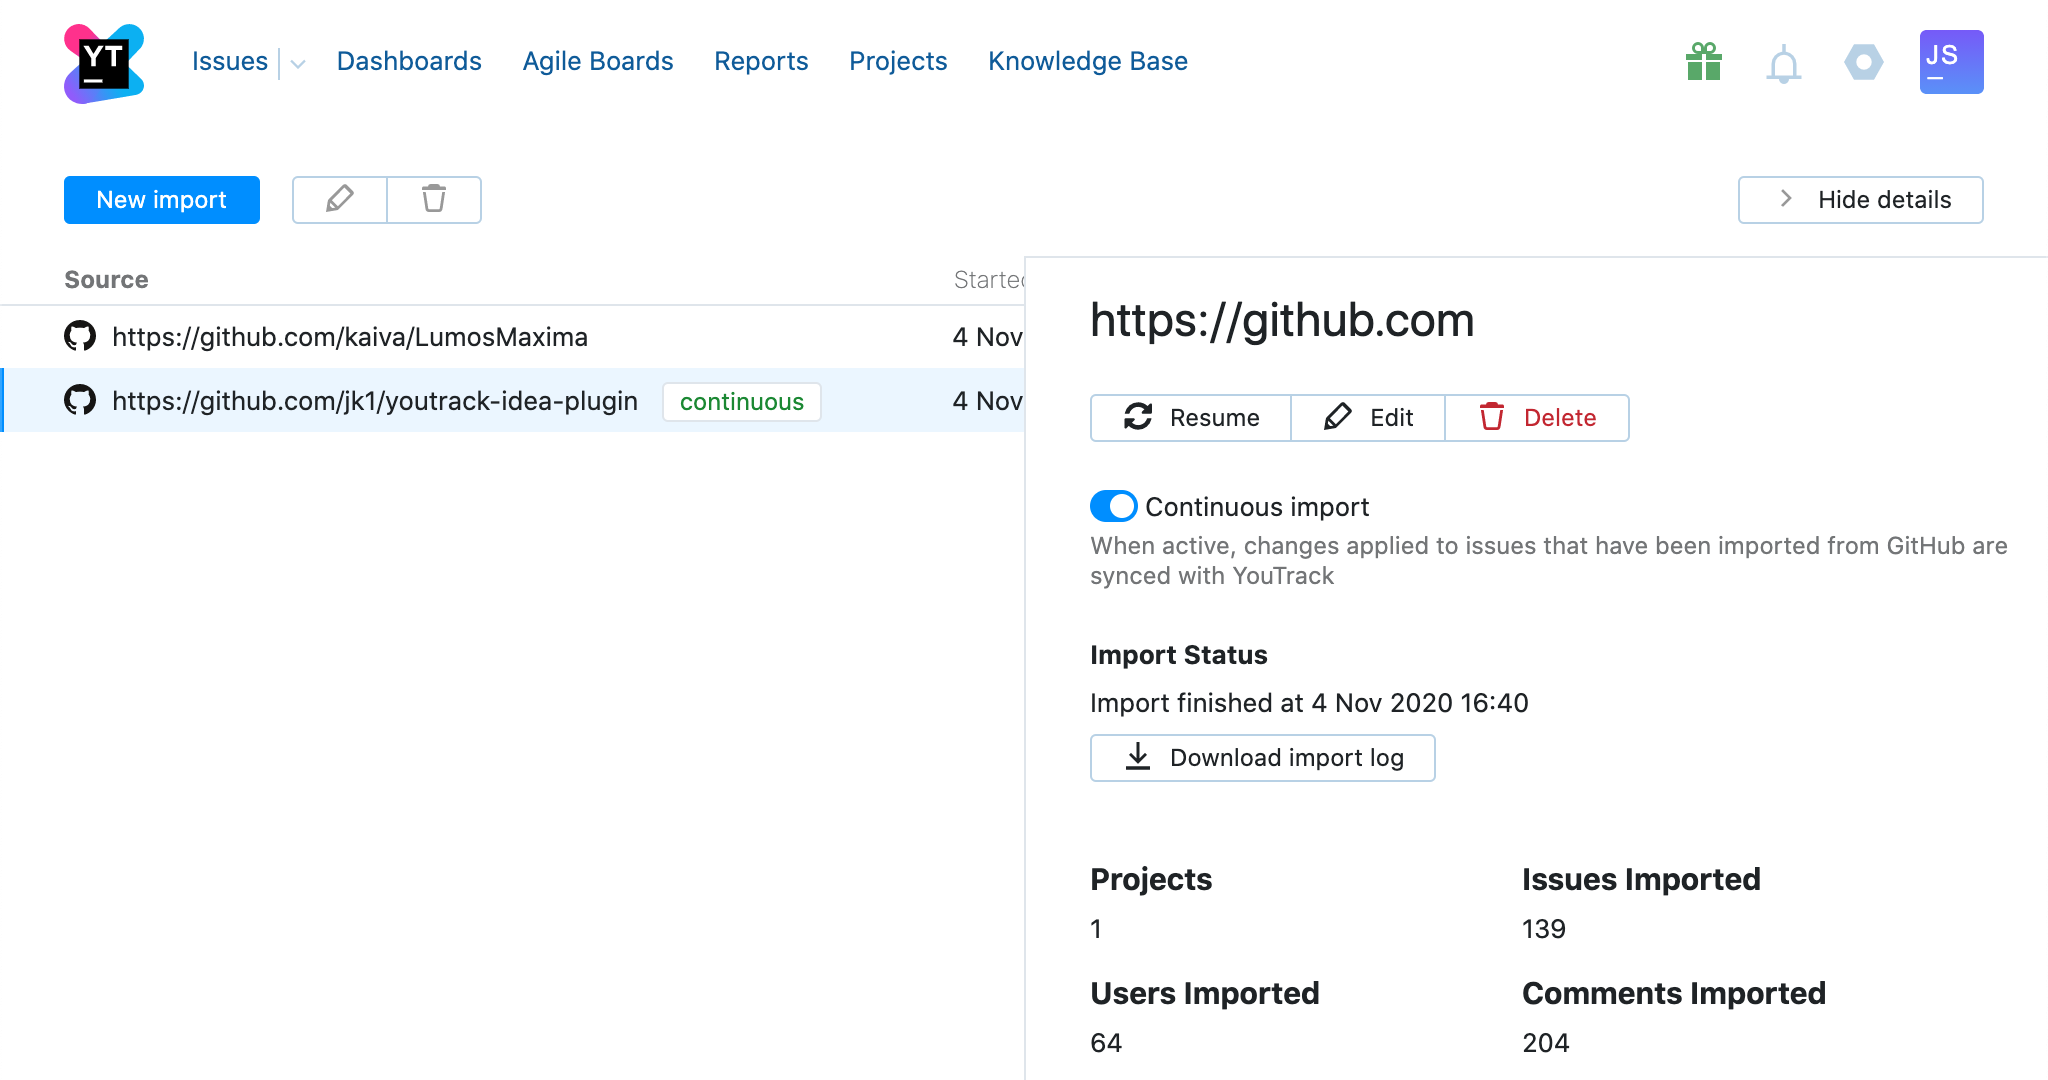
When you have set up an import project, it is shown in the imports list. To view configuration and import details, select an import configuration in the list.
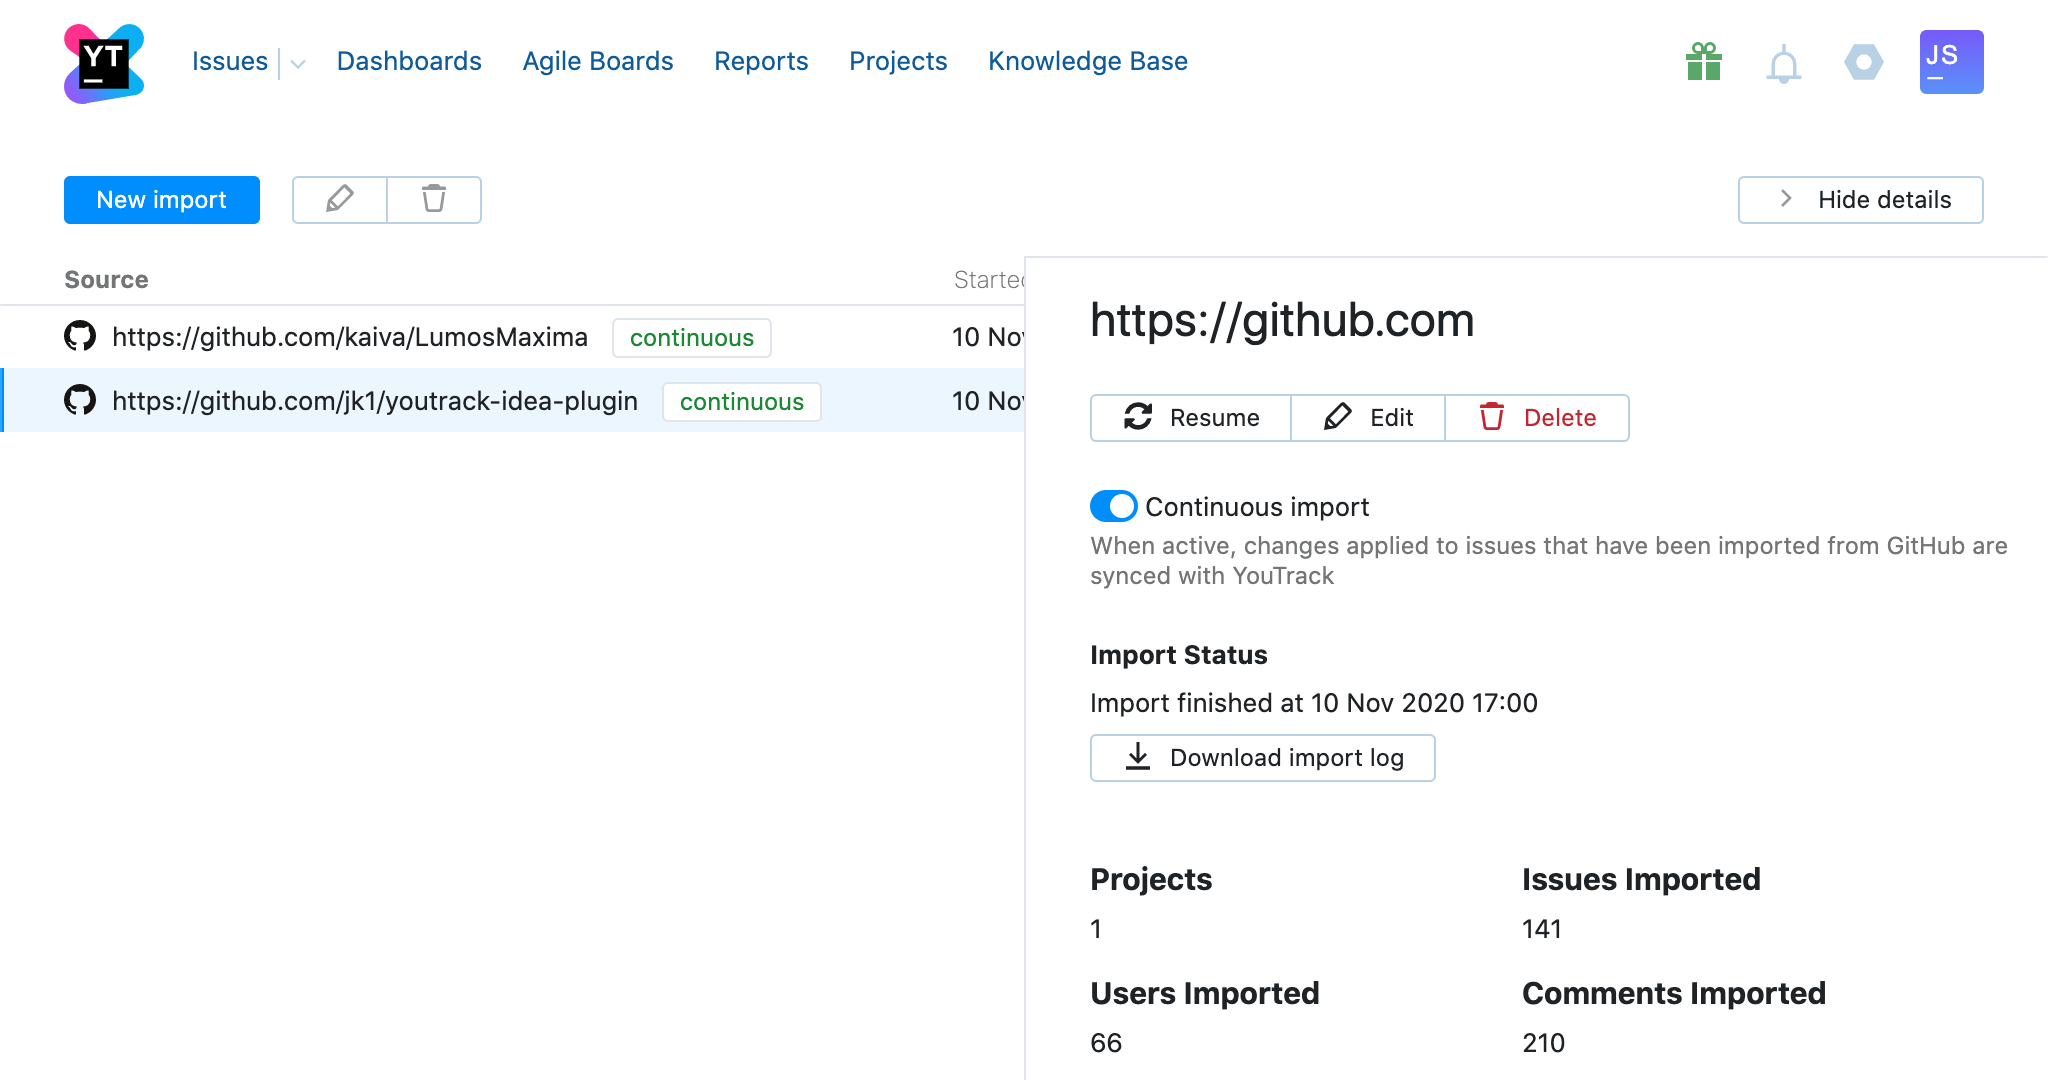
In the details sidebar, YouTrack shows import status and details on the data that was imported. Click the Resume button in the toolbar, to explicitly start polling for changes and importing updates from the target GitHub repository.
You can also download the import log file to study and investigate when needed.
Edit import settings
To edit an existing import configuration
Select Imports from the Integrations section of the Administration menu.
In the list of configured imports, select the one you need to edit.

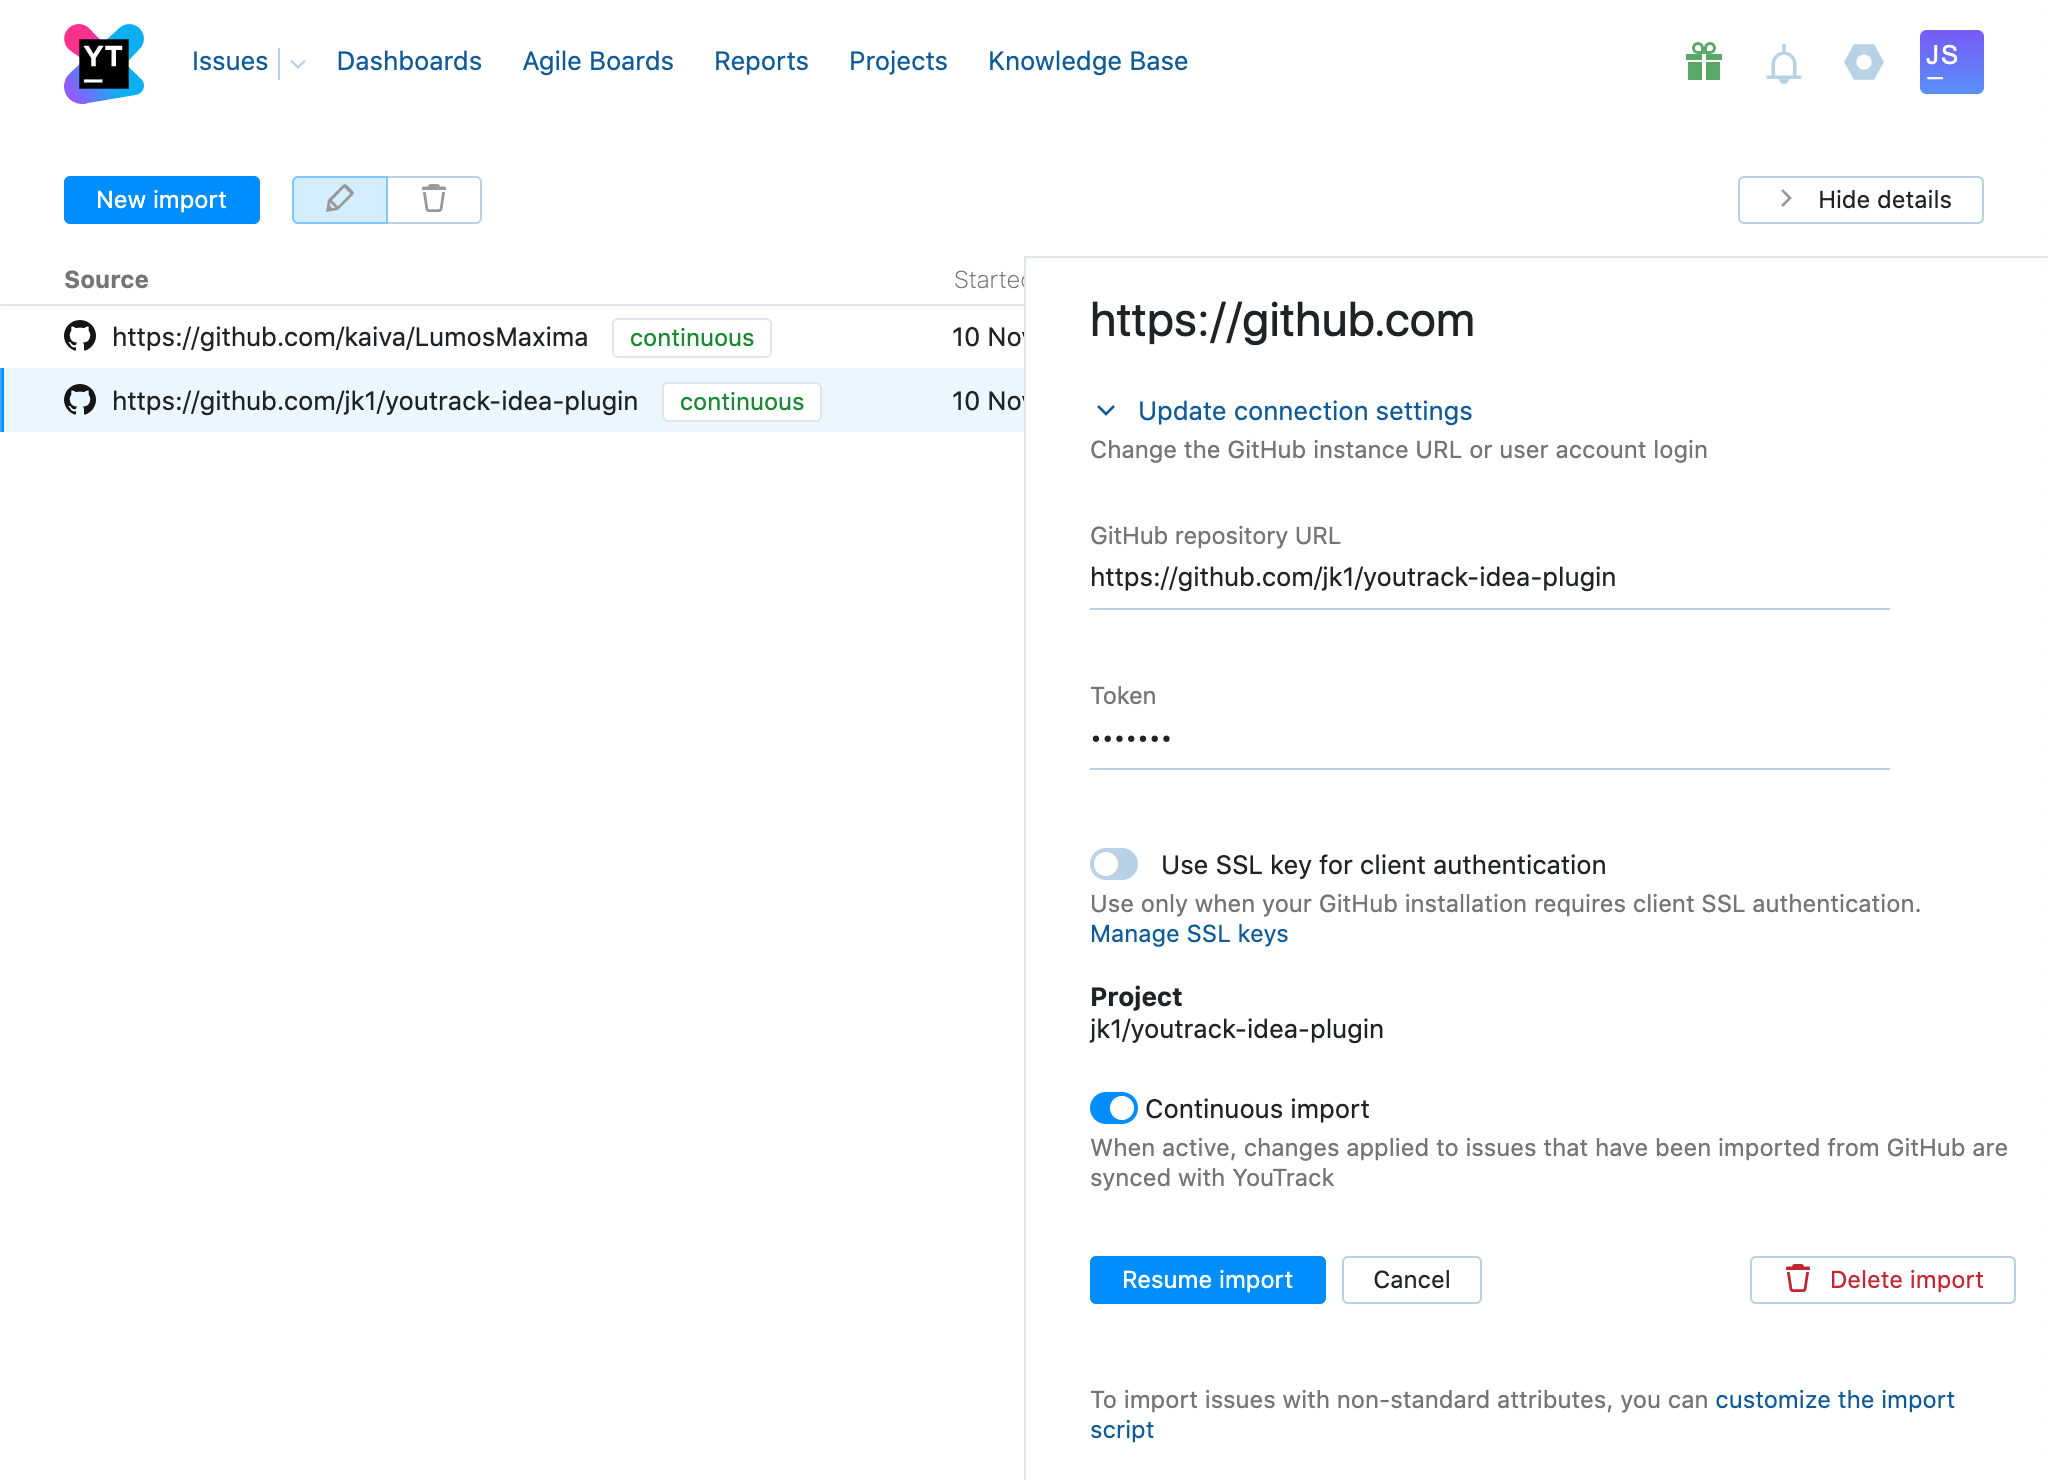
In the right sidebar, click the Edit in the toolbar.
While in the edit mode, change the import settings, including the connection settings.
-
When ready, click Resume import.
Your changes will be applied, and YouTrack will poll the target GitHub project for the updates.
Delete import configuration
To delete an existing import configuration
Select Imports from the Integrations section of the Administration menu.
In the list of configured imports, select the one you need to delete.

Click the trash icon in the main toolbar of the page, or the Delete button in the right details sidebar.
-
In the shown dialog, confirm the operation by clicking Delete.
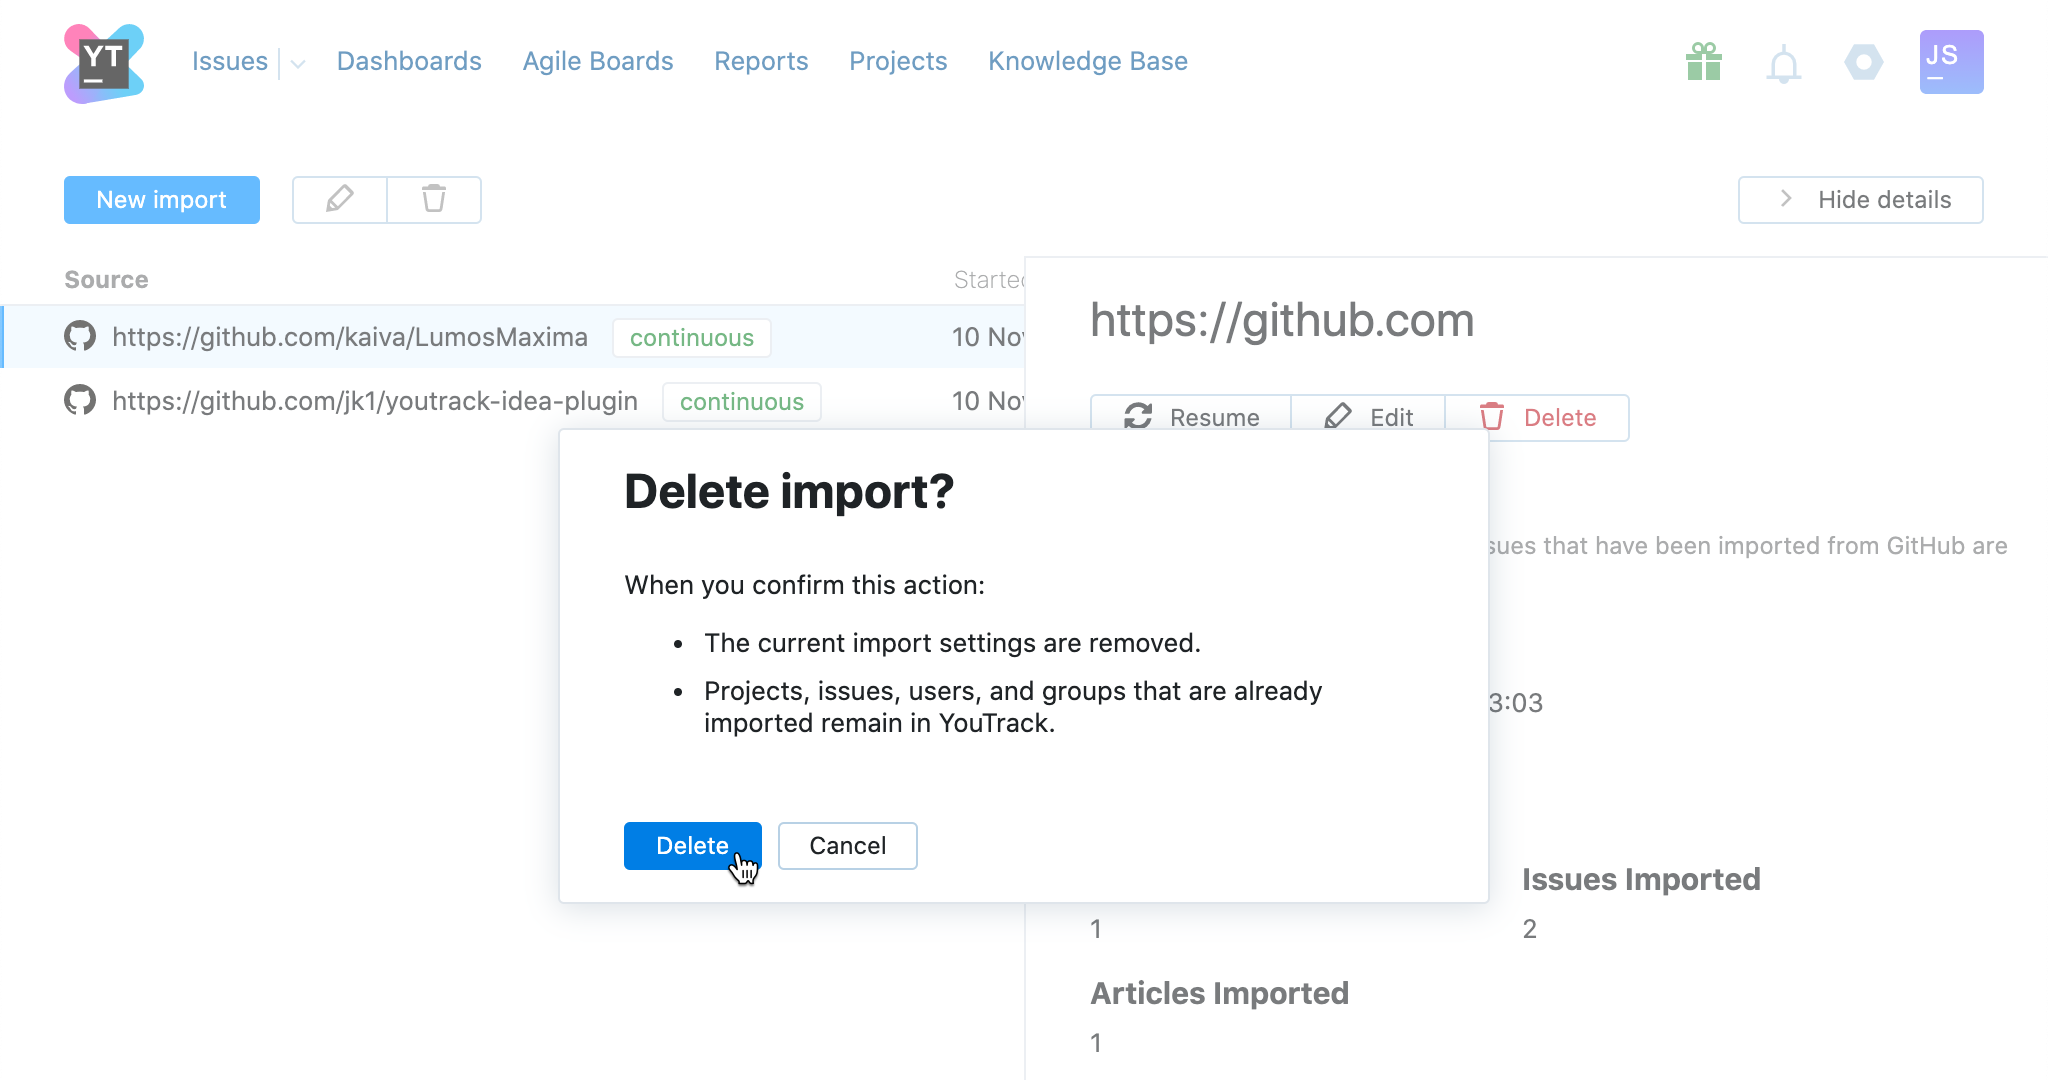
The current import settings are removed.
Projects, issues, users, and groups that are already imported remain in YouTrack.