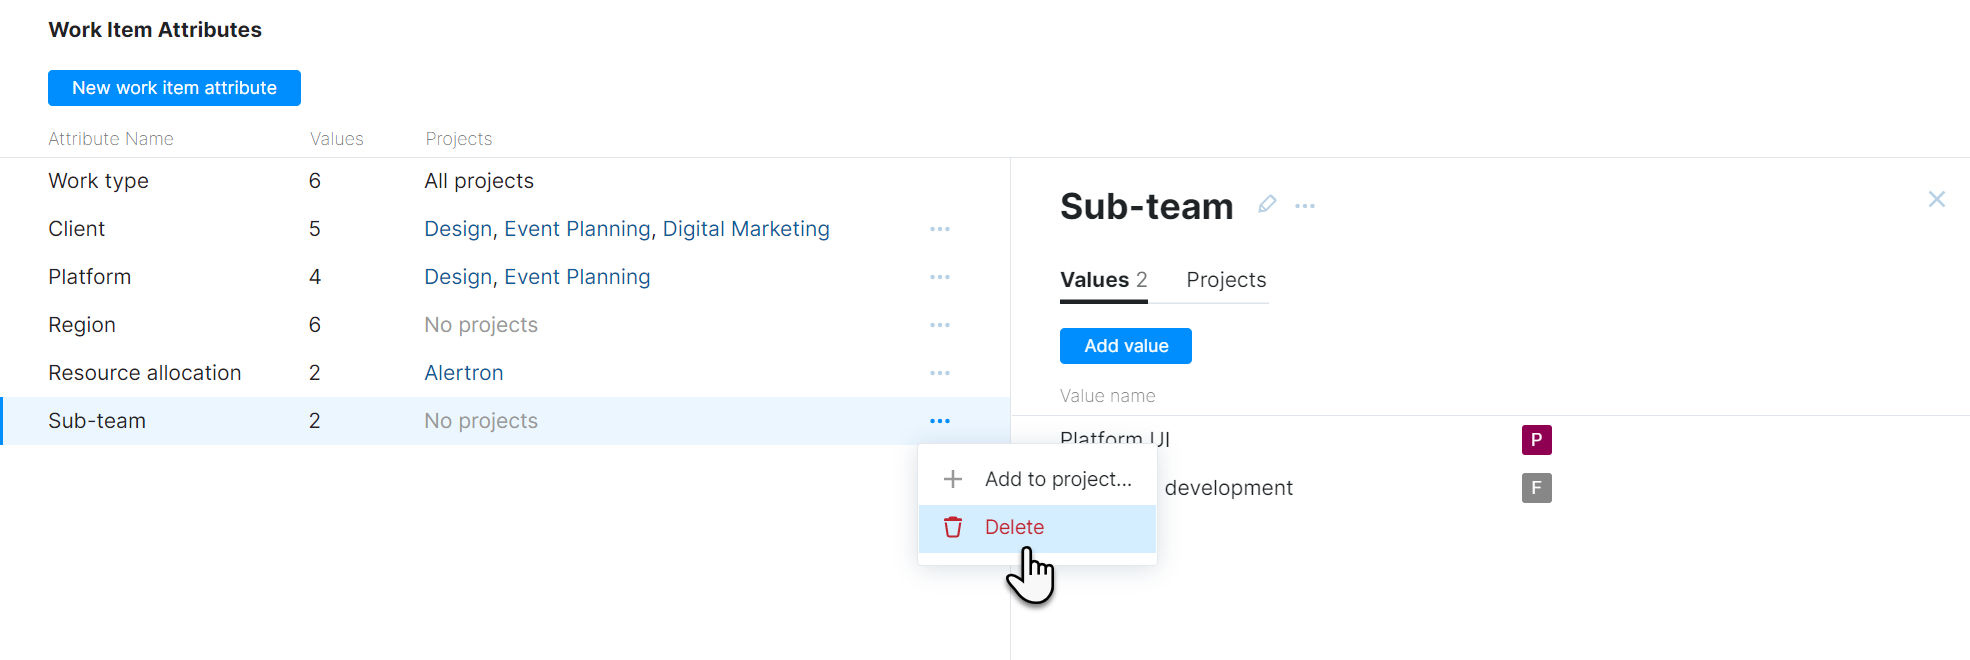
Work Item Attributes
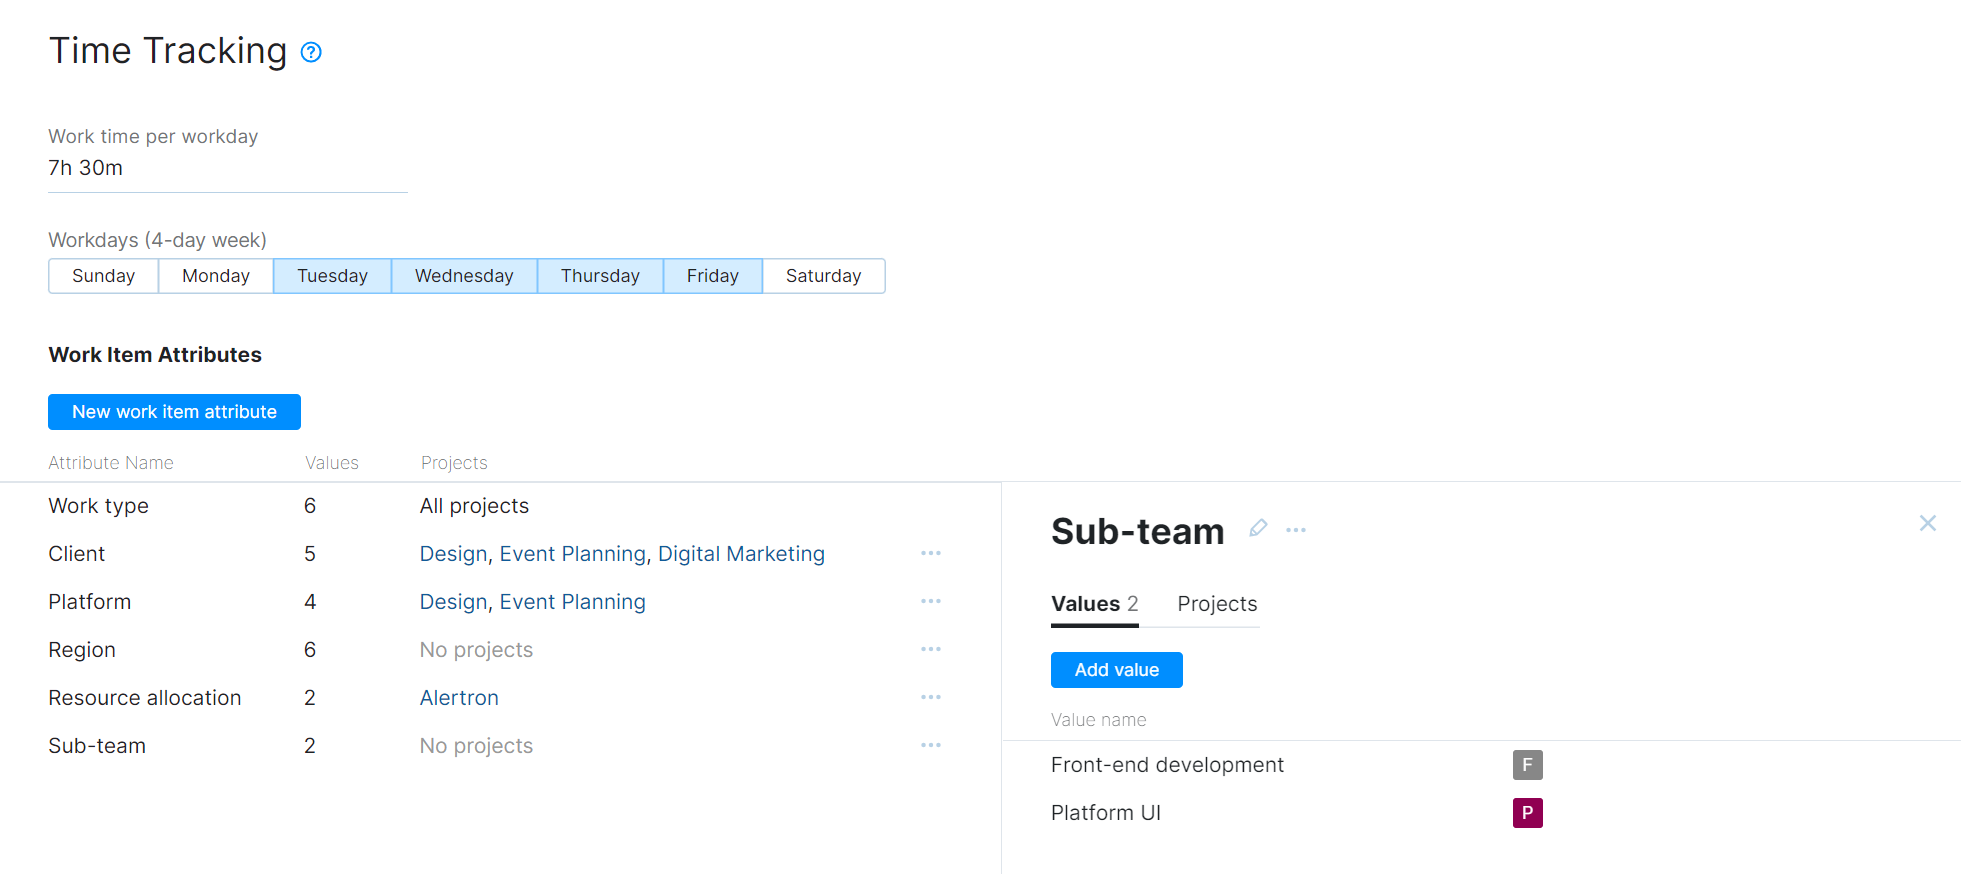
Users can categorize the type of work that they perform in an issue by setting the value for various attributes in each work item. On the Time Tracking page, you can add your own work item attributes to YouTrack. These attributes are available for use in all projects that have time tracking enabled.
Project administrators can choose which work item attributes they want to use in each project. They can also add their own work item attributes on the Time Tracking tab of the Edit Project page. Work item types that are added directly in the settings for a project are also shown in the list on the Time Tracking page. For details, see Customize Work Item Attributes.
The instructions on this page list the Low-level Admin Write permission as a requirement. That's because the page in the administration section of the application is only available to users who have the Low-level Admin Read permission and the corresponding write permission is required to apply the changes described here.
Add a New Work Item Attribute
The Work type attribute is provided by default and is automatically added to all projects where the time tracking feature is used. If you want to add more options for categorizing work, you can add your own work item attributes to the system.
To add a work item attribute:
From the Administration menu, select Time Tracking.
Click the New work item attribute button.
The dialog for adding a new attribute opens.
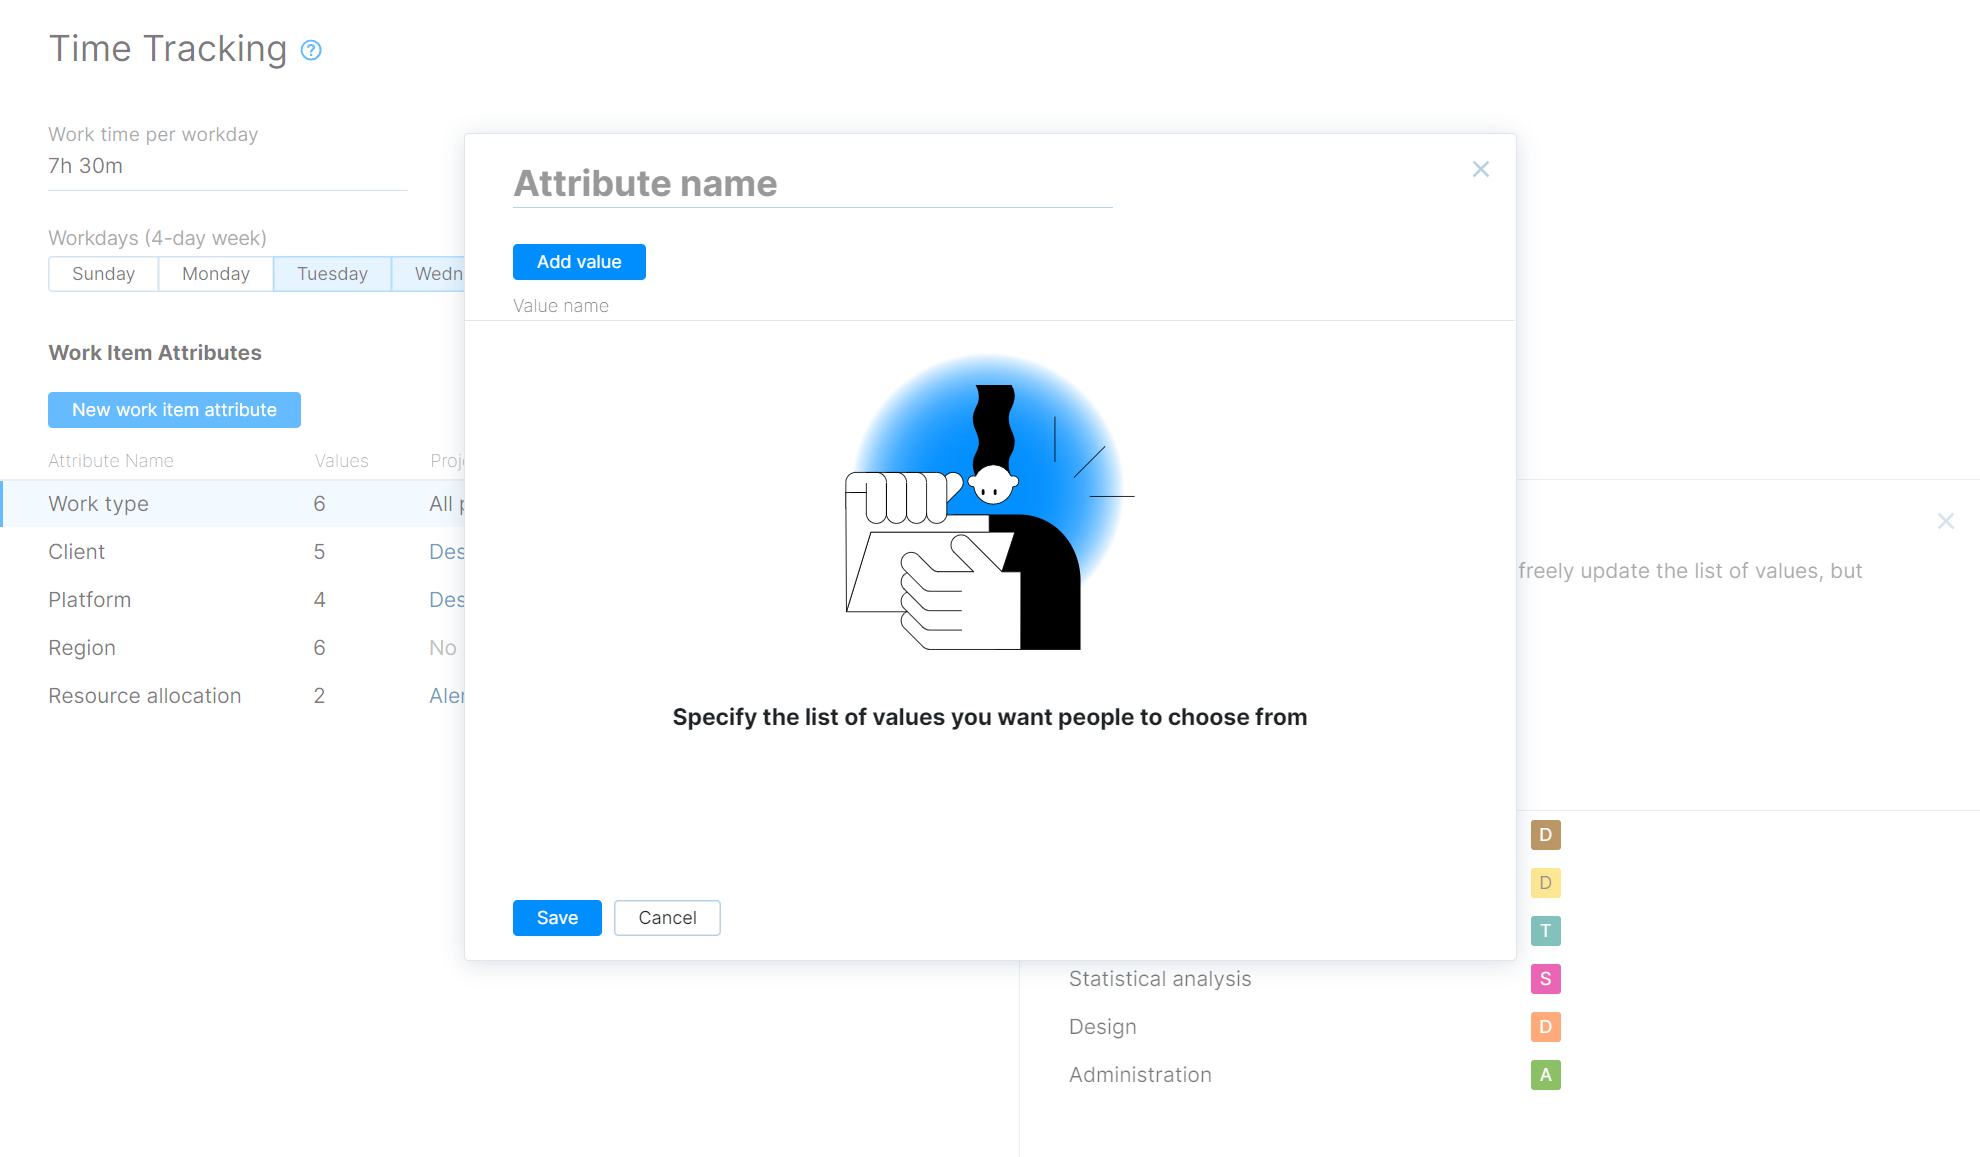
Enter a name for the work item attribute.
To specify the list of values that you want people to choose from, click the Add value button. This lets you give each value a name and assign it a color.
When done, click the Save button.
The work item attribute is added to YouTrack.
The work item attribute is available for use in all projects that have time tracking enabled. To learn how to add it to one or more projects, see Manage Projects for Work Item Attributes below.
Manage Projects for Work Item Attributes
For users to be able to set the values for an attribute when recording spent time, the attribute must first be added to the project where these users are tracking their time. Work item attributes can be added to any project in the system where the time tracking feature is enabled.
When you add a work item attribute to the system as an administrator, you can add it to one or more projects or let the project administrators choose to add the attribute to their own projects.
To manage the projects for a work item attribute:
From the Administration menu, select Time Tracking.
Select the work item attribute that you want to manage from the list.
Select the Projects tab in the sidebar.
Click the Manage projects button.
A dialog for managing project assignments opens.
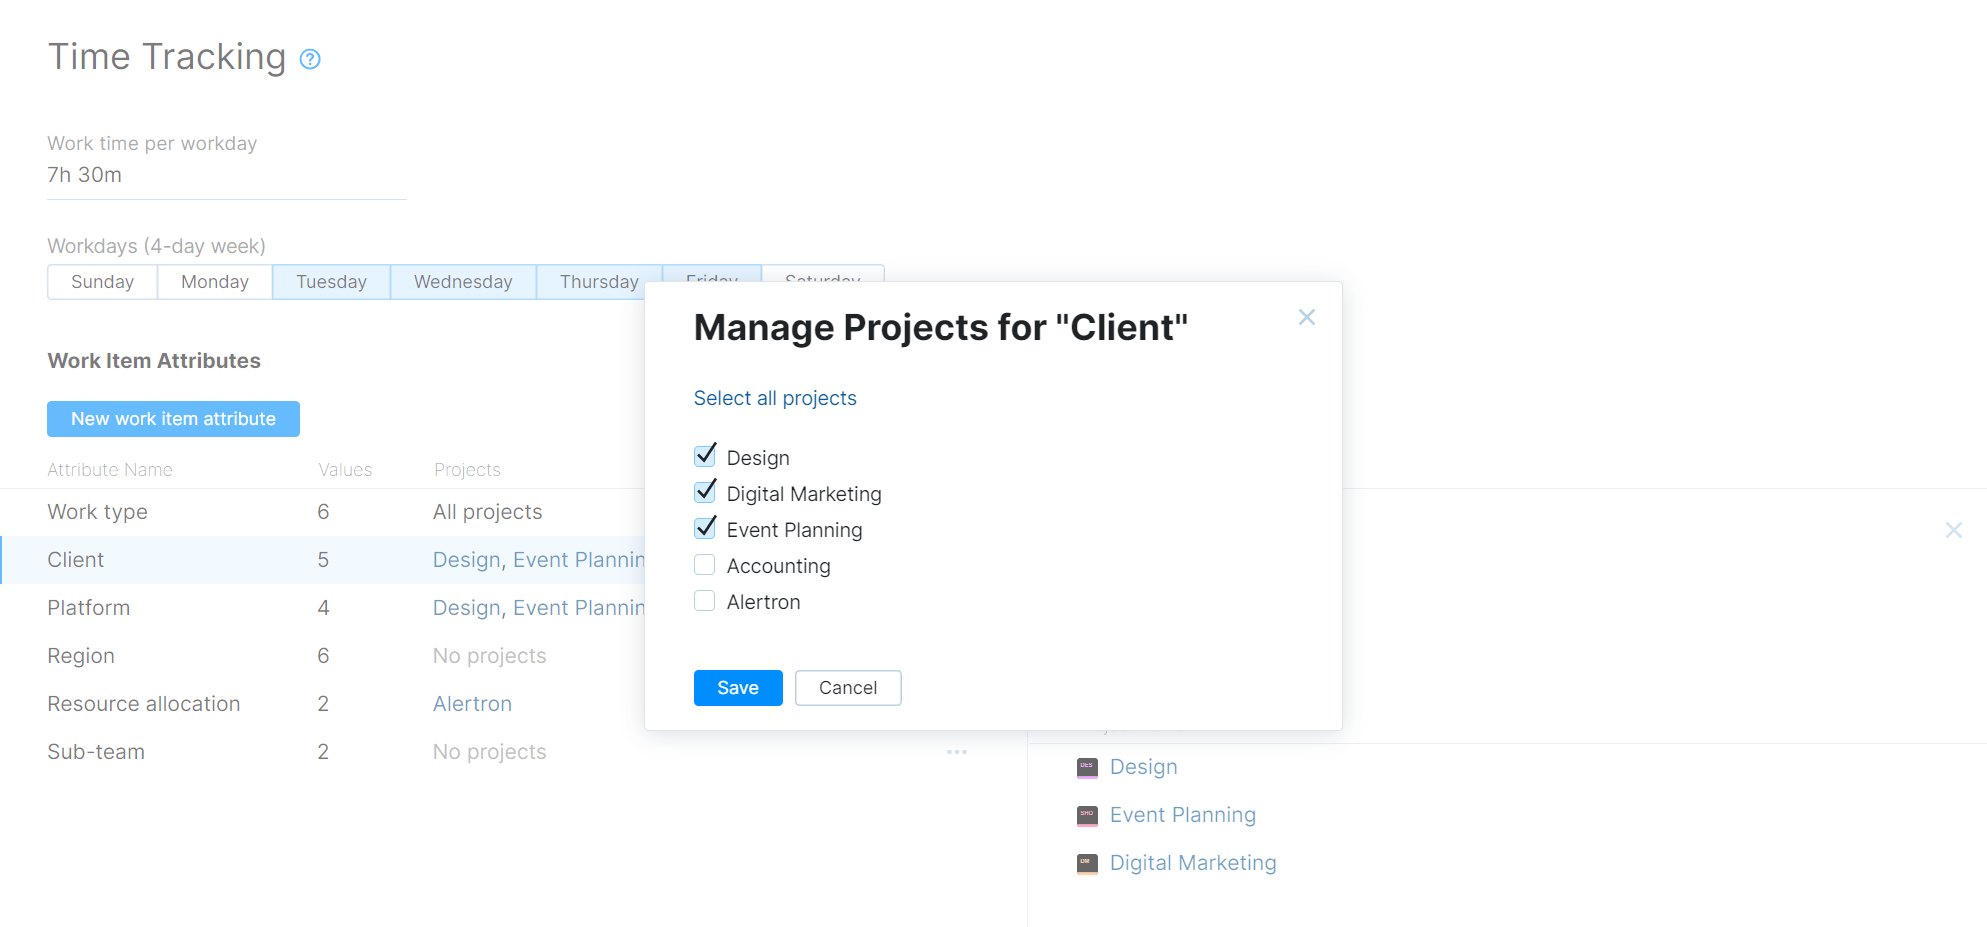
Use the checkboxes to select the projects where this attribute is available.
When done, click the Save button.
Update Work Item Attributes
If you want to update any of the work item attributes that are stored in the system, you can update them directly on the Time Tracking page.
When you update a work item attribute, these changes are applied in all of the projects where the attribute is currently in use.
To update a work item attribute:
From the Administration menu, select Time Tracking.
Select the work item attribute that you want to update.
Use one or more of the following actions to update the work item attribute:
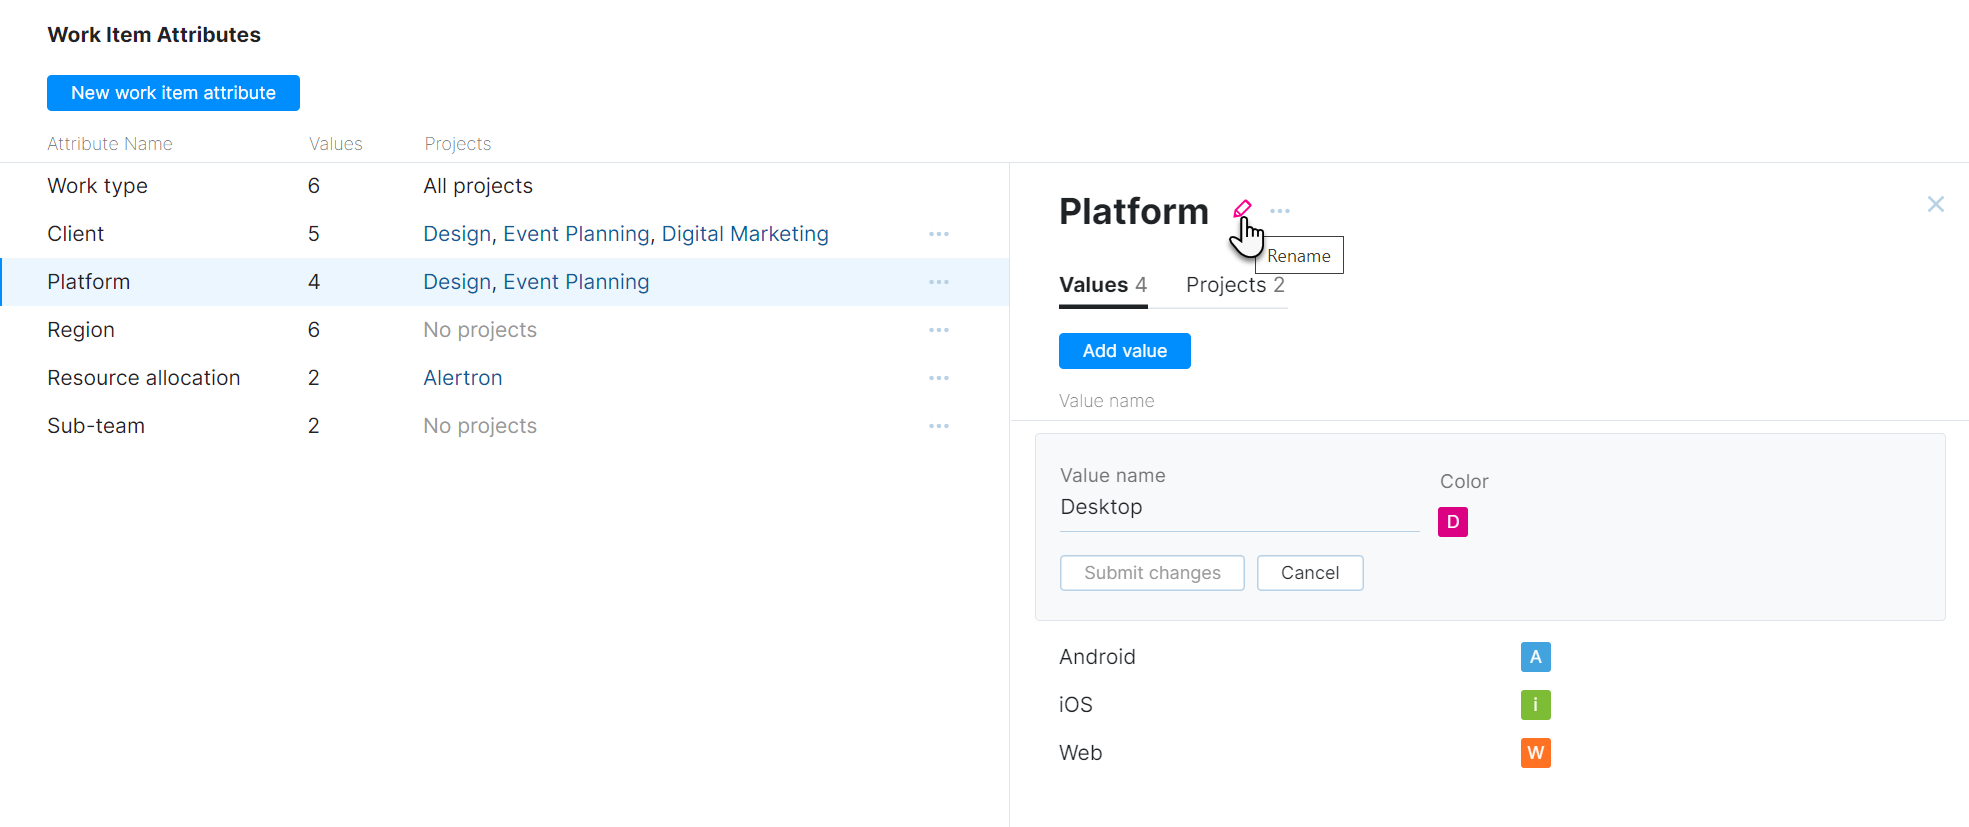
To edit the work item attribute name, you can either click the name and edit the text or click the Rename icon. To save your changes, click the Save button.
To add a value for the attribute, click the Add value button. Enter a name for the new value, then click the Add button.
To edit an existing value, click to open the Show more menu, then select Edit. Update the name or color, then click Submit changes to update the value.
To remove a value, click to open the Show more menu, then select Remove. Click the Delete button in the confirmation dialog to confirm this action.
Sort Values for Work Item Attributes
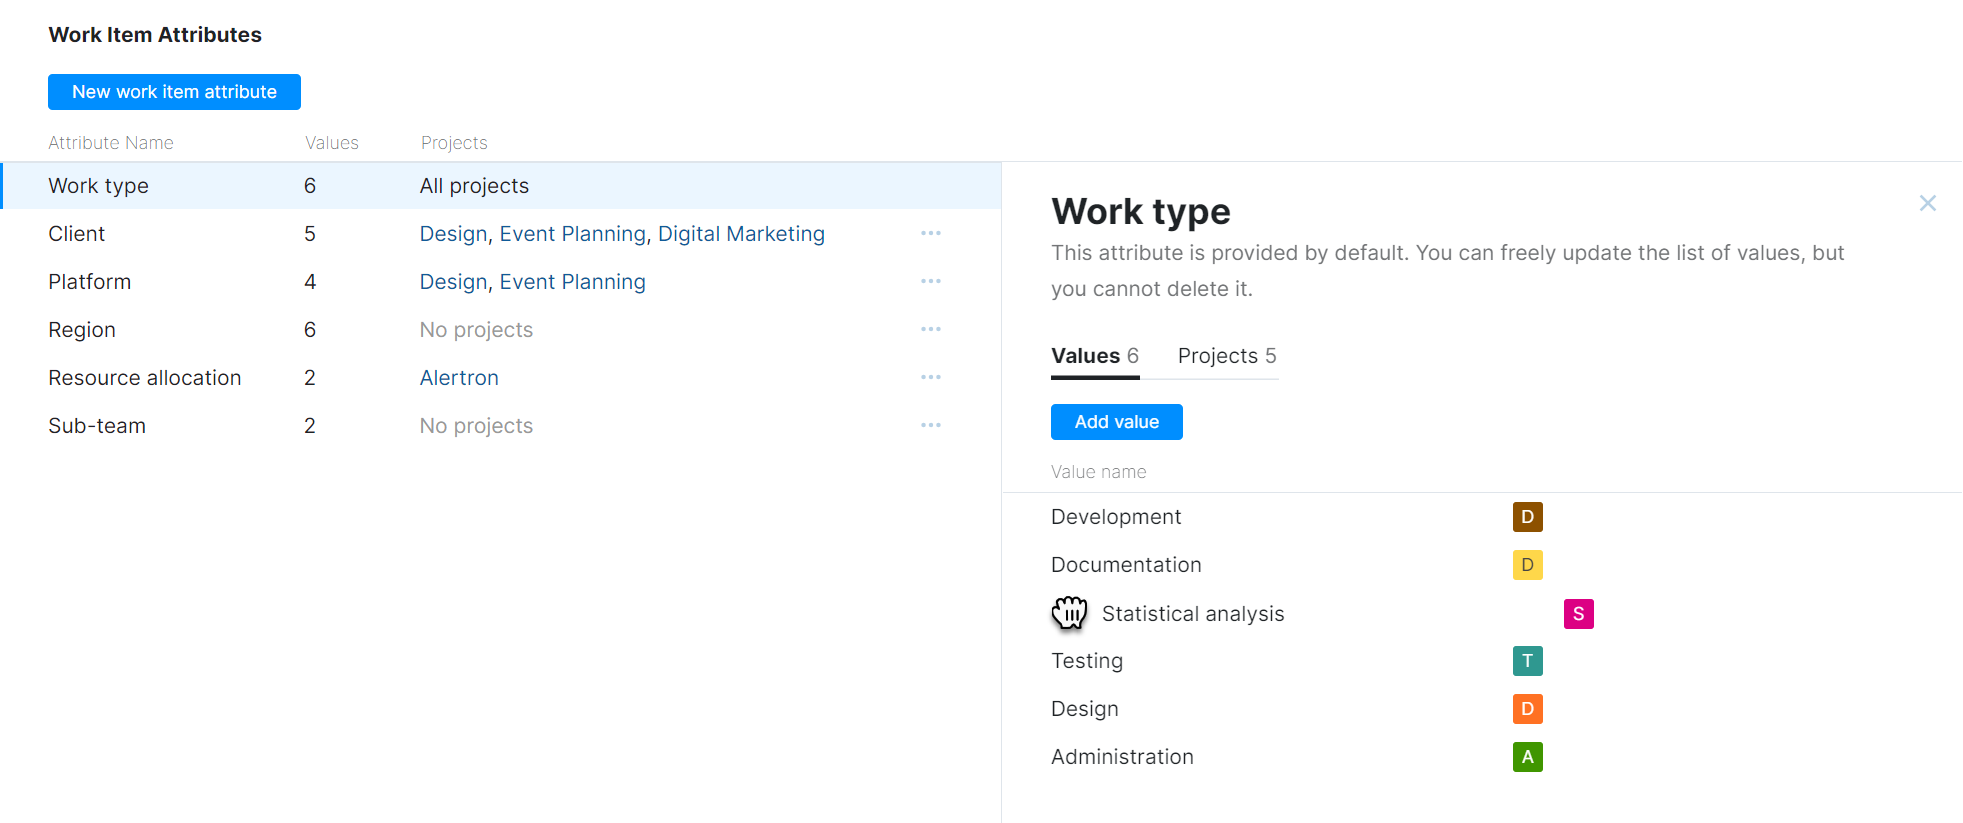
By default, the values for a work item attribute are sorted in the order that they were added to the system. To change this order, drag each value and drop it in its desired location.
Delete Work Item Attributes
If there is a work item attribute that you no longer want to use in any project, you can delete it from the system.
When you delete a work item attribute, the attribute and its values are permanently deleted from the work items where it is currently used in all projects. If you choose to add this attribute again at a later date, this data is not restored.
