Import from Redmine
The import from Redmine lets you migrate projects, issues, users, and other data from Redmine to YouTrack.
A setup wizard navigates you through the import configuration process. It prompts you to enter the connection settings and lets you map projects in YouTrack to projects in Redmine. If your Redmine has a custom set of fields for issues, you can edit the import script in YouTrack directly.
Prerequisites
Before you import projects from Redmine to YouTrack, check the following requirements:
Your Redmine version is 2.4 or later.
Your Redmine installation allows remote API calls. To ensure that, open Administration > Settings > API tab in your Redmine, check the Enable REST web service option, and click Save.
If your Redmine version is older than 4.10, the option to enable REST API support is located on the Settings > Authentication tab.
Your YouTrack and Redmine installations are accessible to inbound connections. Specifically, you need to make sure that your network doesn't block connections between your Redmine installation and YouTrack.
Your user account in Redmine has administrative permissions.
Import Details
If the Redmine database contains references to entities that do not exist in YouTrack yet, they are created. The YouTrack user account that you use to run the import should have enough permissions to create all imported entities. We recommend using an account with a System Admin role or the Low-level Admin Write permission to run the import.
Imported Entities
Here is the list of entities that are imported from Redmine and their mapping to YouTrack entities:
Entity in Redmine | Entity in YouTrack |
|---|---|
Projects | Projects |
Users | Users |
Groups | Groups |
Project members | Project team members |
Issues | Issues |
Watchers | Watchers |
Notes | Comments |
Files | Attachments |
Project wiki page | Knowledge base article |
Spent time | Work items. Currently, YouTrack does not import activity categories. |
Custom fields, issue statuses, enumerations, issue categories, versions. | Custom fields |
Custom field values | Custom field values |
Set up an Import from Redmine
Before you add a new import configuration, you need to create an API access key that will grant access to your Redmine instance. Then you can use the access key for authorization when setting up the import in YouTrack.
The setup wizard guides you through the setup process.
To configure an import from Redmine:
From the Administration menu, select .
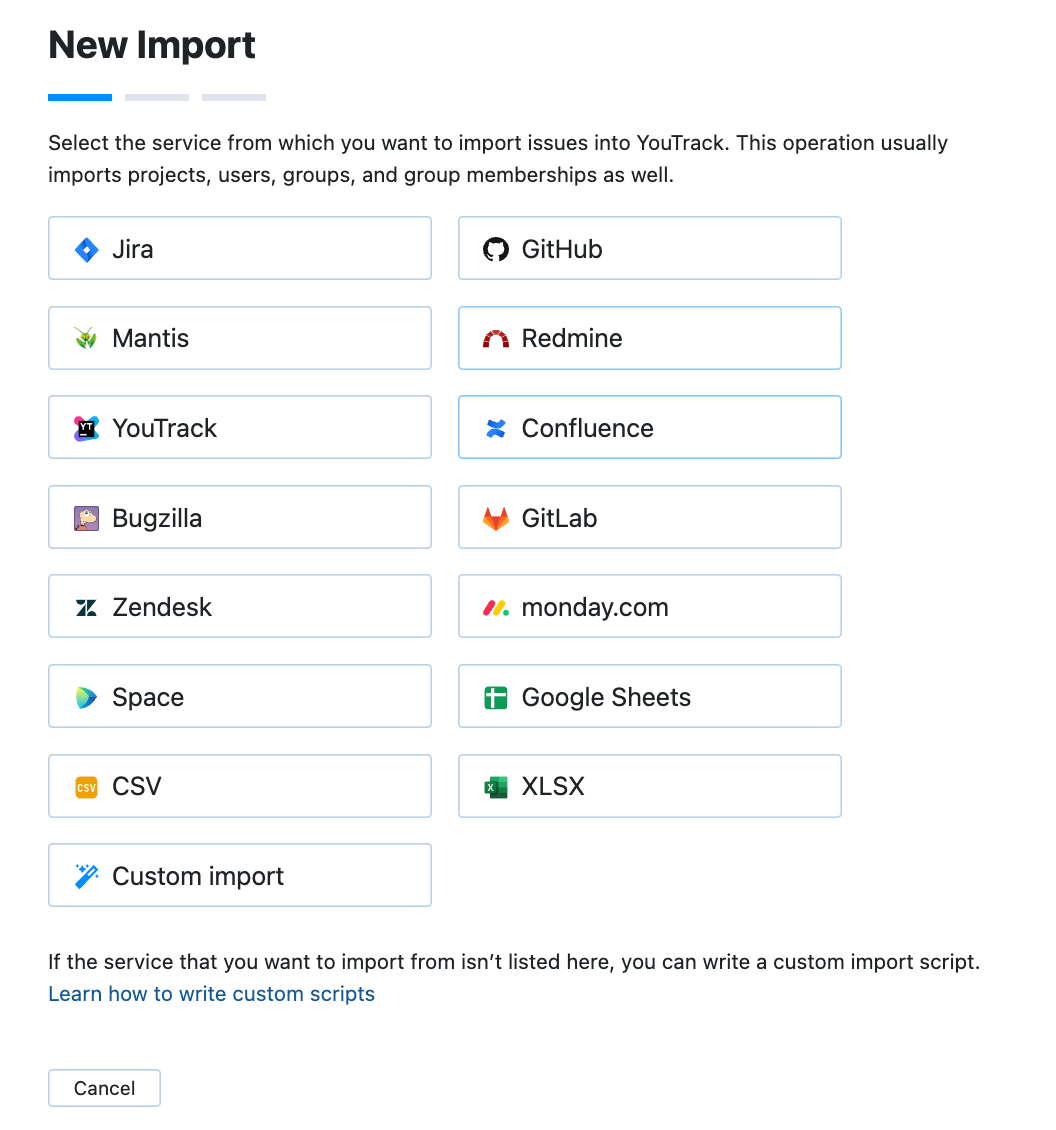
Click the New import button to open the setup dialog.

Select Redmine.
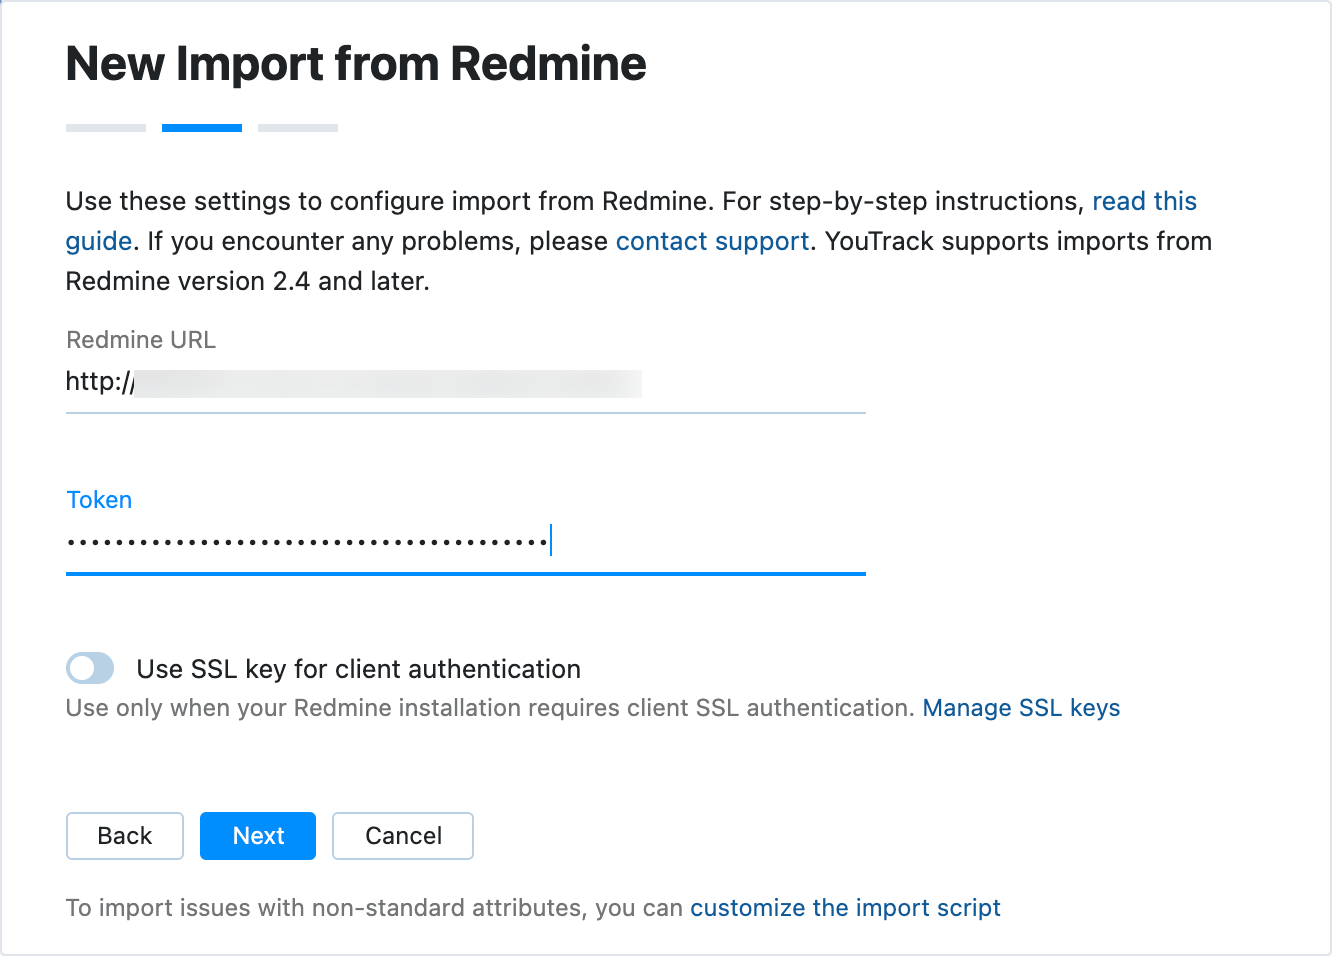
Settings for a New Import from Redmine are displayed.

Enter values for the following settings:
Setting
Description
URL
The URL of the Redmine instance.
Token
The API access key from the admin account in Redmine.
If required by your Redmine installation, enable the Use SSL key for client authentication option.
Click the Next button.
The second set of import settings is displayed.
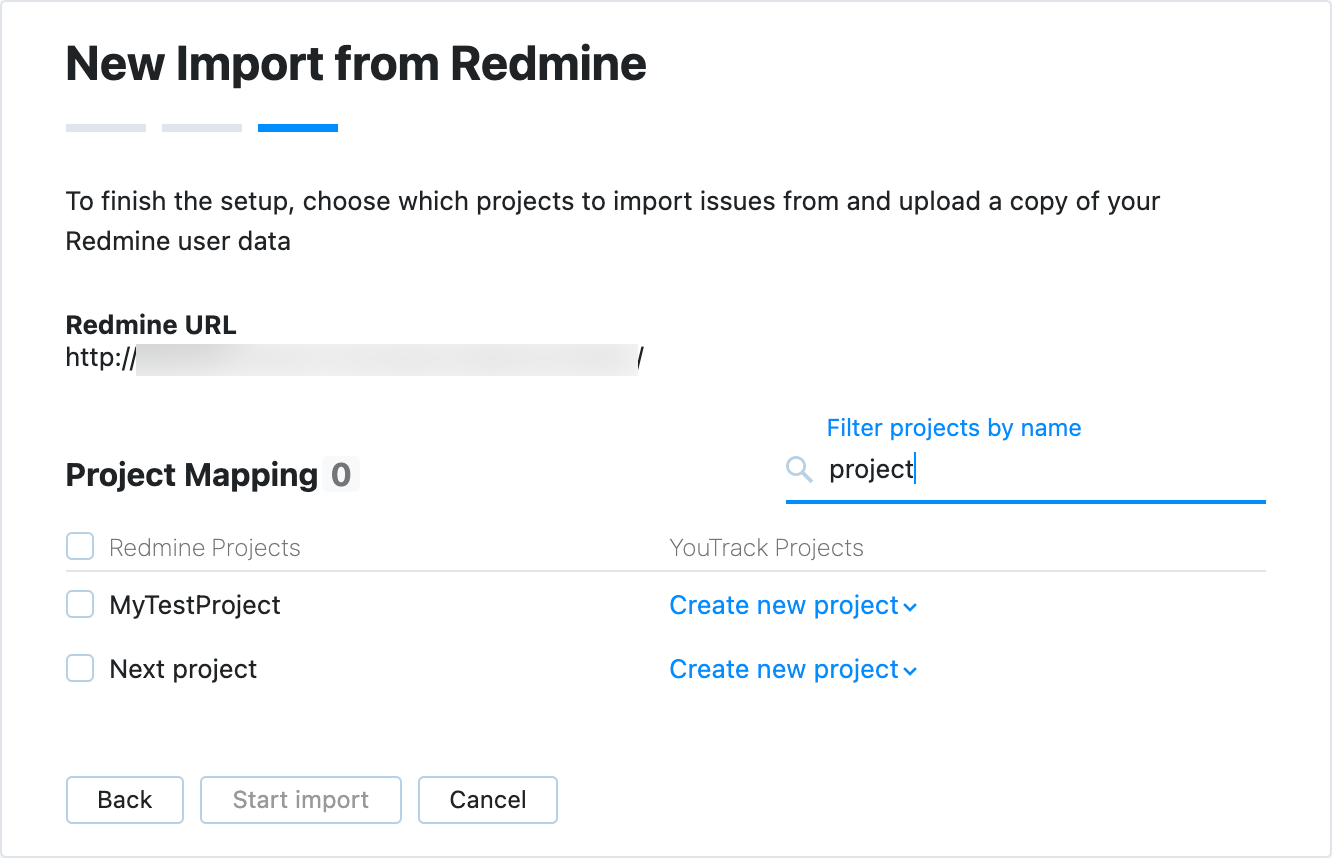
Select the source and the target YouTrack projects for the import. For more details about project mapping configuration, see Project Mapping.

Click the Start import button.
YouTrack creates new projects and imports data to the existing ones according to the configured project mapping.
YouTrack imports issues, comments, and users from the selected Redmine projects to the target YouTrack projects.
When you have set up an import, it appears in the imports list. To view configuration and import details, select the import configuration from the list.

In the details sidebar, YouTrack shows import status, the date and time of the last import, and details on the data that was imported. If there are any problems encountered during import, the error messages are displayed here.
Click the Resume button in the toolbar to explicitly start polling for changes and importing updates from the source Redmine project.
You can also download the import log file to study and investigate when needed.
Project Mapping
On the final step of the import setup, you can select those Redmine projects that you want to import to YouTrack. You can also choose whether to create a new project for the import or import data into an existing project in YouTrack.

To configure project mapping:
Locate those Redmine projects that you want to import.
Use the filter bar on the right to filter projects by name.
Select the projects that you want to import. Check the box on the top of the list to import all available Redmine projects.
Select a target YouTrack project for each Redmine project.
When loading the list of Redmine projects for mapping, YouTrack checks for existing YouTrack projects with corresponding names. If it finds a YouTrack project with the same name as the Redmine one, YouTrack suggests it as the target project.
If there is no existing YouTrack project with the corresponding name, YouTrack suggests creating a new one.
If you want to change a target project, select another option from the corresponding dropdown on the list.
Click Start import to finalize import setup and start the import.
Import starts.
Import Options
After the initial import, the following controls are available in the sidebar:

Control | Description |
|---|---|
Resume | Immediately imports any changes made in the selected Redmine projects after the previous import. |
Edit | Opens the integration settings page in edit mode. Use this option to connect to a different Redmine instance, update the login credentials, or update project mapping. |
Delete | Deletes the current import settings. Projects, issues, comments, users, and groups that were imported from the connected Redmine instance are not affected. If you delete the import settings and connect to the same Redmine instance, the issues are re-imported into existing projects with new issue IDs. |
Download import log | Downloads the import log. Use this option to view and investigate errors that occurred during import. |