Workflow Constructor
The Workflow Constructor is a no-code drag-and-drop interface that lets you build automations using predefined conditions and actions. For an overview of this feature, watch this short video.
To access the workflow constructor:
From the Administration menu in the application header, select Workflows.
Find a workflow that was created using the constructor and select it in the list.
Click the Edit workflow button in the sidebar.
The selected workflow opens in the workflow constructor.
You can also access the page by opening a new workflow in the workflow constructor. From the Workflows list, click the New workflow button, then select Workflow Constructor.
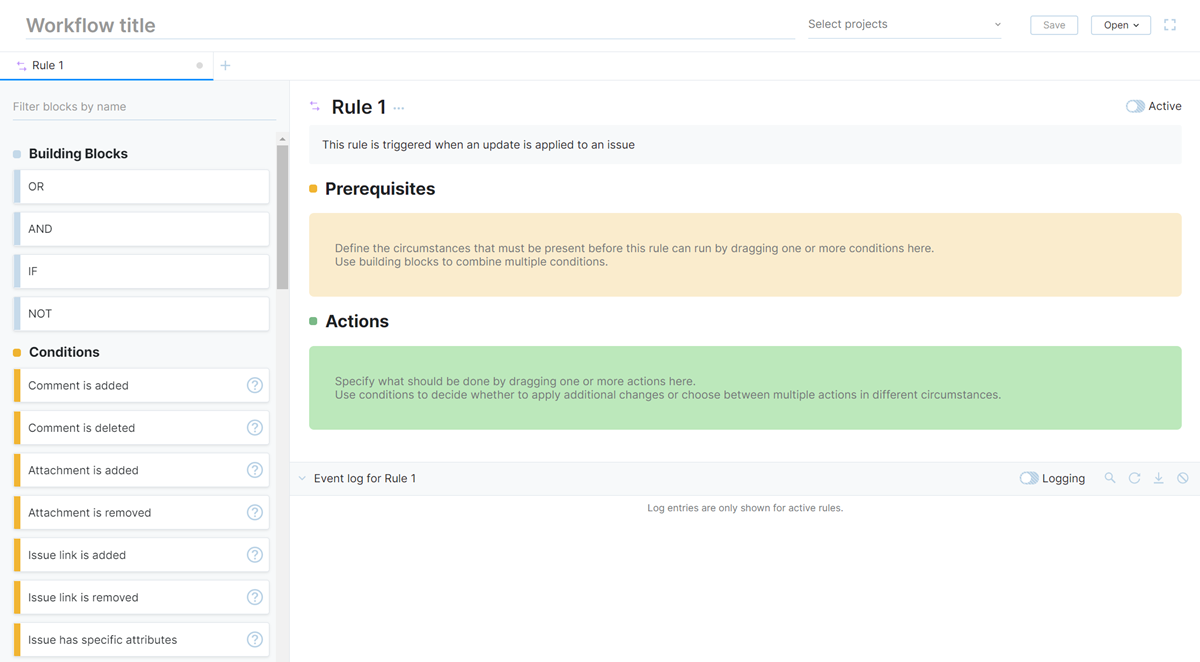
Workflow Header
The top section of the workflow constructor displays interactive controls that let you manage the workflow that is currently displayed in the constructor.
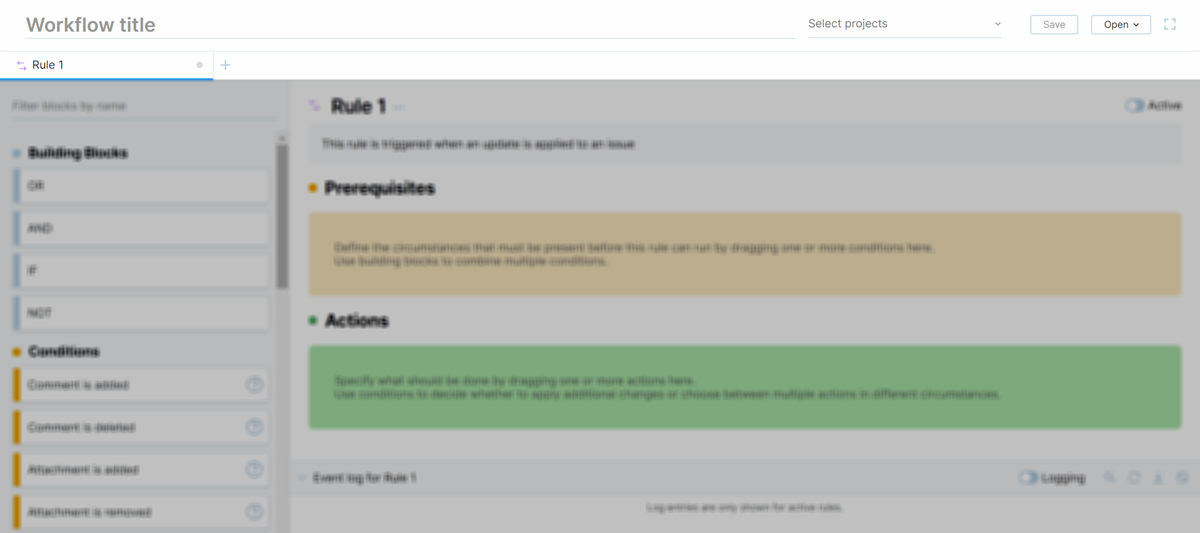
The following controls are displayed in the header of the Workflows page:
Control | Description | ||||||||
|---|---|---|---|---|---|---|---|---|---|
Workflow title | Stores the title for the current workflow. To edit the title, click the text and type your changes directly in the input field. | ||||||||
Show more | Shows the list of actions that are available for the current workflow. The following actions are available:
| ||||||||
Projects | Attaches the current workflow to the selected projects. | ||||||||
Save | Saves changes to the current workflow. | ||||||||
Open | Opens a compatible workflow in the workflow constructor. Additional options in this menu let you delete workflows or open a new workflow. | ||||||||
Fullscreen mode | Toggles fullscreen mode on and off. Fullscreen mode hides the application header and footer, giving you more space to work with the constructor. | ||||||||
Add rule | Opens a dialog where you can select a rule type, adding a rule to the current workflow. |
Each of the rules that belong to the current workflow is displayed on its own tab in the workflow constructor.
The icon indicates the rule type. The workflow constructor supports on-change, on-schedule, and action rules.
The tab displays the name of the workflow rule.
The indicator shows the current status for the workflow rule — green when active, grey when inactivated.
Blocks
The left side of the workflow constructor displays a list of blocks that you can use to build workflows.
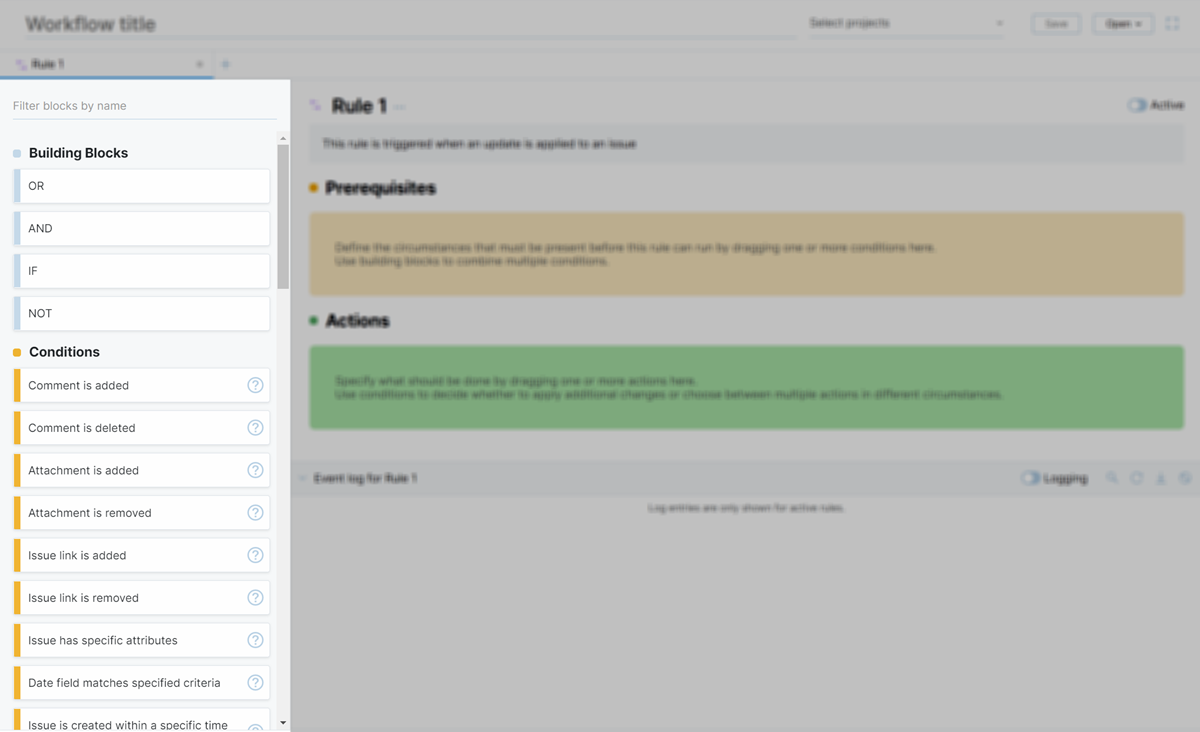
The blocks are organized into three sections.
The Building Blocks section contains common operators and expressions. Use these blocks to combine various conditions and actions.
To learn more, see Building Blocks.
The Conditions section contains predefined checks for a variety of circumstances.
To learn more, see Conditions.
The Actions section contains all the actions that can be applied to issues using workflows.
To learn more, see Actions.
Use the input field at the top of this panel to filter the list or blocks by name. This can help you quickly find blocks that can check for or update specific items, like comments, links, tags, and more.
Rule Header
Each rule has a set of interactive controls that let you manage the rule that is currently displayed in the workflow constructor.
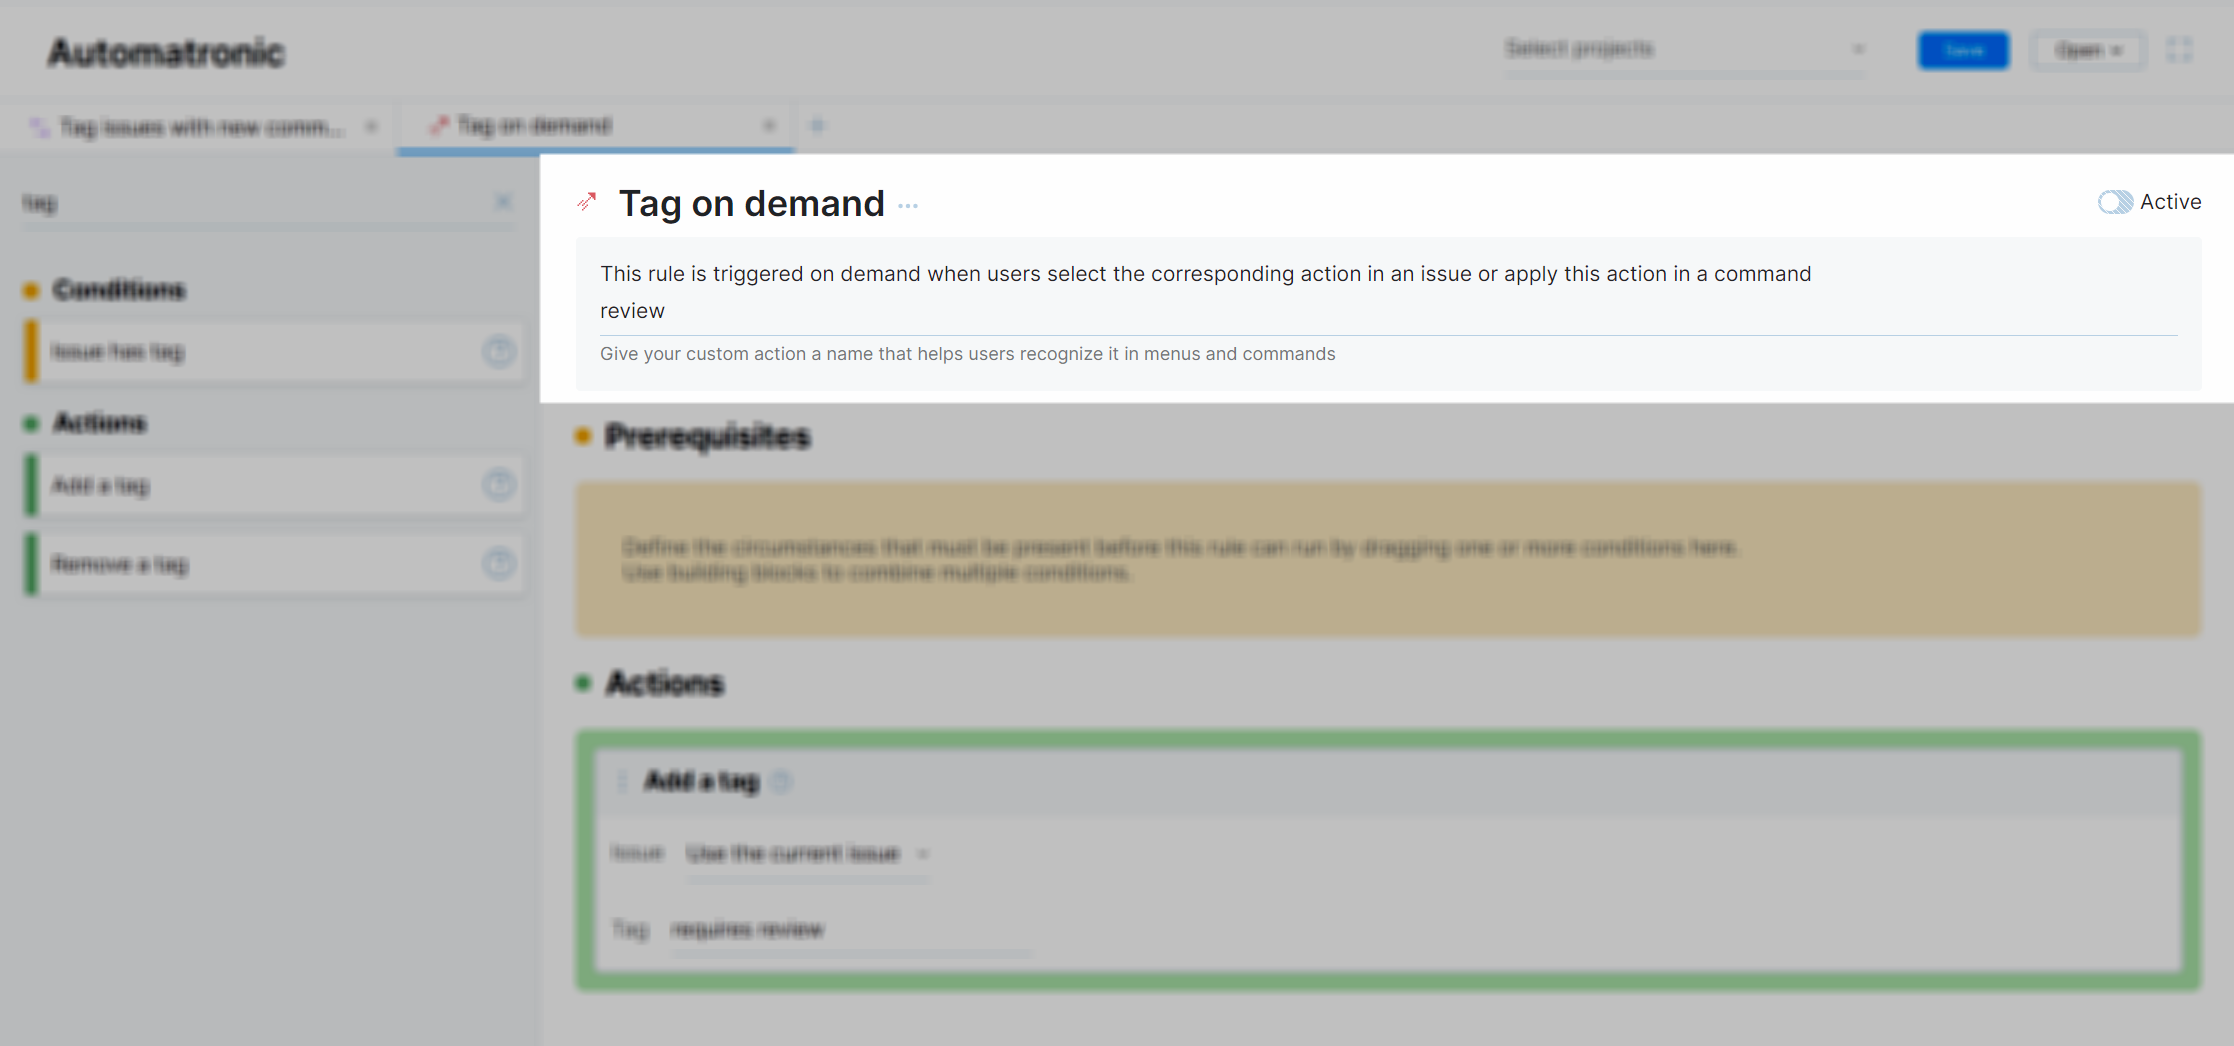
The following controls are displayed in the header for each workflow rule:
Control | Description | ||||||
|---|---|---|---|---|---|---|---|
Rule type | Displays the icon for the rule type that is assigned to the current rule. To change the rule type, click the icon and select another type. You can freely switch between different rule types without losing the settings for rules that support triggers. | ||||||
Rule name | Stores the name of the current workflow rule. To edit the name, click the text and type your changes directly in the input field. | ||||||
Show more | Shows the list of actions that are available for the current rule. The following actions are available:
| ||||||
Active | Toggles the status for the current rule. Before you can activate a workflow rule, it needs to be assigned to at least one project and must be saved. As you can't save a workflow that hasn't been given a title, the title is also required. Once a rule is active in a project, the business logic that is stored in the saved version of the rule is applied to all issues in the selected projects. Unsaved changes in the workflow constructor are ignored. | ||||||
Triggers | Stores the initial conditions that initialize the workflow rule.
|
Prerequisites
This section of the constructor stores the set of conditions that must be present for the rule to run.
Define the base criteria by dragging conditions to the Prerequisites section of the workflow rule.
When adding multiple conditions, each condition is automatically connected with a logical AND operator. This means that the prerequisite for running the workflow rule is only met when every condition in the Prerequisites section are met.
You can combine conditions in different ways using building blocks. To learn more, see Building Blocks.
Actions
This section of the constructor stores the set of updates that are applied to issues when the conditions in the Prerequisites section have been satisfied.
Define the actions to be taken by dragging one or more action blocks to the Actions section of the workflow rule.
Use the Check for additional conditions action to perform additional checks during the transaction. For more information, see Check for Additional Conditions.
References to Local Variables
When writing workflow rules, you have direct access to all the objects that are considered part of the current context. THe context contains:
The issue that is the target for the updates defined in the workflow rule.
The user to whom the action is assigned.
The definition of the current issue and current user in the current context varies by rule type.
Rule type | Issue | User |
|---|---|---|
On-change | The issue which is changed | The user who initiated this change |
Scheduled | The issue that matches the search criteria | A dedicated Workflow User account (a system user with full set of permissions) |
Action | Any issue that is selected when the action is applied using the action menu or a command | The user who selected the action or applied the command |
Other objects that are also available in the current context can include the project that the target issue belongs to, project teams, groups, and roles.
Any object that is included in the current context can be referenced in the workflow rules. Many of the properties or fields that are assigned to these objects are available as well.
Adding References to Objects
When you're building a workflow rule, different blocks let you define references to a specific issue, project, user, and so on. As you add conditions and actions to the rule, you have the option to refer back to these local variables and reuse them.
This behavior is supported by the Take from another block option. This option can be used for any setting that stores a reference to any of the standard objects that are used in workflows.
This option is only available when the workflow already contains a block that stores a reference to an object of the same type.
To reference a local variable in a workflow rule:
In the setting where you want to store a local variable, select the Take from another block option.
When activated, the settings that store compatible objects in other blocks are highlighted.
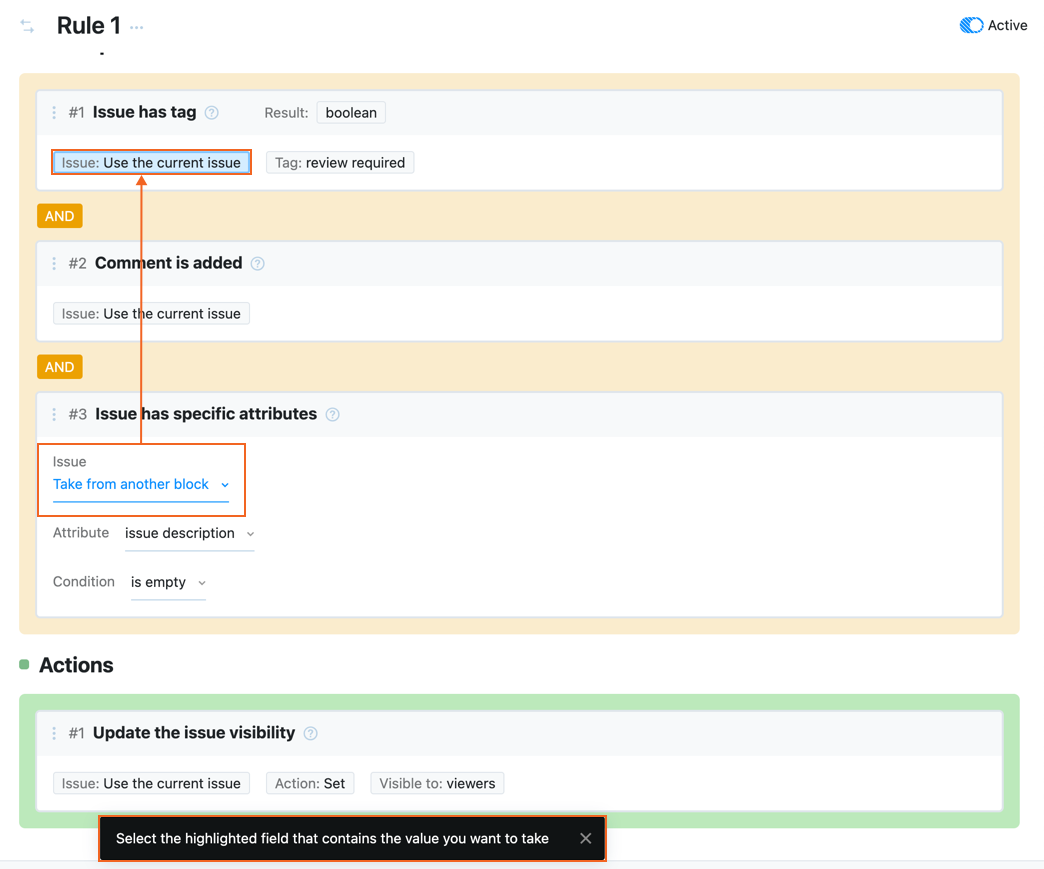
Select the highlighted field that contains the value you want to use for the current block.
A reference to the selected field is stored in the setting for the current block.
Each block in the Prerequisites and Actions sections of the workflow rule is assigned an ordinal number. References that point to objects in other blocks are labeled with the ordinal number of the target block that stores the original definition.
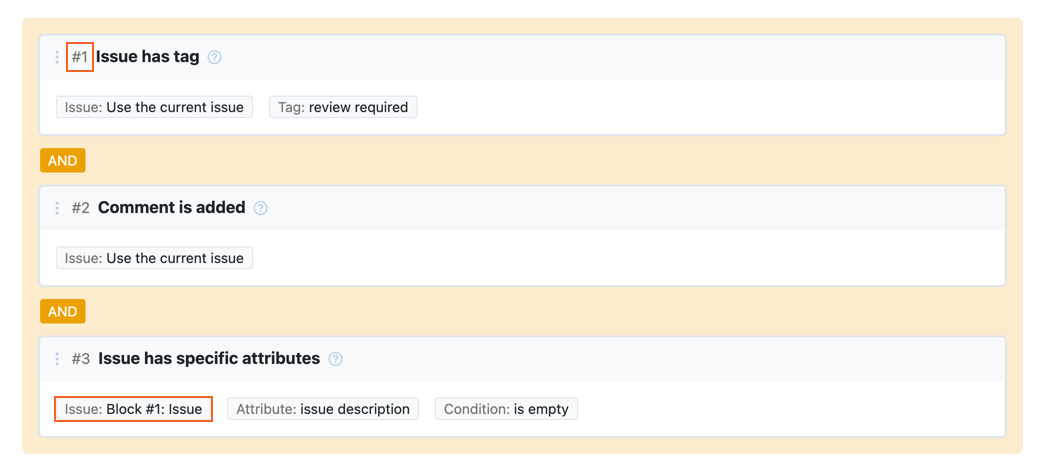
If you reorder the blocks in the workflow rule, these references are updated automatically.
Inserting References to Fields
Many of the properties or fields that are assigned to objects in the current context can be used as variables as well. These variables can be inserted into any setting that stores a string, including:
The issue summary and description
Alerts and other messages
Comment text
Commands
Tags
To insert references to a field:
When setting the value for a setting that stores a string, click the Insert reference icon.
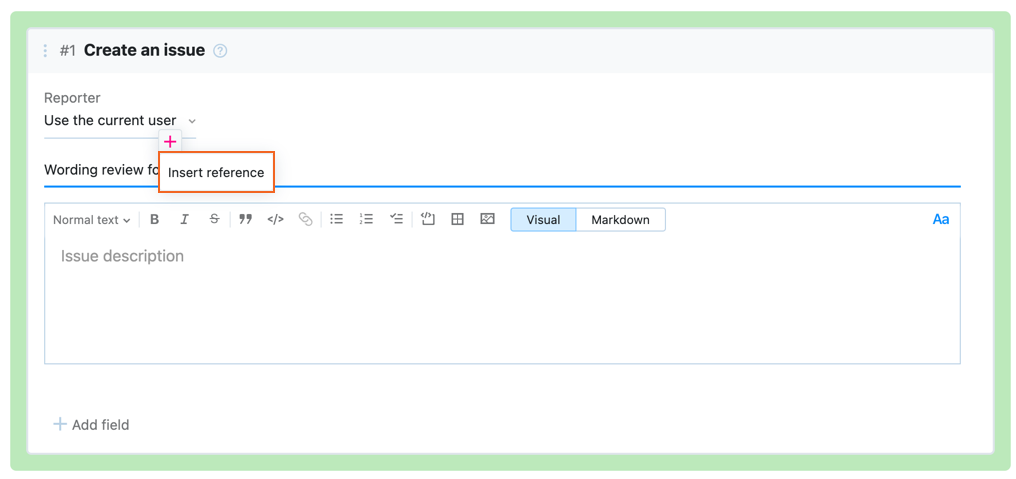
Select the option that provides access to the value that you want to insert into the string. You can access fields and properties for the current issue, the current user, or refer to an object that is defined elsewhere in the workflow rule.
Click the Browse link to display the list of available fields.
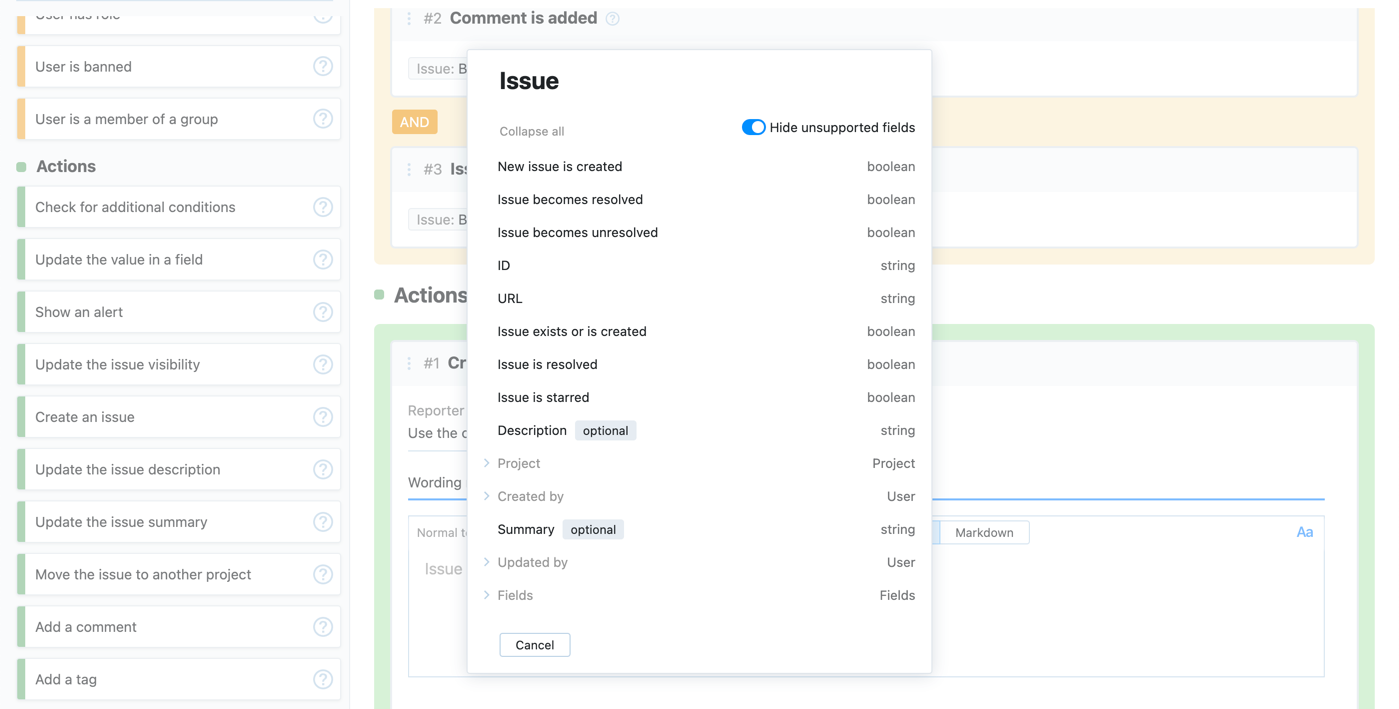
Select the field that stores the value you want to insert into the string.
A reference to the selected variable is inserted as a placeholder in the value for the setting.

Logging and Validation
The bottom section of the workflow constructor helps you identify and fix problems with the workflow rule.
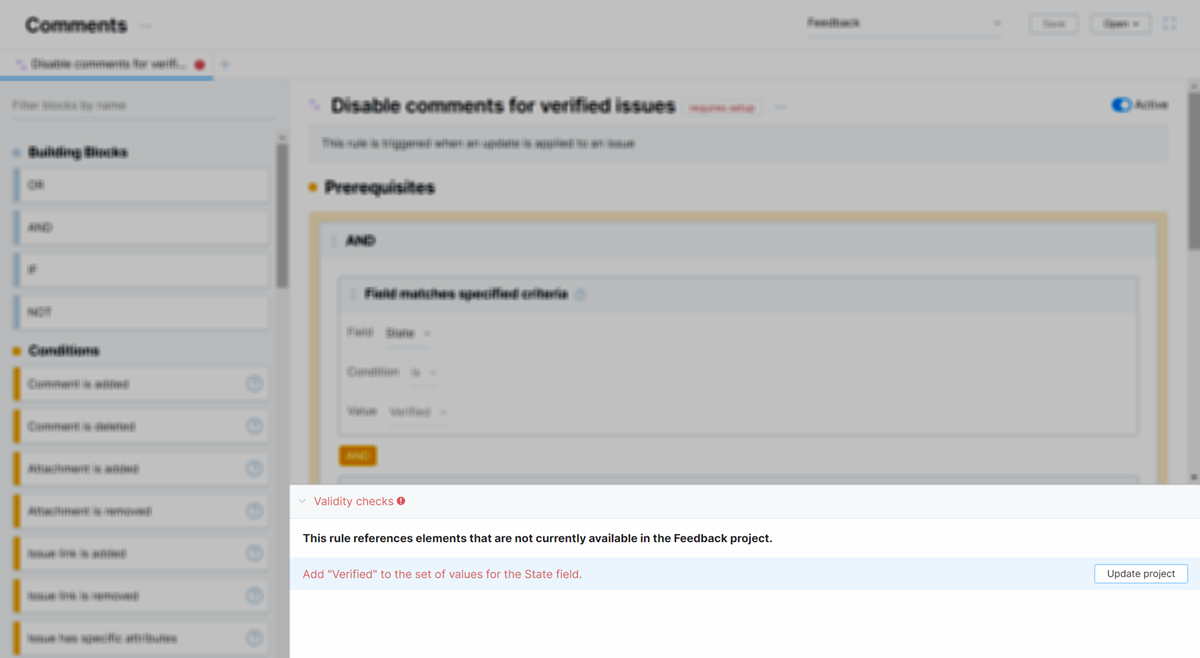
Validity checks tell you when a rule contains references to elements that are not available in the projects where the rule is active.
For changes that can be fixed automatically, you can click the Update project and add the missing elements to the project settings without leaving the workflow constructor.
Other problems like missing tags or reference issues must be fixed by creating the missing items manually in another area of the application.
The validity checks are only shown when there are problems detected. Otherwise, the event log is active.
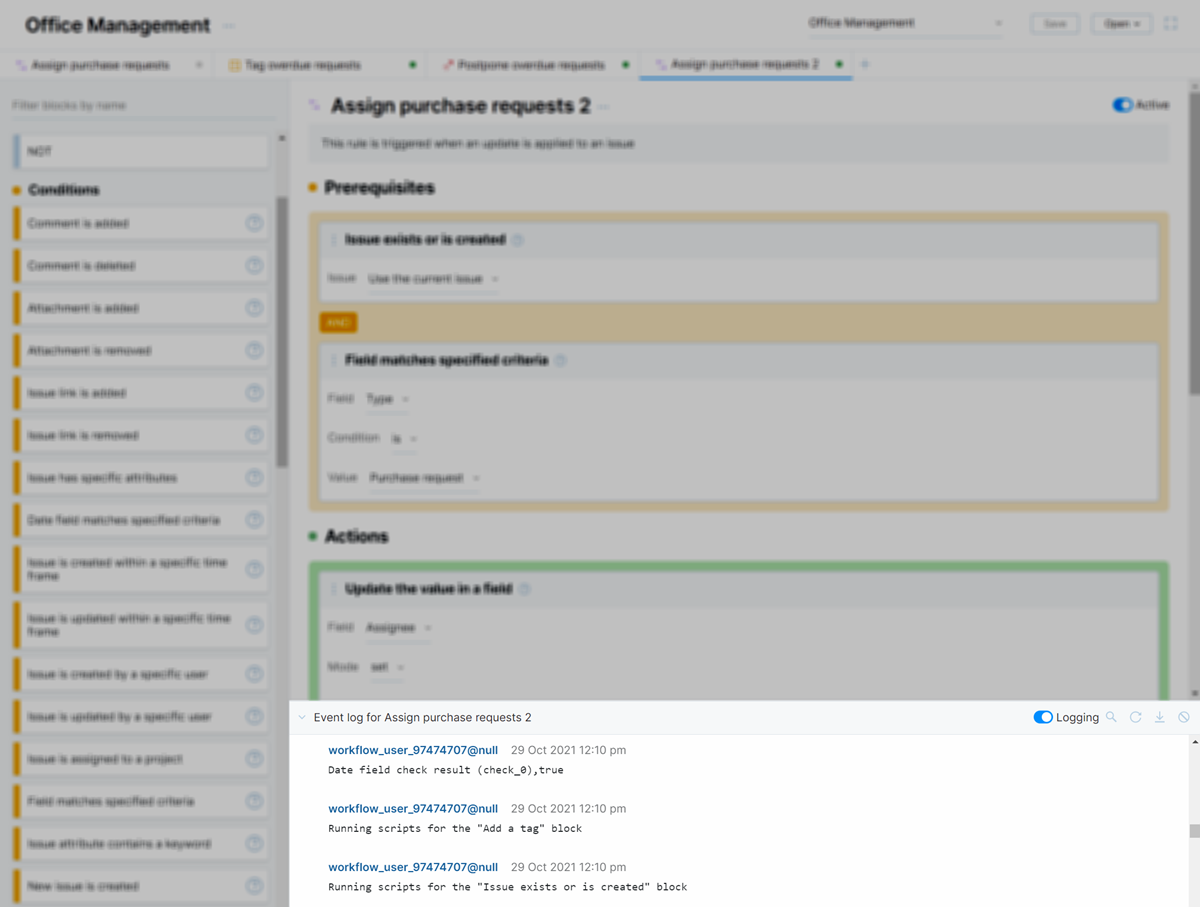
The event log displays any errors that have prevented the workflow rule from running as expected. Use this information to troubleshoot problems and detect conflicts with other workflow rules.
The following controls are available in the event log:
Control | Description |
|---|---|
Logging | Toggles the logging feature for the current rule. You can only enable logging for active rules. Before you can activate a workflow rule, it needs to be assigned to at least one project and must be saved. As you can't save a workflow that hasn't been given a title, the title is also required. |
Filter | Filters the list of log entries to show entries that match a substring. Click this control a second time to hide the filter. |
Refresh | Reloads the list, displaying new log entries that were added after the page was loaded. |
Download | Downloads the log entries that are currently displayed in the console as a file. |
Clear | Removes the current log entries from the event log. |