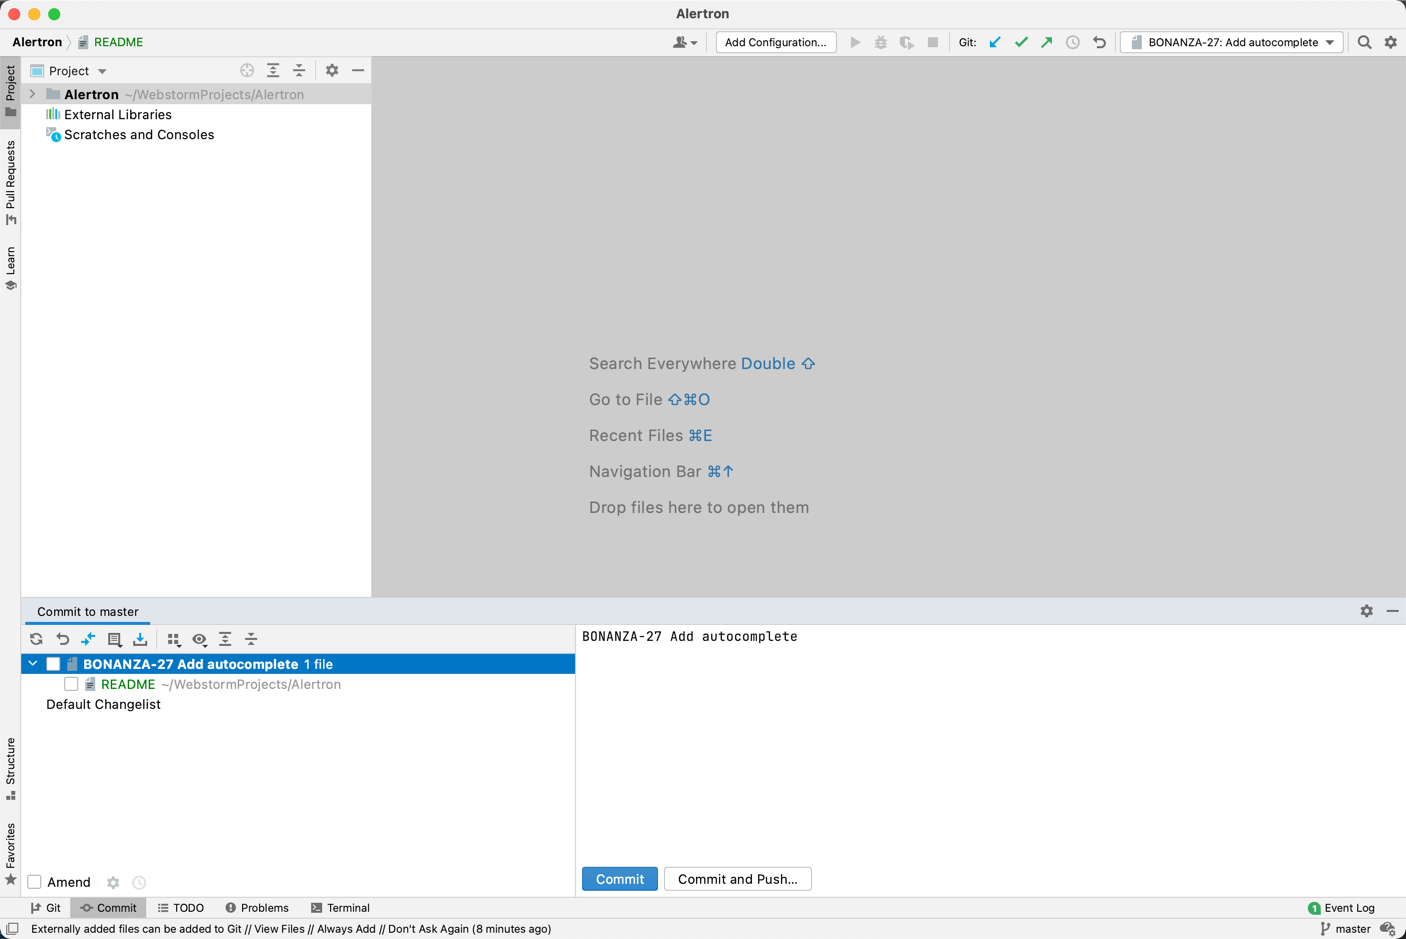
Task Management
JetBrains IDEs support native integration with YouTrack with the Task Management plugin. This plugin is installed and enabled by default in IntelliJ IDEA, PhpStorm, PyCharm, RubyMine, WebStorm, AppCode, CLion, Rider, and MPS.
You can extend the functionality of this plugin and unlock additional features with the YouTrack Integration Plugin. If you already use the YouTrack Integration Plugin, the features that are described on this page are already enabled in your IDE.
The Task Management plugin lets you open a YouTrack issue as a task in your IDE. This sets the YouTrack issue as the current work context. Changes to the code base are added to a change list that is associated with the issue.
Configure the Task Management Plugin
Perform this setup directly in your IDE. You do not need to configure anything in YouTrack.
To configure the Task Management plugin:
Open a project in your IDE.
To configure your IDE, open the Preferences dialog for macOS or Settings dialog for Windows and Linux.
Select the Plugins menu. Verify that the Task Management plugin is enabled.
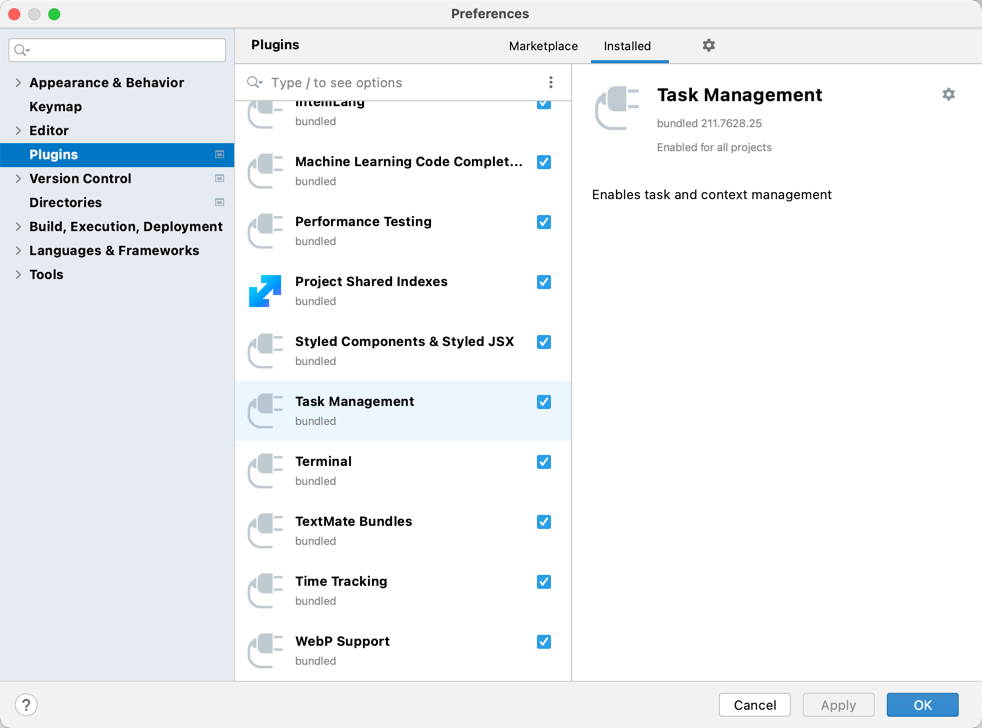
The plugin is installed and enabled by default. If not, select the checkbox and enable the plugin.
Navigate to the settings.
Click the Add server button and select YouTrack.
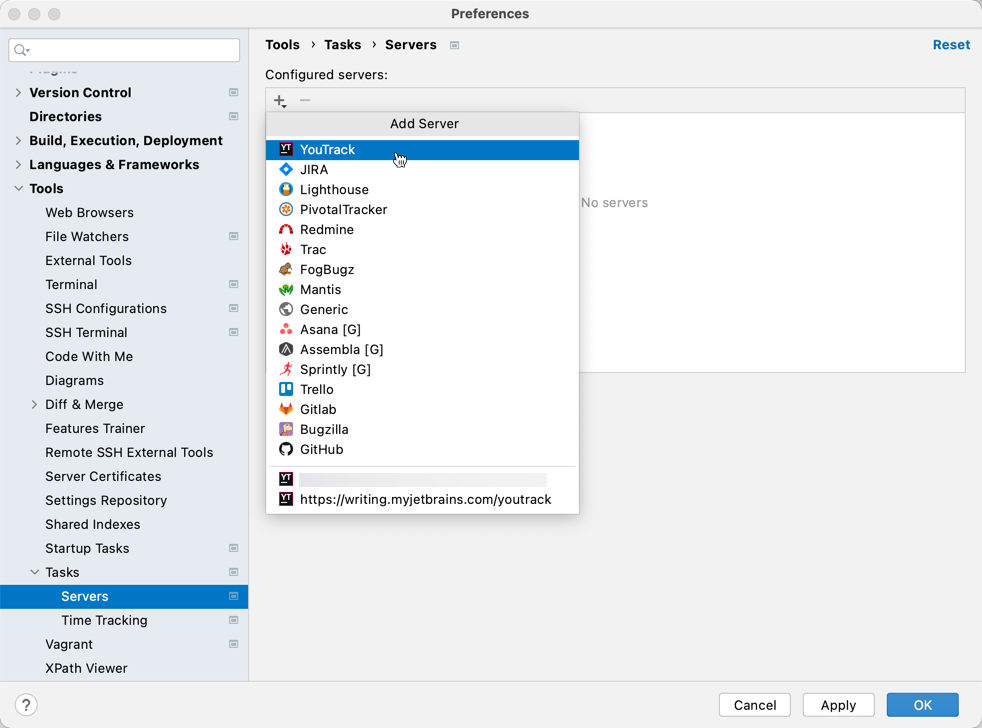
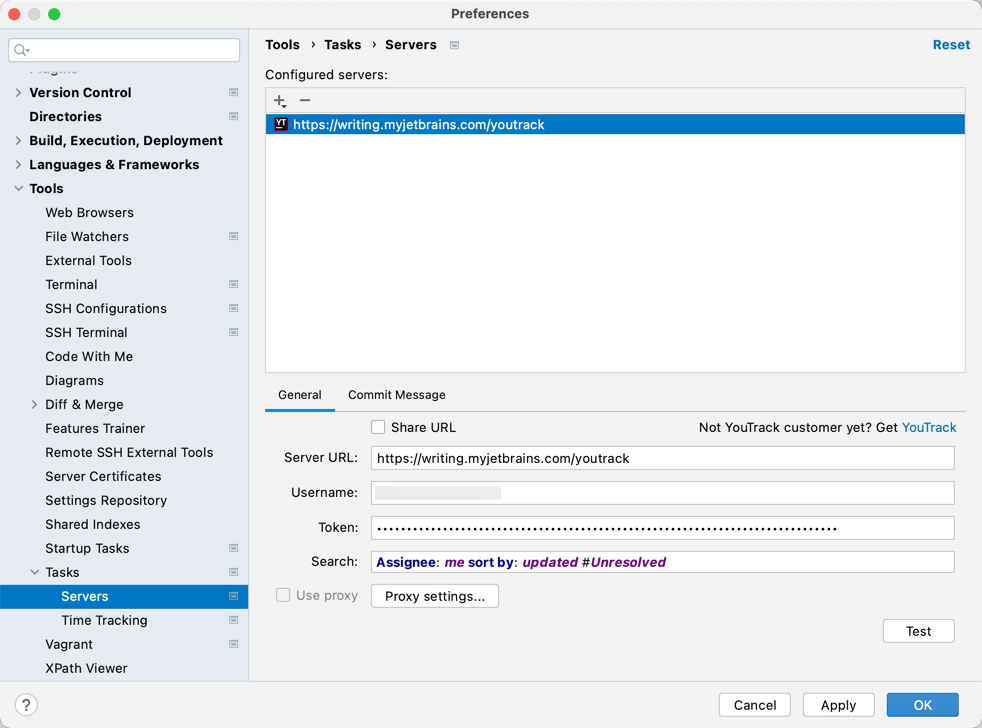
Configure the connection to your YouTrack server:
Setting
Description
Server URL
Enter the URL of your YouTrack server.
Username
Enter the username of your YouTrack user account.
Token
Paste the value for a personal token or application password that has been generated for your YouTrack account. This field also accepts the password that you use to log in to YouTrack, but personal tokens are more secure.
To learn how to generate a personal token for your YouTrack account, see Manage Permanent Tokens.
Search
Enter a search query that returns the issues that you want to set as tasks in your IDE.
Click the Test button to test the connection to the server.
Select the Commit Message tab.
Enter placeholders for issue properties to set the default text for your commit messages.
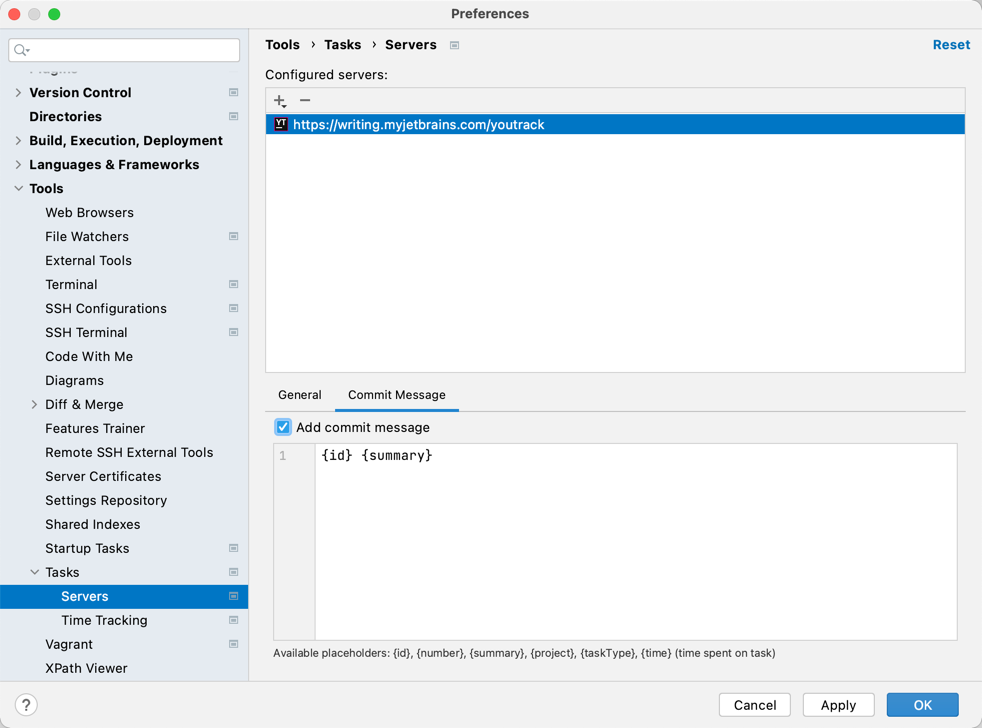
Click the OK button.
Your IDE is configured to connect to your YouTrack server.
Set the Work Context
When you configure the Task Management plugin, you can set the working context to a specific issue in YouTrack. All the changes that you make in the code are associated with the issue that is selected as the current task.
To define the work context:
In the task management tool window, select the Open Task option.
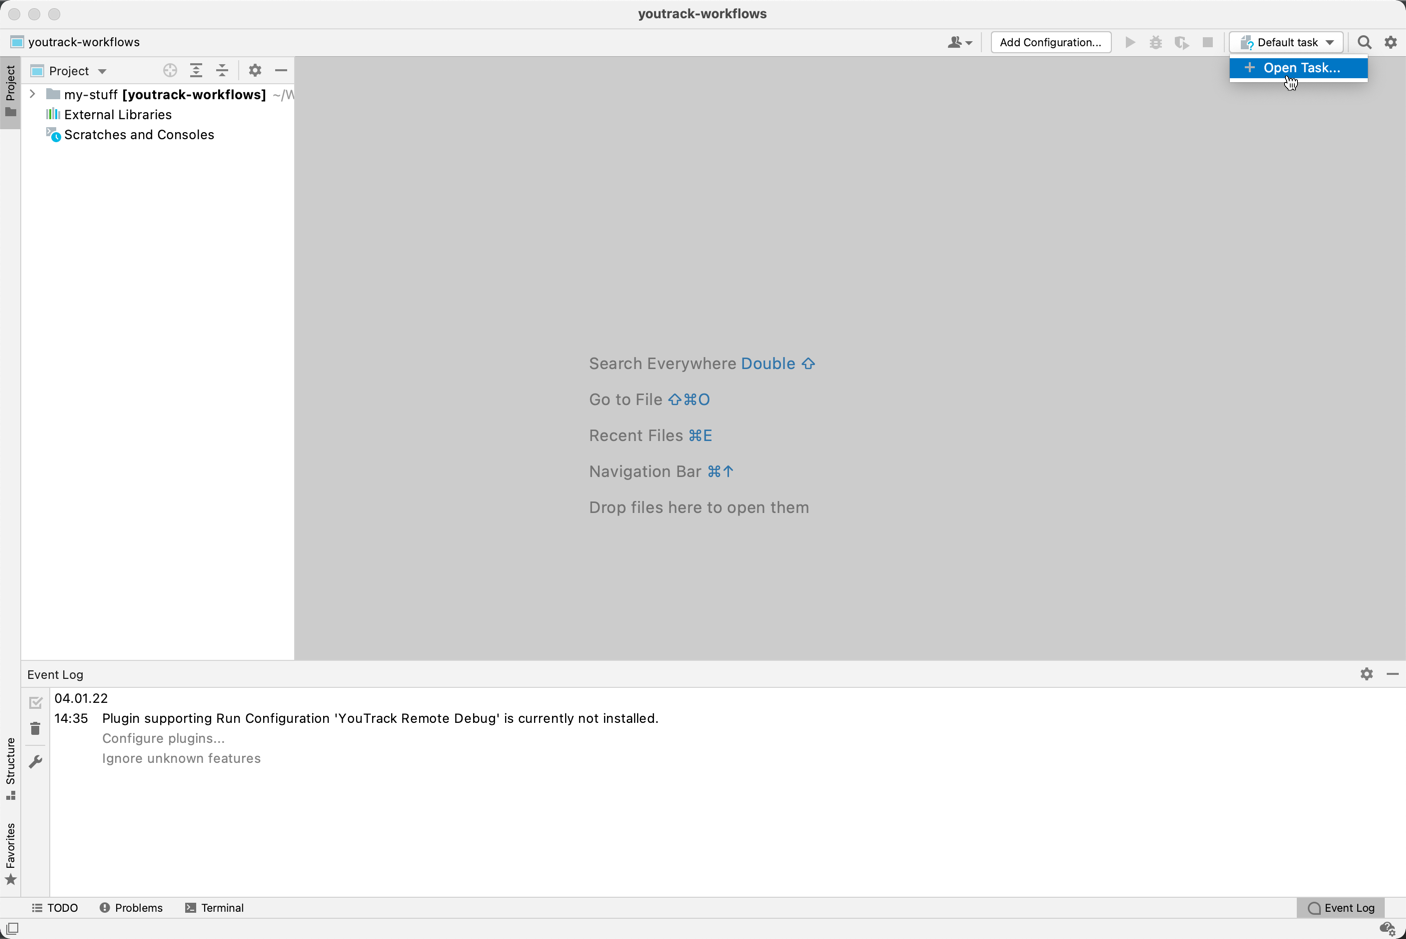
Select an issue from the list. Enter part of the issue ID or summary to filter the list.
Set the parameters of the new task.
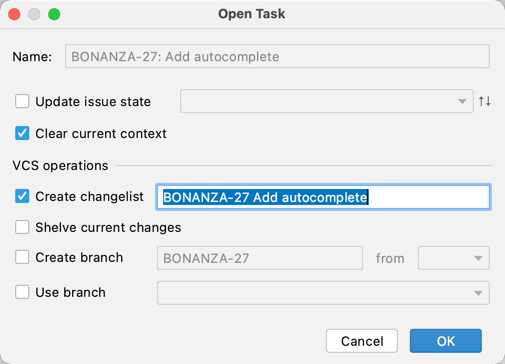
Note that the parameters in the VCS operations section (and the ability to track a set of changes in a changelist) are only available when your project is managed under version control.
Click the OK button.
