Issue Quick Start Guide
Last modified: 06 February 2025YouTrack makes reporting an issue fast and easy, while providing all the options you need to track your daily activities. This Quick Start Guide shows you how to get started with reporting your first issue.
Report an Issue
Reporting an issue in YouTrack is quick and can be done in just a few, simple steps.
To report an issue:
tip
Requires permissions: Create Issue
Click the Issues link in the main navigation menu
Click the New issue button in the header.
Enter a summary of the issue and an optional short description.
Click the Create button to submit the issue.
You can perform the same action without removing your hands from the keyboard.
To report an issue:
tip
Requires permissions: Create Issue
Starting from the Issues list or single issue view, press Alt + Insert (Windows) or Control + N (macOS).
Enter a summary of the issue and an optional short description.
Press Ctrl + Enter to submit the issue.
Edit an Issue
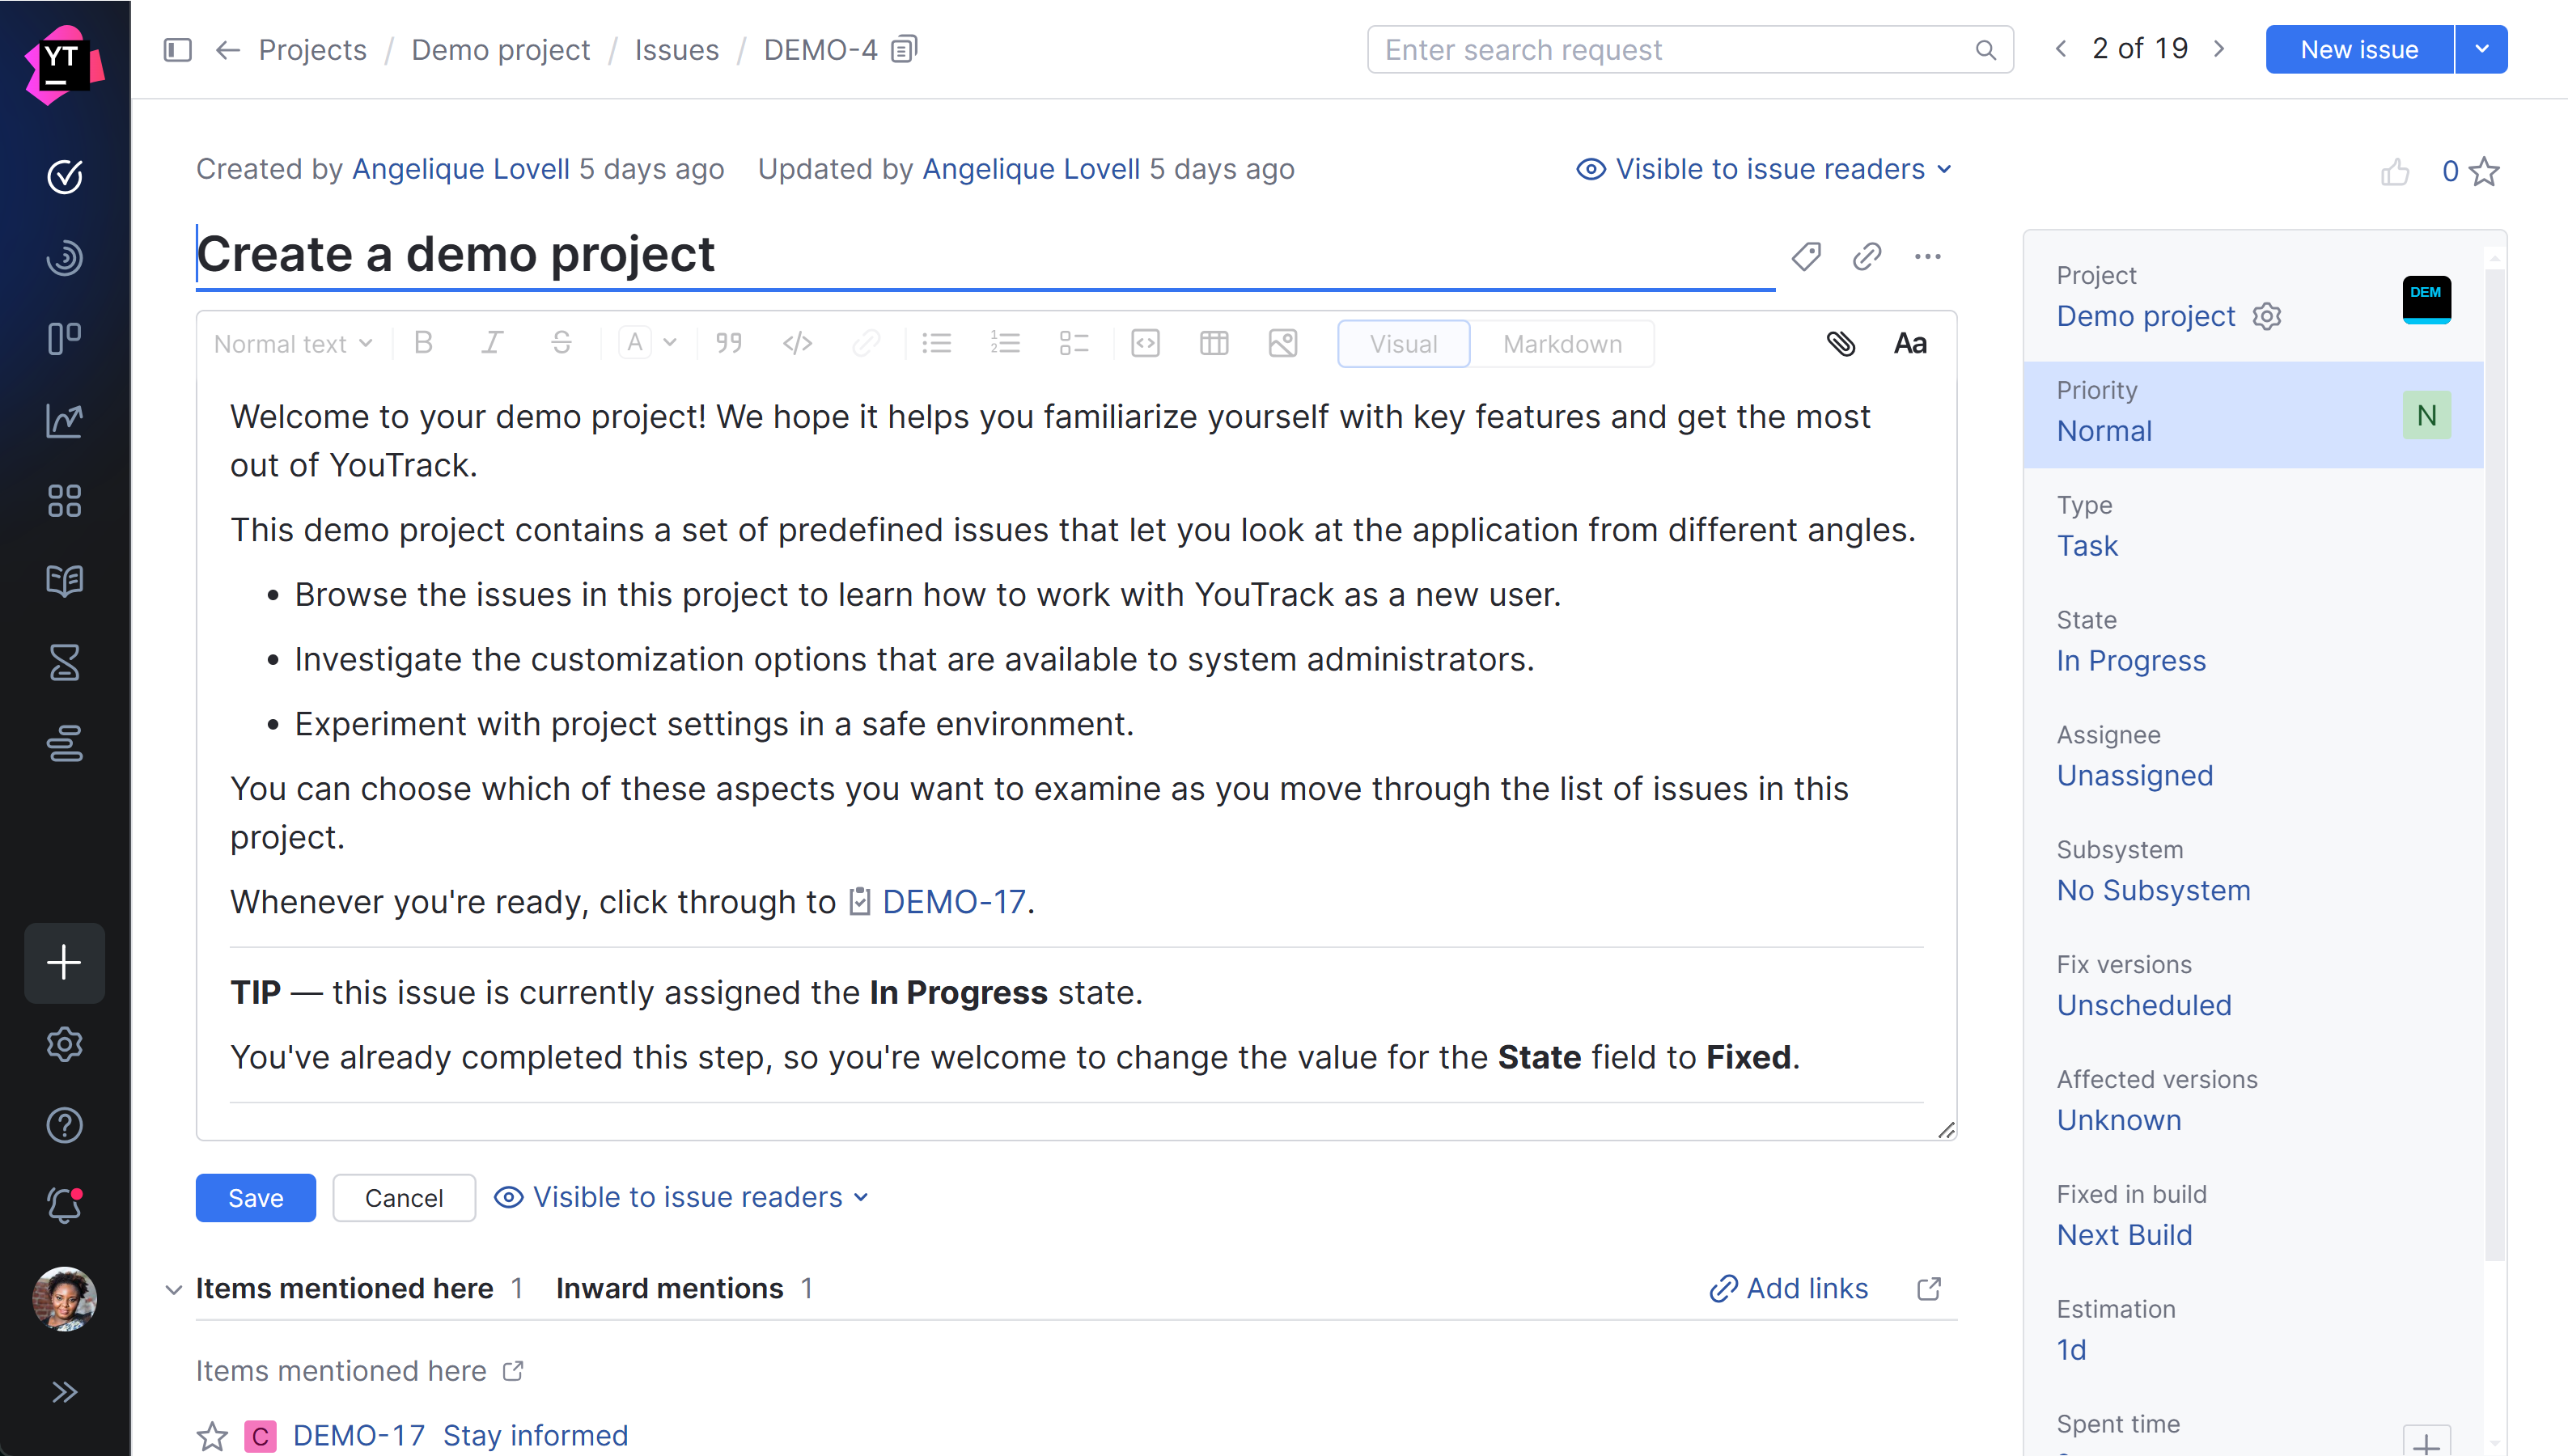
Maybe that was a bit too quick. The person who is eventually assigned to resolve the issue might need a little more information to understand the problem. You can edit the reported issue and provide all the necessary details to help them get started.
To edit an issue:
tip
Requires permissions: Read Issue, Update Issue
Select an issue from the Issues list.
Click the
Edit issue icon or press F2 to open the issue in edit mode.

To assign the issue to a different project, select another value for the Project field.
Update the issue summary or description.
When you edit the description, you can choose whether to format the text using the toolbar in the Visual editor or use Markdown. To learn more about the available formatting options, see Rich Text Editor.
Assign values to issue fields, such as Type, Priority, or Subsystem. To perform this action, select a value for each field in the field panel.
To attach an image or a file, just drop it on the page. You can also click the
Show more button in the toolbar and choose from one of the available attachment options.
If you know who is the right person to fix the problem, select the user from the Assignee drop-down list.
That's it! Your issue is one step closer to getting fixed.
There are a few more things you might want to do to make sure the issue is resolved. For more information, have a look at the following topics:
Watch Issues — add the issue to your watch list so you can track its progress.
Notifications — configure your personal notification settings to make sure you're up to date.
Thanks for your feedback!