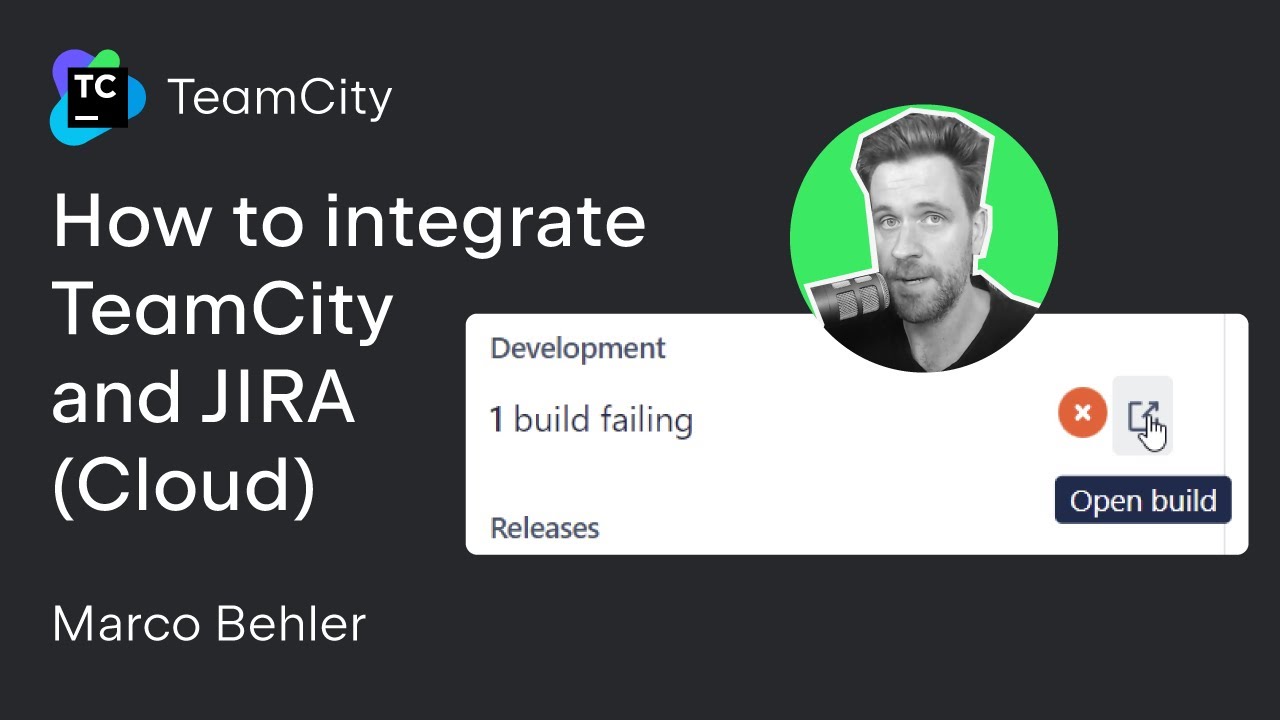
TeamCity Tutorial: How to Integrate TeamCity and Jira (Cloud)

TeamCity offers seamless integration with Jira Cloud. In this TeamCity tutorial, we’ll take a closer look at how to integrate the two platforms.
First, open up your project and select Edit project. On the left side, you’ll find a link called “Issue Trackers”. Simply create a new connection, choose Jira, and then TeamCity will ask you to fill out a couple of fields.

Start by entering the Display Name “My Personal Jira” and configuring the Jira Cloud URL. You’ll also need to provide your login information and the password or API token. To establish the connection, the API token needs to be created in Jira Cloud and then pasted into TeamCity.

You can also choose which Jira project you want to connect with TeamCity. In our case, we’re going to type in “QL” for the project name. You can also choose to use all Jira projects automatically. When you put a project key (“QL” in this case) inside a commit message in TeamCity, you’ll get a direct link between the commit and the Jira Cloud overview page.
If you also want to send build information (whether the build was successful or failed) straight to your Jira Cloud ticket, you need to create an OAuth app on the Jira Cloud side and enter your Cloud client ID and Cloud server secret.

You can then test the connection.

Success!

After that, you can open the build configuration whose build status you want to send to Jira Cloud. Go to General Settings | Build configurations | Edit | Build features | Jira Cloud integration.

TeamCity will suggest which Jira Cloud instance to send the build information to. In this TeamCity tutorial, we only have one instance available, so let’s select it and hit Save.

Now let’s test the connection. Go to the Projects overview page in TeamCity and also open GitHub, where we’ve already prepared a commit to test. To demonstrate the Jira integration, we’ve created a new file, jiratest.txt, with a commit message, “QL-2”. Now, we’re going to commit that directly to the main branch.

Our build failed because one of the tests was unsuccessful. In TeamCity, you can open up the build and see the change that came in. TeamCity provides a wide range of features that help you get the most from your automated tests, including test reordering, test parallelization, smart failure analysis, quality gates, and many others. Learn more about TeamCity’s test automation.

For more information regarding the build, click on the build number link and scroll down to the Change section. TeamCity also provides a hyperlink that you can click to go directly into the issue on Jira Cloud.

You’ll be able to see the build status in Jira Cloud when you open the hyperlink to the issue. You’ll also be able to get back to TeamCity by clicking the link from the Jira issue.

As we can see, the integration is working successfully in both directions.
To learn more about other TeamCity integrations, make sure to check out these tutorials.
Check other TeamCity tutorials

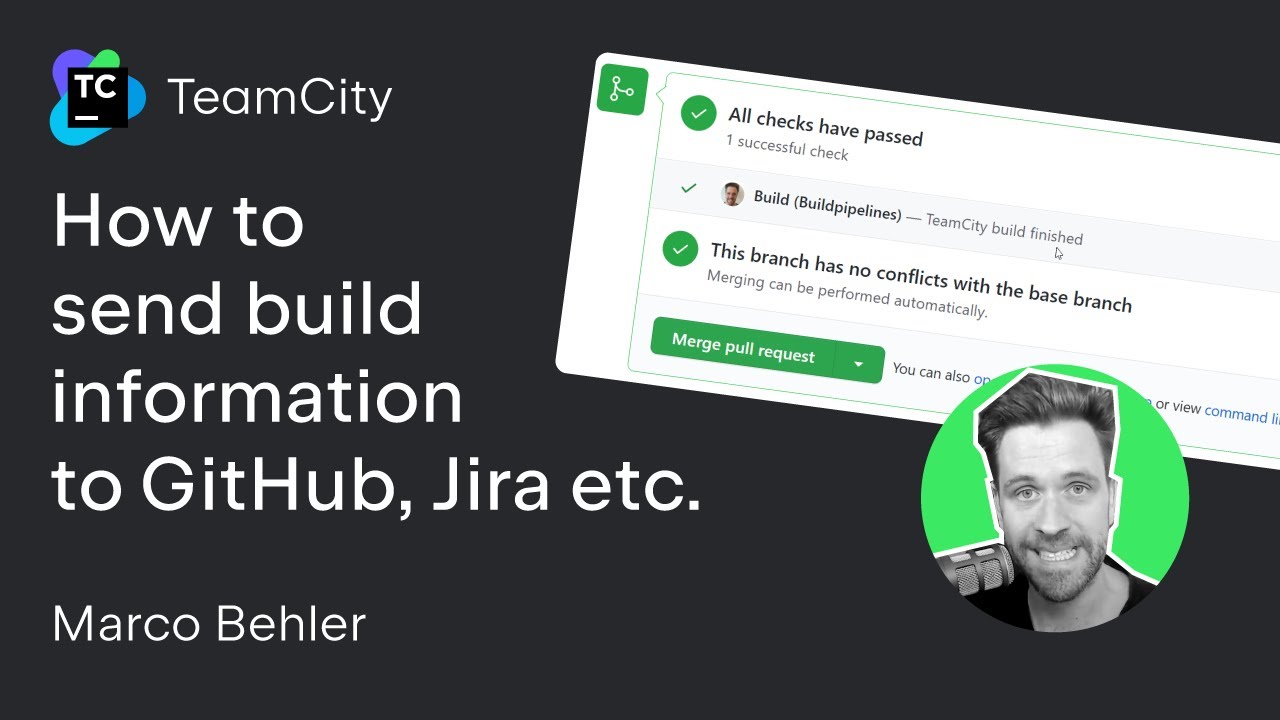
How to send build information to GitHub, Jira, etc.
In this video, see how using the Commit Status Publisher build feature in TeamCity can help you report your TeamCity build results back to GitHub.

How to use GitHub commit hooks for faster checkouts
Commit hooks allow you to trigger your CI/CD jobs more quickly and with lower performance overheads. This tutorial goes over configuring your TeamCity server to use commit hooks.

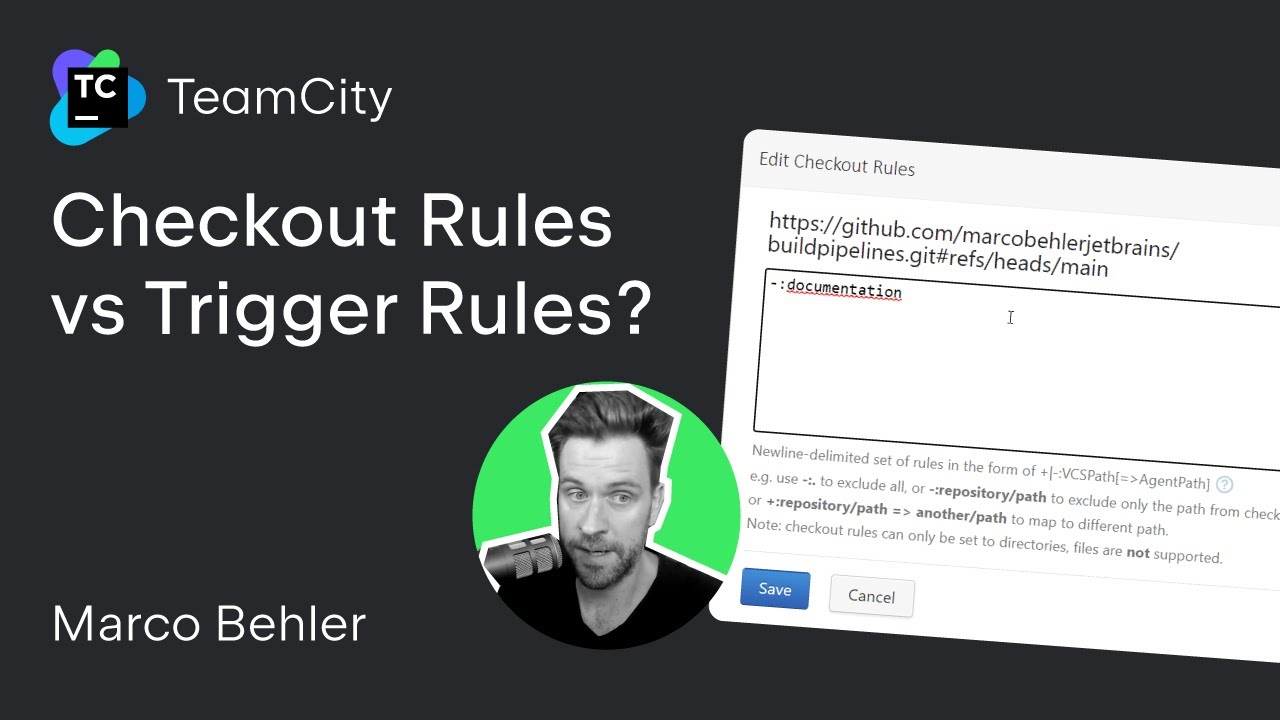
Checkout rules vs. Trigger rules
What's the difference between checkout rules and trigger rules in TeamCity? Both are powerful tools to make sure your CI/CD pipeline only works with specific directories and files from your version control. You can also set the checkout and trigger rules to only trigger the builds for the changes in the relevant parts in your VCS.