Markdown cells
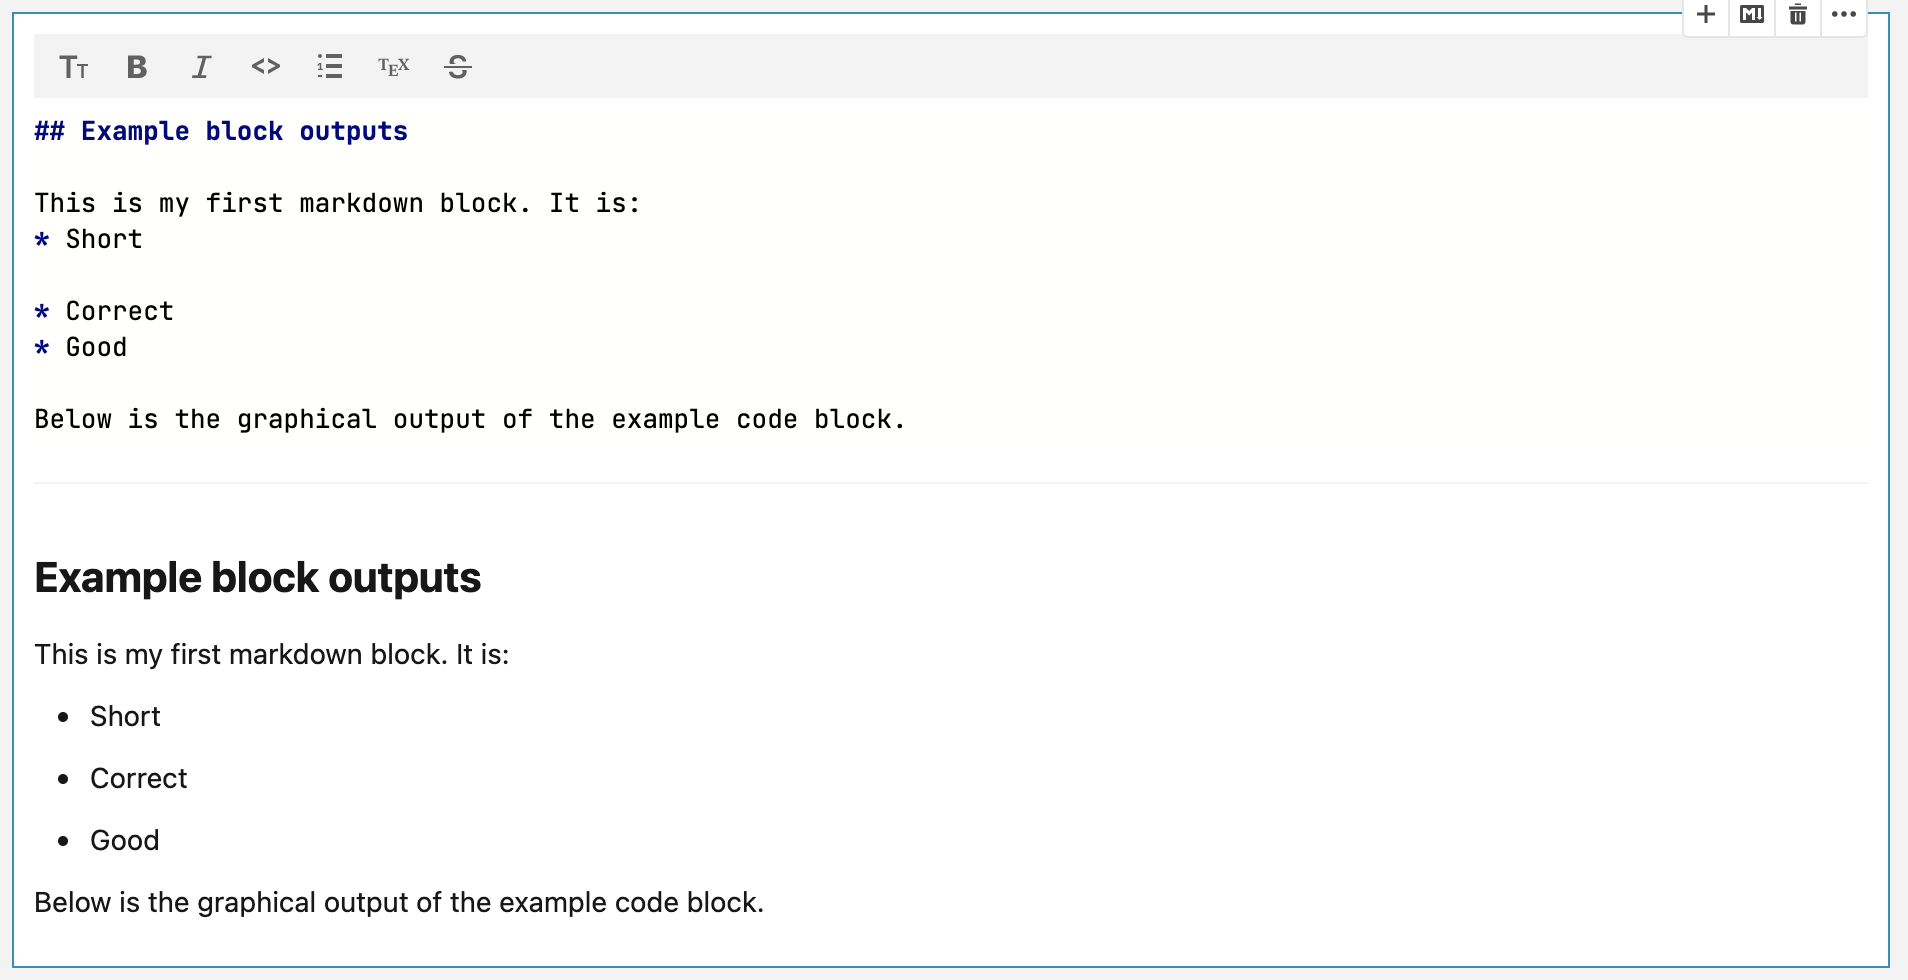
Markdown cells allow you to write plain text and format it using the Markdown syntax rules. This type of cells also supports standard LaTex notation so you can include mathematical symbols in your text. Markdown cells usually serve as explanatory or descriptive texts to your code.
First Markdown cell
By default, the first cell in a notebook is a code cell. If you want to begin with a Markdown cell, change the cell type, you have the following options:
Press Control, +, M.
Click the Select cell language icon on the cell toolbar and select Convert to markdown.
Add a Markdown cell
You have two options:
Hover over the bottom border of a cell and select .
Click the ellipsis on the cell toolbar or right-click anywhere in the editor to select whether you want to insert a Markdown cell above or below the selected one from the cell menu.
Markdown cell output and view
Depending on the output, you can have rich text or mathematics for Markdown cell output. By default, the layout of a Markdown cell displays both its input and output vertically stacked. You can select how they are displayed. 
Markdown cell toolbar
Located in the upper right corner of the cell frame, the toolbar contains the following icons:
Insert code cell below: inserts a new code cell below the selected one.
Select cell type: allows to change the cell type and converts the input into the selected language.
Delete cell: deletes the cell from the notebook.
More actions: provides more options for managing the cell.
Natural language assistance
Powered by the Grazie Platform, Datalore provides a feature that highlights your grammar and spelling mistakes in Markdown cells. The checker system makes context-aware suggestions.
To view suggestions, click the highlighted word and click the Show Fixes icon or press Control, +, .. Besides the suggestions, you can select to add the highlighted word or phrase as an exception. 
Configure natural language assistance
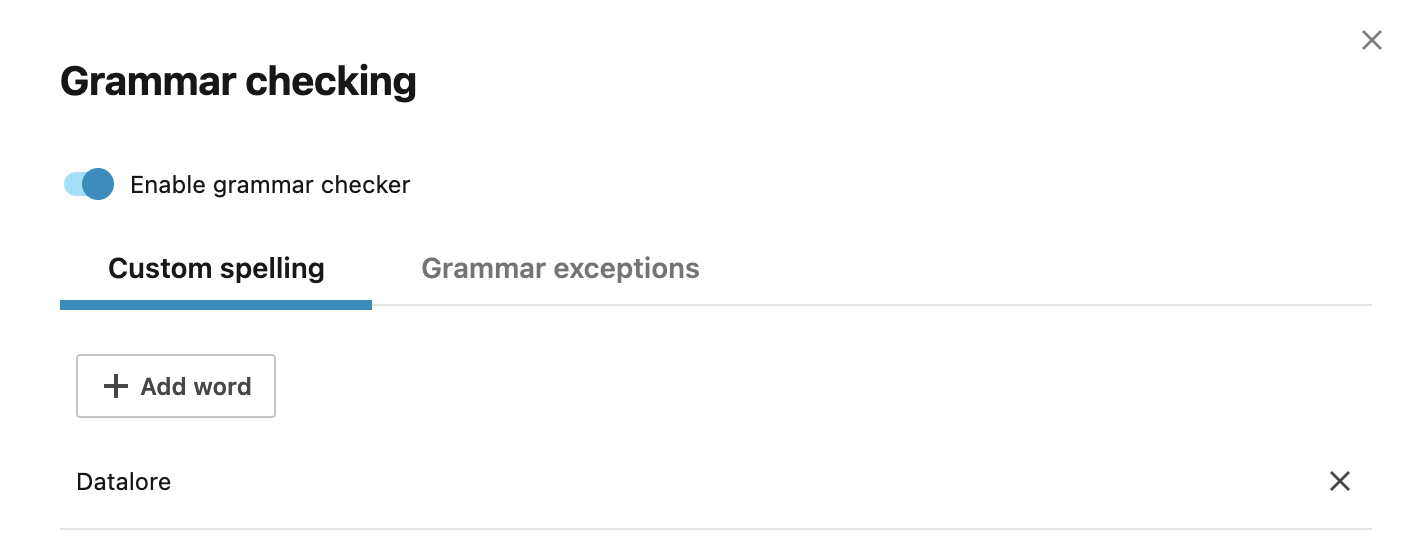
Use the Grammar checker tool.
Go to .
To disable the grammar checker, use the Enable grammar checker toggle.
To add a custom word to be ignored by the checker, click Add word, type the entry in the input field, and press Enter.
To remove a grammar exception that you added when viewing suggestions, switch to the Grammar exceptions tab, select the entry, and click the delete icon.

Markdown cell menu
The Markdown cell menu is a popup menu opened by right-clicking anywhere in a Markdown cell. This element contains an expanded selection of actions to manage the cell and its input.
Action | Description |
|---|---|
Insert code cell above/below | Inserts a new code cell below or above the selected one. |
Insert cell above/below | Inserts a cell of a selected type below or above the selected one. |
Delete cell | Deletes the selected cell. |
Change cell type | Changes the type of the selected cell and converts the input. |
Split cell at cursor | Splits the cell in two where the cursor is positioned. |
Generate table of contents | Inserts a table of contents of the entire notebook at the end of the input of the selected Markdown cell. |
Move cell up/down | Moves the selected cell one cell up or one cell down. |