Manage users
As an administrator, you can use the Admin panel to manage users.
There are four user types in Datalore Enterprise:
VIEWER: users who can only view shared notebooks and reports, more details below
REGULAR: regular user, can be used to demote the user from the ADMIN role
ADMIN: admin user with access to the Admin panel
SUPER_ADMIN: admin user who can also change other users' roles via the Admin panel, the first registered user
note
ViewersViewers are a special type of users who can only view notebooks and reports shared with them by other Datalore users. Viewers cannot create their own notebooks or publish reports. You can register as many viewers as other users permitted by the acquired license. For example, if you're allowed to register 10 regular users, you can, in addition, register up yo 10 viewers.
Click the avatar in the upper-right corner of the Datalore browser tab.
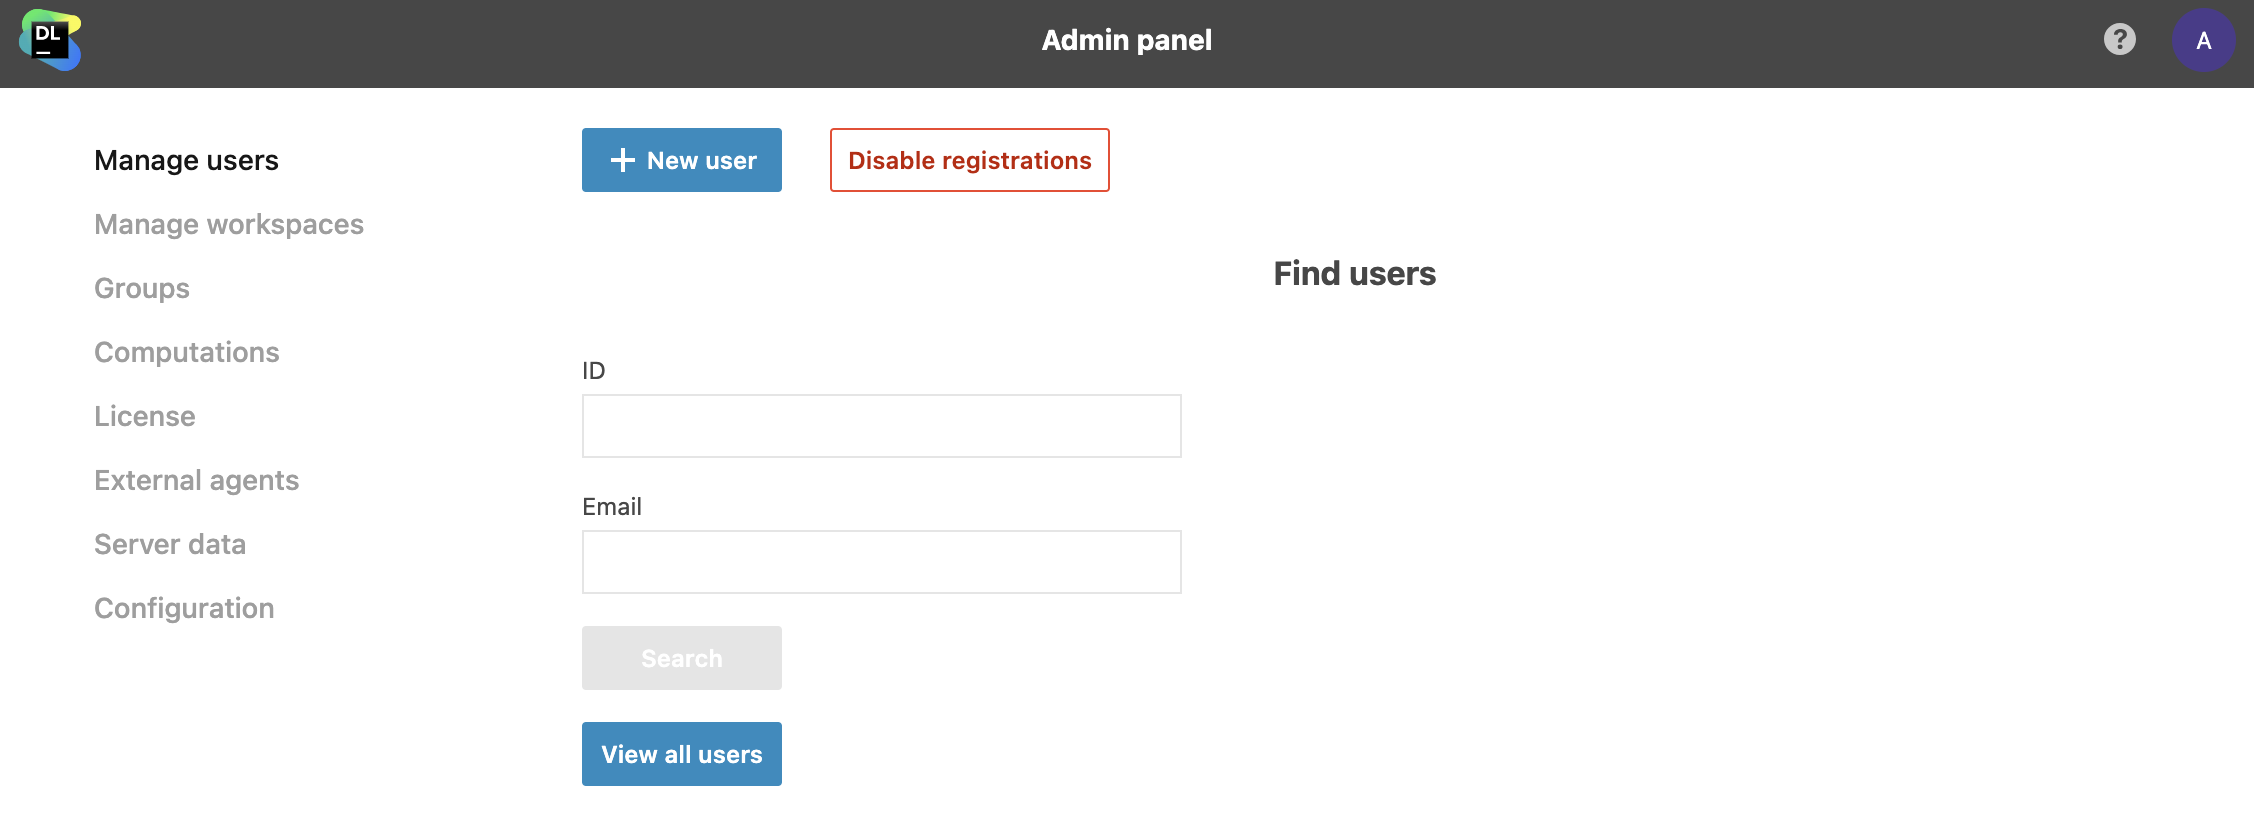
Select Admin panel. This action opens the Manage users tab of the Admin panel.

To find specific users by their IDs or emails or filter the list, use the respective input fields and click Search button.
To open the full user list, click the View all users button.
note
You create users directly in Datalore only if you logged in without Hub.
If you logged in using Hub, you can only create new users in Hub. Refer to the official Hub documentation for more details.
Go to the Manage users tab of the Admin panel.
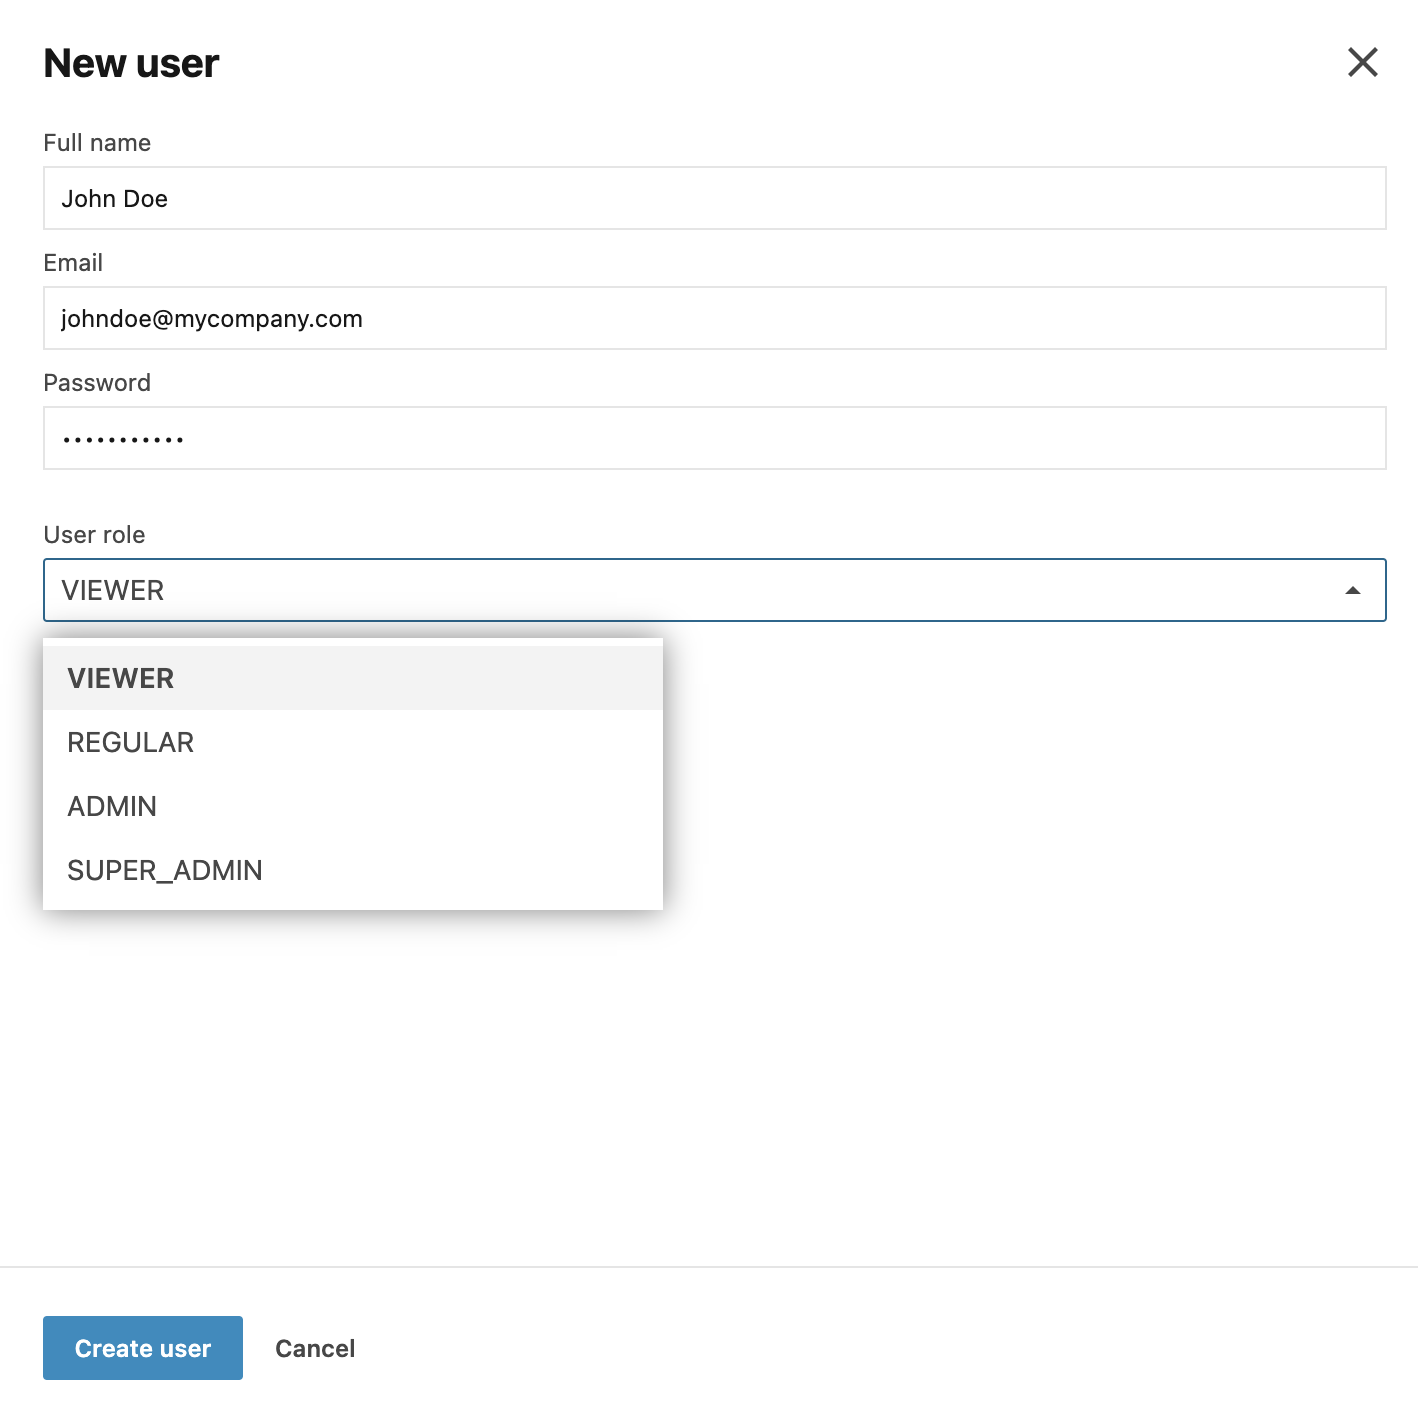
Click the New user button at the top of the tab. This opens the New user dialog.
Provide the new user's full name, email, and password in the respective fields.
To assign a role other than the default REGUALR, expand the user role list to select a role.
(Optional) To disable onboarding tips for the new user, select the Skip onboarding checkbox.
Click the Create user button to finish the procedure.

As a SUPER_ADMIN user, you can change other users' plan.
Open the Manage users tab and find the user as described in the procedure above.
Navigate to this particular user's record in the search results or on the full user list, click the user's current plan. This will open the list of available plans.
Select the required plan from the list.

Click a user in the search results or on the full user list. This will open a detail view for the selected user.
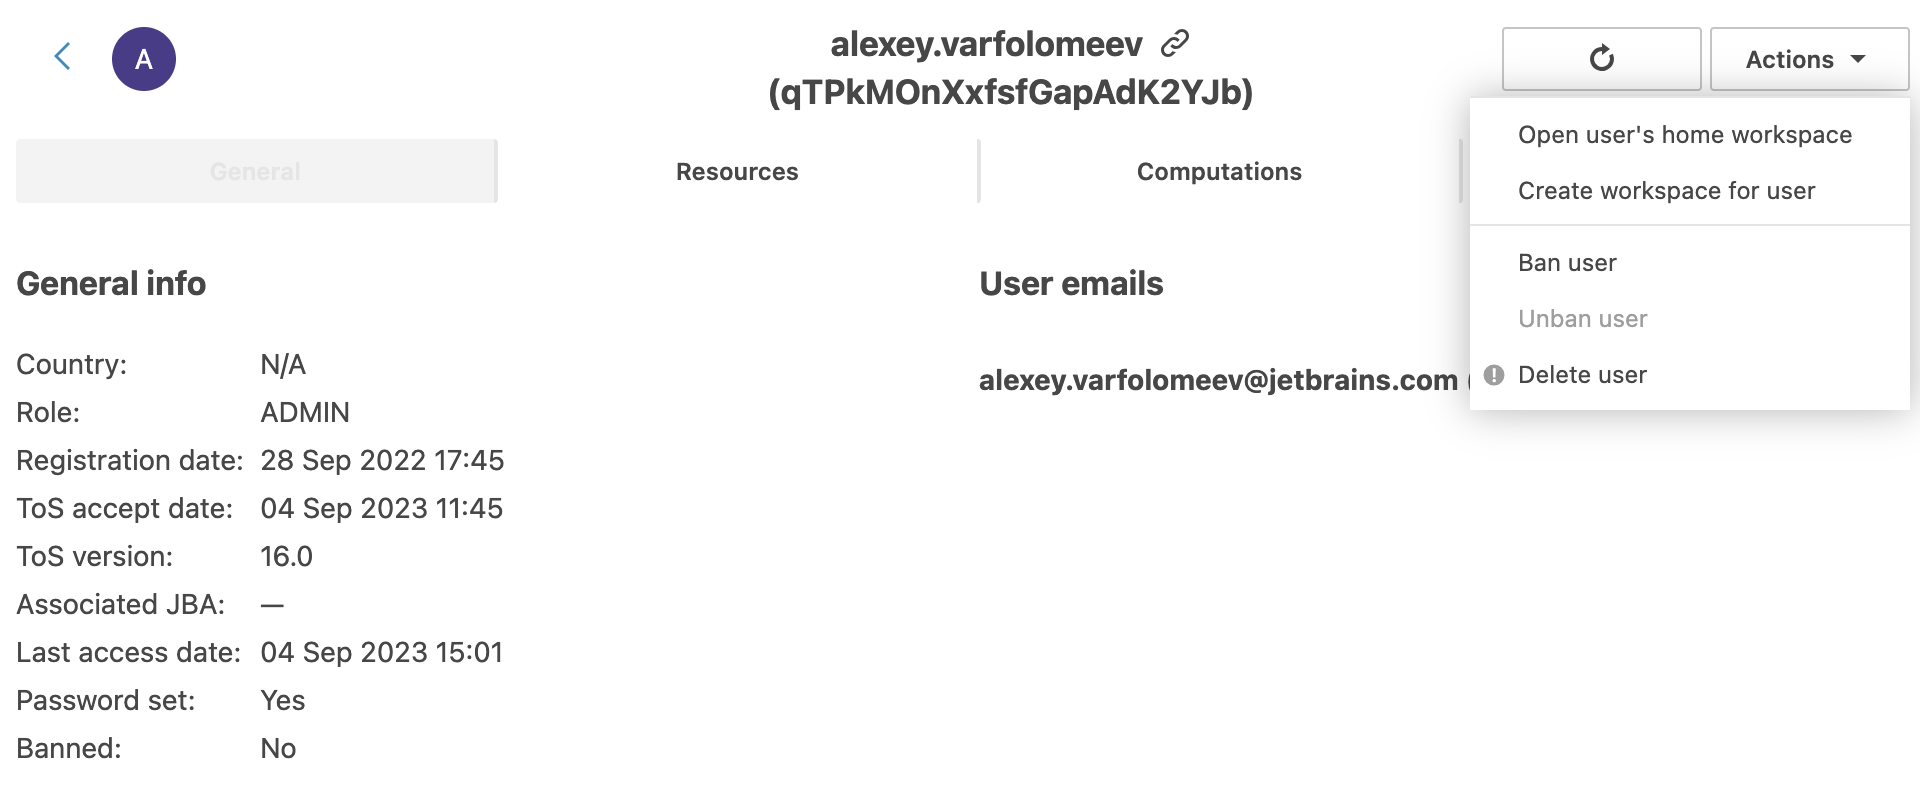
Switch between the General, Resources, Computations, Workspaces tabs to view the user's information.
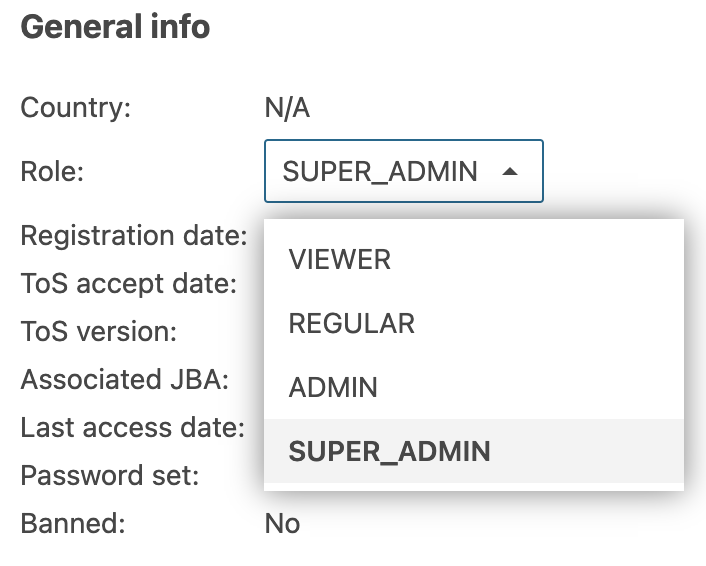
To change the user's role (VIEWER, REGULAR, ADMIN, or SUPER_ADMIN), switch to the General tab, click the current role, and select an option.

note
Only SUPER_ADMIN users can change other users' roles.
To confirm the user's email, click Verify email. Optionally, you can resend the verification email.
To open one of the user's workspaces, switch to Workspaces and select the required item.
To create a workspace for the user:
Expand the Actions menu and select Create workspace for user.
In the New workspace dialog, provide a title for the new workspace and click Create workspace.
To ban the user, expand the Actions menu and select Ban user. Banned users are not allowed to take any action in Datalore until unbanned, but their accounts stay in the system.
To unban the user, expand the Actions menu and select Unban user.
To delete the user, expand the Actions menu and select Delete user.
warning
This action permanently deletes all data associated with this specific user, including all notebooks and their published versions. Deleted data cannot be recovered.

As an administrator, you can set up whether users can register themselves or not.
Click the Disable registrations button at the top of the Manage users tab to ban users from registering themselves.
To re-enable user registrations, click Enable registrations.