Amazon Redshift
This is a general procedure of creating an Amazon Redshift database connection. Follow these instructions to use the interface of the New connection dialog for this particular database type.
Use the General tab of the New Amazon Redshift connection dialog to set up the parameters that are specific for this database type.
Configure an Amazon Redshift connection
Open the New Amazon Redshift connection dialog. Select the tab for one of the two options:
From the editor, to attach the new database to a specific notebook
From the Home page, to add a database connection to a workspace
Go to or click the Attached data icon on the left-hand sidebar.
Click New connection and select New database connection.
In the New database connection dialog, select Amazon Redshift.
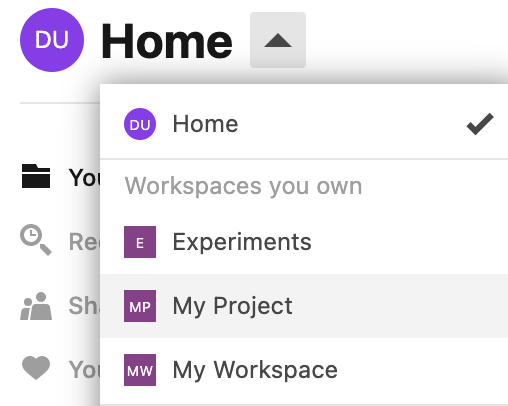
On the Home page, select the workspace where you want to create the connection.

Select Databases from the menu under the workspace name.
Click the Add connection button in the upper right corner. The New database connection dialog will open.
In the New database connection dialog, select Amazon Redshift.
On the General tab, select the connection type.
Default: to connect by specifying the Host, Port, and Database.
IAM cluster/region: to connect by using Database, Region, and Cluster.
URL only: to connect by providing the URL of a pre-built connection.
Proceed based on the selected connection type:
In the Host field, type your server address.
In the Port field, type the port of Amazon Redshift. The default port is 5439.
From the Authentication list, select the authentication method that you want to use to authenticate the connection. The following options are available:
User & Password: by using your login and password.
AWS Vault AppRole:by using AWS Vault for your AWS credentials. Visit this page for more details.
AWS profile: by using a named profile. A named profile is a collection of settings and credentials that you can use for authentication. Named profiles are stored in CREDENTIALS files. Default directories for these files are ~/.aws/credentials (Linux and macOS) and %USERPROFILE%\.aws\credentials (Windows).
No auth: without authentication.
In the User and Password, provide your credentials if required by the selected authentication type.
In the Database field, enter the name of the database to which you want to connect.
In the Region field, enter the AWS Region of the database that you are connecting to.
In the Cluster field, enter the name of Amazon Redshift cluster that contains your database.
From the Authentication list, select the authentication method that you want to use to authenticate the connection. The following options are available:
User & Password: by using your login and password.
AWS Vault AppRole:by using AWS Vault for your AWS credentials. Visit this page for more details.
AWS profile: by using a named profile. A named profile is a collection of settings and credentials that you can use for authentication. Named profiles are stored in CREDENTIALS files. Default directories for these files are ~/.aws/credentials (Linux and macOS) and %USERPROFILE%\.aws\credentials (Windows).
No auth: without authentication.
In the User and Password, provide your credentials if required by the selected authentication type.
In the URL field, provide the URL of the pre-built connection you want to establish.
Click the Test connection button at the bottom of the dialog.
Once the connection is successfully tested, click the Save and close button.
Results
If created for a specific notebook, the new connection will be automatically added to the workspace. You can later attach this database to any other notebook from this workspace.
If created for a workspace, this connection is added to the workspace databases and can be attached to any notebook from this workspace.