Database integration
Datalore provides a UI that allows you to create database connections, attach them to a notebook, and retrieve their data for your code.
Edit your database ACL
Unless you're using Datalore Enterprise (in a private cloud or on-premises) or SSH tunneling, whitelist Datalore's 63.33.83.29 IP address for your database connections to grant access.
Procedures
Add a database connection to a notebook
This procedure creates a database connection and attaches it to a specific notebook.
Go to or click the Attached data icon on the left-hand sidebar.
Click New connection and select New database connection.
In the New database connection dialog, use one of the two options:
Select a database type and configure it using the respective interface.
Read the procedure below to use this method.
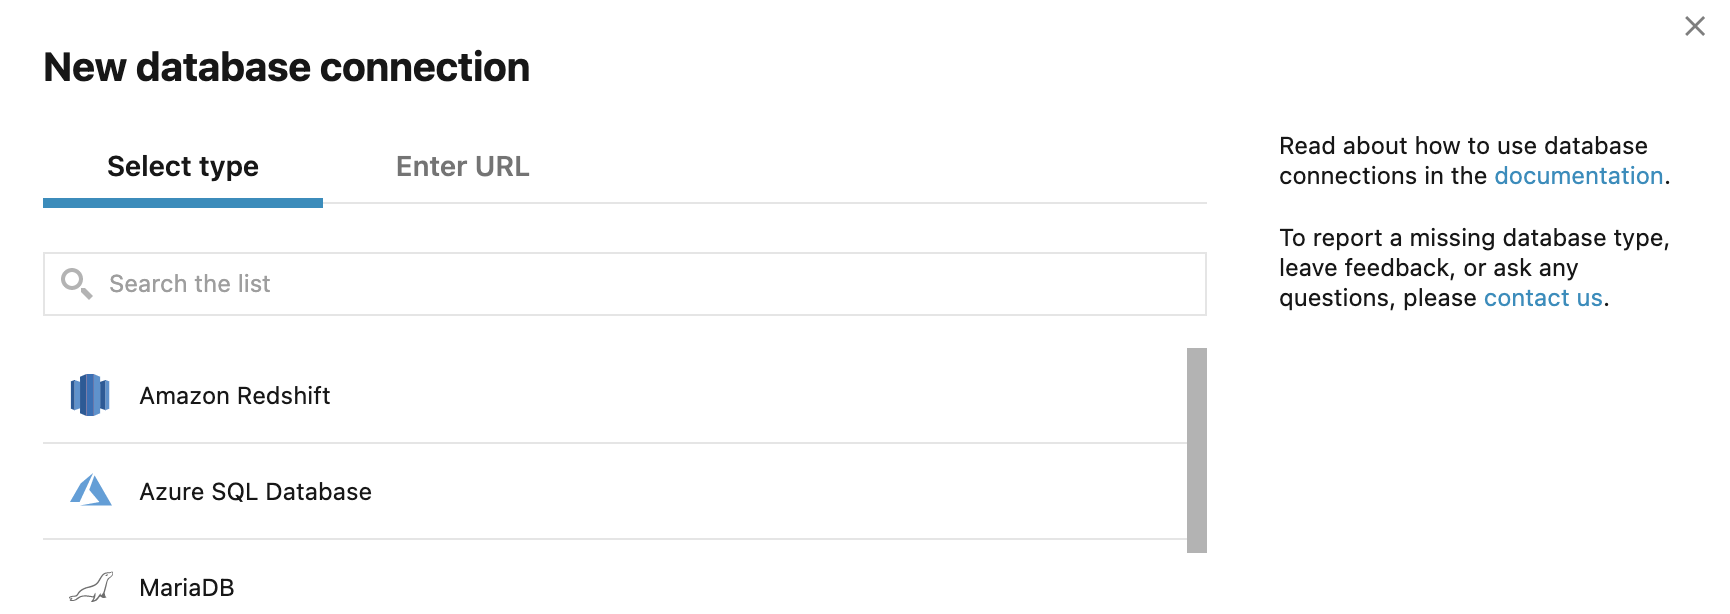
If you have a pre-built connection URL, switch to the Enter URL tab, provide the URL in the text field and click Next. This will open the connection dialog for the respective database type with all the fields pre-filled.

Configure a connection using database-specific interface
In the New database connection dialog, select a database type.
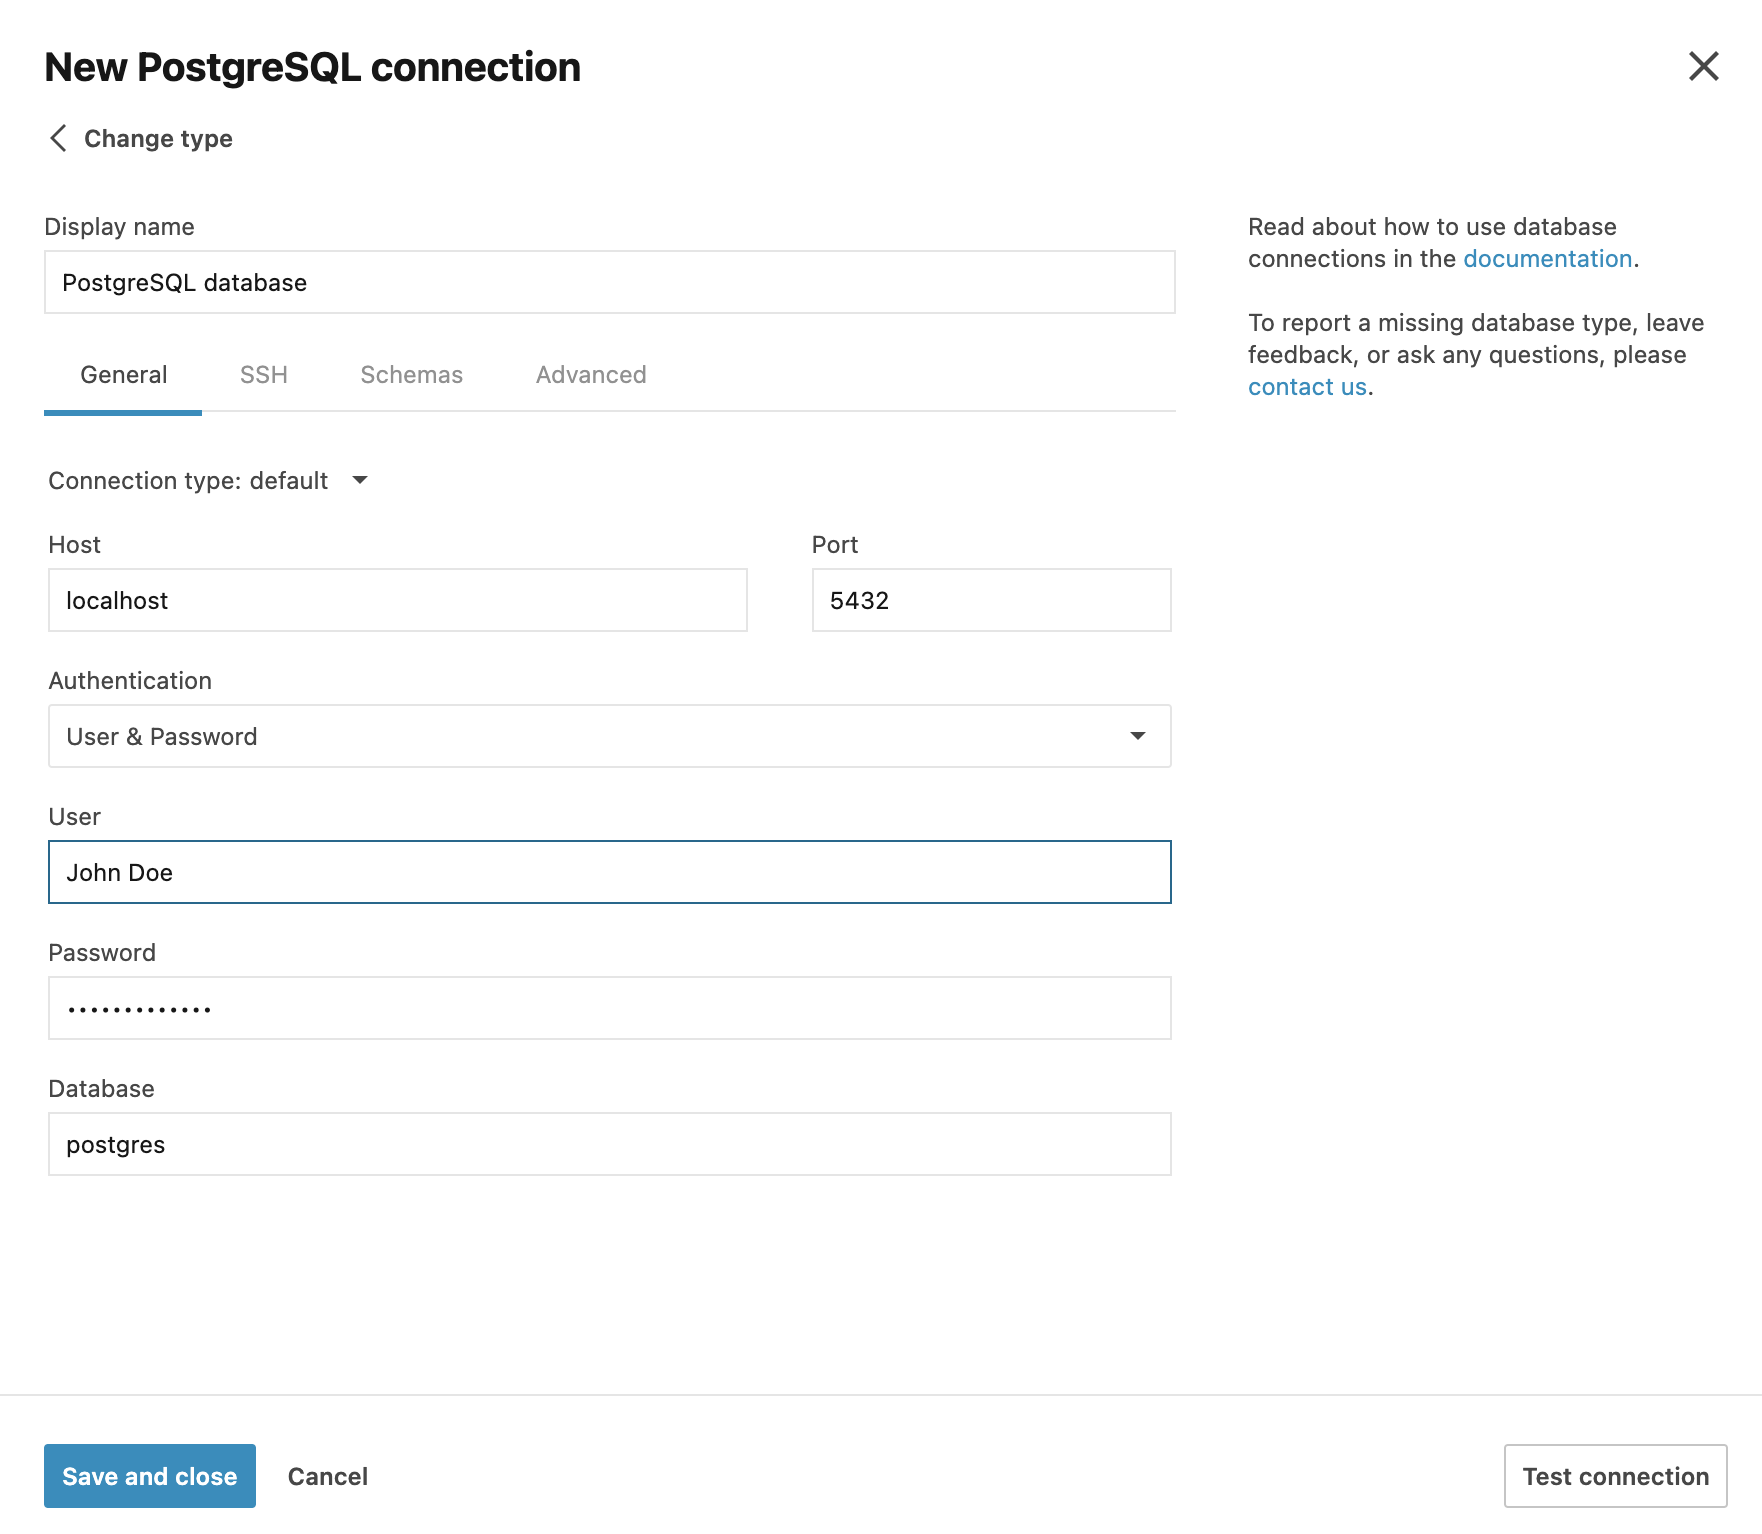
In the New [database_type_name] connection dialog, fill in the following fields:
On the General tab:
Select the connection type.
Default: to connect by specifying the Host, Port, and Database.
IAM cluster/region: to connect by using Database, Region, and Cluster.
URL only: to connect by providing the URL of a pre-built connection.
SID: to connect by using a unique name of an Oracle instance.
Service name: to connect by using an alias to an Oracle instance.
Select whether to use authentication.
Provide your user credentials if required by the connection type.
Specify the database if required by the connection type.
Select whether to use the IAM database authorization (where applicable).
On the SSH tab, enable SSH and configure an SSH connection. See more details in this procedure.
(Optional) Configure the database introspection scope on the Schemas tab:
Click Refresh to get the list of the database schemas.
Select or deselect schemas for introspection.
Click the Test connection button at the bottom of the dialog.
Once successfully tested, click the Create connection button.
Enable SSH tunneling
Datalore can create an SSH tunnel based on the parameters you configure in the New [database_type] connection dialog.
Switch to the SSH tab of the New [database_type] connection dialog.
Select the SSH checkbox.
Provide your connection details in the Host, Port, and User fields.
Use one of the two authentication types:
To use password-based authentication, fill in the Password field.
To use a key pair:
Expand the Authentication type list and select Key pair.
Under Key pair, expand the list and select one of the key pairs saved in your Account settings.
Actions after attaching a database connection
Once the database connection is attached to the notebook, you can do the following in Attached data:
Click New SQL cell to query the database
Click the database to expand the detail view and browse the schema
Click the vertical ellipsis to refresh the schema, edit the connection, or detach it from the notebook
The new database connection is attached to the notebook and added to the Databases list on the home page of the respective workspace.
Edit database introspection scope
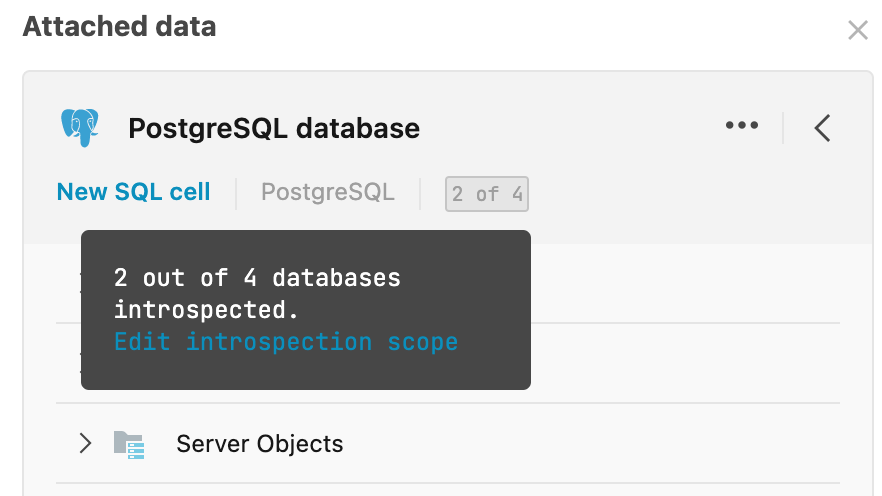
You can always edit the list of introspected schemas for an established connection in Attached data:
Click the connection to open the detail view.
Hover over the introspected schema indicator next to the database name and click Edit introspection scope.
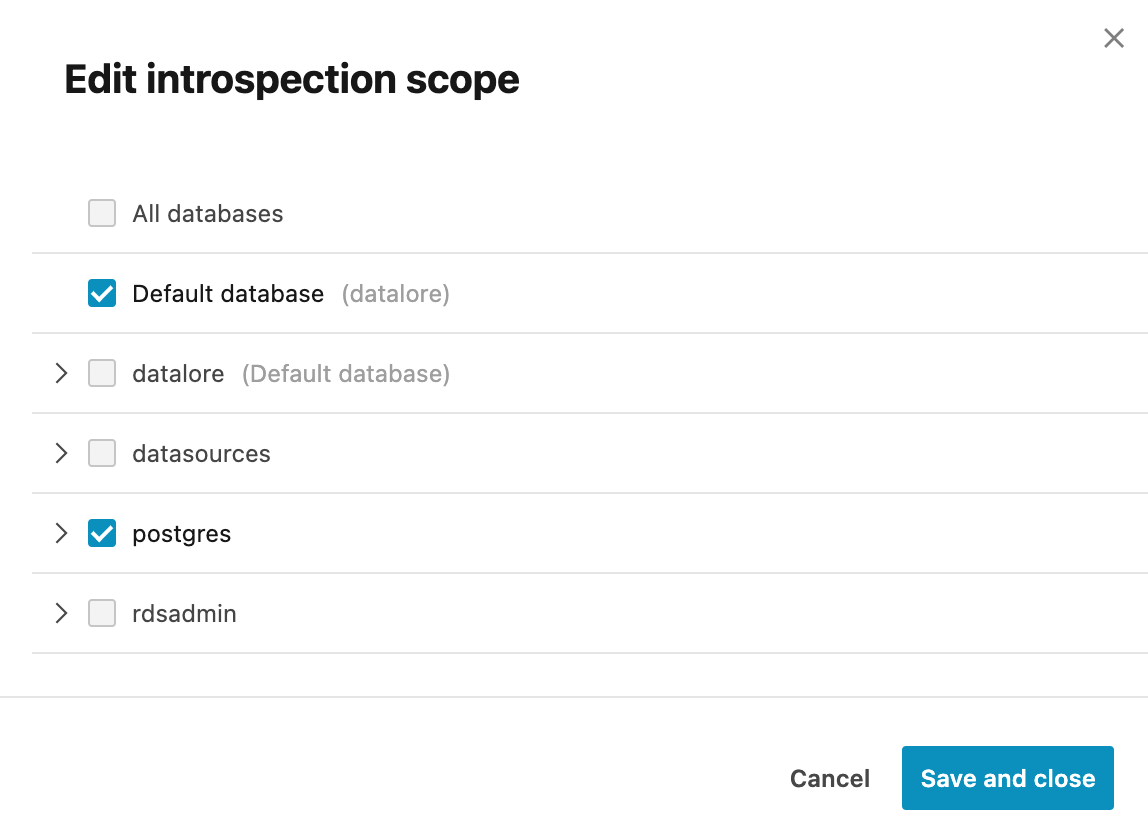
Select or deselect the list items in the Edit introspection scope dialog and click Save and close to finish the procedure.
Manage additional parameters for your connection
Use the Advanced tab of the database connection dialog to manage additional parameters. For example, you can manage your JDBC driver custom options here.
Switch to the Advanced tab of the dialog.
Click Add key-value pair to add a parameter and its value.
Repeat the previous step for each parameter required for your connection.
Click Save and close to finish your work in the dialog or switch to another tab to continue creating the connection.
Add a database connection to a workspace
You can open the database connection interface from your Home page. In this case, the new database connection will be added to the workspace without being attached to any specific notebook.
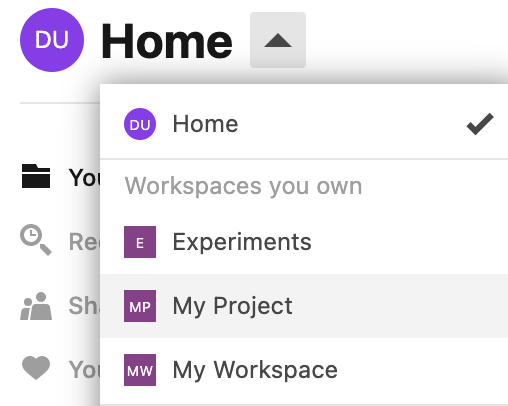
On the Home page, select the workspace where you want to create the connection.
Select Databases from the menu under the workspace name.
Click the Add connection button in the upper right corner. The New database connection dialog will open.
Perform steps 3 to 7 from the procedure above to create the database connection.
The newly created connection is added to the Databases list on the home page of the respective workspace. 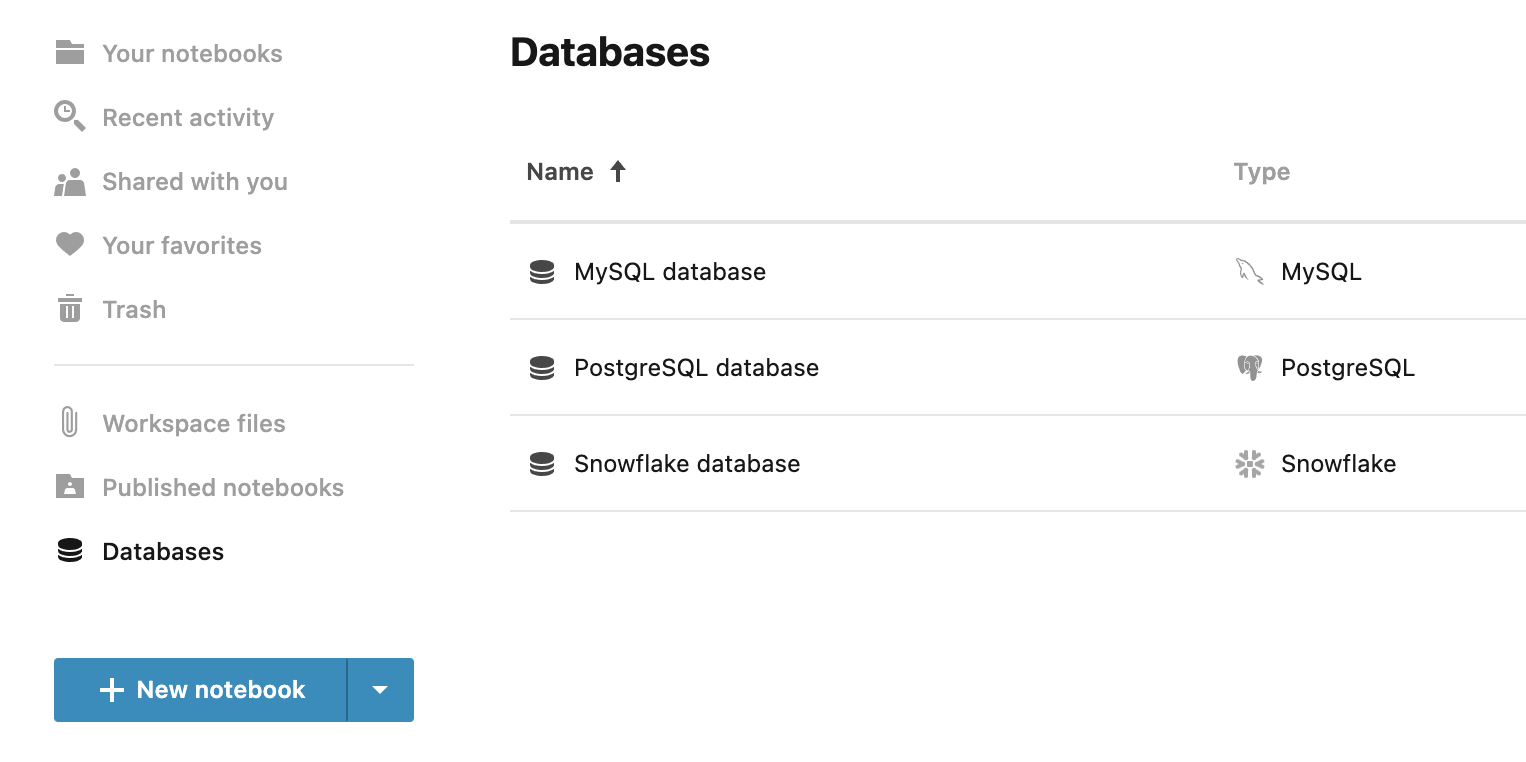
Attach a database connection to a notebook
You can attach to a notebook a database connection you previously created for the respective workspace.
Go to or click the Attached data icon on the left-hand sidebar.
Click Select data to attach to expand the list.
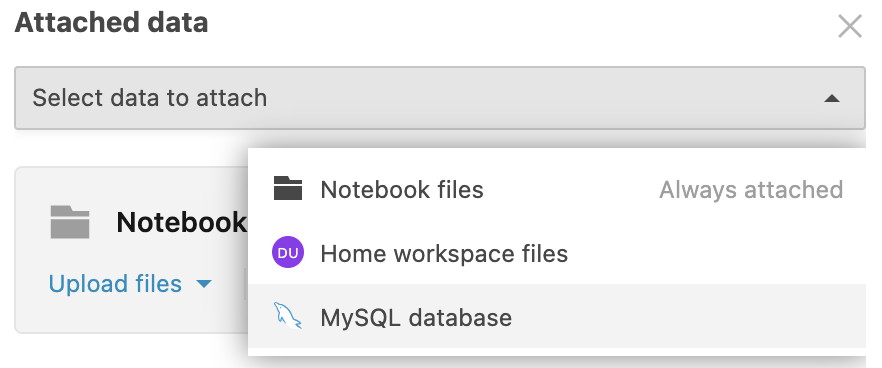
From the list, select the database connection you want to attach to the notebook.
Use the demo database
If you are new to the feature, you can attach our demo database to check how databases and SQL cells work in Datalore.
In the editor, open the Attached data tool.
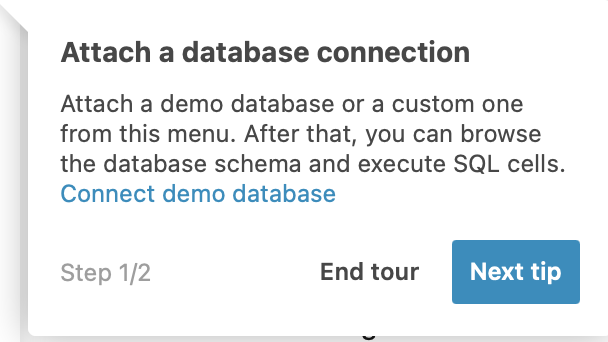
Click Take a tour on the banner.
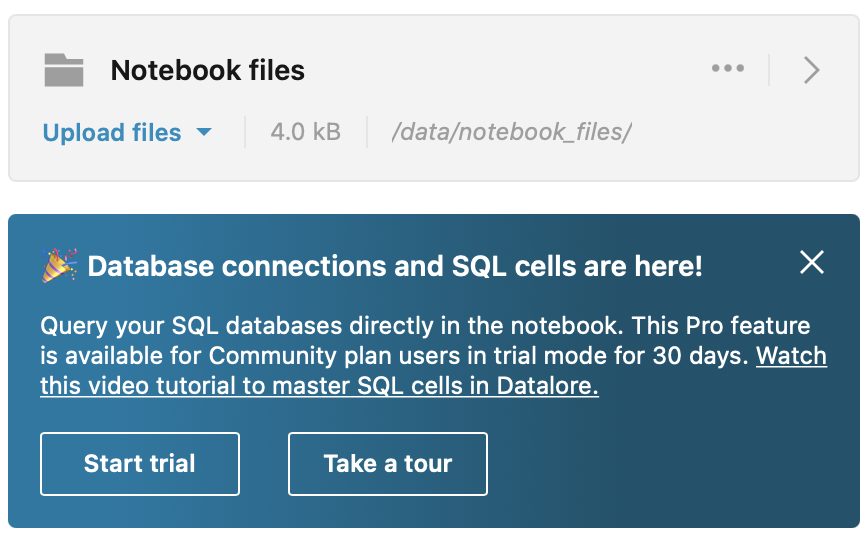
In the Attach a database connection popup, click Connect demo database.
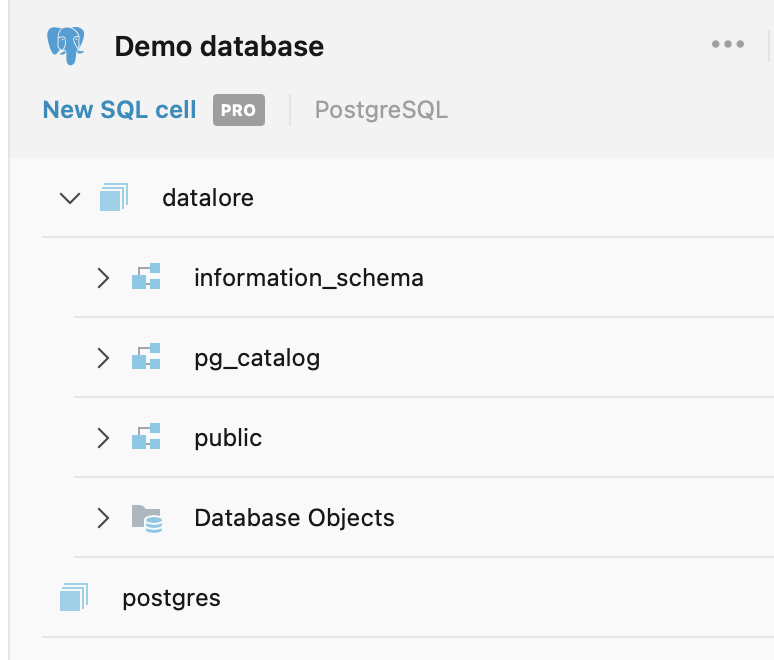
In the attached data sources, click the added database to view the details and browse the schema.
If you chose not to take a tour and want to add the demo database later on, use the following credentials:
SQL cells
Use SQL cells to query attached databases and retrieve data as tabular data objects. We recommend that you watch our video on SQL cells.
Query a database in an SQL cell
Add an SQL cell:
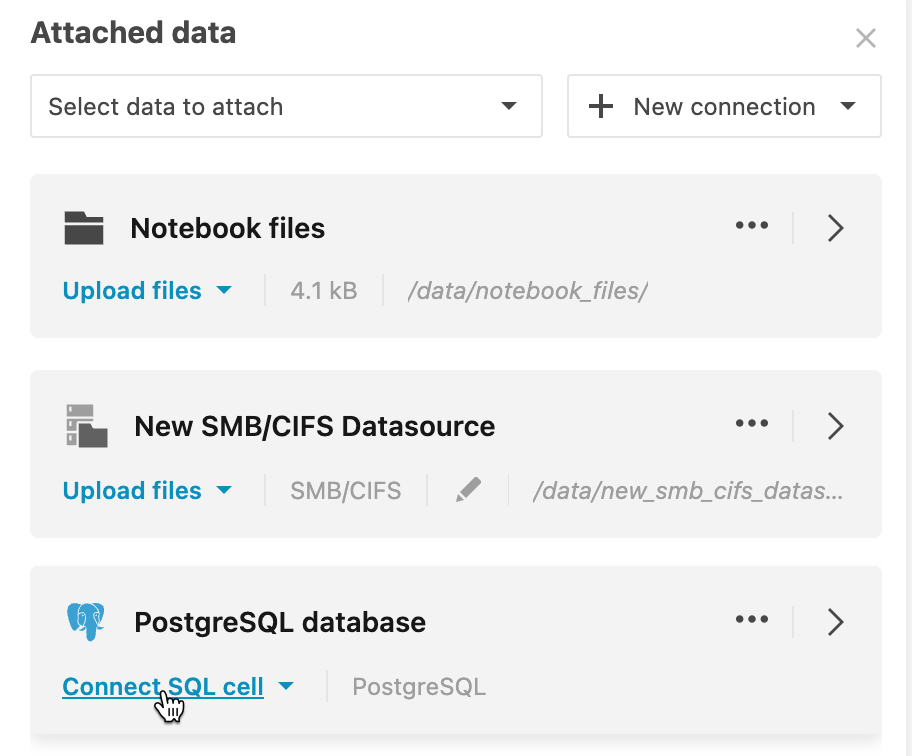
Go to and click Connect SQL cell for the attached database that you want to query.
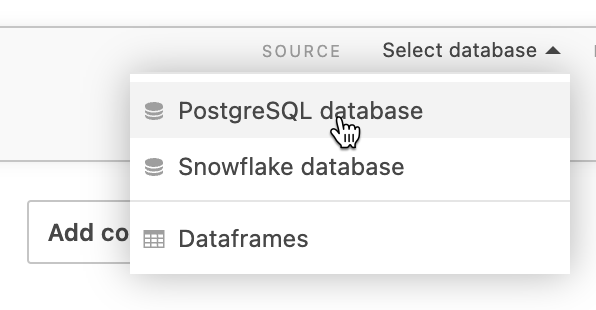
Hover over the bottom border of a cell and select . If there are several attached databases, in the cell, click Select database and select the required data source.
Enter an SQL statement.
Run the query (Run icon or Control, +, Enter shortcut). The result set will be shown in the output and saved to a DataFrame. The resulting DataFrame name is shown in the cell toolbar.
(Optional) To rename the data object, click the object name next to RESULT SAVED TO on the SQL toolbar.
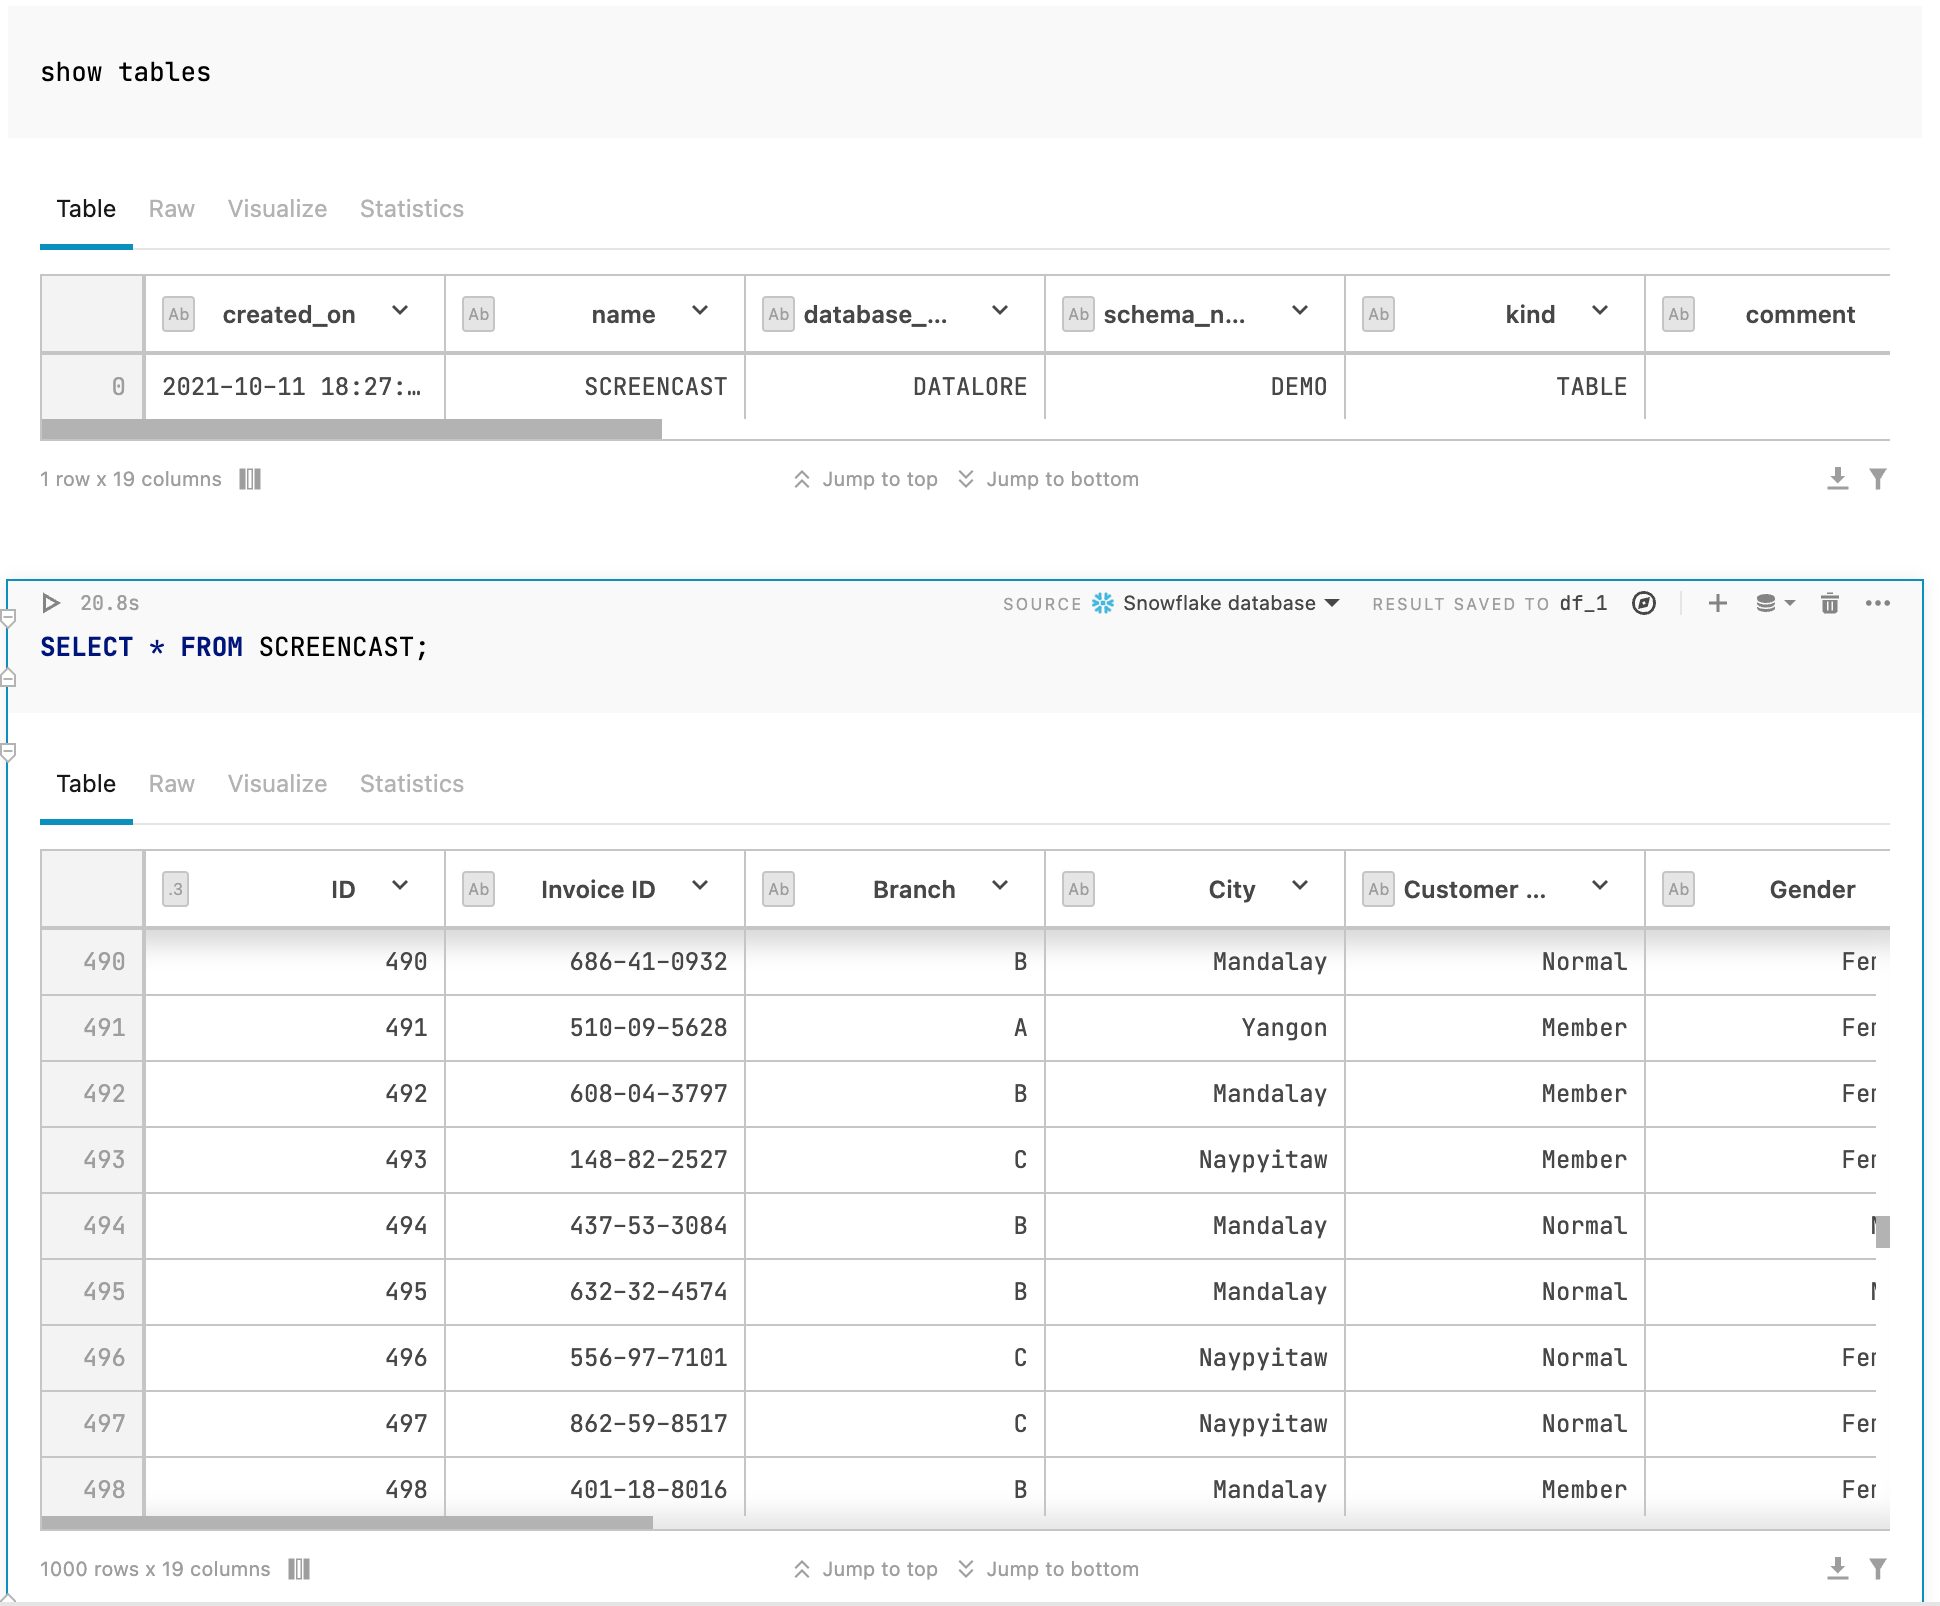
SQL cell usage example
Below is an example of two SQL cells used to work with a Snowflake database.
Parameterized SQL queries
You can use Python variables in your SQL queries in Datalore. Such queries can be reused repeatedly with different values, which helps make your reports more interactive.
Supported variable types are: strings, numbers, booleans, and lists. Make sure you place your variable inside {} brackets.
Parameterized SQL query example
In the image below, you can see two cells:
Dropdown interactive control cell using the
methodvariable.SQL cell where the value in payment column equals the
methodvariable value selected from the dropdown list.

Table parametrisation for SQL cells
To ensure SQL injection protection, Datalore uses an unsafe parameter filter for SQL cell statements. The syntax is as follows:
In the code example above, the {table_name | unsafe} part will assume the value of the table_name variable.
Database sharing options
- Shared workspace
Editors can create and edit database connections.
Editors can create and run SQL cells to access the connected databases.
Viewers can view the connection list and respective database schemas
- Home workspace notebook
Editors can create and execute SQL cells to access connected databases.
Viewers can only view the currently attached database connections.
Clone database connections to other workspaces
Clone database connections to other workspaces without associated credentials.
On the Home page, select Databases from the left-hand menu.
On the Databases list, click the ellipsis icon for the database connection you want to clone.
From the expanded menu, select if you want to clone the database connection to this or other workspaces. If you chose the current workspace, the connection will be added to the list, which will conclude the procedure. Read the further steps if you selected cloning to other workspaces.
In the Clone [database_connection_name] to other workspaces dialog, expand the Workspaces dropdown list.
Select the workspaces where you want to clone the database connection and click anywhere outside the dropdown.
Click the Clone button. This will close the dialog, followed by a success notification.