PostgreSQL
This procedure explains how to configure a PostgreSQL database connection.
- Before you begin
Make sure your database instance is configured to accept incoming connections from the following IP address:
63.33.83.29
Configure a PostgreSQL database connection
Open the New PostgreSQL connection dialog.
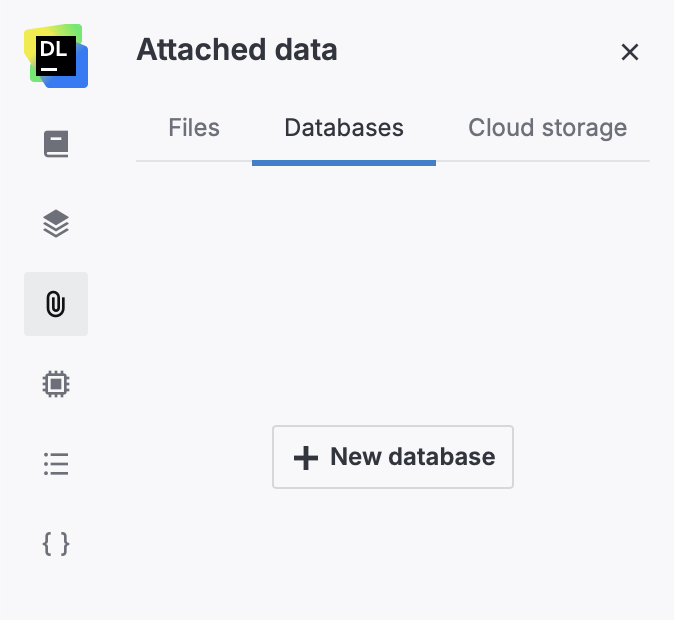
Open the Attached data tool from the left-hand sidebar.
Switch to the Databases tab. You will see the list of all database connections available from the respective workspace.
Click
New database.

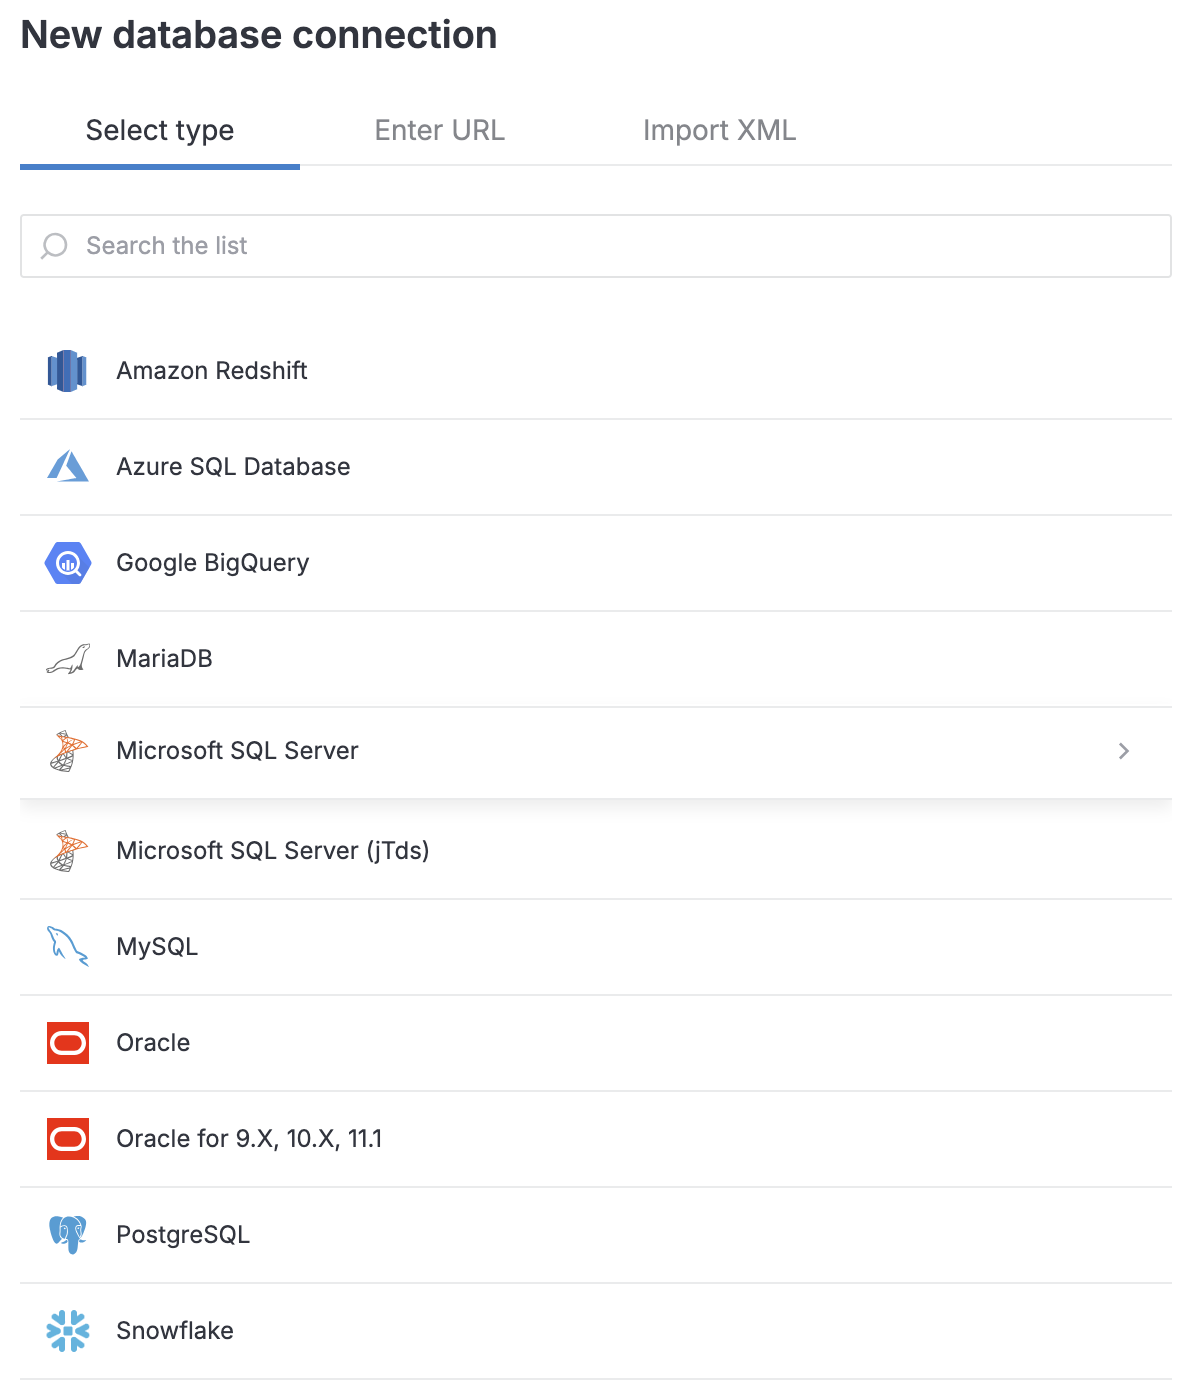
In the New database connection dialog, select PostgreSQL.
In the sidebar on the Home page, select the workspace where you want to create a PostgreSQL connection.
In the workspace resources, select
Data and switch to the Databases tab.

Click
New database connection at the top right.
In the dialog, select
PostgreSQL.

On the General tab, select the connection type.
default: to connect by specifying the Host, Port, and Database.
URL only: to connect by providing the URL of a pre-built connection.
(For default) In the Port field, type the port of PostgreSQL Databse. The default port is 5432.
Under Authentication, select an authentication method:
User & Password: to use your login and password
No auth: to connect without authentication required
In the User and Password fields, specify your credentials if required by the selected authentication method.
Based on the selected connection type:
In the Default dataset field, type the dataset name to which you want to connect.
In the URL field, provide the URL of the pre-built connection you want to establish.
(Optional) For other options (SSH tunneling, scope inspection, or additional connection parameters), switch to the respective tab of the dialog and follow one of these procedures.
Click the Test connection button at the bottom of the dialog.
Once the connection is successfully tested, click the Create and close button.
Attach the connection to a notebook
If the notebook is not running, start it by clicking .
In the sidebar, select Attached data and switch to the Databases tab.
Enable the toggle in your PostgreSQL connection.
Open the notebook you want to attach the connection to.
If the notebook is not running, start it by clicking .
In the sidebar, select Attached data and switch to the Databases tab.
Enable the toggle in your PostgreSQL connection.
Next steps
To retrieve and process data from the connected database, use Query data with SQL cells.
Learn how to manage and delete database connections in a workspace and in a notebook.