Use AI prompts to explain and refactor your code
This functionality relies on the AI Assistant plugin that requires an additional license.
For more information about licensing and enabling AI Assistant, refer to JetBrains AI Service licensing and Enable AI Assistant plugin.
Use pre-written prompts to explain code, refactor, and find problems in your code. DataSpell provides project-specific context, such as the languages and technologies used in your project.
You can also define your own custom prompts and add them to the AI Actions menu, or modify the built-in prompts.
Select a code fragment and right-click it to open the context menu.
Alternatively, select a code fragment and press .
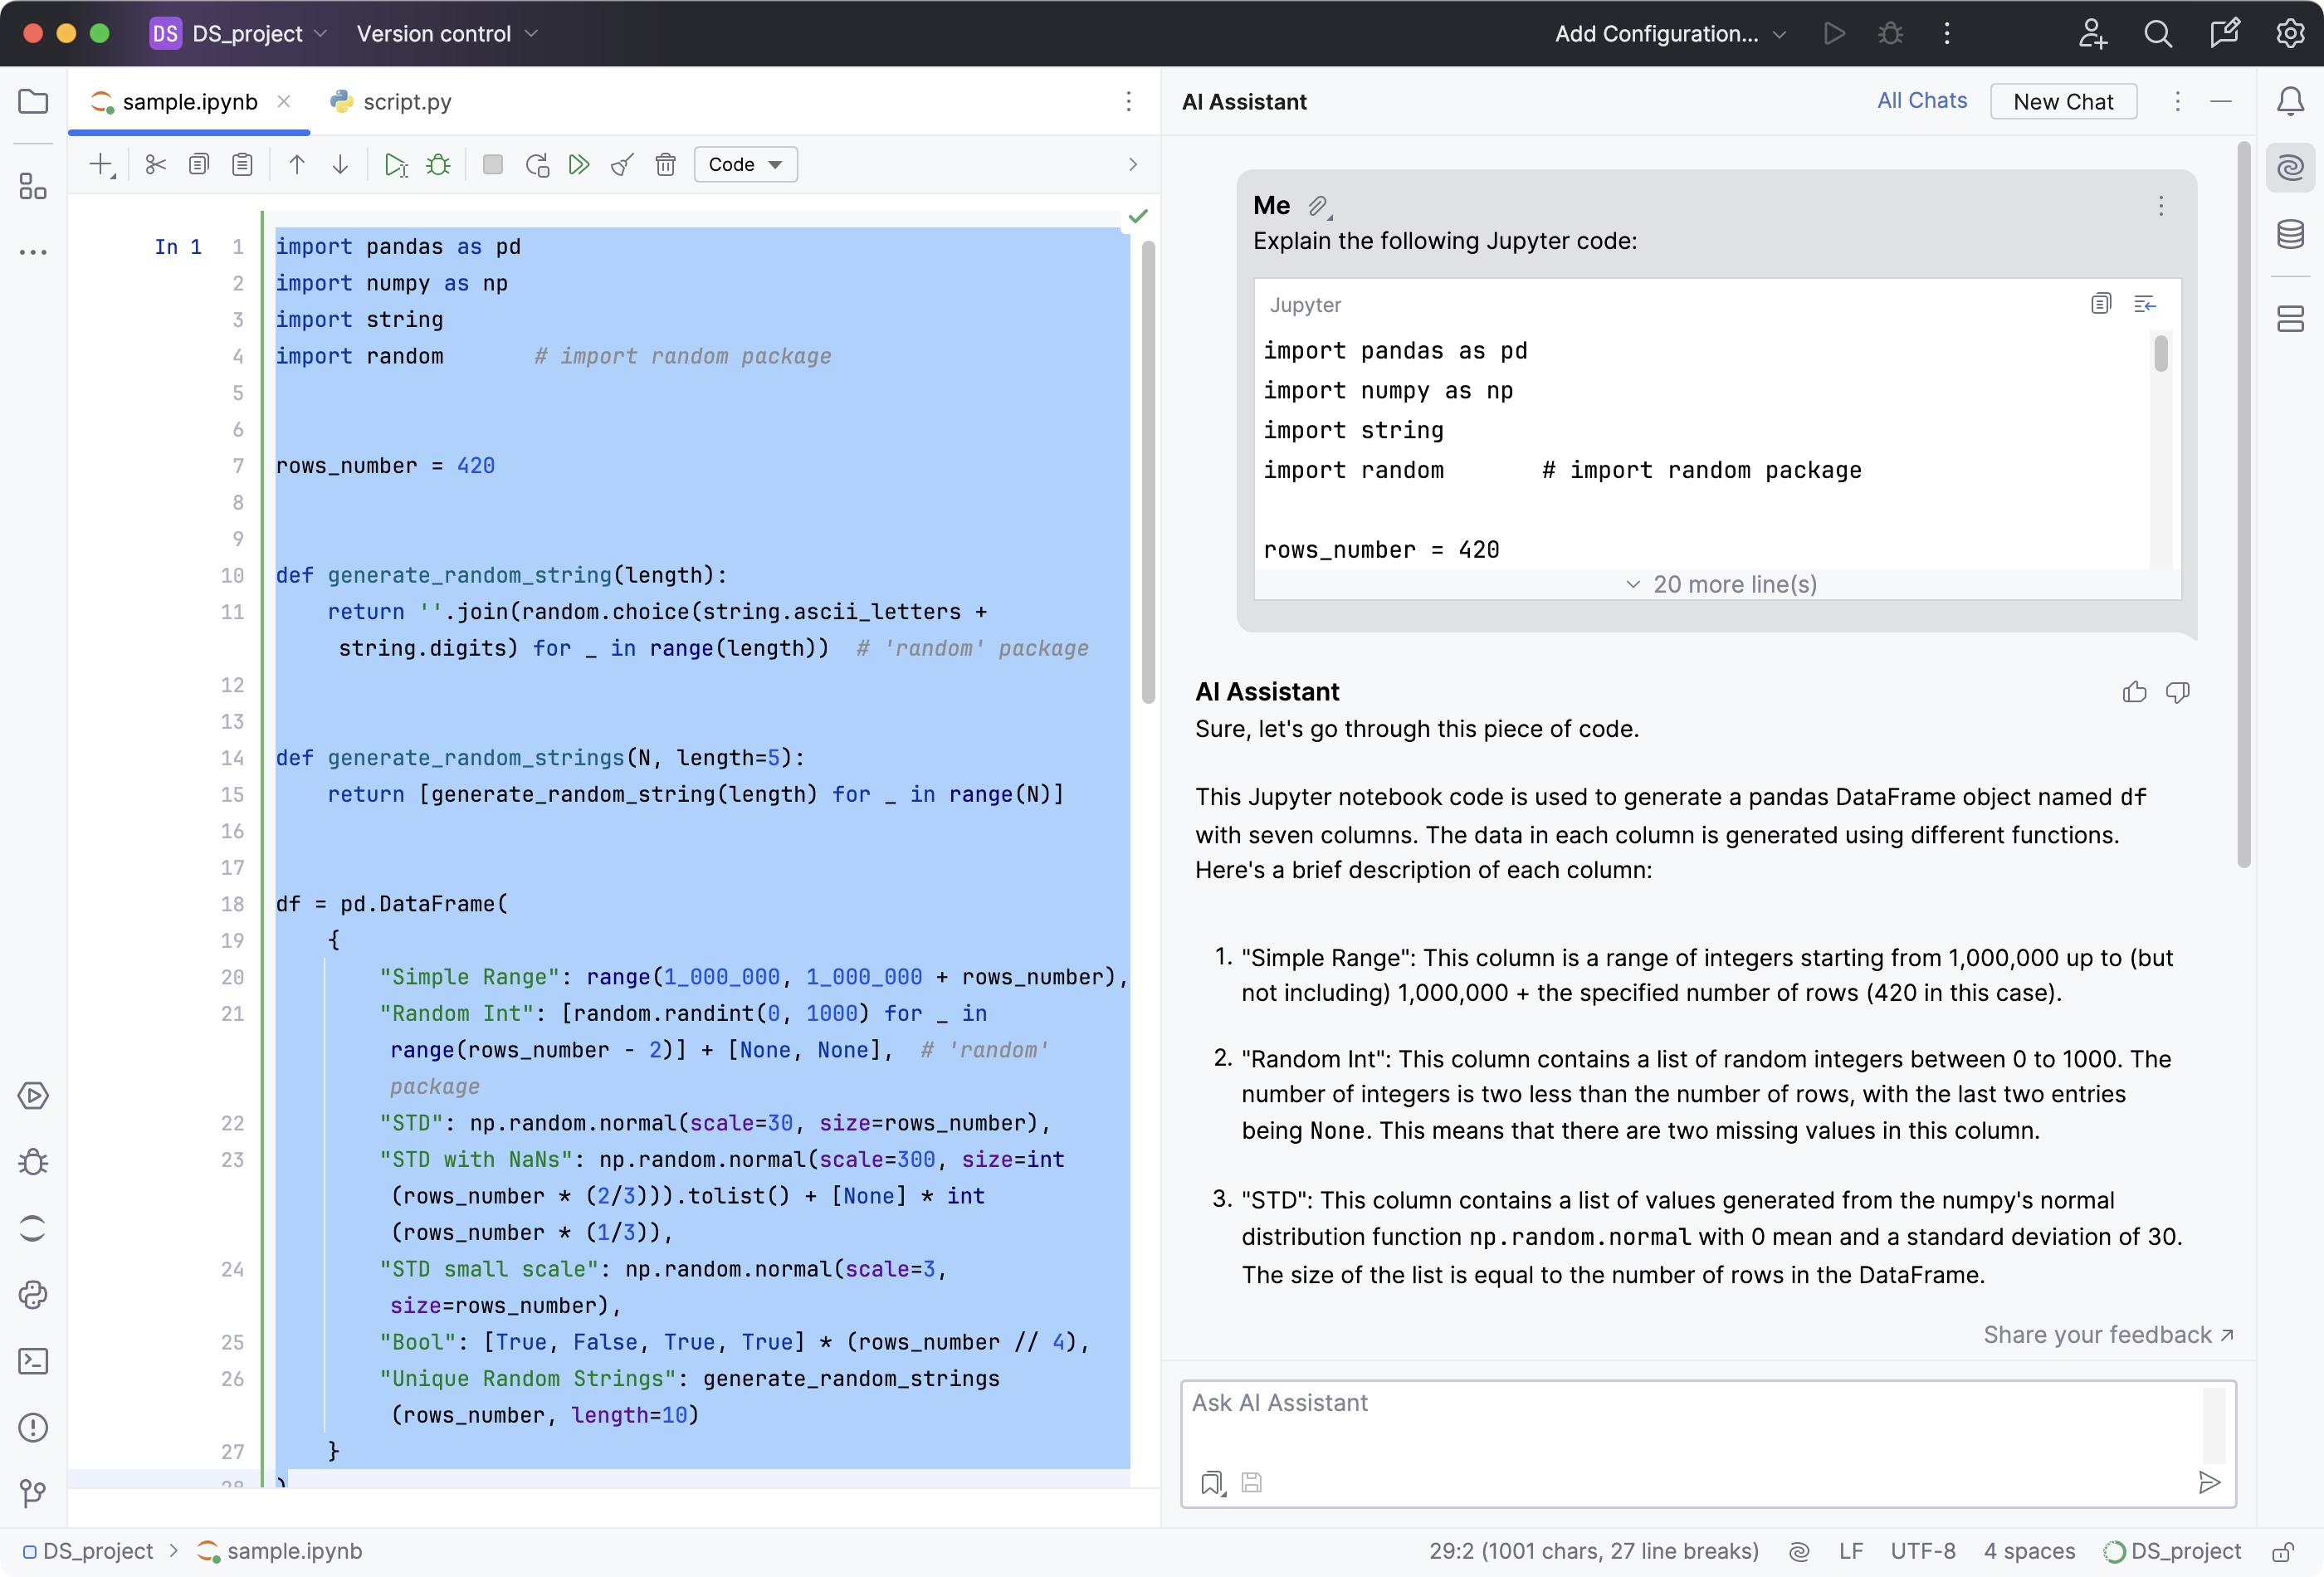
Select AI Actions and then Explain Code.
The AI Assistant tool window will open to provide you with an explanation.
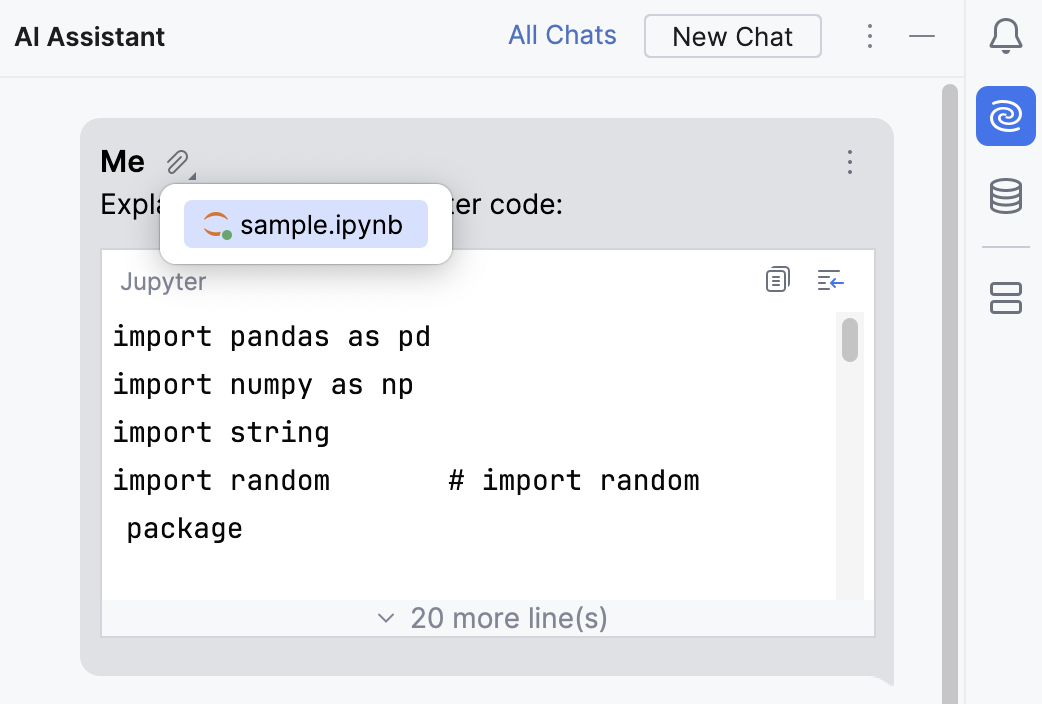
Click
Attached elements to see the list of files that provided the necessary context for generating the answer.
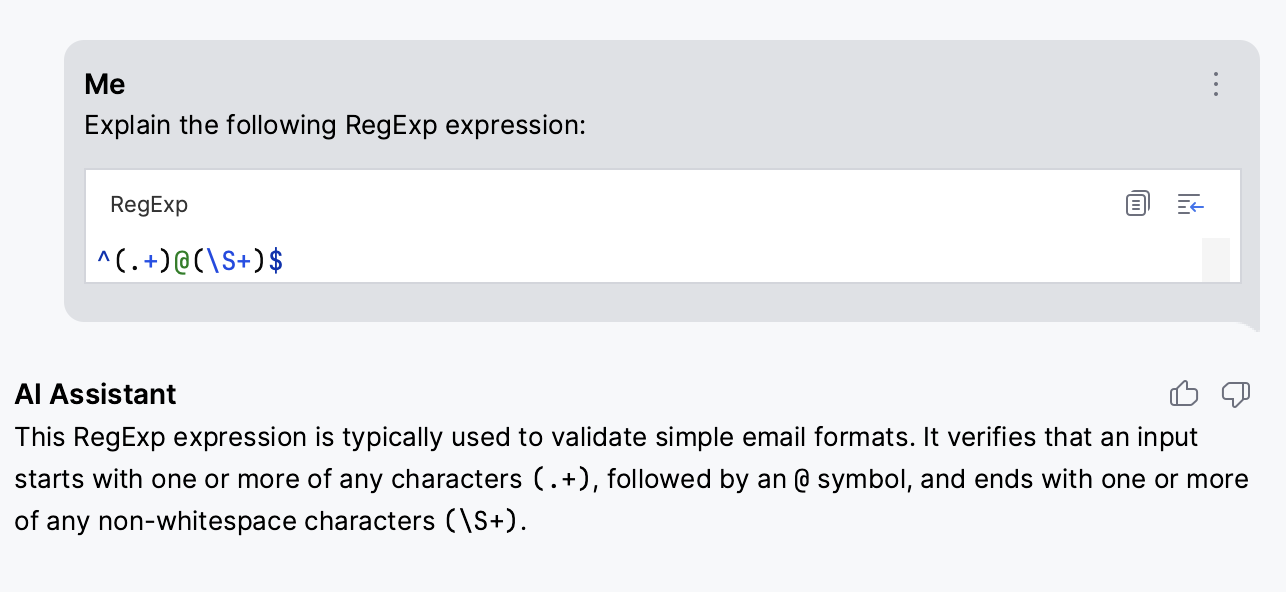
AI Assistant can explain regular expressions, SQL queries, cron expressions, and other injected fragments.
Select a code fragment and right-click it to open the context menu.
Alternatively, select a code fragment and press .
Select AI actions and then Explain code.
AI Assistant will analyze and explain the fragment.
Select a code fragment and right-click it to open the context menu.
Alternatively, select a code fragment and press .
Select AI Actions and then Suggest Refactoring.
The AI chat will open to offer you refactoring suggestions.
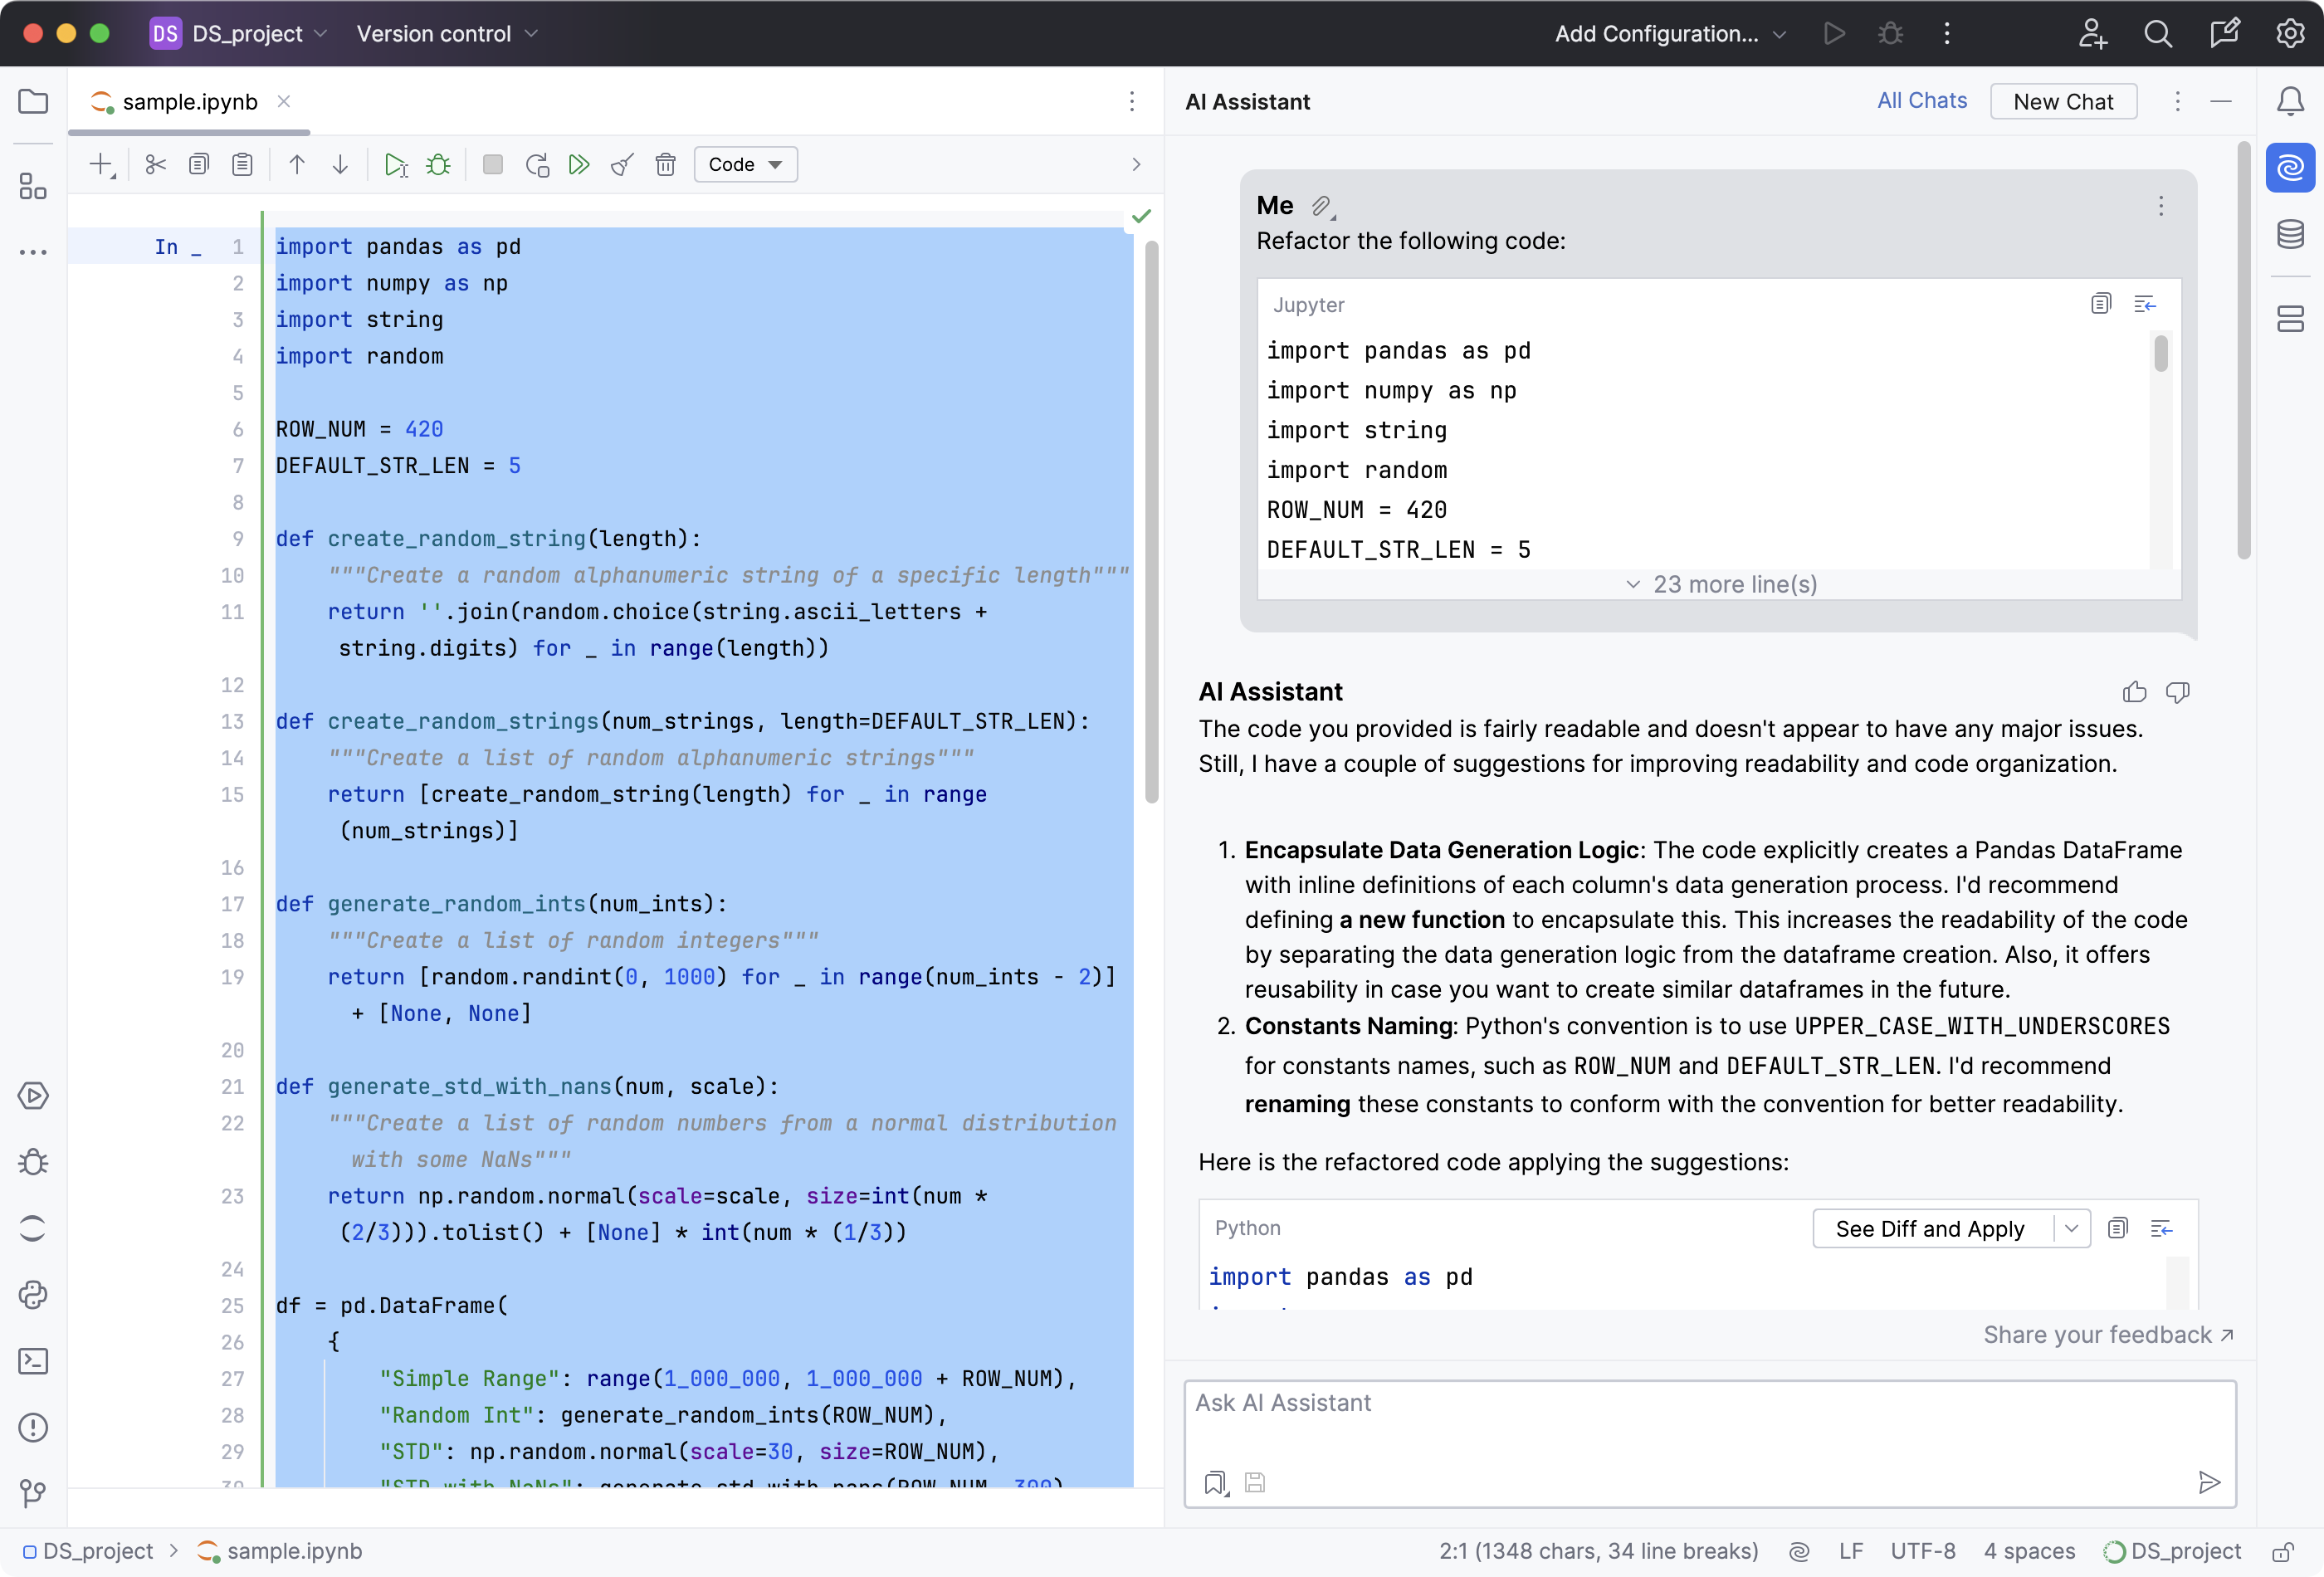
In the field with the refactored code, click Show Diff to open the diff viewer. To skip the diff viewing step, expand the list next to Show Diff and select Apply Immediately.
In the diff viewer, use Unified or Two-Side view to review the suggested changes.
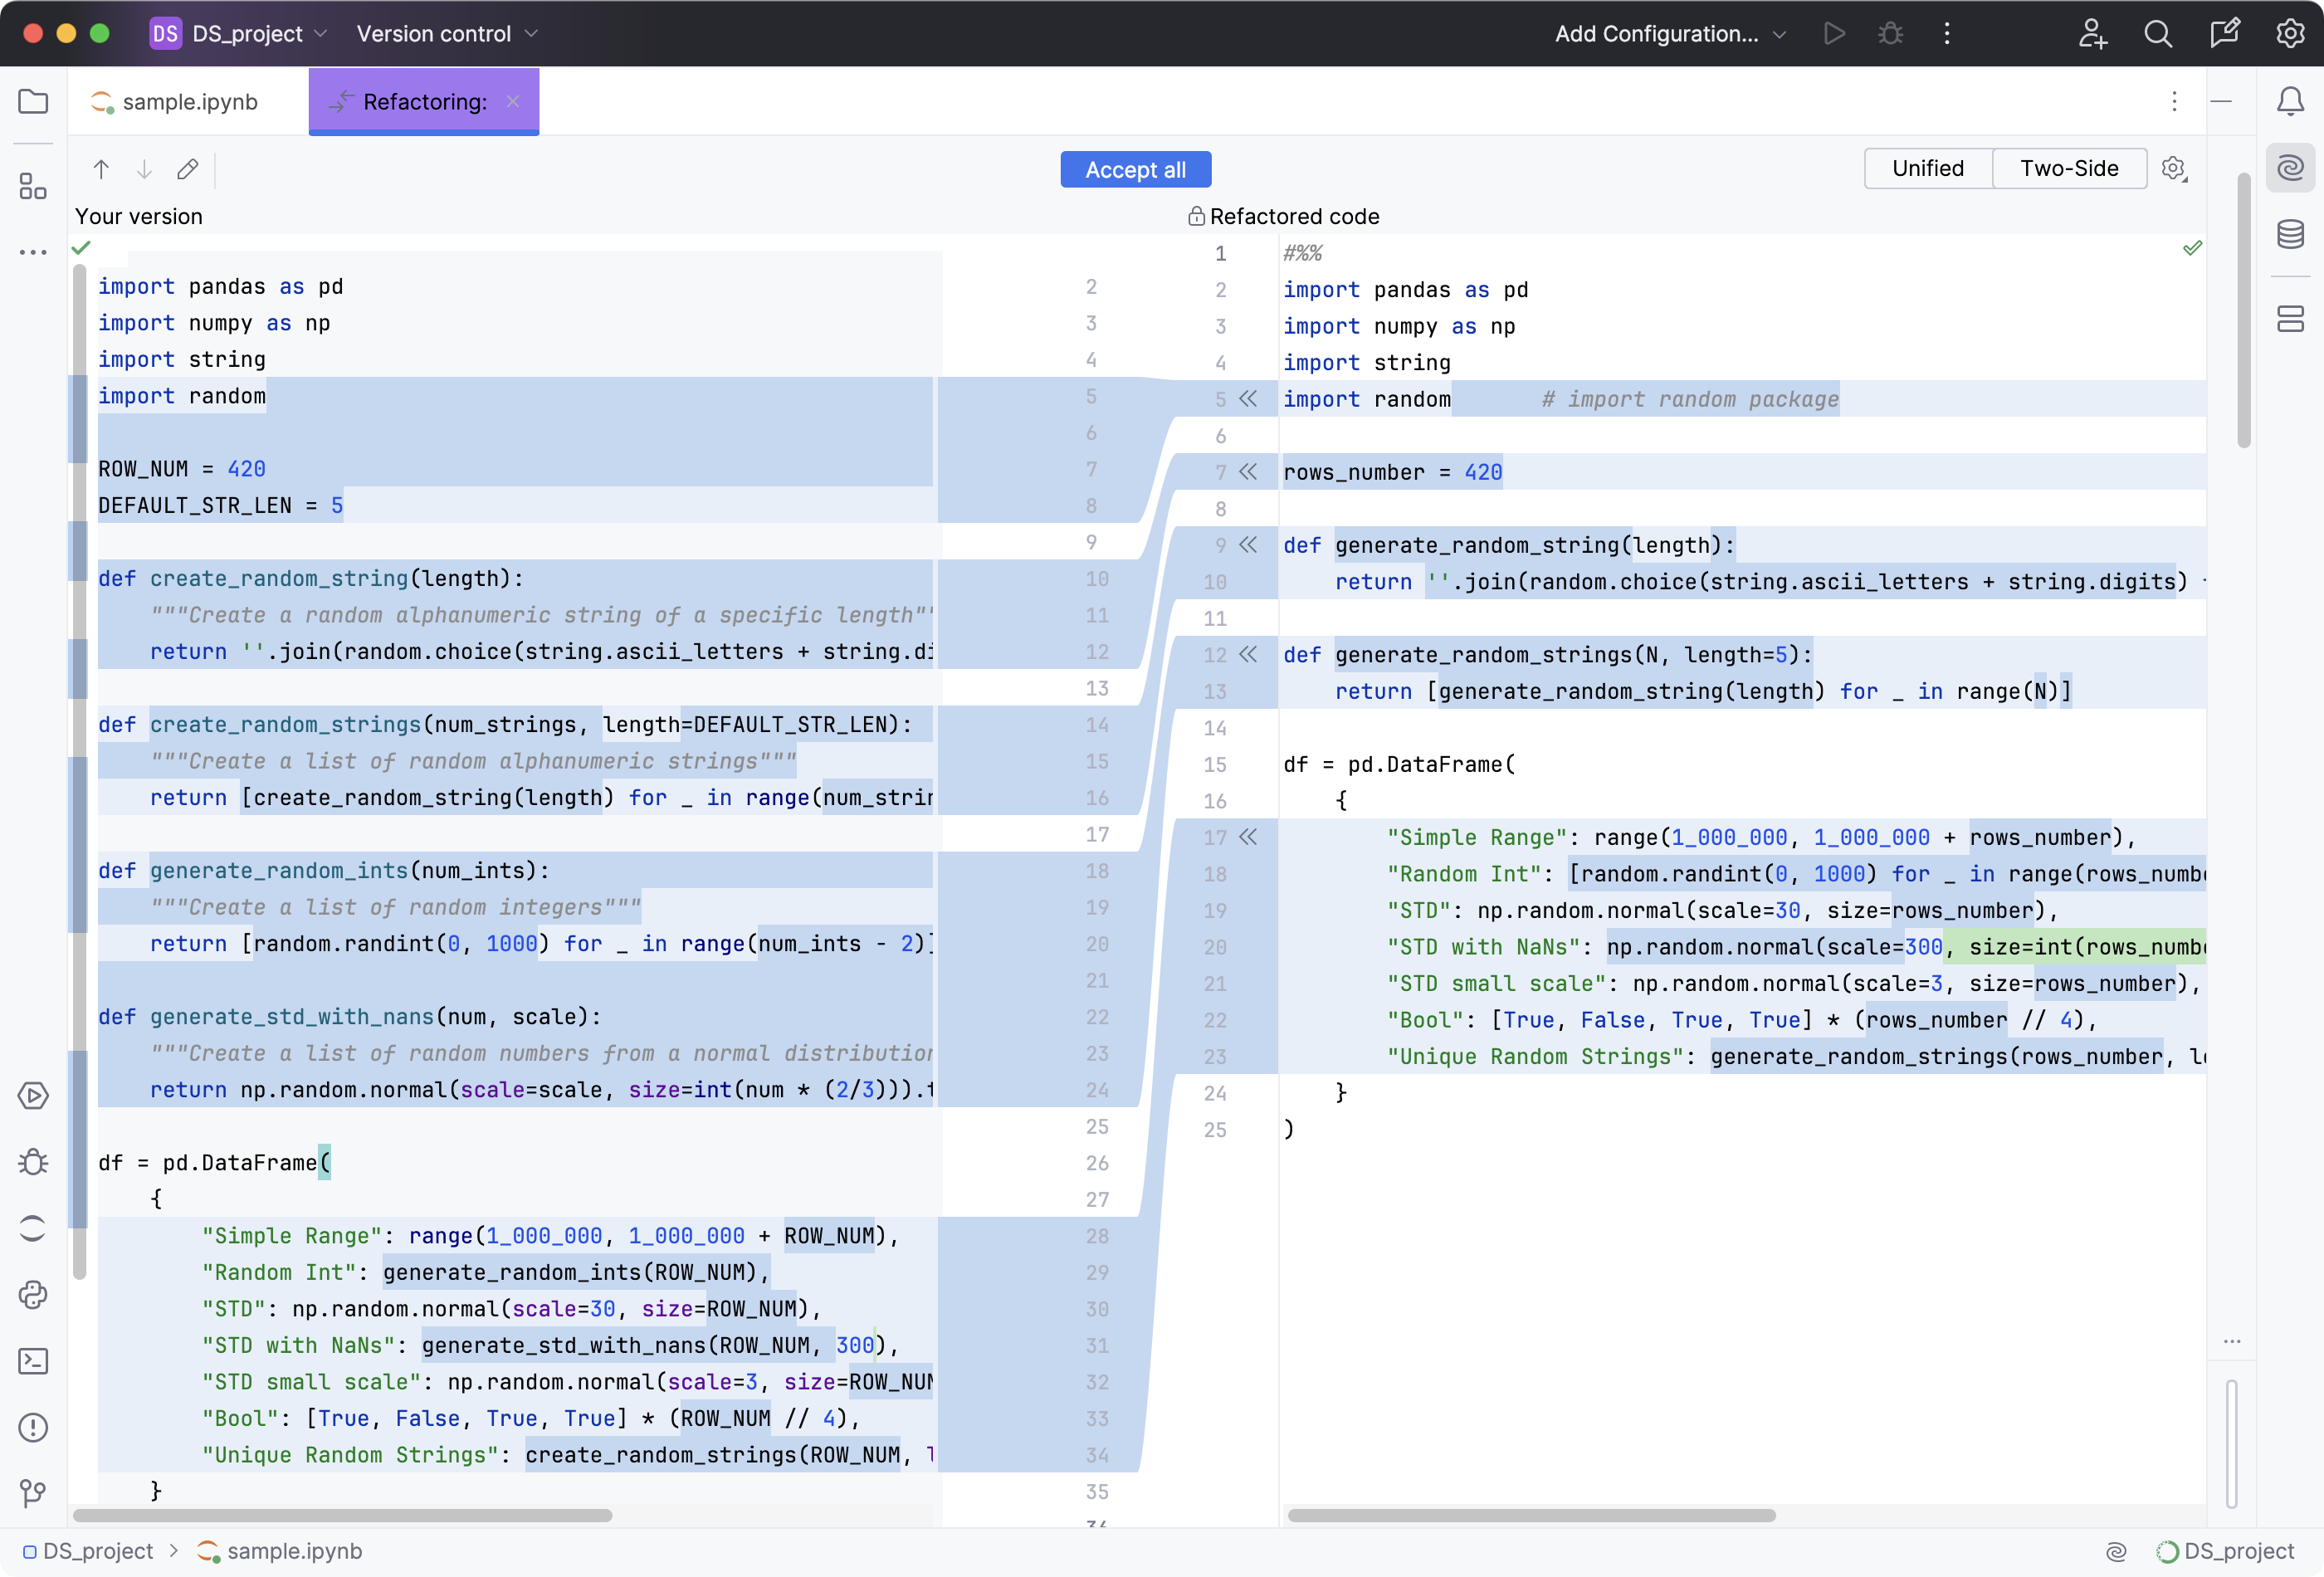
If you like the result, click
Accept in the gutter to move the selected AI-generated code snippets to the source file, or click Accept all to fully replace the originally selected code fragment. Otherwise, close the diff viewer to skip the suggested refactoring.
Select a code fragment and right-click it to open the context menu.
Alternatively, select a code fragment and press .
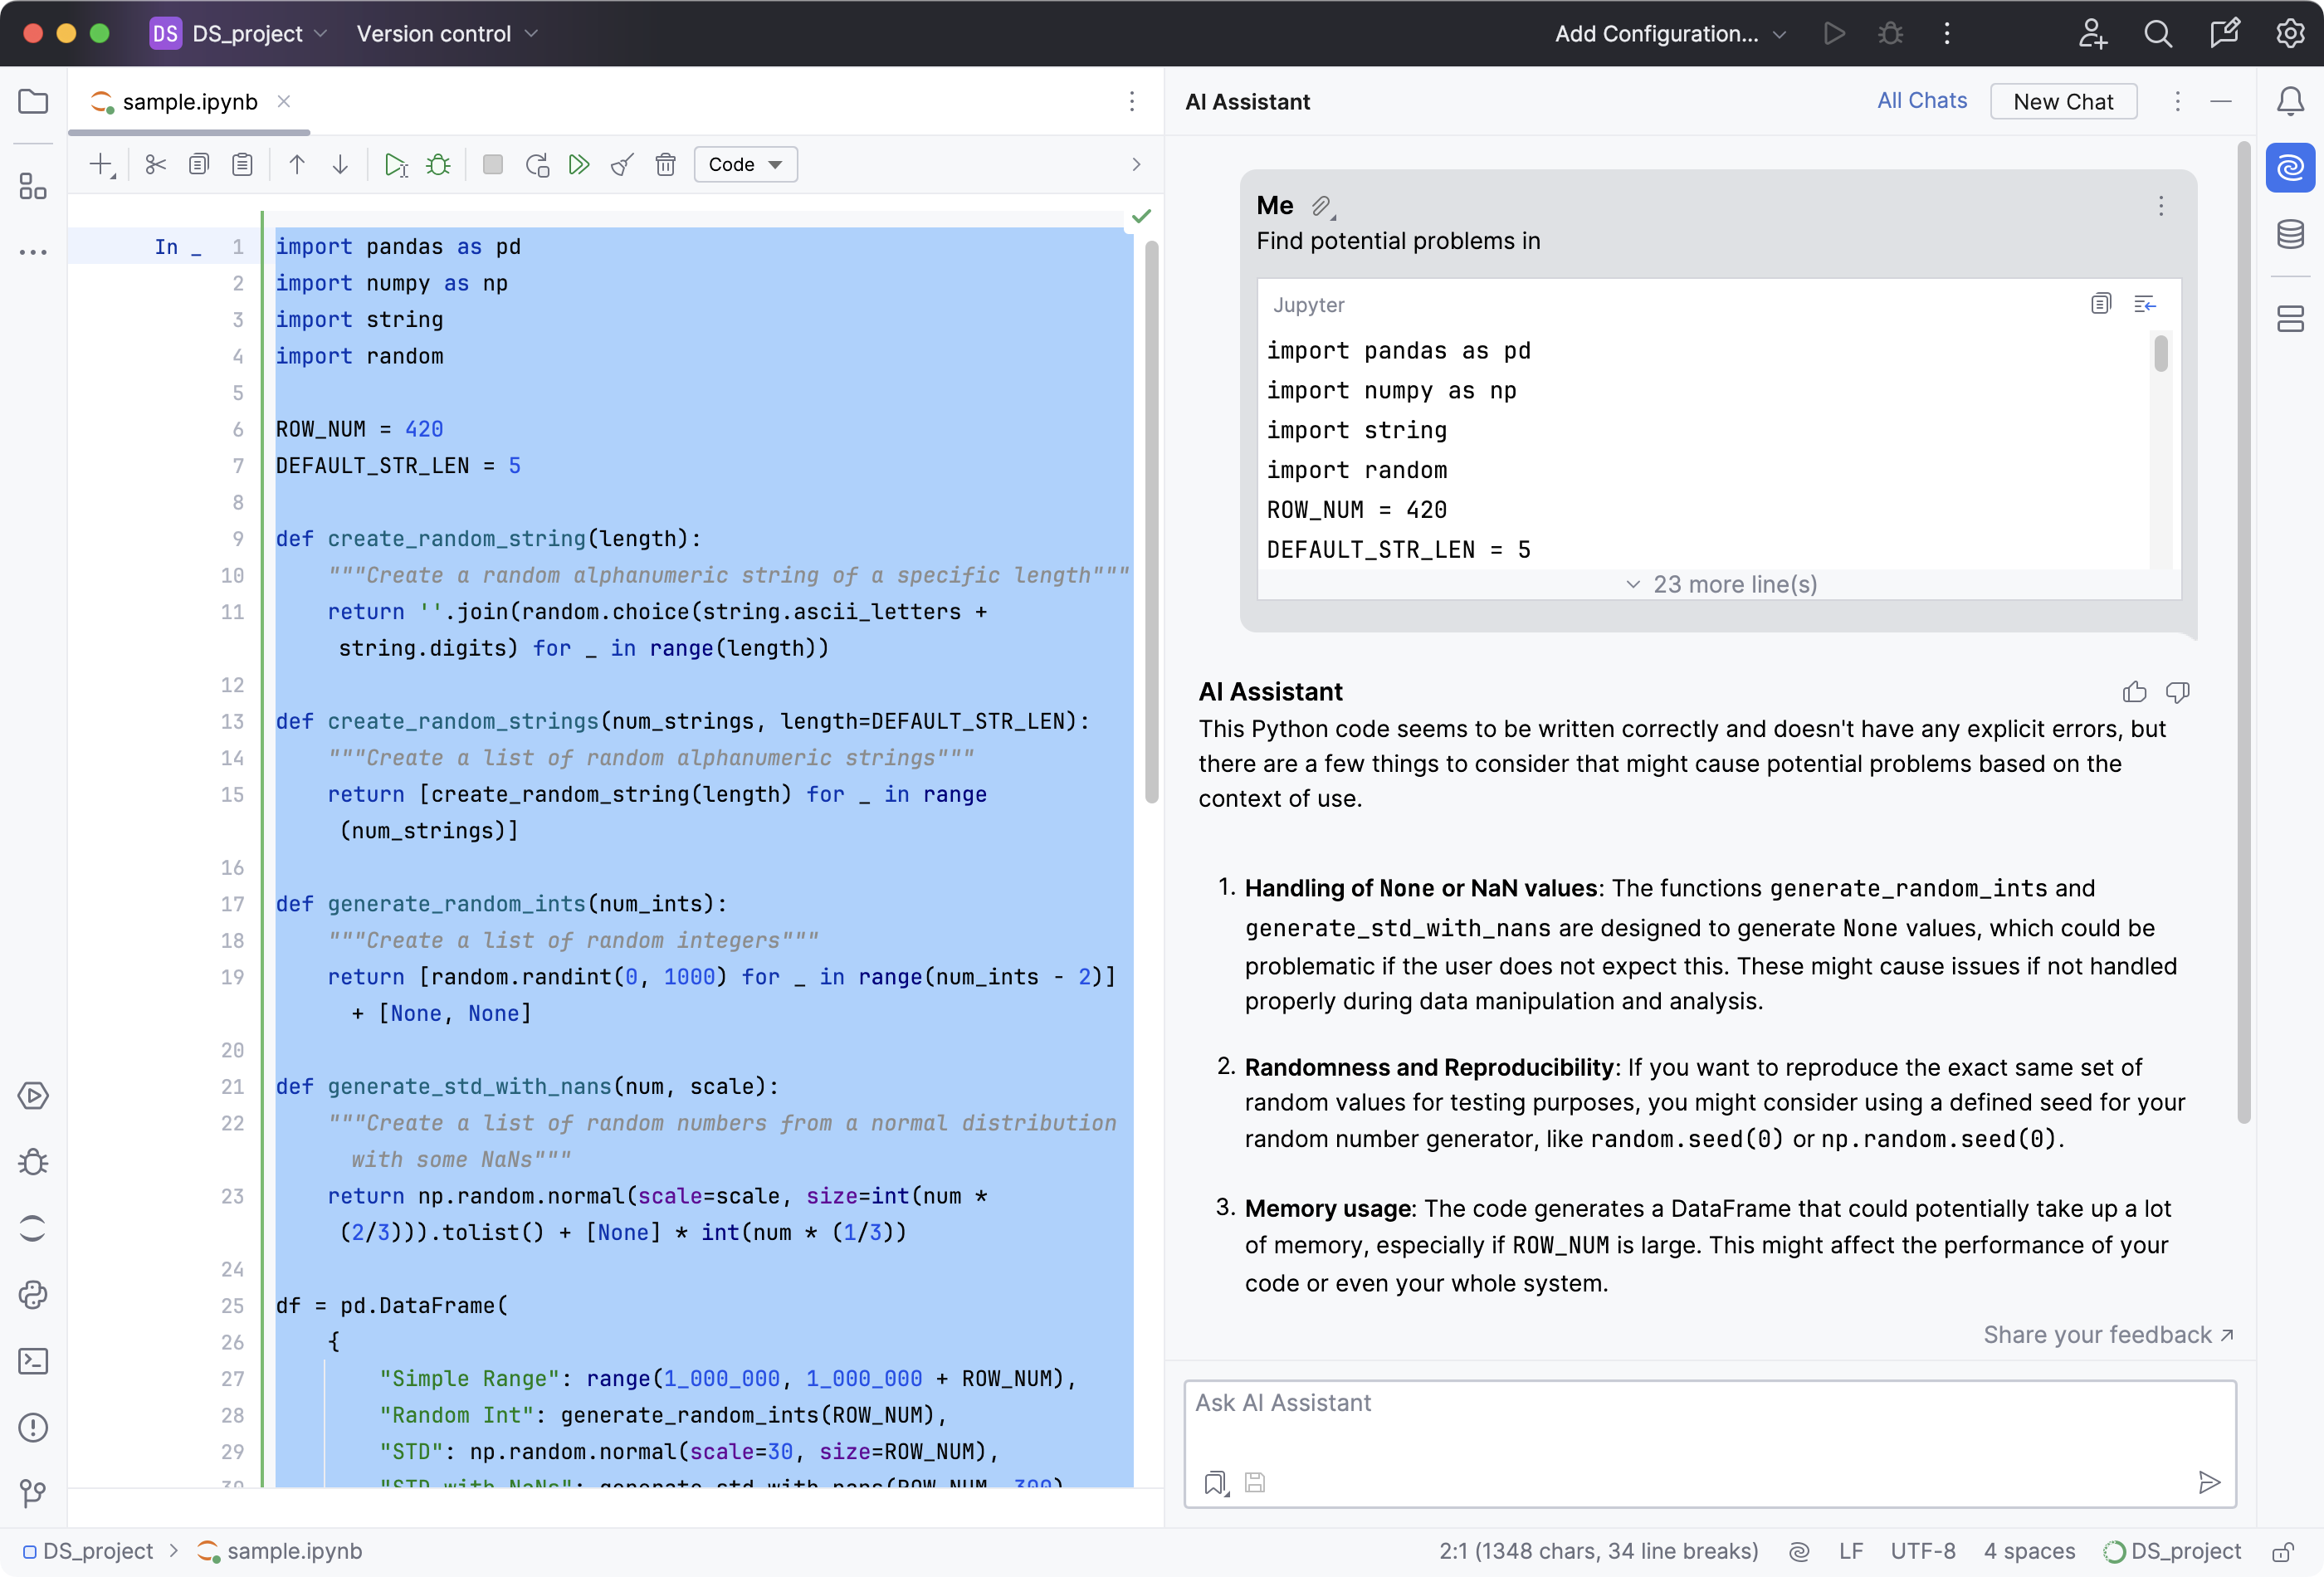
Select AI Actions and then Find Problems.
The AI chat will open to show the potential issues you may want to look into.
DataSpell shows inlay hints in the Python console, providing AI explanations for the errors that occur when working with .py and .ipynb files.
Click Explain with AI in the Python console.

The AI Assistant tool window will open to give you an explanation of the error and suggest a fix.
If you want to use the suggested fix, click
in the field with the refactored code to put the AI-generated code into the editor.
You can add your own prompts to the prompts library and use them via the AI Actions menu.
Do one of the following:
Right-click anywhere in the editor to open the context menu, then go to AI Actions | Add Your Prompts.
Press , select AI Actions, and click Add your prompts.
Press to open settings and then select Tools | AI Assistant | Prompt Library.
Click
to create a new prompt.
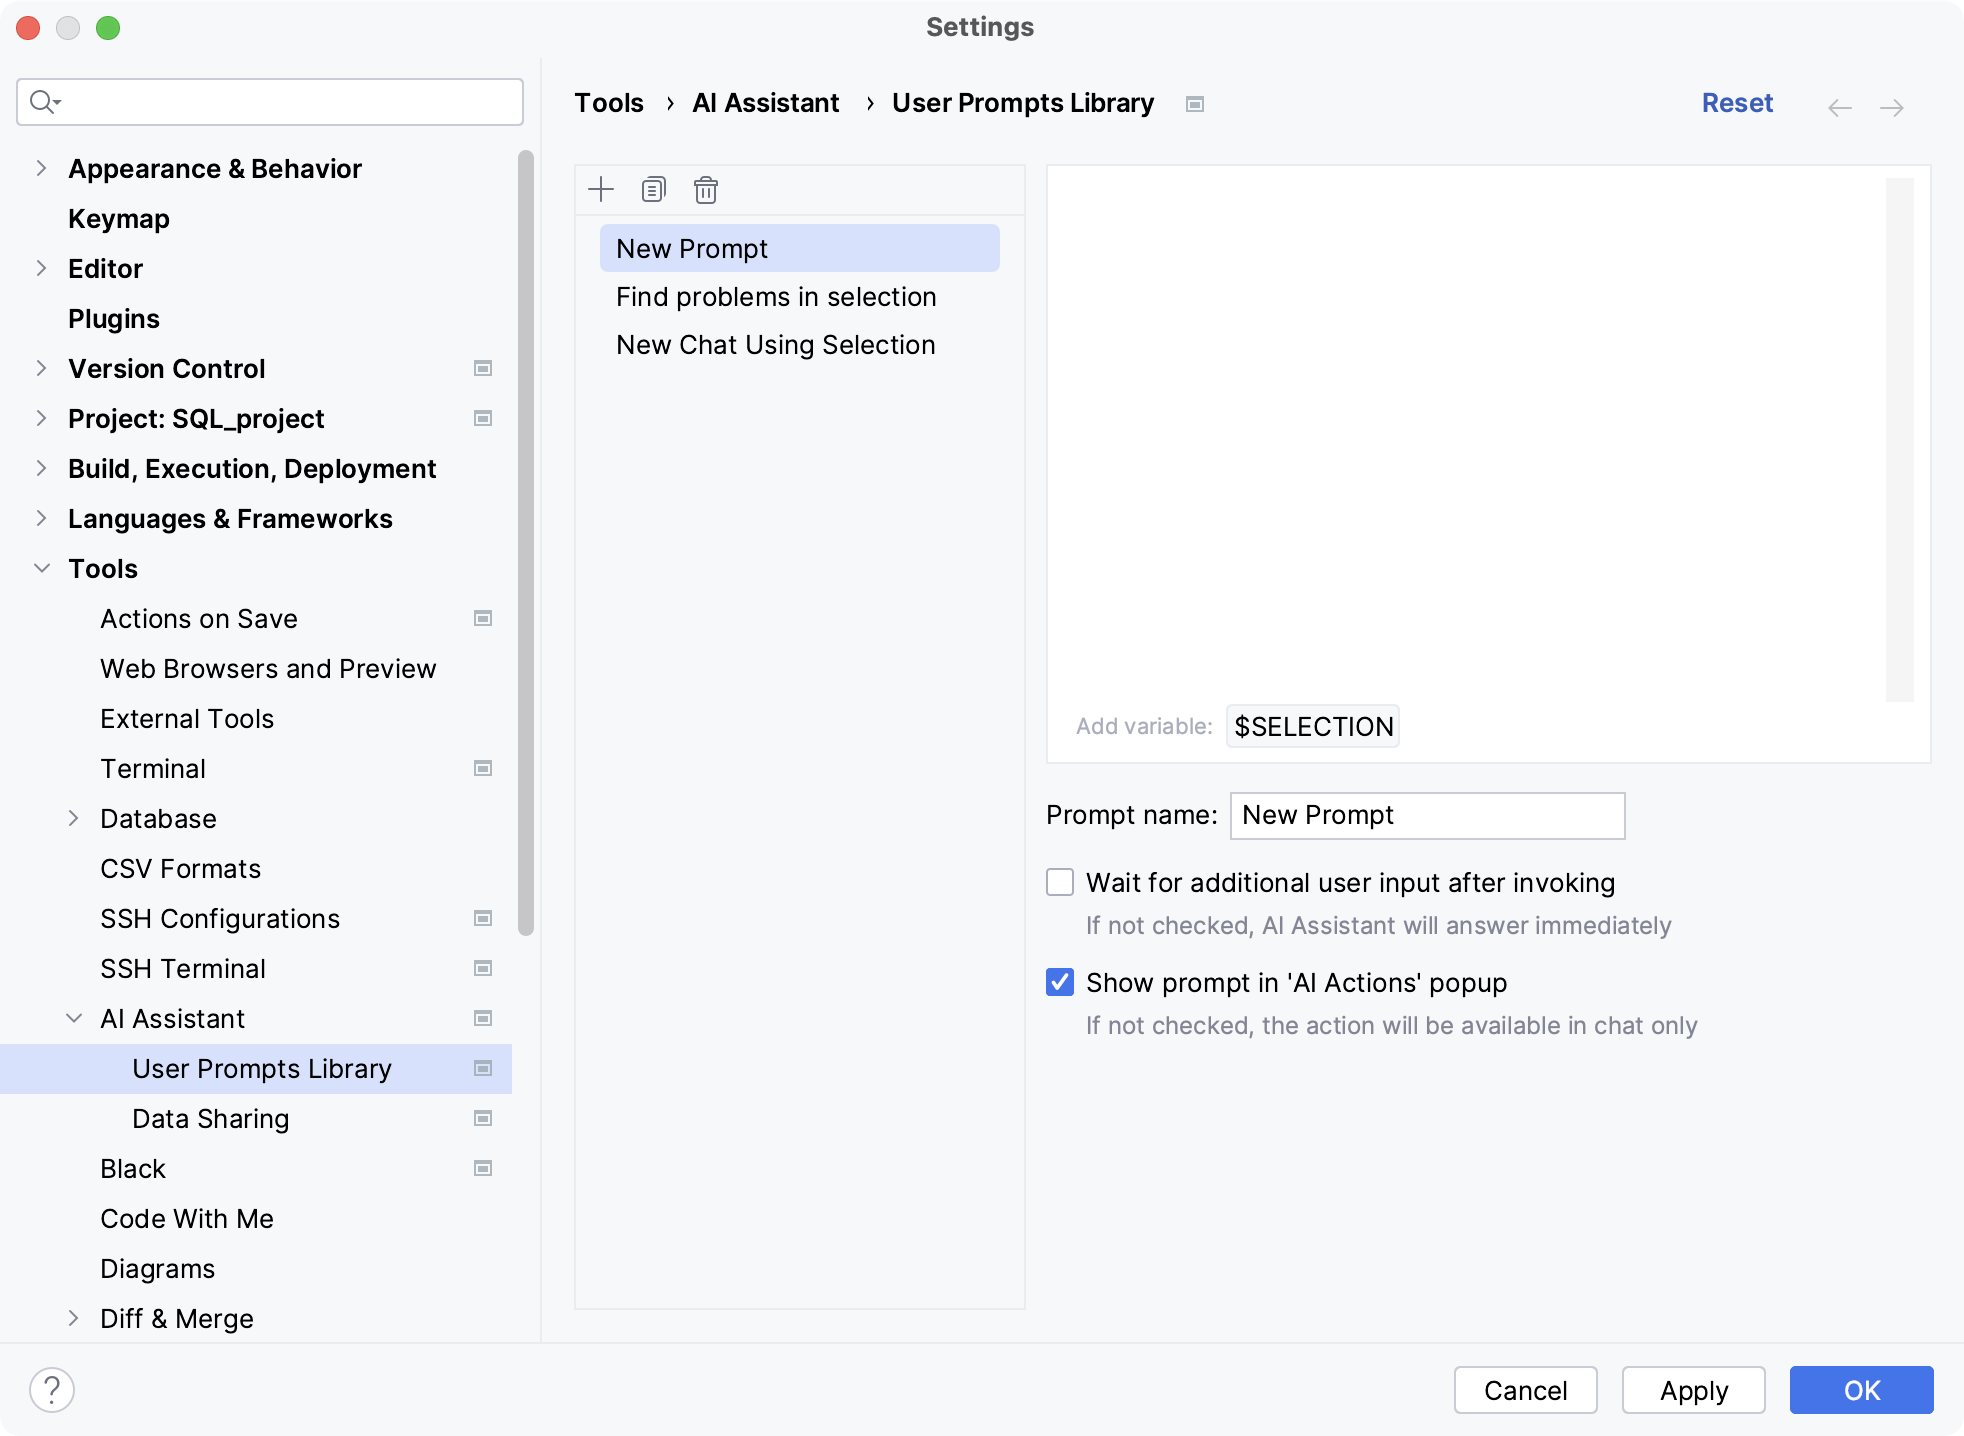
In the text field, write the prompt.
If needed, click the
$SELECTIONvariable to add a Markdown-formatted code block with current code selection and language name to the new prompt.Edit the new prompt name.
Select the first checkbox if you want AI Assistant to wait for you to make additional input in the chat after invoking the prompt.
Keep the second checkbox if you want your new prompt to be listed in the AI Actions menu.
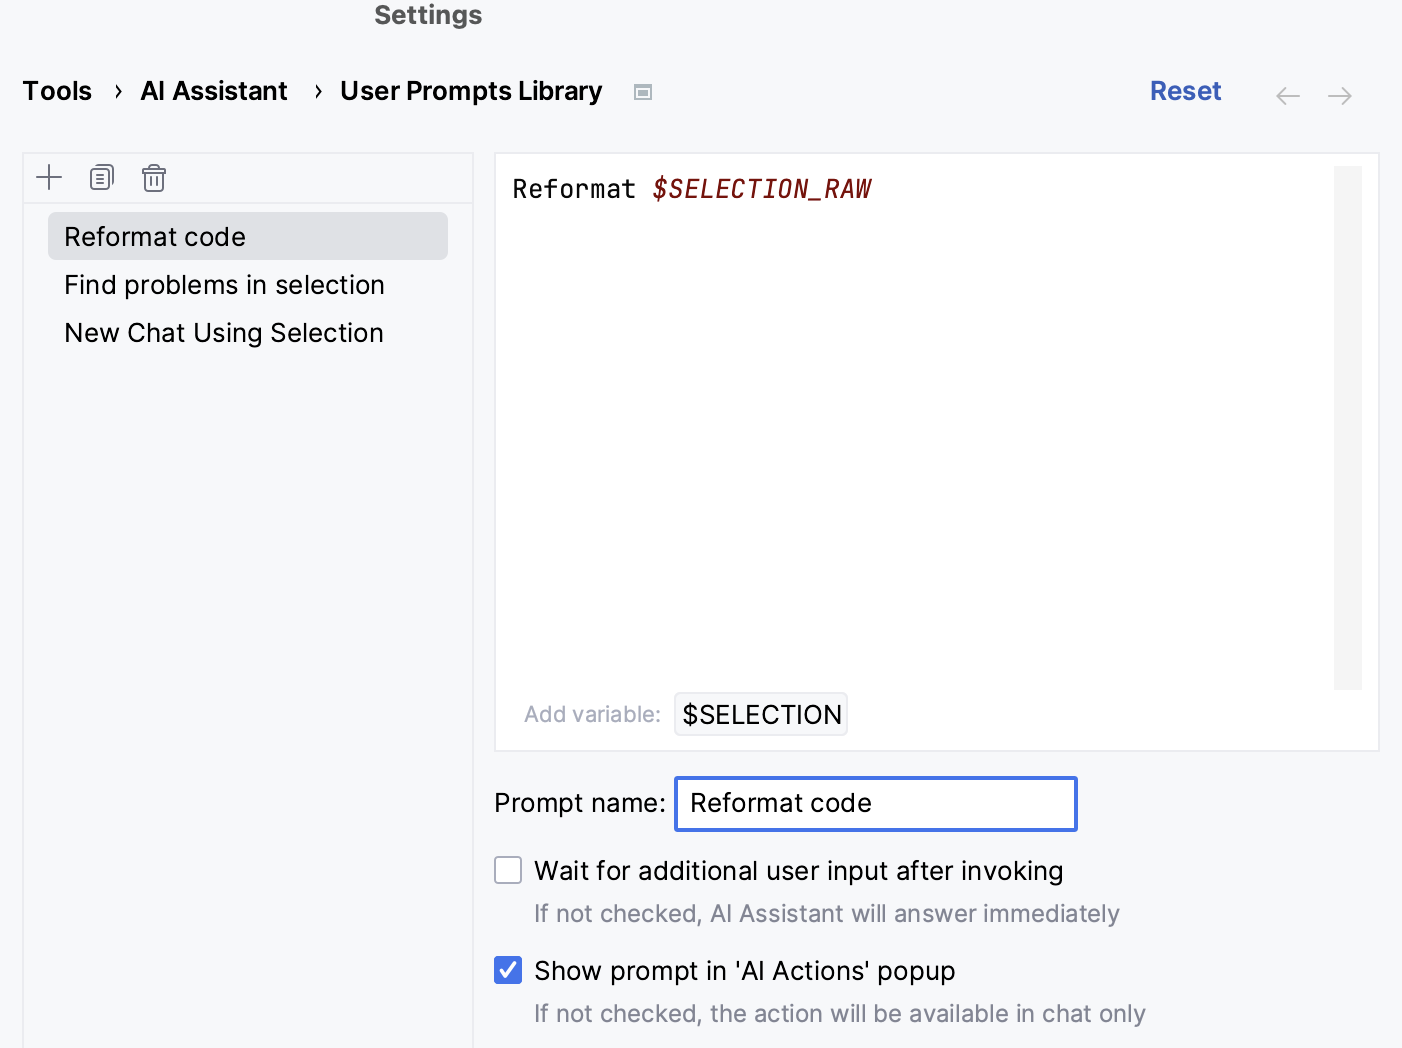
Click Apply.
Once you create a prompt, you can edit or delete it at any time.
You can also select a prompt from the list and move it up or down to change the order in which the prompts are displayed.
note
If you have written a prompt while using the AI Assistant chat, you can save the current prompt by clicking
in the chat.
You can adjust how AI Assistant behaves in certain scenarios by modifying the prompts used for the corresponding actions. For example, you can add specific guidelines for generating documentation.
Do one of the following:
Right-click anywhere in the editor to open the context menu, then go to AI Actions | Add Your Prompts.
Press , select AI Actions, and click Add your prompts.
Press to open settings and then select Tools | AI Assistant | Prompt Library.
Select the action for which you want to modify the prompt.
Add new instructions.
Click Apply.
The provided instructions will be appended to the default prompt, extending the functionality of the corresponding action.