Configure available applications
In Toolbox Enterprise profiles, all configurations involve application filters. When setting up a new profile, you need to define the list of available JetBrains applications and their respective versions. This list determines the filters for settings and plugins. When you distribute a plugin or propagate a setting to all IDEs enabled in the profile, Toolbox Enterprise will use the configured list of available applications.
Example: Let's say your list of applications includes JetBrains Toolbox, IntelliJ IDEA Ultimate, RubyMine, and WebStorm. If you want to propagate some settings to all enabled IDEs with version 2023.1, you only need to specify the build version in the filter when adding new settings to the profile. Toolbox Enterprise will automatically determine what IDEs are enabled for your profile.
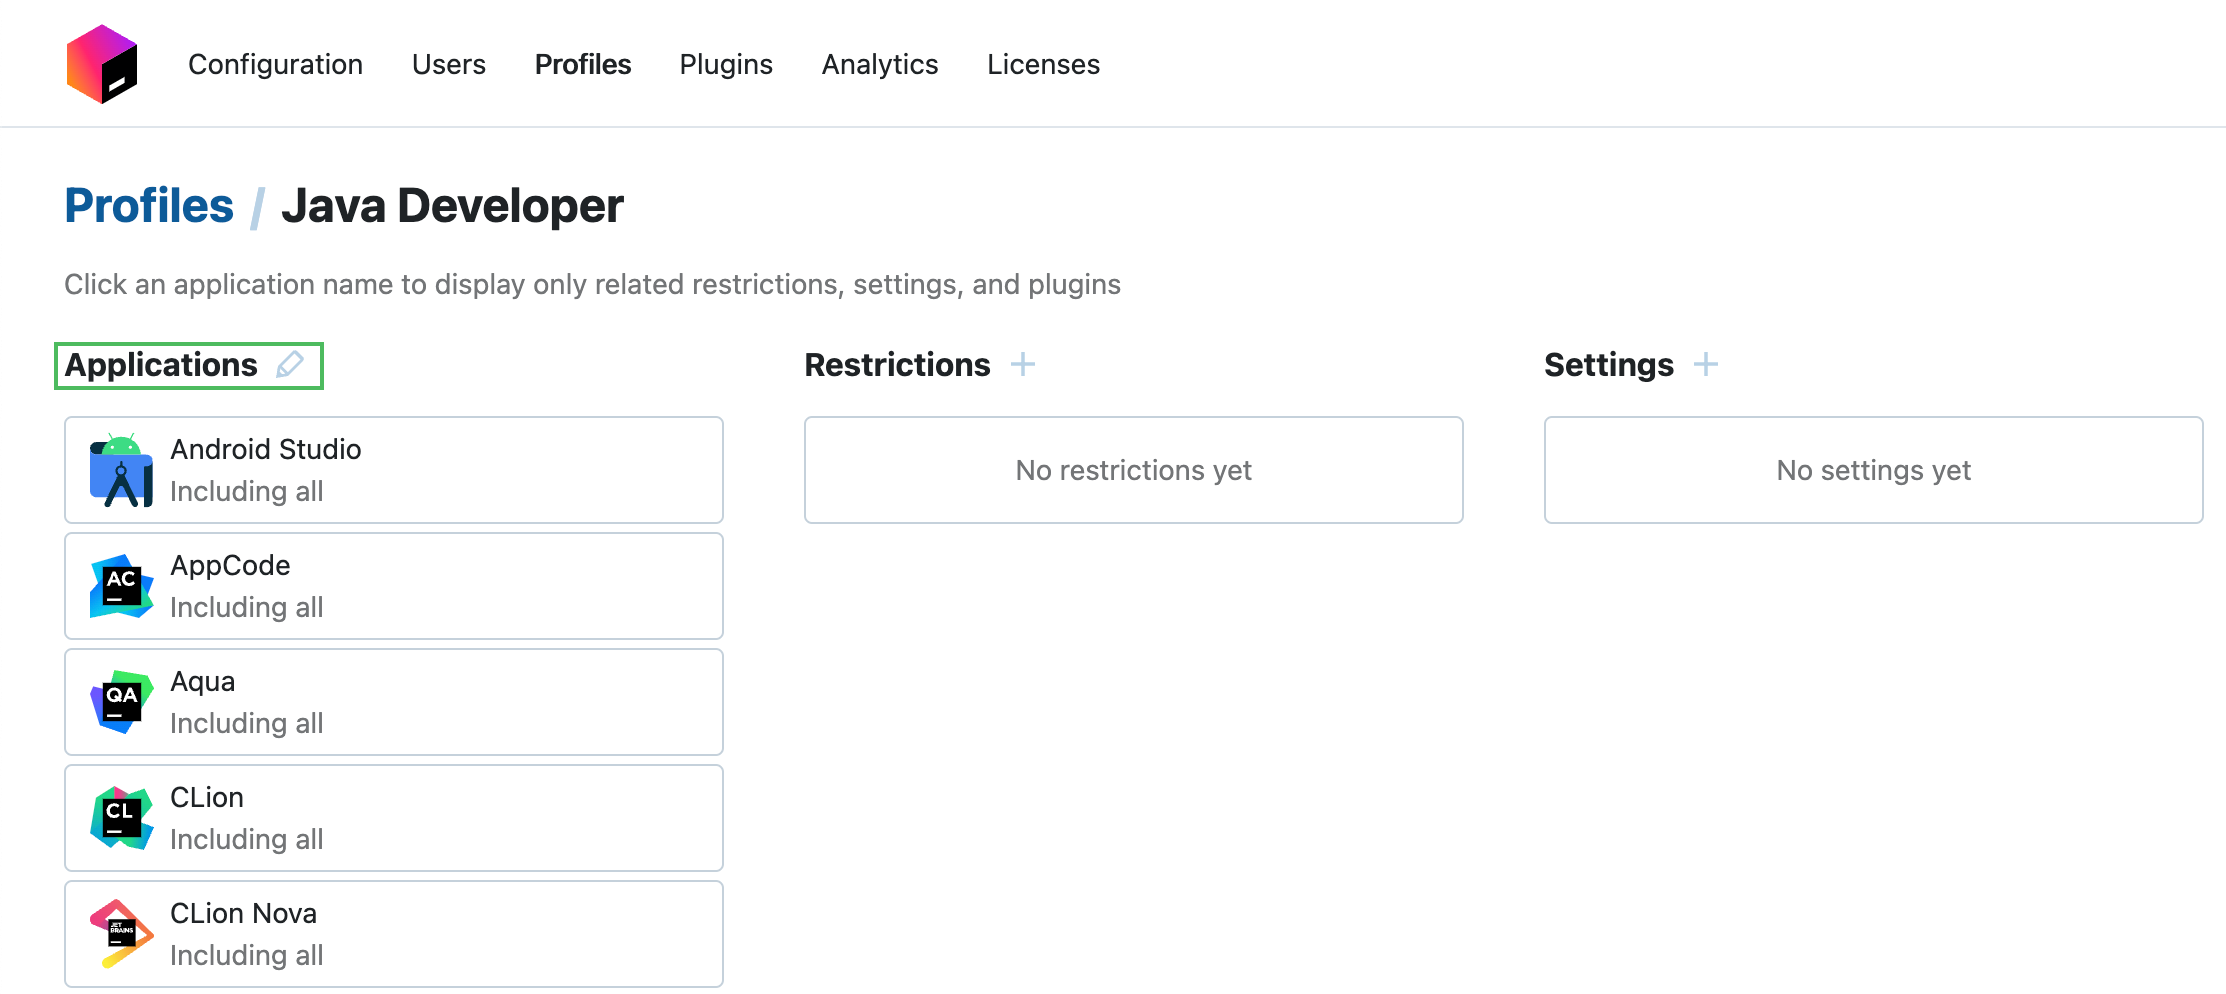
On the Profiles page, click the name of the profile you want to edit.
In the Applications section, click
to edit application filters.

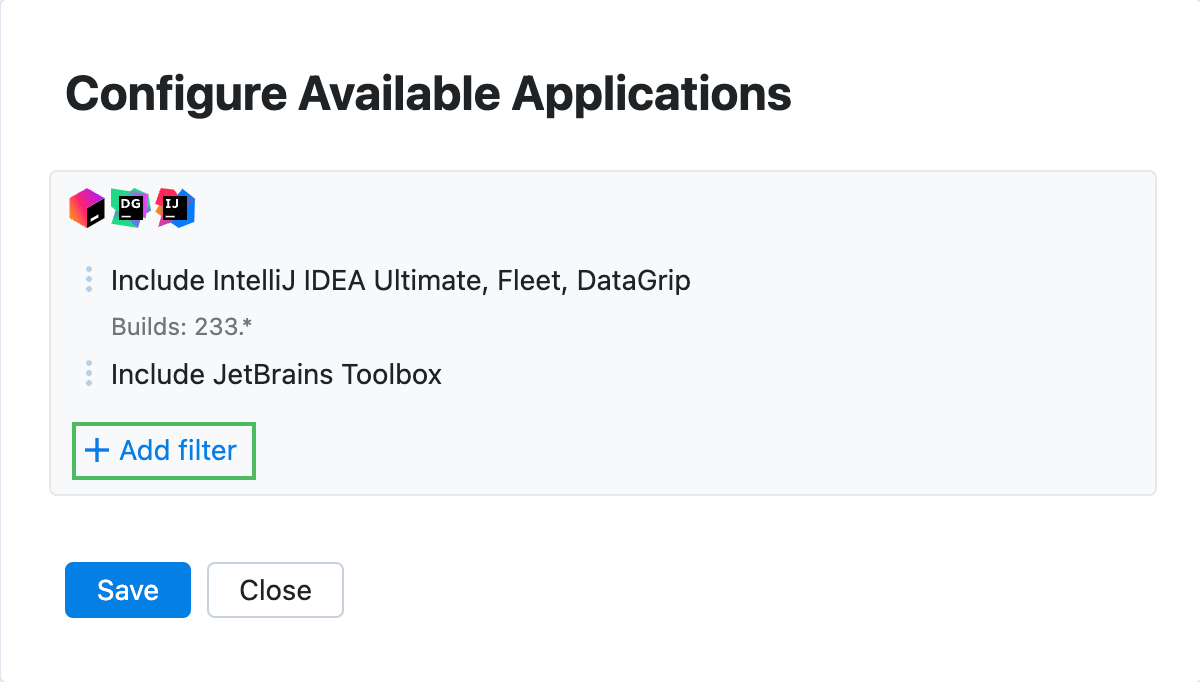
In the Configure Available Applications dialog, you can choose which JetBrains applications will be enabled or disabled for the profile. By default, all applications and their versions are included in the filter, and thus enabled.
Click Add filter.

In the Add Filter dialog that opens, configure the following:
Type: select one of the filter types. If you want to enable particular applications for the profile, select the Include type. To disable applications, use the Exclude type.
IDE: select one or multiple names of the IDEs to enable or disable for the profile. Click the field to see the dropdown with available options.
Build: select one or multiple IDE build versions to enable or disable.
OS: if necessary, select the operating systems to use in the filter.
Architecture: if necessary, select the architectures to use in the filter.
Update channel: select the minimum quality of IDE builds to be available to users. For example, if you select the Early Access Program or more stable option, users will have access to Early Access Program and release builds of an application.
Click OK to save the filter.
Once you've configured all the necessary filters, click Save in the Configure Available Applications dialog.
Toolbox Enterprise will display the enabled applications in the Applications section.
Restrict applications
You can restrict a particular IDE version in your company using the Web UI. The configured IDE version will no longer be available for downloading in the Toolbox App and will stop functioning on developer machines after a specified date.
Furthermore, you can provide a custom message for developers, prompting them, for instance, to upgrade their IDEs to a newer version. The IDE will display the message in the editor three days before the due date.
In the Restrictions section, click
.
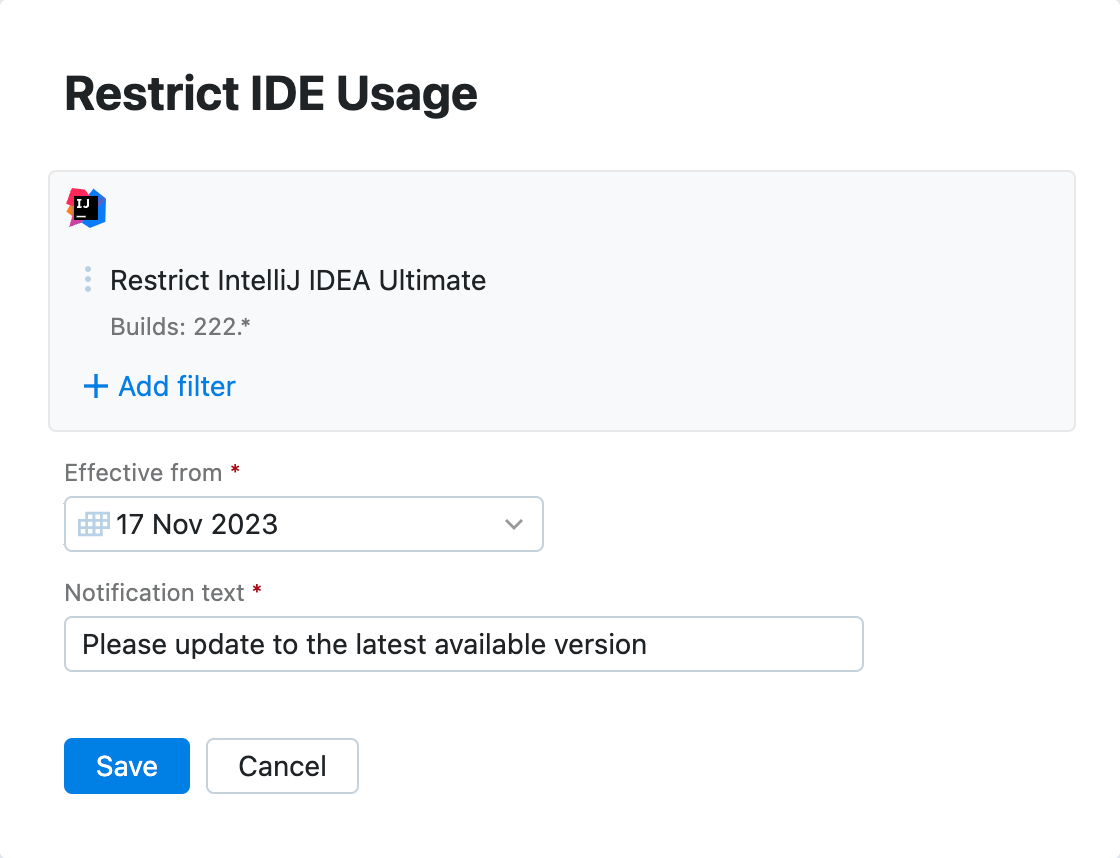
In the Restrict IDE Usage dialog, configure IDE versions, operating systems, or architectures that you want to restrict using filters.
Click Add filter and fill in the following details in the Add Filter dialog:
Type: select one of the filter types. Select the Restrict type if you want to restrict only the applications specified in the filter. If you want to allow a particular application and restrict all the others, use the Don't restrict type.
IDE: select one or multiple names of the IDEs to use in your filter. Click the field to see the dropdown with available options.
Build: select one or multiple IDE build versions to use in the filter.
OS: if necessary, select the operating systems to use in the filter.
Architecture: if necessary, select the architectures to use in the filter.
Click OK to save the filter.
Once you've configured the necessary filters, set up the effective date for the restriction and provide a custom notification text:
Effective from: specify the date, after which the provided IDE versions will stop opening on developer machines.
Notification text: specify a custom message to display in the IDEs.

Click Save to submit the changes.