SeleniumUltimate
Selenium is a framework for automating tests in web applications.
Selenium support allows you to create a dedicated project for automated tests in Java, Kotlin, or Groovy. You can choose Maven or Gradle for dependency management. For managing test cases, you can select TestNG or JUnit.
note
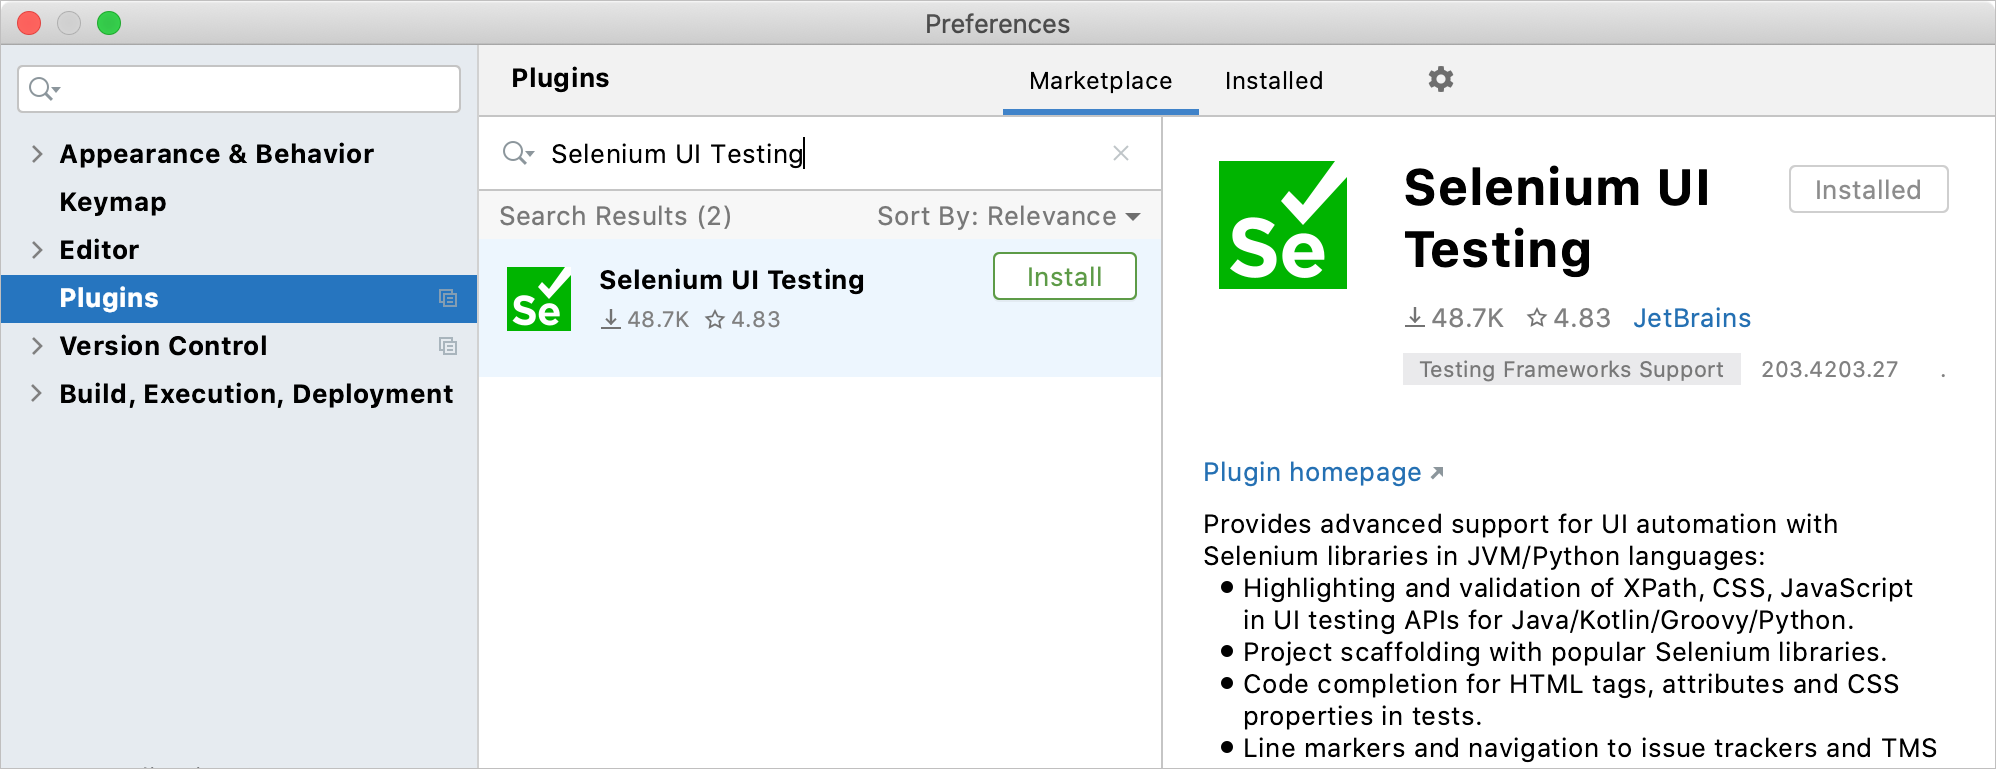
In order to use Selenium support, make sure that the Selenium UI Testing plugin is installed and enabled.
Selenium UI Testing plugin provides code highlighting, inspections and code completion in tests, validation for various configuration files, and icons in the gutter for easier navigation. For a full description of features, refer to Introducing Selenium Support in IntelliJ IDEA.
Install the Selenium UI Testing plugin
In the Settings/Preferences dialog Ctrl+Alt+S, select Plugins.
Switch to the Marketplace tab, type
Selenium UI Testing, and click Install.Apply the changes and close the dialog. Restart the IDE if prompted.
Create a new Selenium project
From the main menu, select File | New | Project.
Otherwise, if you're on the Welcome screen, click New Project.
From the list on the left, select Selenium.
From the Project SDK list, select the JDK version that you want to use in this project.
If the JDK is installed on your computer, but not defined in the IDE, select Add JDK and specify the path to the JDK home directory (for example,
/Library )./Java /JavaVirtualMachines /jdk-14.jdk If you don't have the necessary JDK on your computer, select Download JDK.

Select the build tool that you want to use in the project (Maven or Gradle) and the testing framework (JUnit or TestNG ).
From the Languages list, select which programming languages you want to use in the project apart from Java.
Click Next.

Select other frameworks and libraries that you want to install.
This step is optional. You will be able to add the necessary libraries any time later.
On the next step of the wizard, specify the project name and location. If necessary, change the artifact coordinates and click Finish.
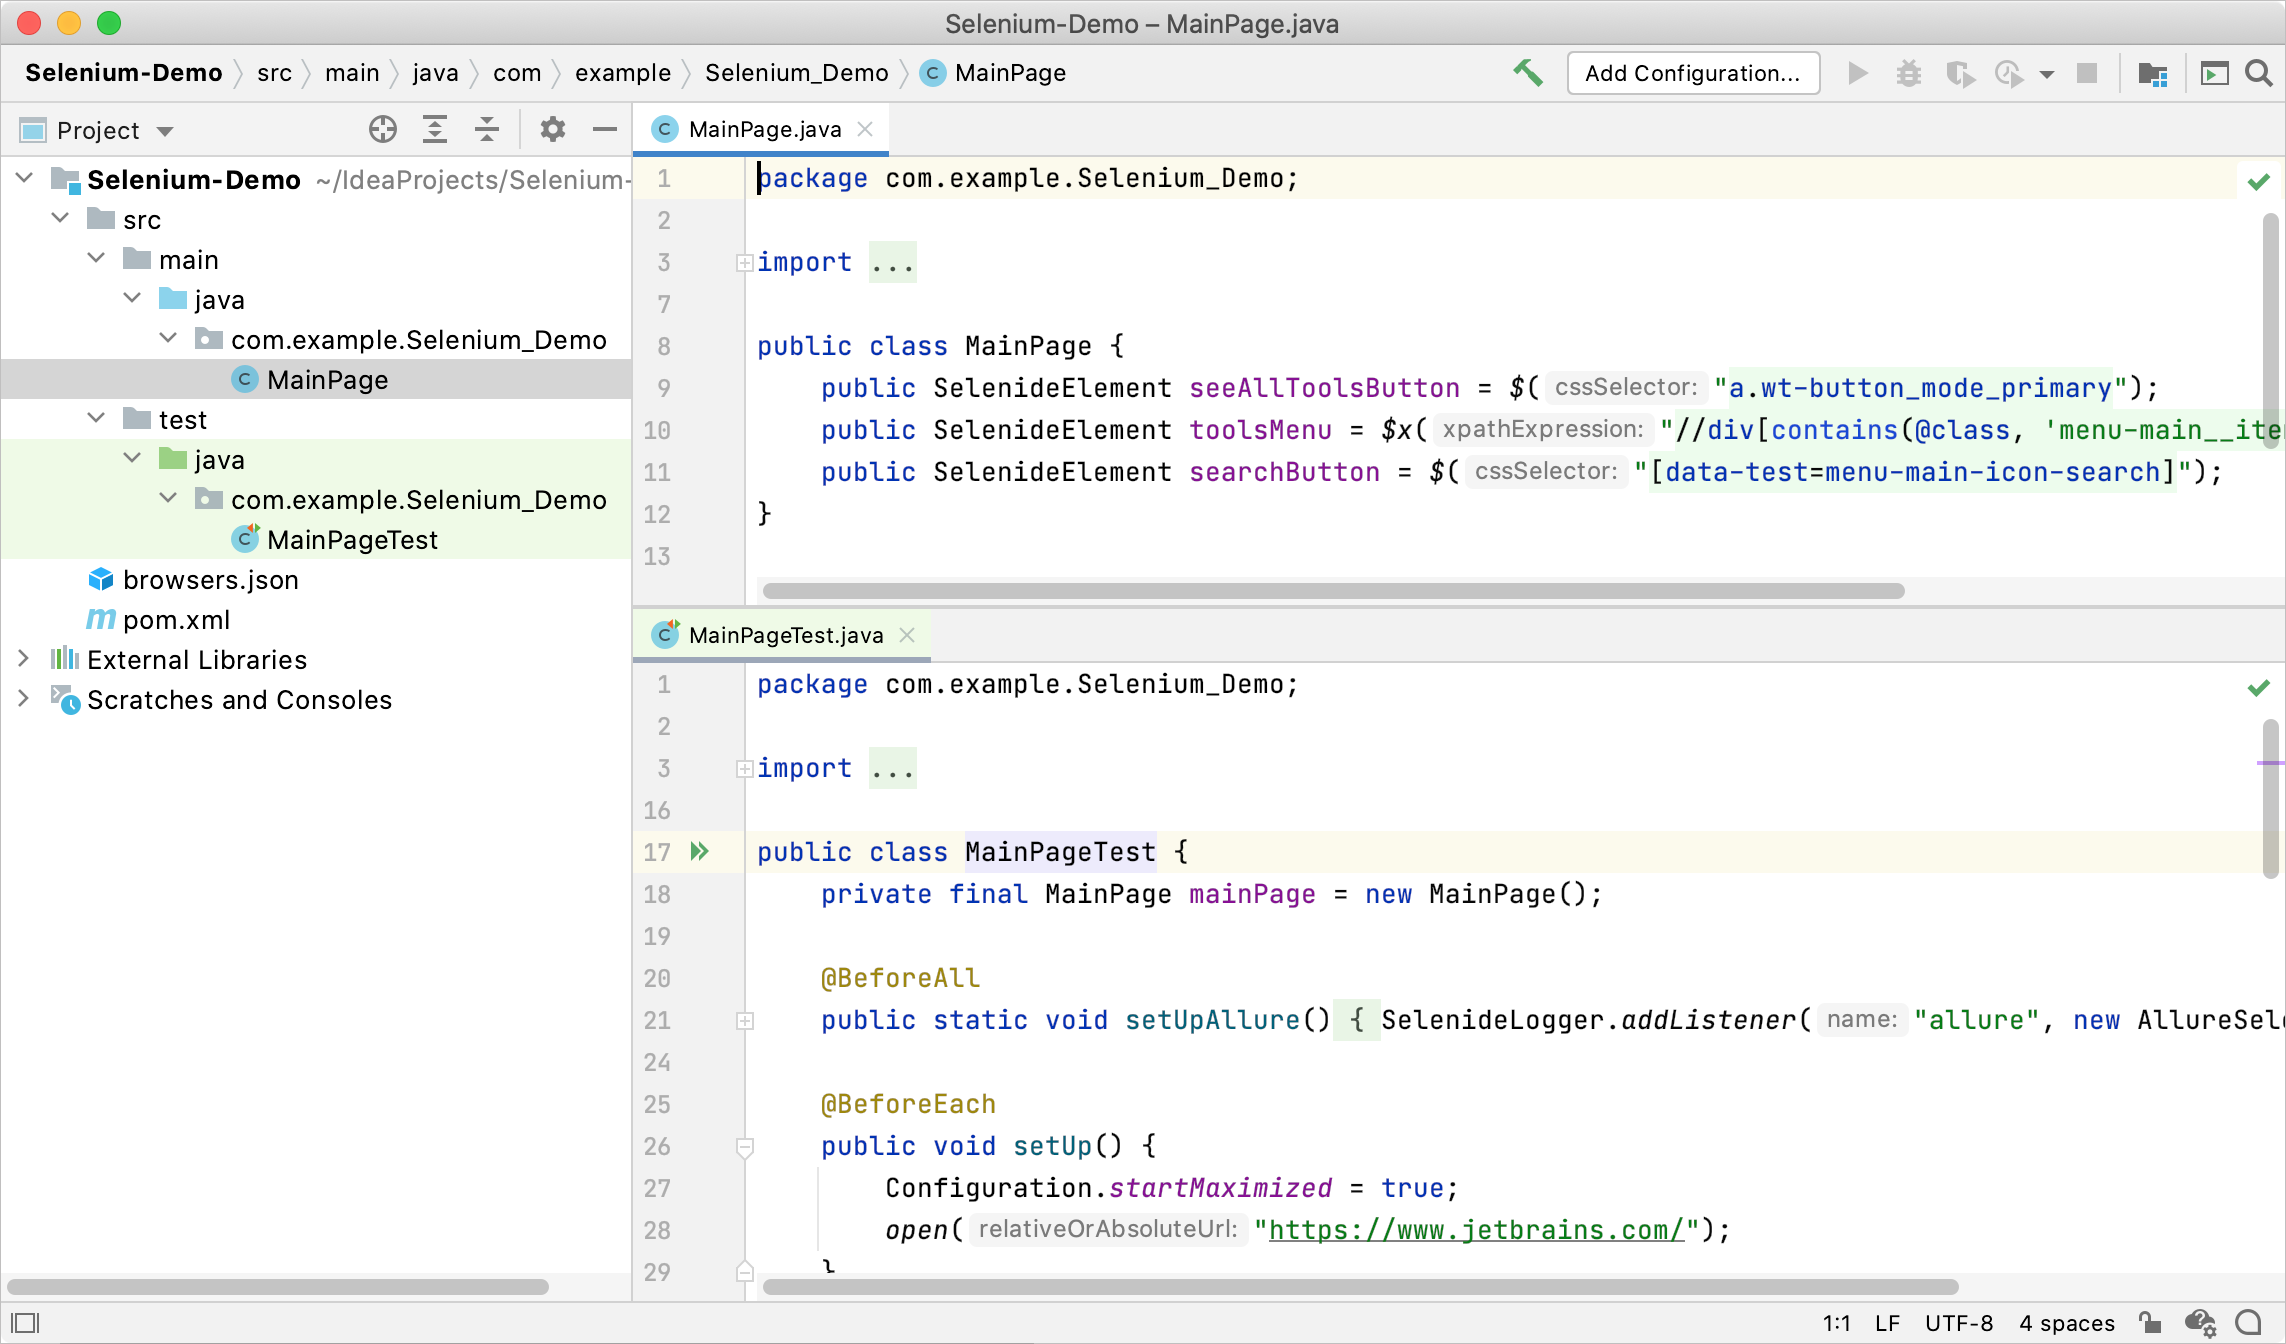
A new project is created with a predefined folder structure according to the options that you have selected and adds a source and a test file.
Coding assistance for CSS and XPath
Selenium UI Testing plugin provides coding assistance for XPath and CSS, which are used in Selenium API as well as in many other libraries for UI testing. This includes syntax error highlighting in selectors as you type and code completion for standard CSS/HTML elements.
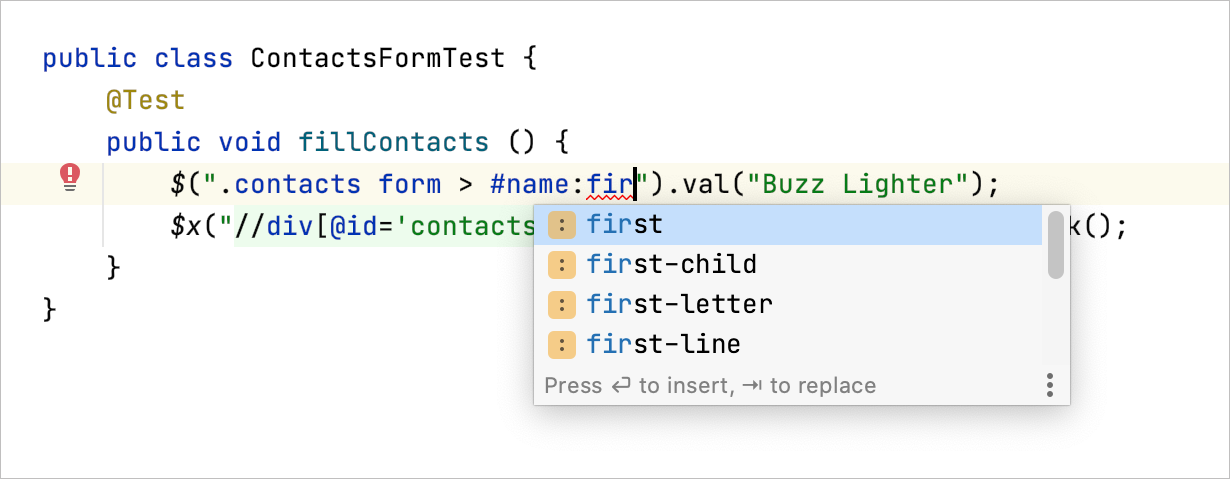
Selenium UI Testing plugin also provides coding assistance for JavaScript fragments, HTML tags and CSS properties, Selenium Grid 3 configuration files, Selenoid configuration files, and Allure Framework annotations. For more information, refer to Introducing Selenium Support in IntelliJ IDEA.
Generate Selenium Page Object
You can open web pages in a Chromium-based browser and generate code compliant with the page object pattern by picking the required elements and specifying the desired output. This lets you reduce the amount of time spent on boilerplate code and focus on the testing logic.
Open a web page
From the main menu, select Tools | Generate Selenium Page Object. The Page Object editor tab opens.
In the address bar, enter the URL of the website you are going to test. Press EditorEnter. The web page opens in the browser just below the address bar.

After you have opened a web page, proceed to picking the page elements that you are going to test.
Add web elements
Select the required elements in one of the following ways:
For single elements: click the Select Element in Page button or press F3, then select an element in the browser. The element gets highlighted in the page structure to the left. The highlighing also works in the opposite direction – if you select an element in the page structure, it gets highlighted in the browser window.
For one or more elements: select one or more elements in the page structure to the left of the browser window.

Press Ctrl+Enter. Alternatively, right-click the selected elements and click Add To Page.
tip
By default, if the page structure changes, it is refreshed automatically. You can turn off the automatic structure update
and refresh it manually when required
.
Generate code
Make sure the elements you are going to use in your tests are added to the page object. For each element, you can configure which type of selector to use. For example, the same element can be located using a
data-*attribute, which is considered a preferred way, a CSS selector, XPath, and so on.tip
You can also switch the selector type using keyboard keys 1-8.

Select the required framework and language.

After you have specified the elements and template, the generated code appears in the editor window. You can copy and paste it to your page object class or export the code to a file N/A.
tip
You can paste the copied code right to a package in the Project tool window. IntelliJ IDEA will create the required files for you.

Advanced options
Selenium Page Object generator provides several options that let you handle special cases. You can access them on the browser window toolbar:
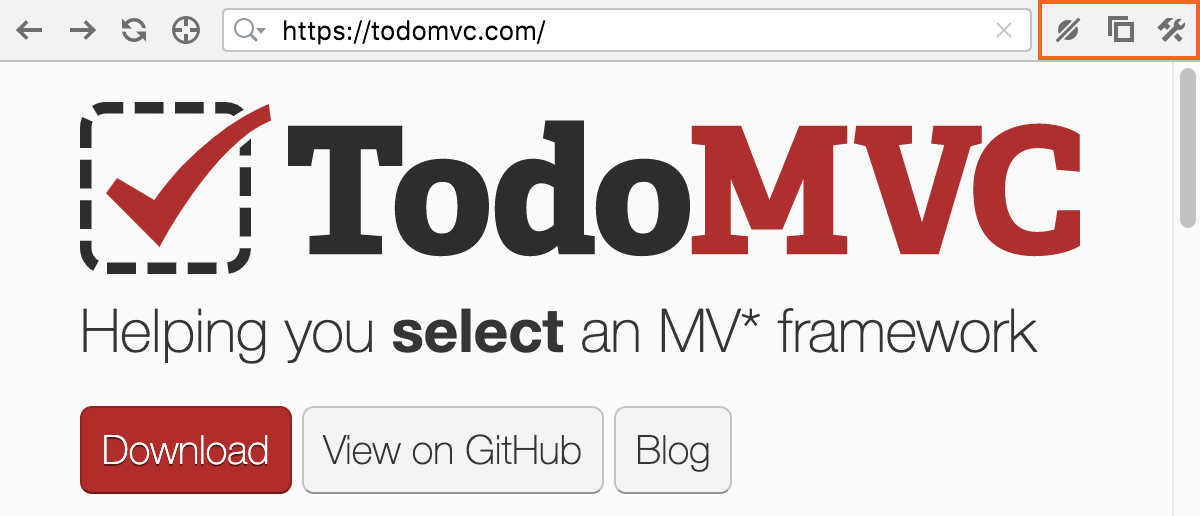
The following options are available:
Clear Browser Cookies – clears the browser cookies cache for the current session.
Enable/disable Popup Windows – toggles the visibility of popup windows.
Open Developer Tools – Chromium developer tools. This option is helpful when extra functionality or a workaround is needed.
Create custom templates
You can tailor the output for a specific project or workflows by creating custom templates.
Select the required framework and language.

Click Customize Template.

The
File and Code Templatesdialog opens, where you can customize the generated boilerplate code. For details on how to create a template, refer to File templates.
Run your tests
Place the caret at the test class to run all tests in that class, or at the test method, and press Ctrl+Shift+F10. Alternatively, click the gutter icon next to the test class or test method. For more information, refer to Run tests.

When the tests finish running, the results are displayed on the Test Runner tab of the Run tool window. On this tab, you can rerun tests, export and import test results, see how much time it took to run each test, and so on. For more information, refer to Explore test results.
Use Selenoid for cross-browser testing
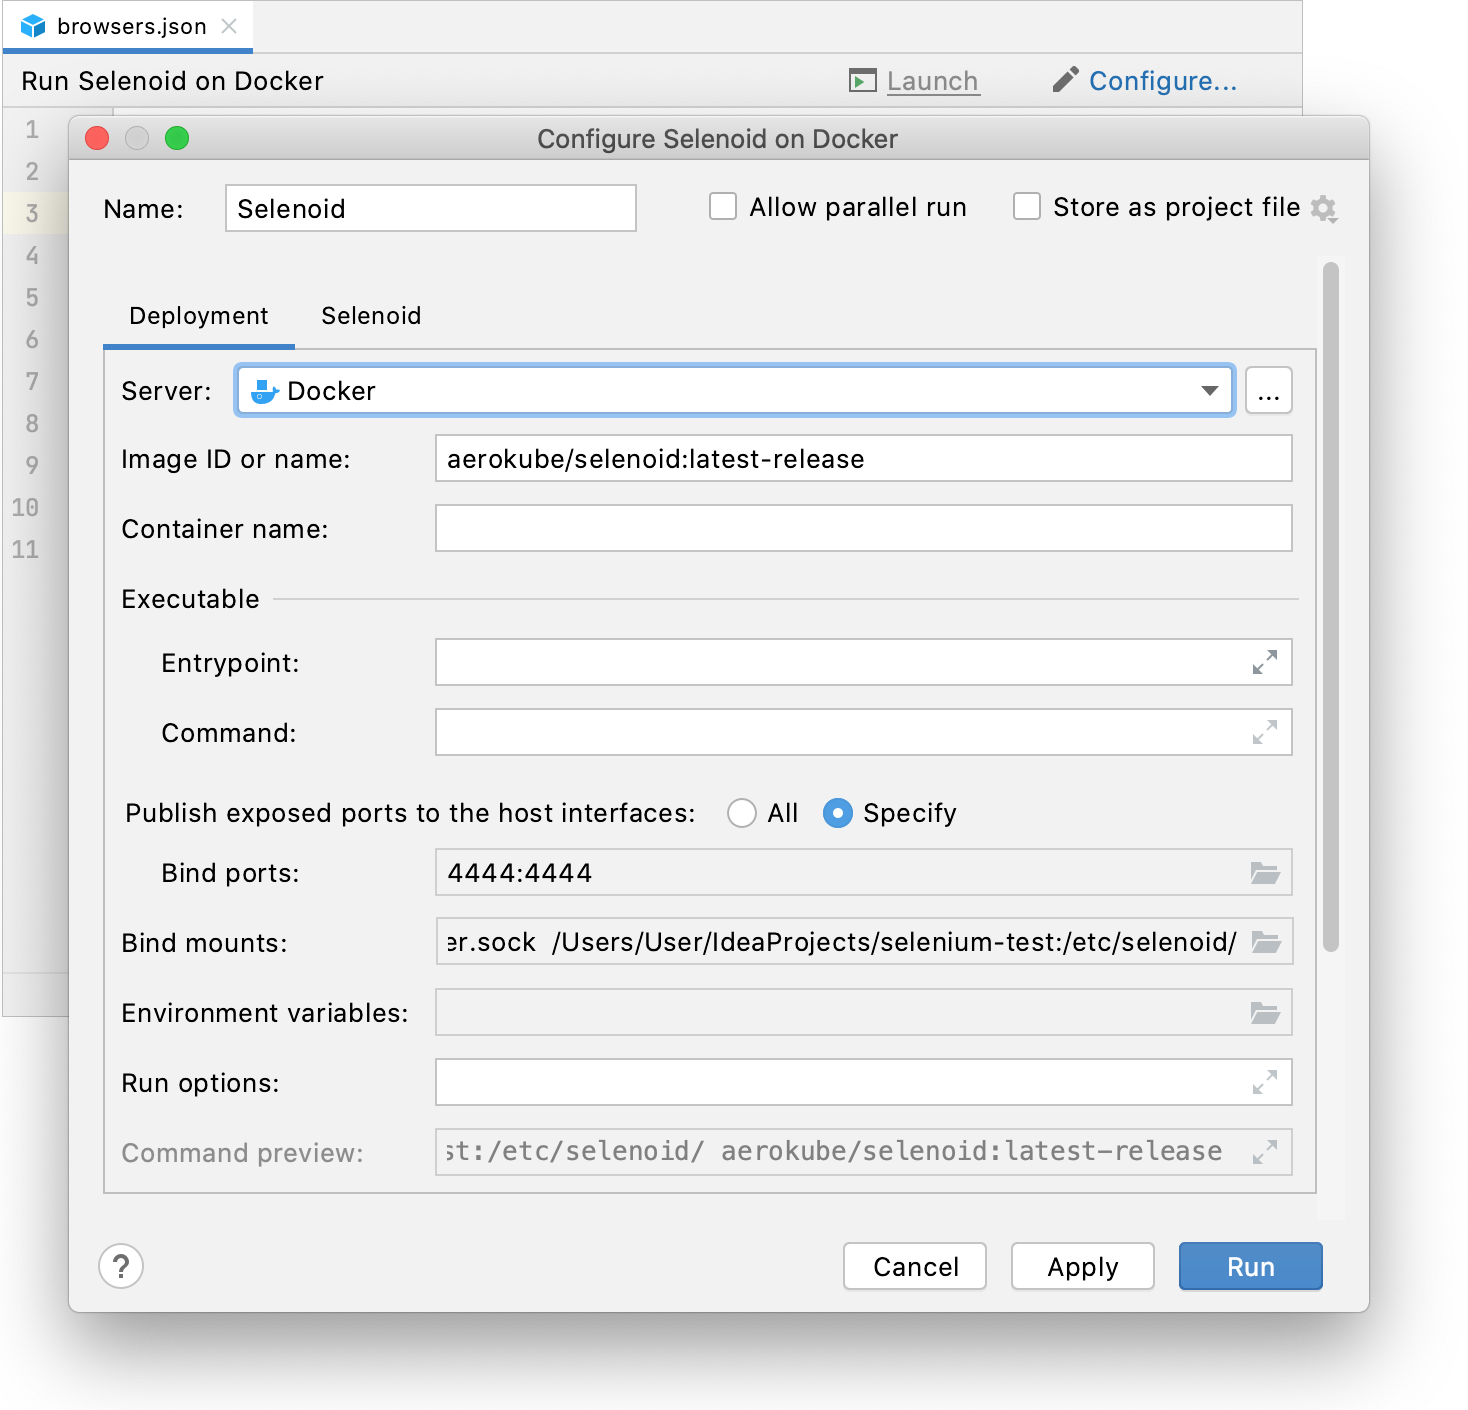
Selenoid is an implementation of the Selenium hub for Docker, which allows you to execute automated tests on web browsers running in Docker containers. For each test, Selenoid creates a container with the specified web browser, environment, and settings.
Run Selenoid on Docker
Open the browsers.json file in the editor.
On the panel above the editor, click Launch.

The IDE will pull all the required containers with the browsers, and run the main Selenoid container to manage them.
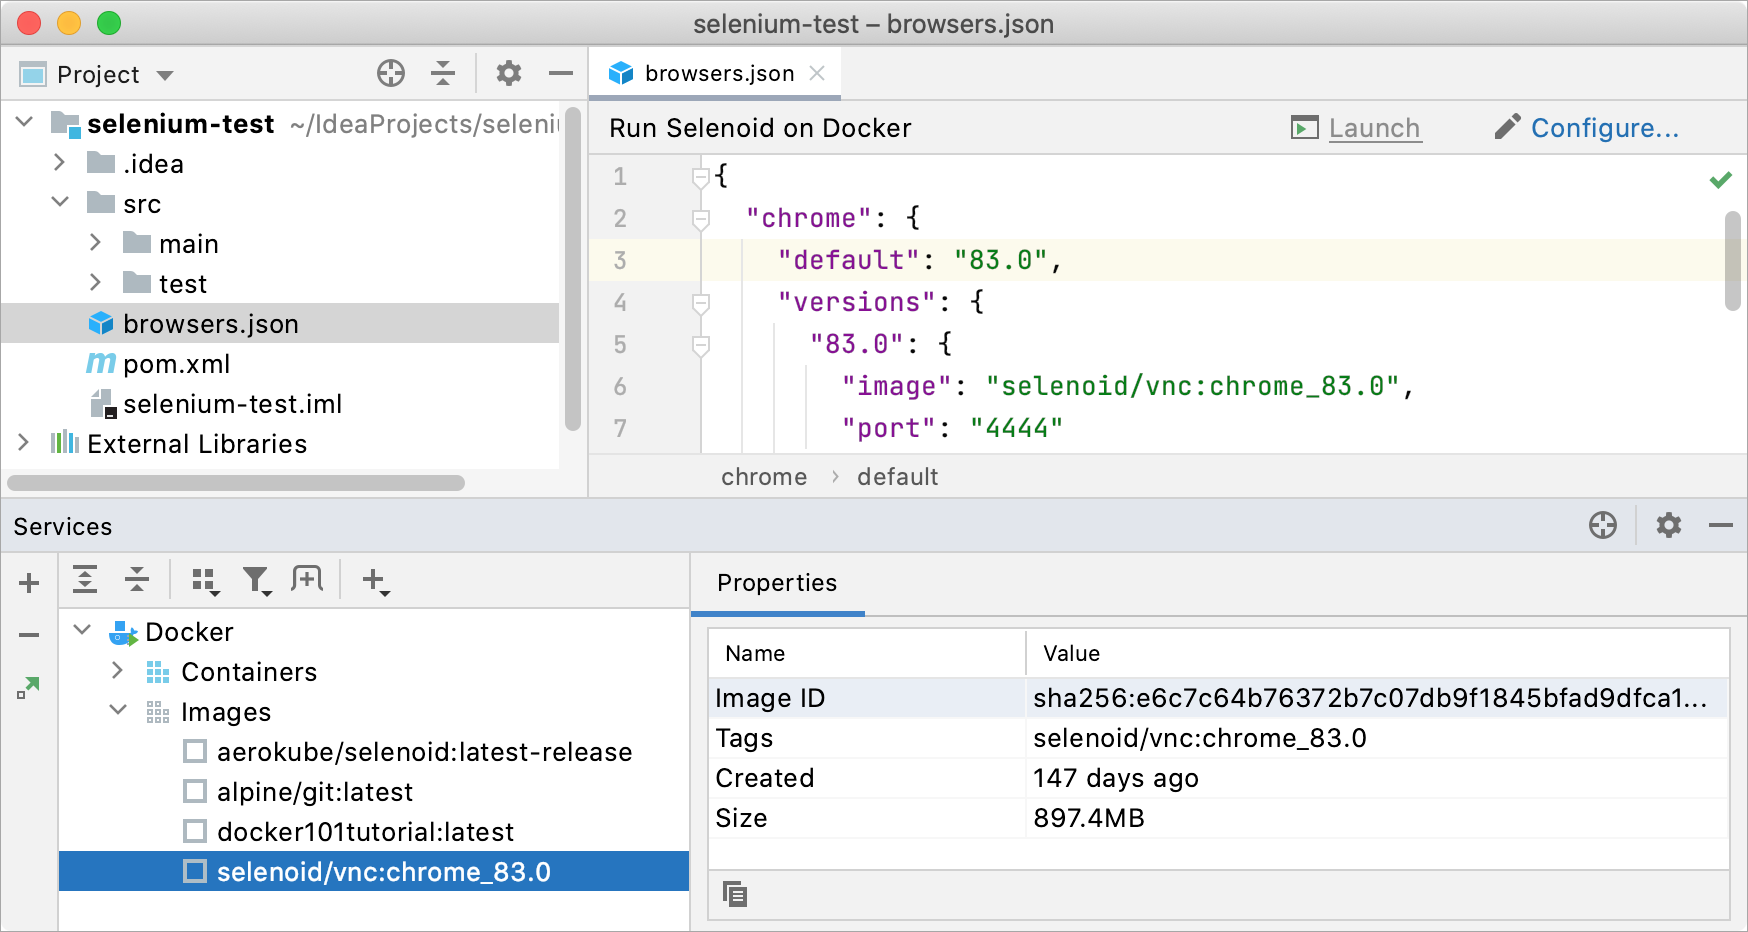
There are additional options available in the Selenoid run configuration settings, such as output destination folders for logs and videos. To access these options, click Configure on the pane above the editor when the browsers.json file is opened. For the detailed description of the options, refer to Run/Debug Configuration: Docker.
