Templates with multiple files
Some programming patterns and frameworks require a set of related files, usually with a very specific structure. For example, with the model-view-controller (MVC) pattern, you need separate files for the model, view, and controller.
In IntelliJ IDEA, you can create sets of related files by adding child templates to a file template. When you create a file from such a template, it will also create files from child templates.
Create a template with multiple files
In the Settings dialog (Ctrl+Alt+S) , select .
Create the main file template.
On the Files tab, click
 and specify the name, file extension, and body of the template.
Select the new template in the list and click
 on the toolbar. Specify the name, file extension, and body of the child template.
Example: Template for the MVC pattern
Let's say you want to implement the MVC pattern in your application. This means you need separate files for the data layer (model), the presentation layer (view), and the controller that performs all interactions between the model and the view. This tutorial shows how you can add a template that creates all three files at once.
In the Settings dialog (Ctrl+Alt+S) , select .
Create the data model class template.
On the Files tab, click
and specify the following:Name:
Java MVCExtension:
javaFile name:
${NAME}
Add the following code to the template body:
public class ${NAME} { // This is the data model }The name of this class will match the name that you provide, for example:
Counter.Create the view class template.
Select the new Java MVC template in the list and click
on the toolbar. Specify the following:File name:
${NAME}ViewExtension:
java
Add the following code to the template body:
public class ${NAME}View { // This is the user interface }The name of this class will be a combination of the name that you provide and the word
View, for example:CounterView.Create the controller class template.
Select the Java MVC template in the list and click
on the toolbar. Specify the following:File name:
${NAME}ControllerExtension:
java
Add the following code to the template body:
public class ${NAME}Controller { private ${NAME} model; private ${NAME}View view; public ${NAME}Controller(${NAME} m, ${NAME}View v) { this.model = m; this.view = v; } // This is the logic for interacting between the model and the view }The name of this class will be a combination of the name that you provide and the word
Controller, for example:CounterController.Click OK to apply the changes.
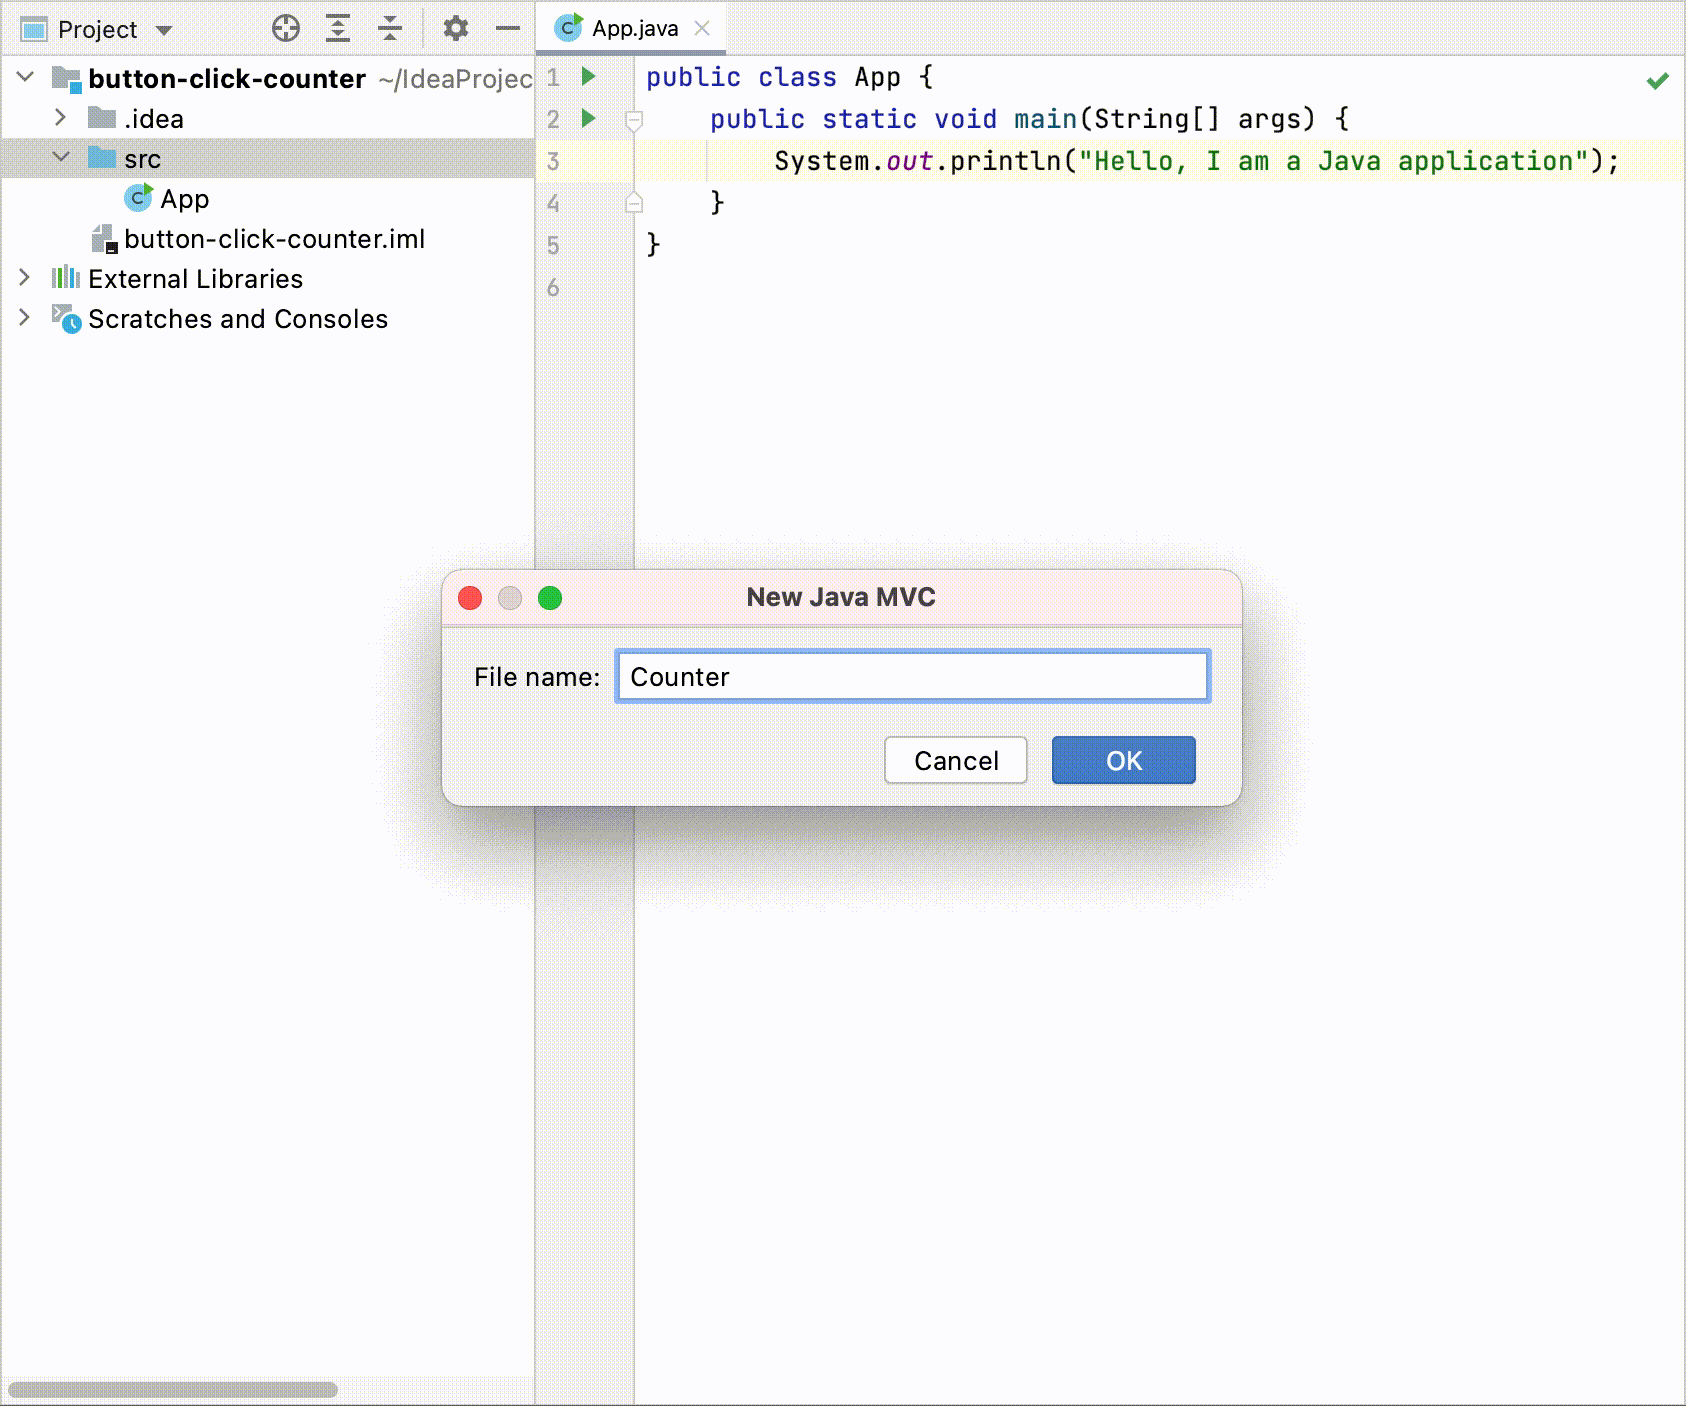
To use the new template, right-click a directory in the Project tool window or press Alt+Insert and select the Java MVC template. Specify a name for the model class, and IntelliJ IDEA will create all three files.