Tutorial: Use IntellJ IDEA as default command-line merge tool
IntelliJ IDEA can be a powerful command-line merge tool, improving your version control workflow.
This tutorial will guide you through configuring IntelliJ IDEA as the default command-line merge tool, ensuring seamless integration into your development workflow. We will also cover how to resolve conflicts directly within your IDE.
For more information about merging files from the command line, refer to Merge files from the command line.
Prerequisites
To follow this tutorial, ensure that you have installed the latest Git version
Configure .gitconfig file in your project
Before using IntelliJ IDEA as your default merge tool, you must edit your .gitconfig.
This is where you specify which tool your Git should use by default to resolve merge conflicts. The path to the executable you are using and that the merge tool should exit, indicating that a conflict has been successfully resolved.
Learn more about customizing your .gitconfig from the Git documentation.
Locate the .gitconfig and add the following configuration, based on your operating system:
If you installed IntelliJ IDEA to C:\Program Files\JetBrains\IntelliJ IDEA, you can use the following configuration:
[merge] tool = intellij [mergetool "intellij"] cmd = 'C:/Program Files/JetBrains/IntelliJ IDEA/bin/idea64.exe' merge "$LOCAL" "$REMOTE" "$BASE" "$MERGED" trustExitCode = true [mergetool] keepBackup = falseFor macOS use this configuration:
[merge] tool = intellij [mergetool "intellij"] cmd = '/Applications/IntelliJ IDEA.app/Contents/macOS/idea' merge "$LOCAL" "$REMOTE" "$BASE" "$MERGED" trustExitCode = true [mergetool] keepBackup = falseIf you installed IntelliJ IDEA to /opt/idea use this configuration:
[merge] tool = intellij [mergetool "intellij"] cmd = '/opt/idea/bin/idea.sh' merge "$LOCAL" "$REMOTE" "$BASE" "$MERGED" trustExitCode = true [mergetool] keepBackup = falseBy default, Git keeps a copy of the file's contents before resolving conflicts. After a merge, Git saves the original file with the conflict tags with a
.origextension. This file will not be preserved if you set the variablekeepBackuptofalse.Quit editing the .gitconfig.
Trigger a merge conflict
To test if IntelliJ IDEA is the default merge tool now, we will cause a merge conflict. We will create a new project with a simple Java class to do this.
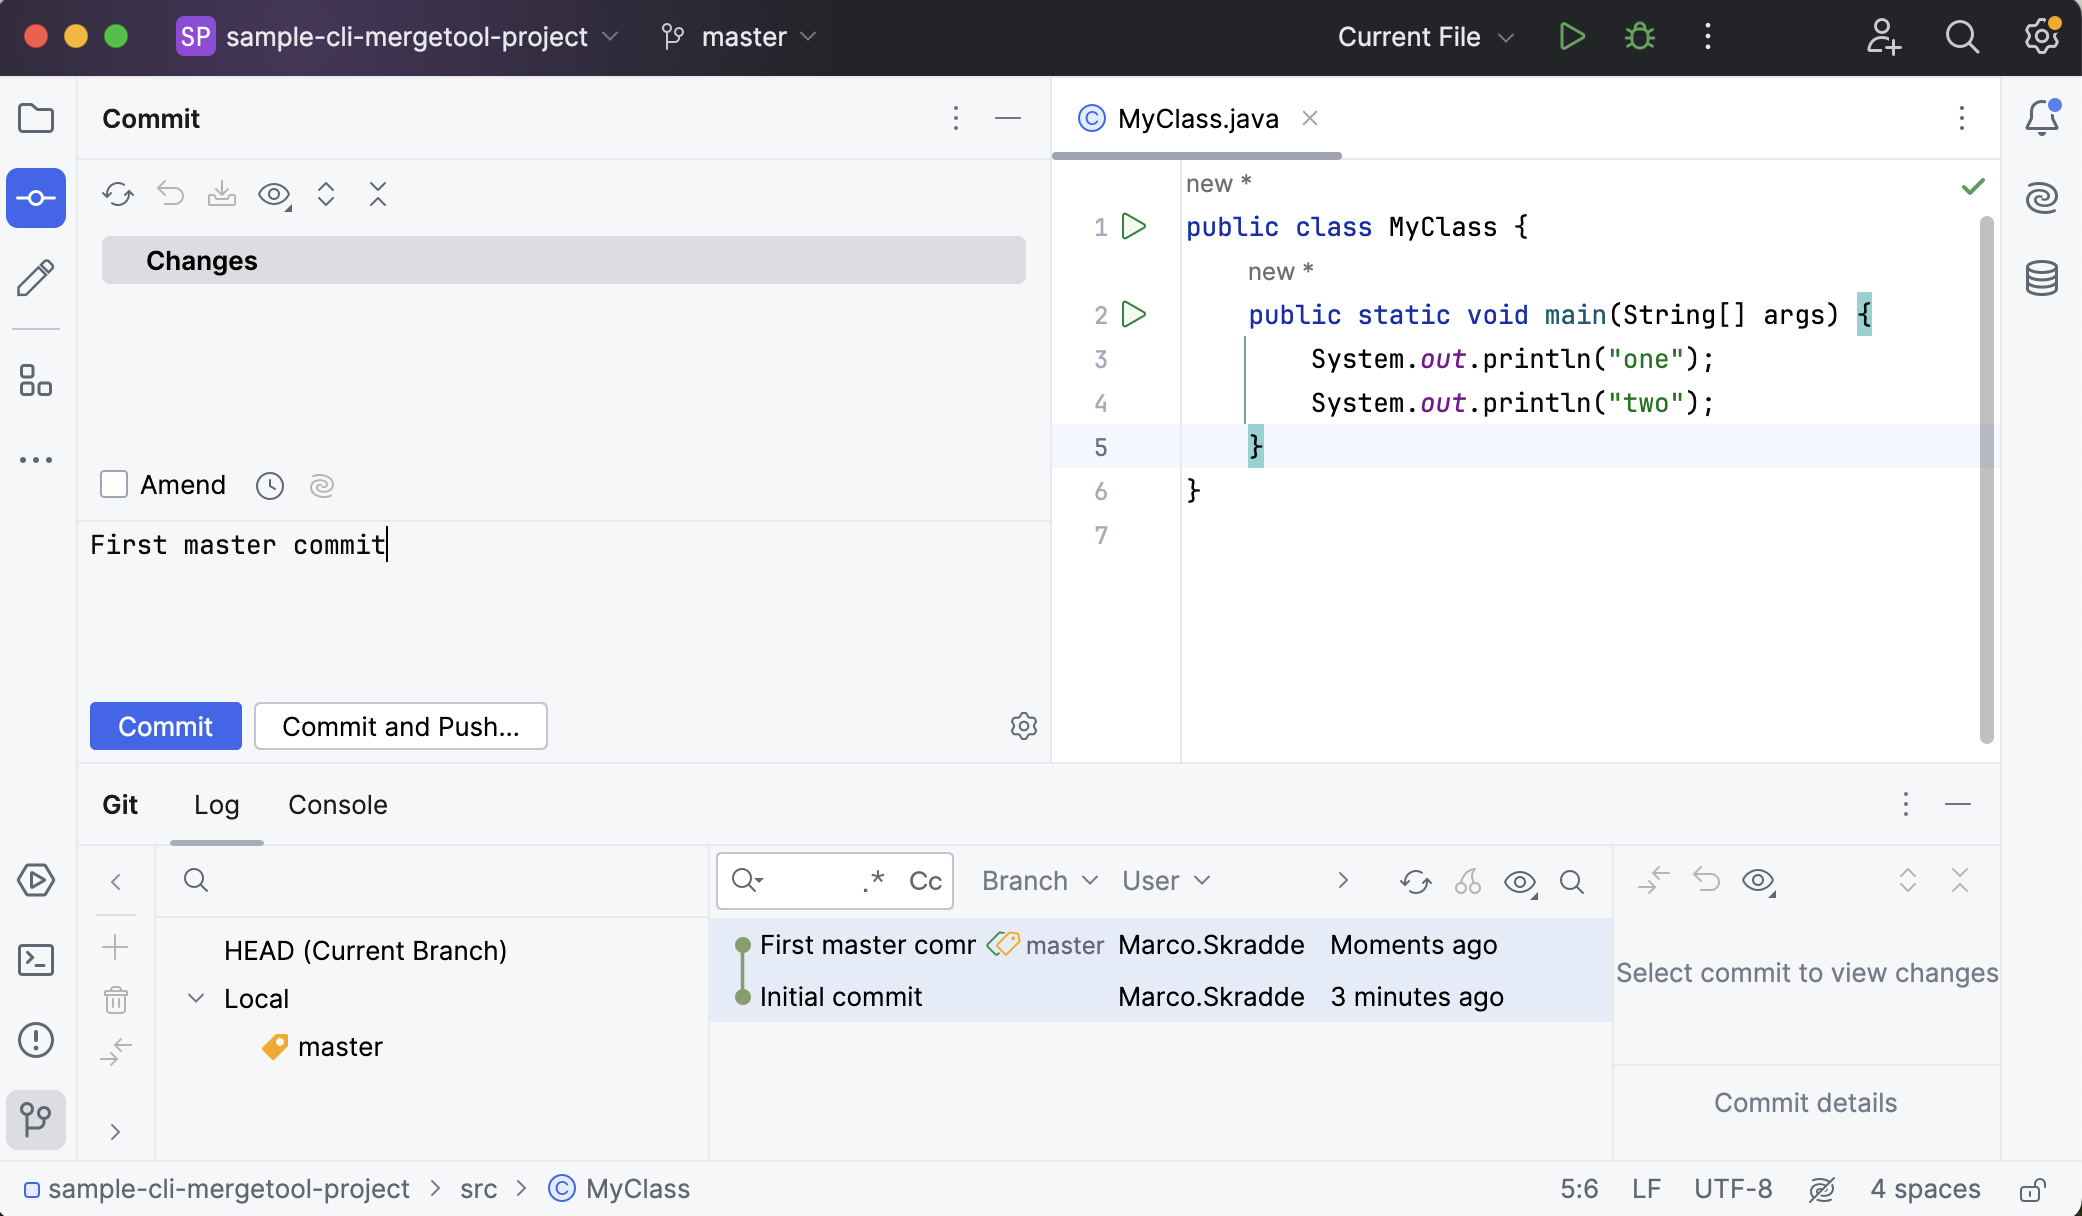
Create a simple Java class.
You can use the following sample code:
public class MyClass { public static void main(String[] args) { System.out.println("one"); System.out.println("two"); } }Commit your changes to the master branch.

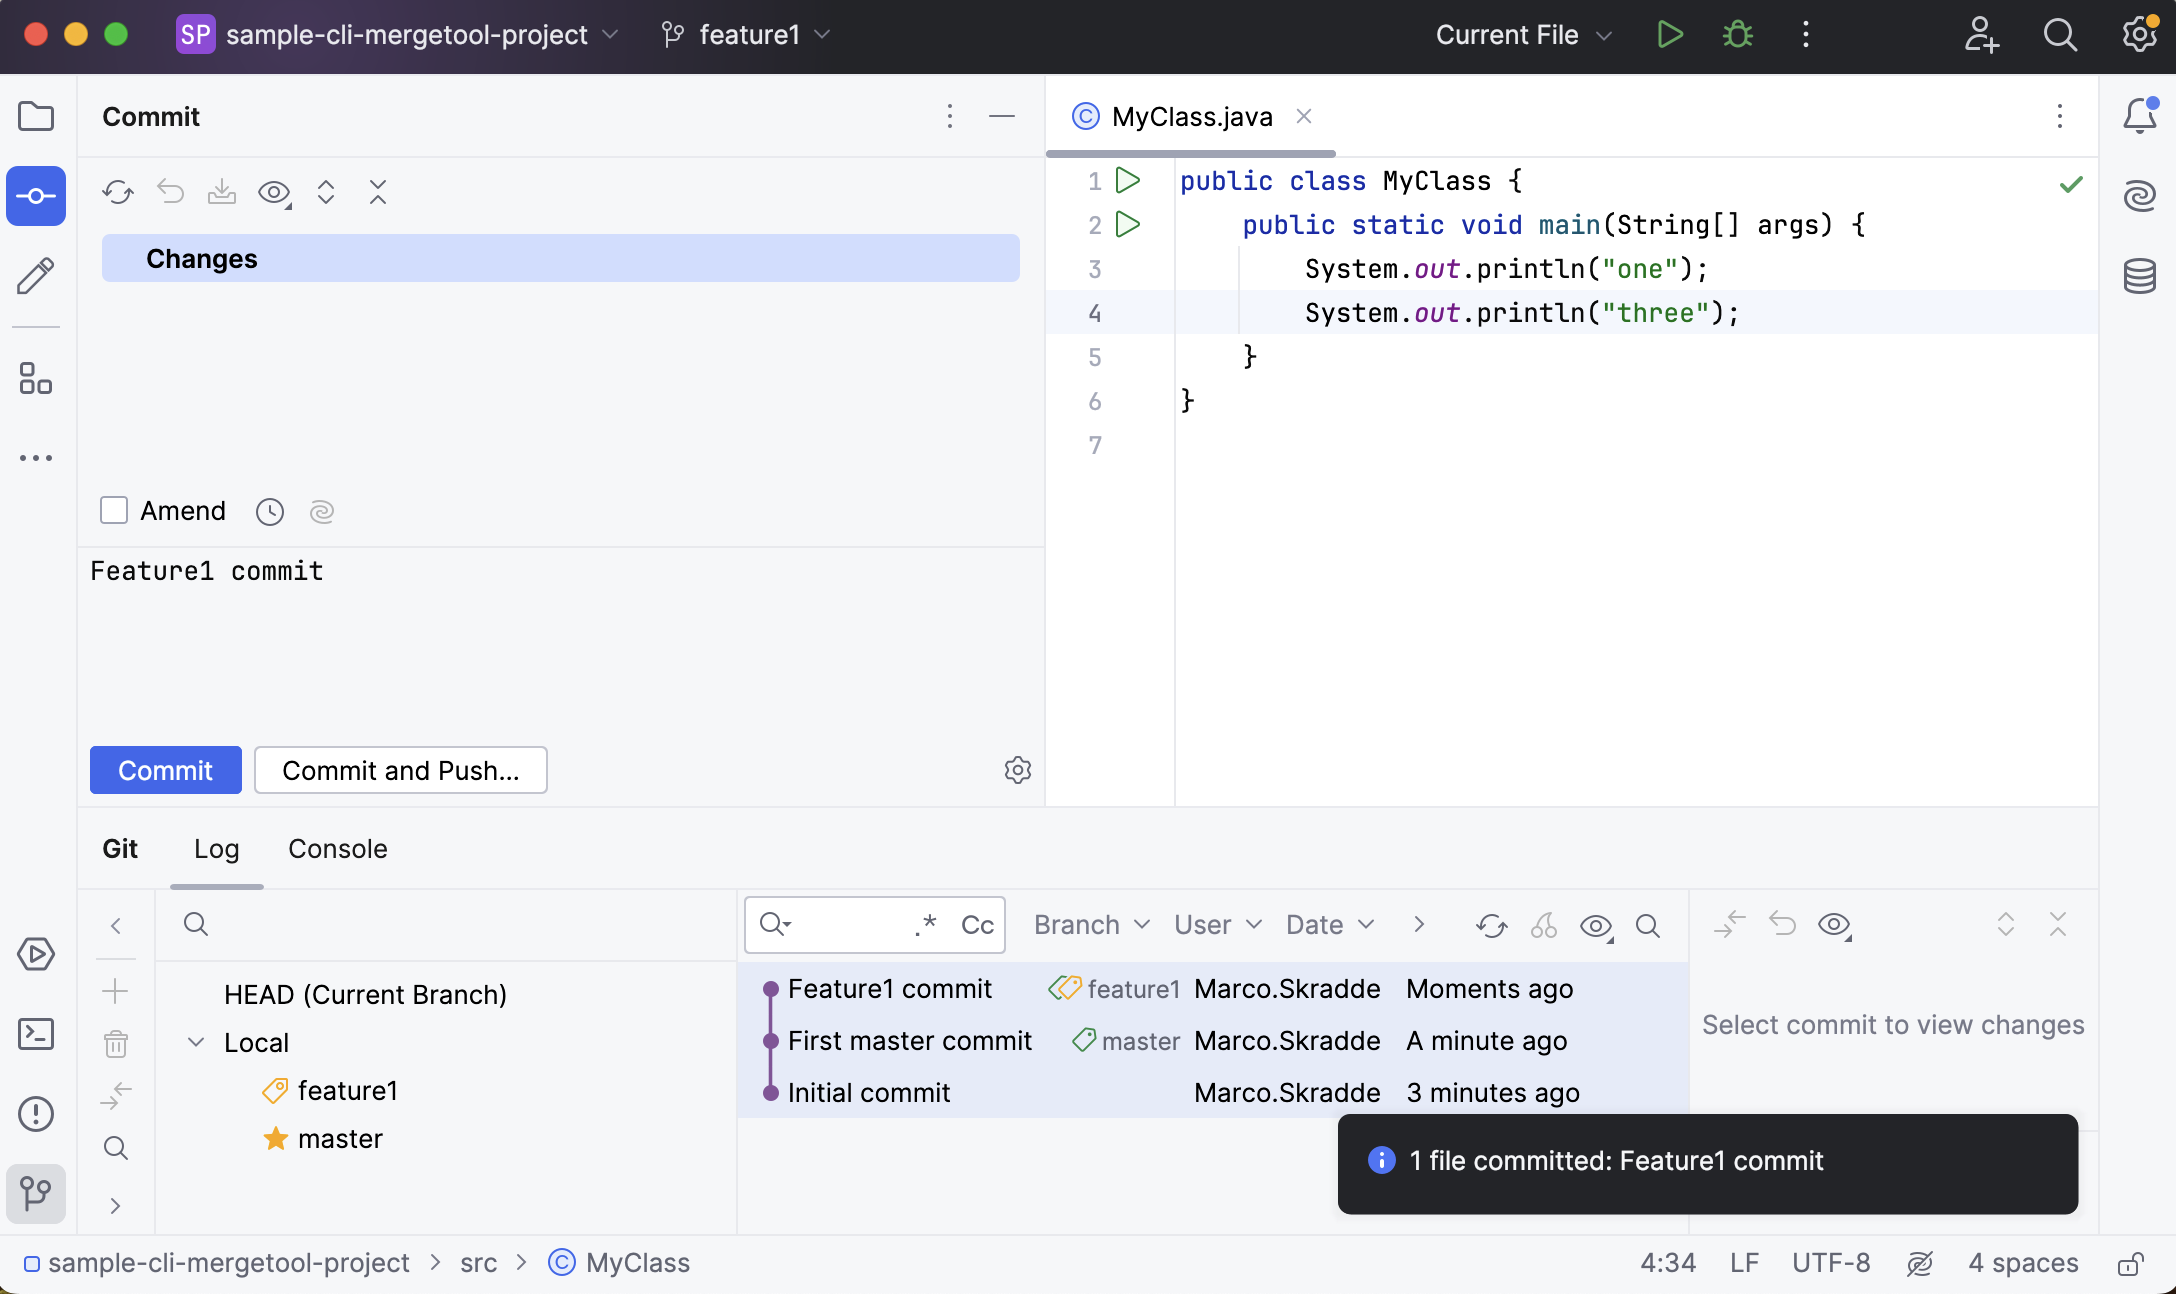
Check out a new branch from master. We will call the new branch feature1.
Change MyClass.java and commit the changes.

Check out master again, change MyClass.java one more time, and commit the changes.
Try merging feature1 into master from the command line:
git merge feature1You will get a conflict stating that you have unmerged files.
Run
git mergetool.IntelliJ IDEA will automatically start and open the merge tool to resolve the conflicts.
Resolve merge conflicts in IntelliJ IDEA
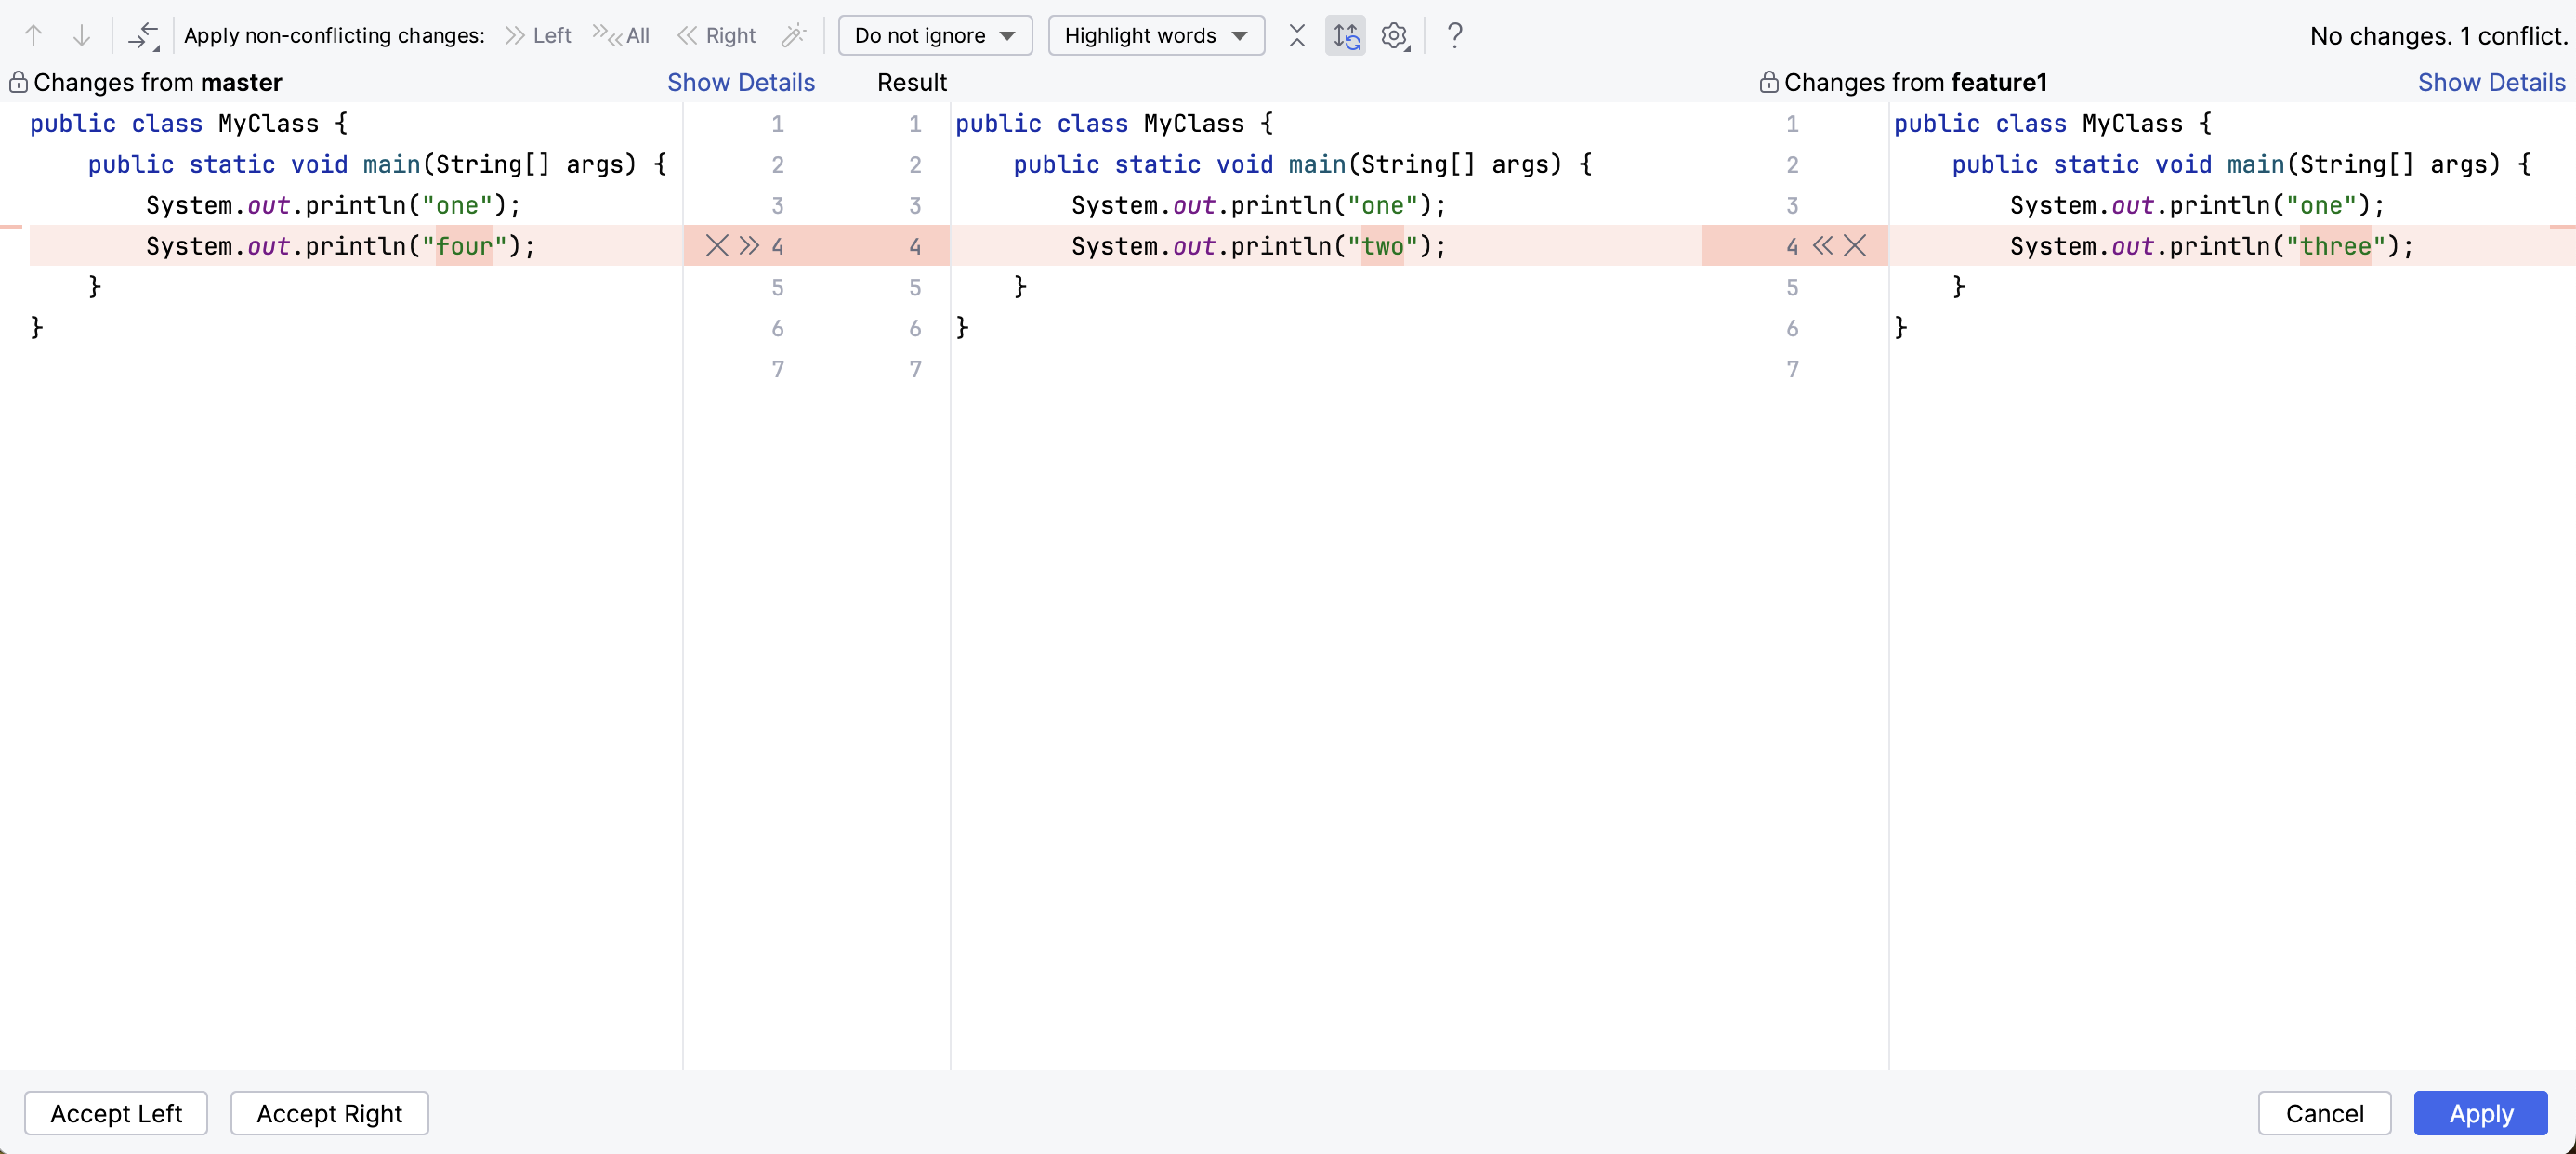
The IDE now opens with a visual representation of the merge conflicts.
In the three-way merge dialog, select the pane from which you want to apply changes and press Accept Left
or Accept Right
in the gutter.
In our case, we choose the changes from our feature1 branch on the right.

Click Apply.
Run the
catcommand in the file where you resolved the merge conflict in the terminal, and look at the merge result.
You have successfully configured IntelliJ IDEA as your default command-line merge tool and learned how to resolve conflicts within the IDE.