Scala worksheet, Scala REPL and Ammonite
You can quickly evaluate and run Scala code using a Scala worksheet, Scala REPL, or Ammonite.
Scala REPL in IntelliJ IDEA and Scala worksheets both use Scala REPL from the Scala compiler. So, you can use a Scala worksheet instead of Scala REPL to evaluate expressions.
Since in IntelliJ IDEA Scala worksheet and Ammonite files have the same file extension .sc, you need to let IntelliJ IDEA know how to treat such files in your project.
In the Settings dialog (Ctrl+Alt+S) , go to .
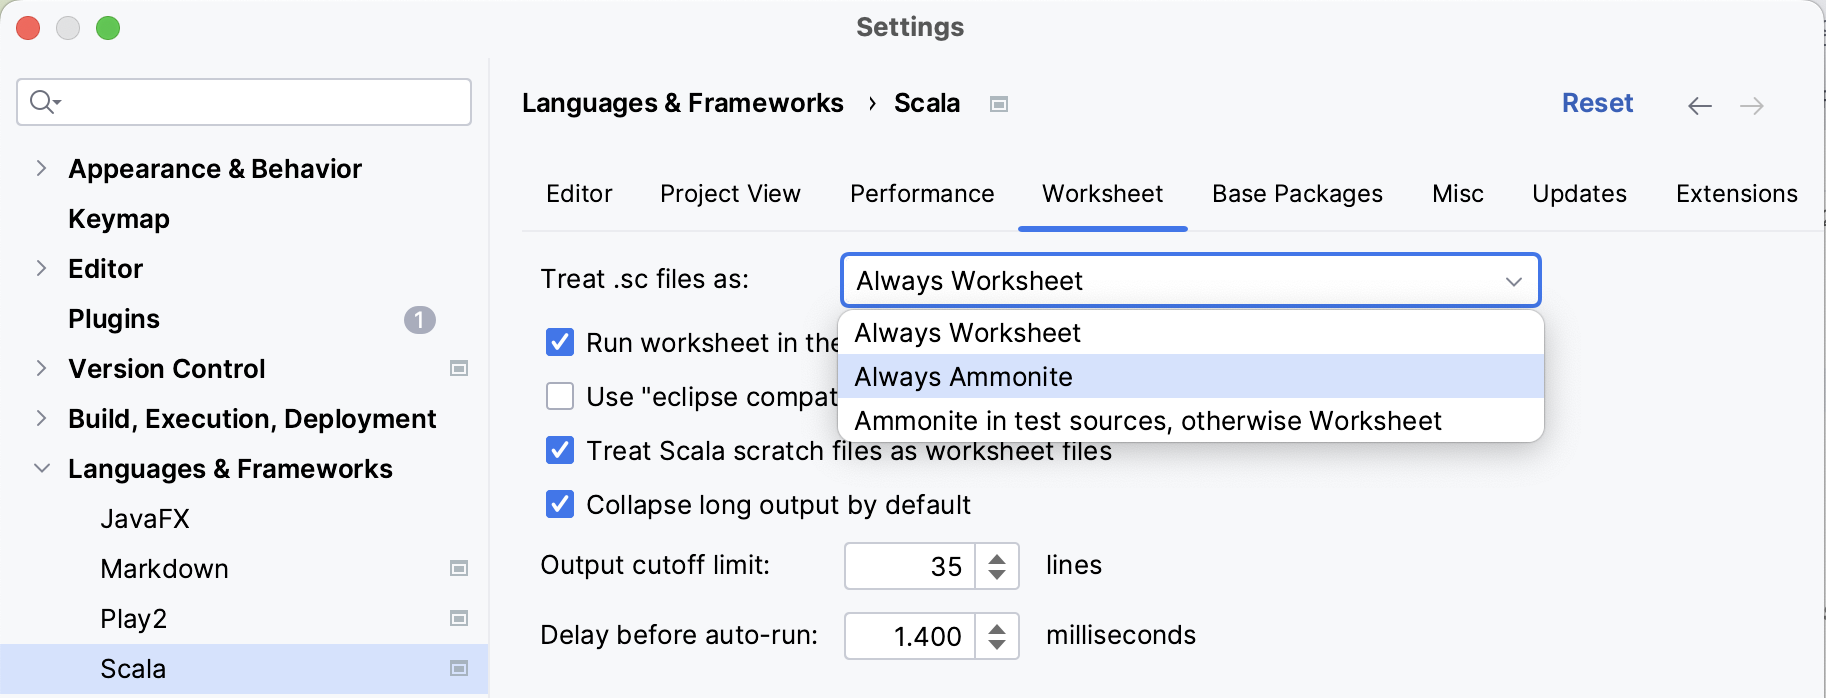
On the Worksheet tab, in the Treat .sc files as field the Always Worksheet option is selected by default.
Select Always Ammonite for the Ammonite support.
You can also select the Ammonite in test sources, otherwise Worksheet option to treat only test files as Ammonite.
Save your changes.
While in the settings, you can also set the output cutoff limit, specify in what mode you want to run the worksheet or Ammonite script, or configure how you want IntelliJ IDEA to treat .sc and scratch files.
Create an .sc file
Right-click your project and select New|Scala Worksheet. We recommend that you create an .sc file in the src directory to avoid problems with code highlighting.
In the New Scala Worksheet window, type the name of the file and click OK.
As a result, a file with .sc extension opens. Based on the file configuration, it is treated either as a Scala worksheet or as Ammonite.
Run Scala code using Scala worksheet
Create a Scala worksheet file and open it in the editor.

Add your code.
Besides standard actions such as code completion and string formatting, IntelliJ IDEA supports the following actions:
Evaluating Scala objects
Folding the output without affecting your code on the left side and expanding only that block of the output that matches a specific statement.

Click
to see the results.
Start Scala REPL
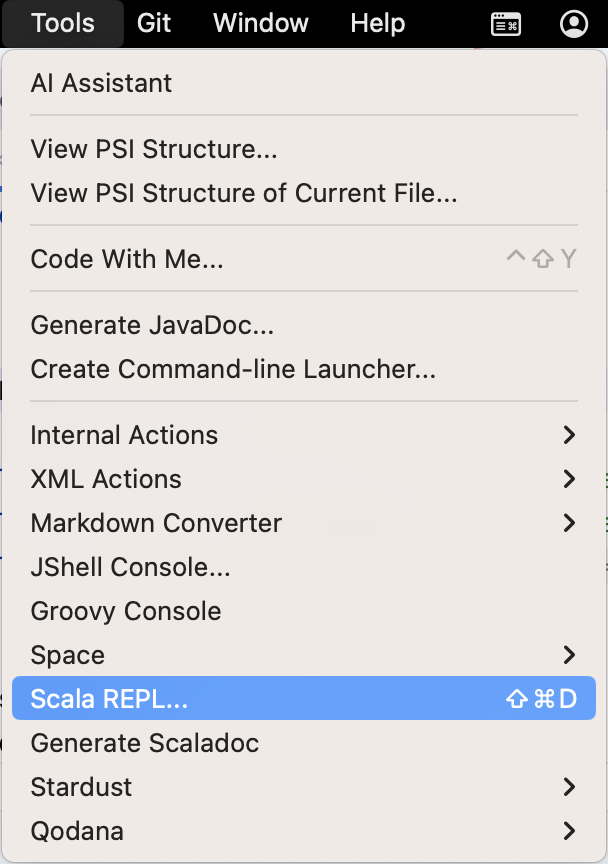
You can open Scala REPL by pressing. Ctrl+Shift+D or you can find it in the Tools menu.
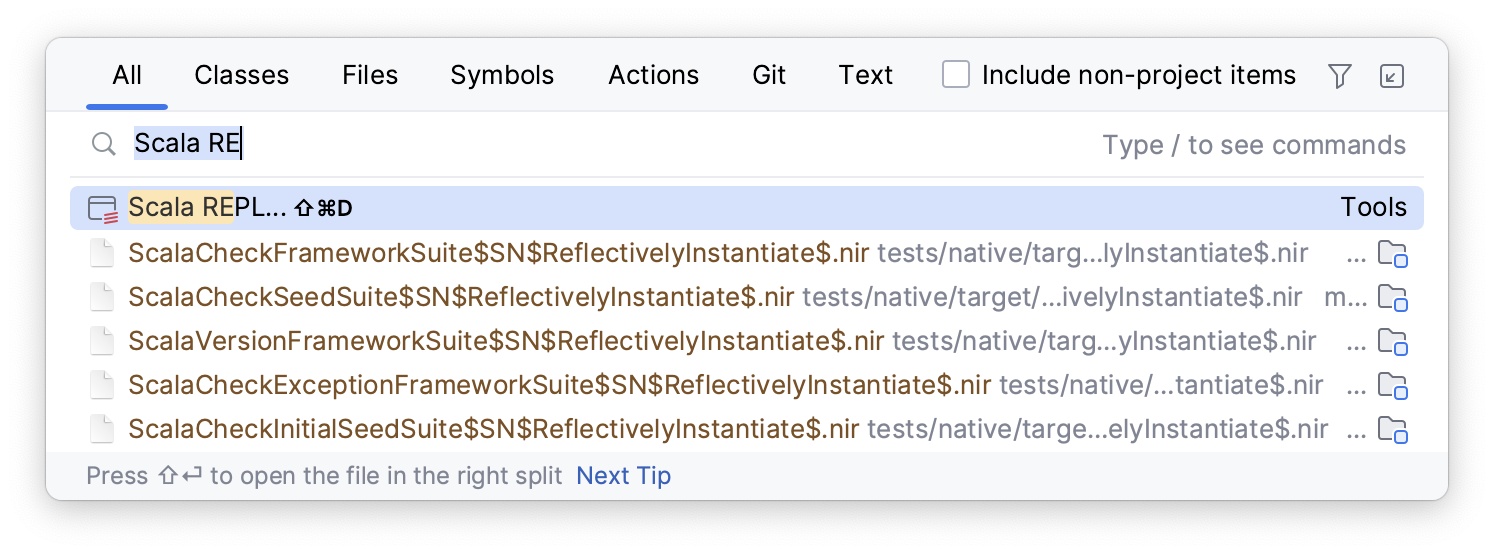
Alternatively, you can open the Actions tab in the Search Everywhere window, start typing Scala REPL, and then select it from the search results.
To run a method from your project, import a given class or module, and call it, as if you were writing regular code.
Check the result in the Run tool window.

Work with the current worksheet settings
Open a Scala worksheet file in the editor. Click
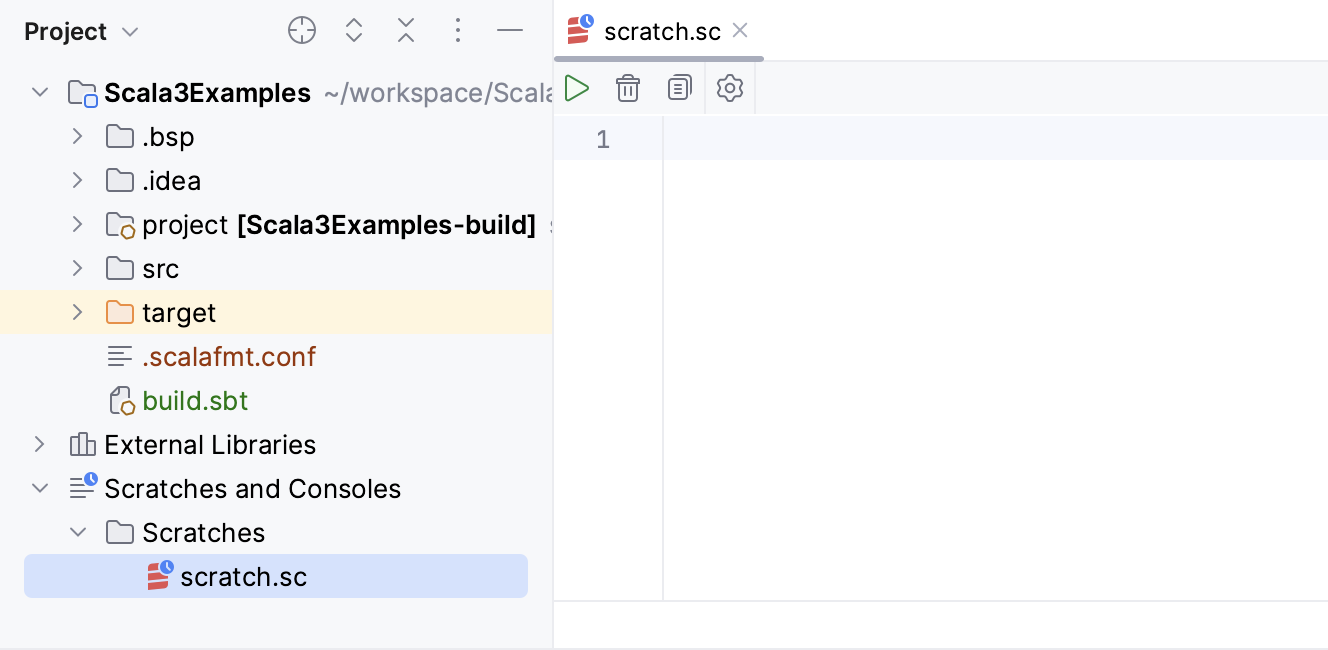
on the toolbar of the worksheet editor to open the Worksheet settings dialog.
In the Worksheet settings dialog, configure the current worksheet settings or the default worksheet settings for the whole project that will affect other worksheets.
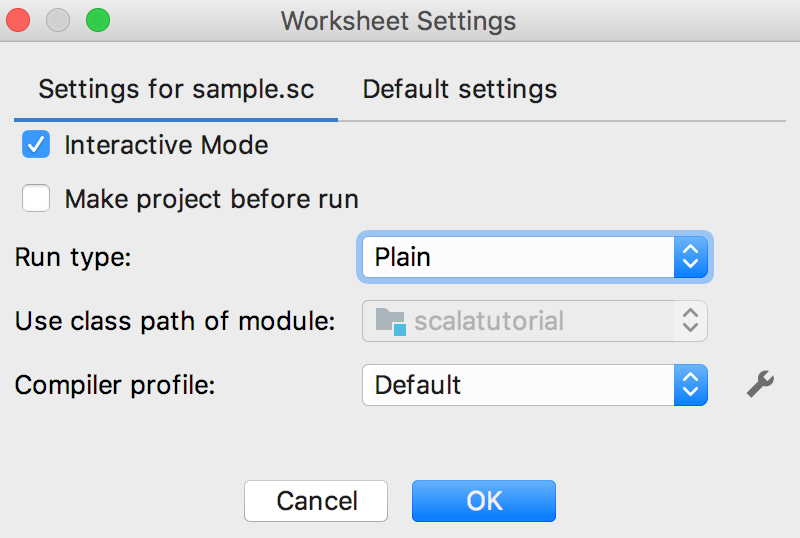
Use the following options for your configuration:
Interactive Mode: select this checkbox to have the results shown automatically.
Make project: clear this check checkbox to disable automatic checking of project's changes and thus improve evaluation performance.
Run type: from this list, select the appropriate evaluation mode. For example, select the REPL type to quickly evaluate Scala expressions. When you add new expressions they are executed incrementally.
Use class path of module: this field is disabled since the worksheet is a file that you can share between other projects and should stay where you created it. You can change its location in the default settings, but it will be applied across the whole project and will affect other worksheets.
If you need to change a class path, we recommend that you create and use a scratch file instead.
Compiler profile: in this field select a compiler profile for your worksheet. Select one from the list or click
to access the Scala compiler settings for more options.
Configure the Ammonite support in IntelliJ IDEA
Depending on your project, do the following:
If you have an sbt project, add the following code to the build.sbt file:
libraryDependencies += "com.lihaoyi" %% "ammonite" % "2.5.11" % "test" cross CrossVersion.full sourceGenerators in Test += Def.task { val file = (sourceManaged in Test).value / "amm.scala" IO.write(file, """object amm extends App { ammonite.Main.main(args) }""") Seq(file) }.taskValueRefresh the project to import the changes.
If you have a regular Scala project, download Ammonite and specify the location of its executable. For example, you can modify the $path variable or specify the path in the default Ammonite run/debug configuration, in the Amm executable field.
Run Scala scripts using Ammonite
Create an Ammonite file and open it in the editor.
Add your code.
Besides standard code completion and importing actions, IntelliJ IDEA supports the following Ammonite-specific actions:
Code completion for Ammonite-specific commands

References to code from other Ammonite files and code completion for them

In the left gutter, click
and select Run script to view the results in the Run tool window.
Alternatively, you can create and run an Ammonite run/debug configuration.