Generator Demos
Last modified: 06 September 2021Generator Tutorial
Welcome to the updated Generator Tutorial, which will guide you through the process of defining and extending language generators in MPS.
The tutorial has seven parts with gradually increasing complexity. All the demos share the same underlying story - a transformation of XML code into Java Swing components. Each demo is based on the previous one and demonstrates more advanced (or sometimes just different) features, practices and approaches.
tip
All the tutorial demos are bundled with MPS distributions as a sample project, named tutorial-demos. This will help you especially, If you want to review the existing code or skip some of the demos.
Although all the demos are logically related, for educational purposes, we will create a fresh generator in each of the demos. Since generators don't exist in vacuum and always belong to a concrete language, we will create a new language for each of the demos to wrap the generator. Those languages (except for demo 6 and 7) do not introduce their own new concepts (aka syntax). Instead, they give new semantic to the existing concepts.
For instance, the xml element with name 'button' is not just an xml element any more, but a 'virtual concept' representing a GUI component button.
tip
Note that this is not a typical way to do Language Oriented Programming. Languages are rarely purely 'virtual', defining the semantics without adding or changing any syntax elements. Choosing this approach for our demos lets us focus solely on our main topic - the generators.
How to Use This Documentation
The best approach is to install JetBrains MPS on your computer, set-up a new empty demo project and carry out all the steps described in demos. This way you will gain great experience in generators development and beyond.
The second option is to read the documentation and, perhaps, browse generator demo project included in the MPS distribution. The generator demo project includes all the demo languages and generators, as well as the test models, which we are going to create in these demos.
The generator demo project is located at: {mps}
Setting-Up Demo Project
If you go the more educative way and plan to build the code from scratch, you need to do some little setup work before starting the individual exercises.
New Project
choose File->New Project
create a new empty project
enter project name: 'generator_demo'
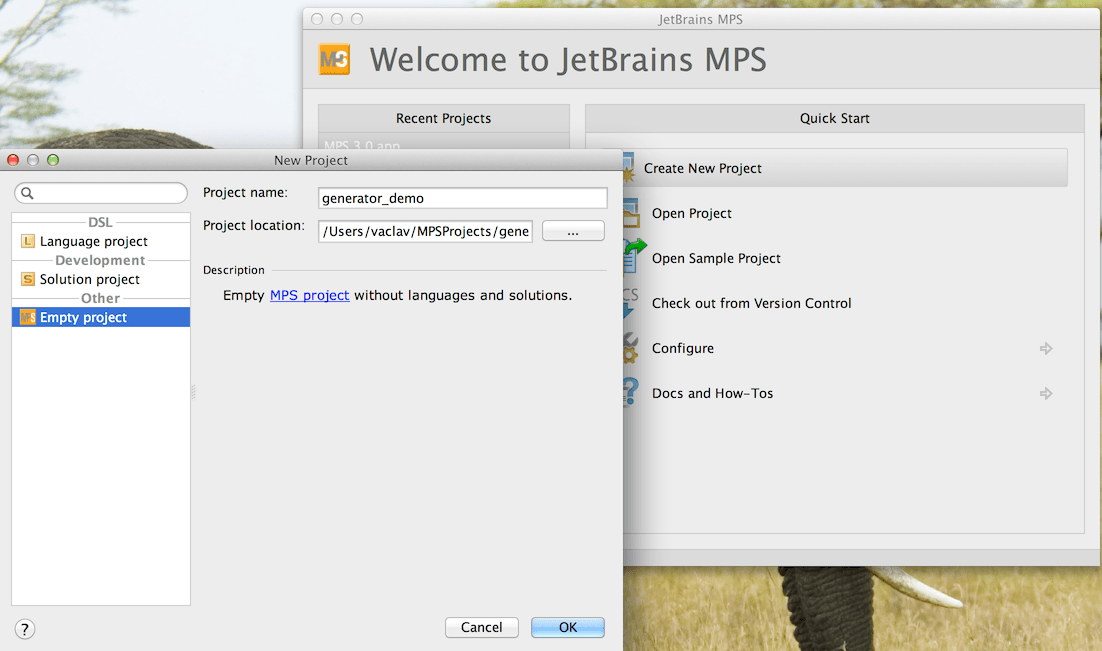
In this demos we are going to define new semantics for xml elements, create test models with some xml in them and generate java code from that xml. The syntax for the XML language has already been defined for you in the SampleXML sample language, which is also bundled with MPS distributions as a sample project. The SampleXML project is located at:
$HOME/MPSSamples3.0/samples/sampleXML
You can obviously try the SampleXML project separately by opening it in MPS. In our demos, however, we will reuse the jetbrains.mps.sampleXML language only. To start with, let's add the jetbrains.mps.sampleXML language to the 'generator_demo' project.
Right-click on the generator_demo node in the left-hand side Project View panel and choose Project Paths. The Alt+Enter key shortcut will have the same effect.
Hit the + button to add a new module
Choose the $HOME/MPSSamples.3.0/sampleXML/languages/sampleXML/jetbrains.mps.sampleXML.mpl file
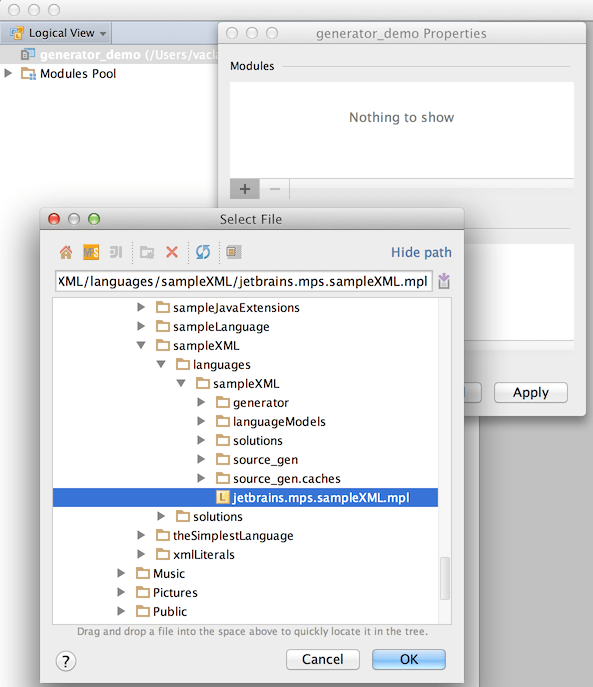
Now the 'jetbrains.mps.sampleXML' language is easily accessible.
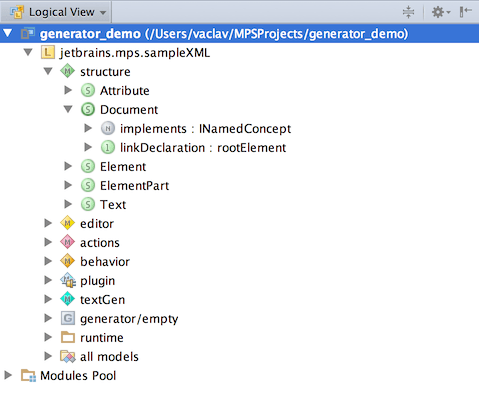
Right-click the sampleXML language node and choose "Rebuild language ..." so that the language is ready to be used.
New Demo Solution
choose New Solution in project's popup menu
enter the solution name: 'test_models'
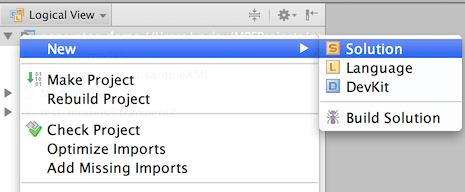
New Test Model
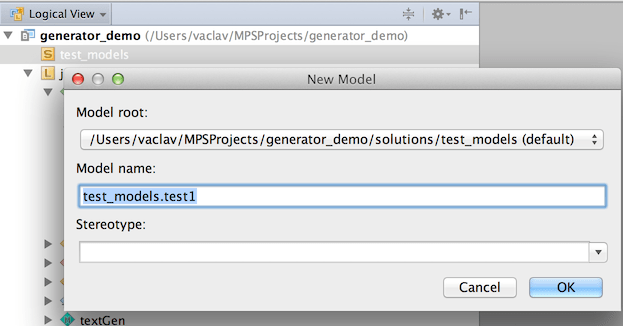
choose New Model solution's popup menu
enter the model name: 'generator_demo.test1'
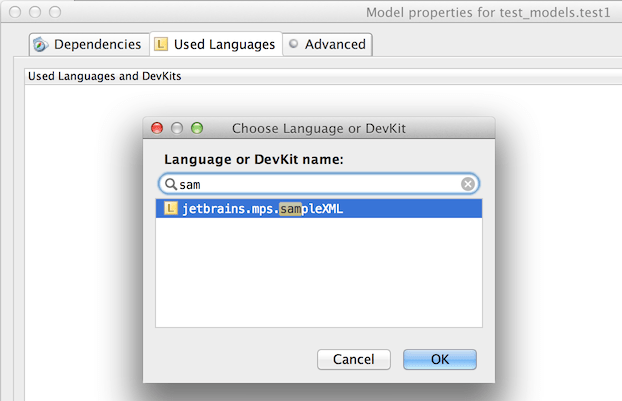
add the 'jetbrains.mps.sampleXML' language to the Used Language section in the model properties dialog
Now you should have a solution with a single model in it and be ready for writing some xml using the just imported simpleXML language.
In the 'text1' model create new Document node and give it name 'Button'.
create a Document 'Button' in the model 'test1'
add root element 'button' to this document
in the same manner create Document 'Label' containing element 'label'
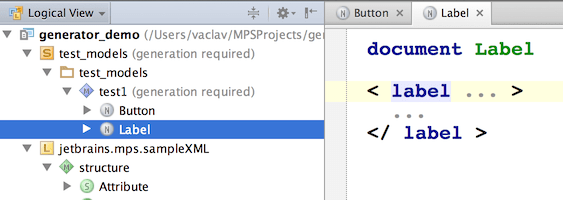
note
If what you see on your screen differs considerably from the XML-like editor on the screen-shot above, you probably haven't rebuilt the sampleXML language yet. So do it now.
Test Generation
choose Generate Text in popup menu of the model 'test1'
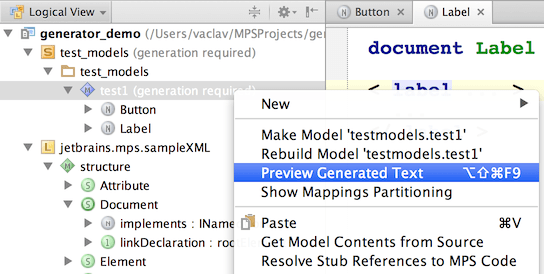
The result of the text generation will be shown as new tabs in the MPS editor and it will be more or less identical to the input.
Now we are all set to go on and define semantics for those otherwise meaningless xml concepts!
What's Inside
Demo 1
This is an easy start. We will transform two types of XML elements into labels and buttons and practice how to use root mapping rules, root template, property-macro, SWITCH-macro and a template switch along the way.
Demo 2
This demo will teach you the usage of conditional root rules, LOOP-macros and abandon root rules.
Demo 3
Demonstrates usage of template declarations and template fragments; mapping labels; the 'unique name' service; reference-macros and IF/INCLUDE/MAP_SRC macros.
Demo 4
Demonstrates usage of reduction rules, COPY_SRC-macros and more advanced reference-macros with reference resolving by mapping labels.
Demo 5
Explains how to use generation scripts and how to create utility classes in the generator.
Demo 6
In this demo we will create a 'real' language defining its own higher-level concepts (button and label) and see how languages are integrated together.
This demo explains in greater details the generation process in MPS and demonstrates the usage of transient models and the generation tracer tool.
Demo 7
Demonstrates usage of weaving rule; template declaration and template fragment; mapping label; 'unique name' service; reference-macro and IF/INCLUDE/MAP_SRC macros.