Run, debug, profile
Last modified: 06 April 2022Devices and simulators
AppCode runs and debugs your applications on a device or simulator out of the box.
note
Wireless debugging is also supported, but you need to configure the device in Xcode first before it appears in AppCode.
Build system and debugger
AppCode uses the build system bundled in Xcode to build your project and the LLDB distribution bundled in Xcode to debug it. This guarantees that the binary compiled by AppCode is the same as the one you can create in Xcode.
Schemes and run/debug configurations
Instead of using Xcode schemes directly, AppCode uses the IntelliJ Platform analog for them — run/debug configurations. Run/debug configurations in AppCode are based on Xcode schemes and are kept synced with them.
When you open your project in AppCode for the first time, as long as you had schemes in Xcode, AppCode will fetch them and create corresponding run/debug configurations for them. The same is true for run/debug configurations – after your create them in AppCode, they will appear in Xcode in the form of Xcode schemes. However, to see the changes you’ll need to restart Xcode because it does not reload changes in schemes on the fly.
There are several important differences between run/debug configurations and schemes:
In Xcode schemes, you can set several targets to be built or several test targets to run during testing. AppCode run/debug configurations do not work with multiple targets – you can select only one.
Run/debug configurations do not include parts related to testing, analyzing, and profiling the application. Instead, AppCode offers configurations for running specific sets of tests, an Inspect Code action for running code analysis on a specific project or part of a project, and a Profile action for profiling your application.
Some settings cannot be edited via the AppCode interface for run/debug configurations, for example, the options listed on the Options and Diagnostics panes in the Xcode scheme editor.
Separate Run and Debug actions
In Xcode, you run the application in debug mode by default with the debugger attached (the Debug executable option in the scheme editor is turned on by default). In AppCode, there are no such settings, and instead Run and Debug are separate actions. The idea behind this separation is that sometimes attaching the debugger is a heavy operation you do not always need, and in this case it’s easier to have a separate action for running your application.
Breakpoints
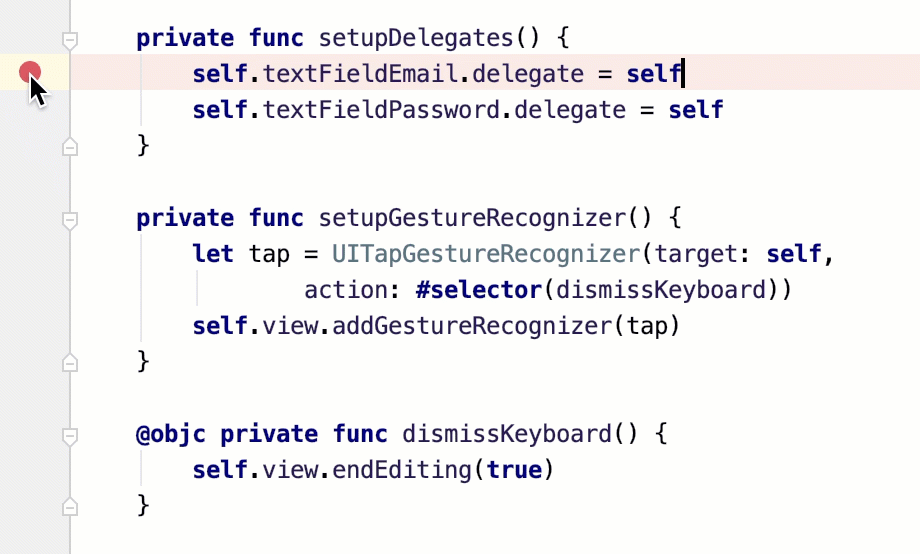
In Xcode, you disable a breakpoint by clicking it, and you remove a breakpoint by dragging it to the editor area. You can set up a similar behavior in AppCode by selecting Preferences | Build, Execution, Deployment | Debugger | Remove breakpoint | Drag to the editor area.
The default breakpoint behavior in AppCode comes from the IntelliJ Platform where you disable a breakpoint by unchecking the Enabled option in the popup shown on right-click, and you remove a breakpoint by clicking it:

Evaluating expressions
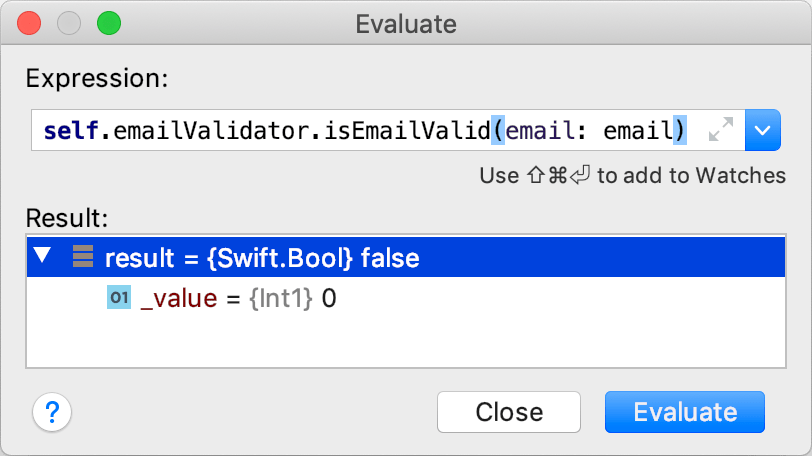
The common way to evaluate expressions in Xcode during a debug session is using the LLDB console. In AppCode, you also have an LLDB console in the Debug tool window, where you perform the same actions. However, it may be easier to use the Evaluate Expression ⌥ F8 feature, which allows you to select an expression directly in the code. Or, you can write some code expression, with code completion and highlighting available, and then evaluate it just by clicking the Evaluate button:

Inline debugging
In addition to general debugger features like viewing watches, local variables, and so on, AppCode also shows values for local variables at the execution point, inline in the editor:

Code profile
AppCode allows application profiling in the same way as Xcode does. To start profiling, click Run | Profile from the main menu. The Instruments app will open where you can choose a profiling template:

The Instruments app is installed together with Xcode. For more details on how to profile your application in Instruments, refer to the Xcode documentation.
Thanks for your feedback!