Qodana 2023.1 Help

Organizations

Organizations provide top-level structuring of all entities in Qodana Cloud. Each organization is created on the basis of a specific JetBrains account. Depending on your choice, it will be either private or public. Each account in Qodana Cloud is based on the organization that becomes its default organization.

You can navigate between organizations using the list in the left part of the Qodana Cloud UI.

Creating an organization

Create an organization

You can create either private or public organizations. Reports stored in private organizations are accessible only by a user who created an organization and users who were invited to them. Reports stored in public organizations are available for all Qodana Cloud users, including unauthorized users with the viewer role.

Each organization can be created on the basis of a JetBrains account.

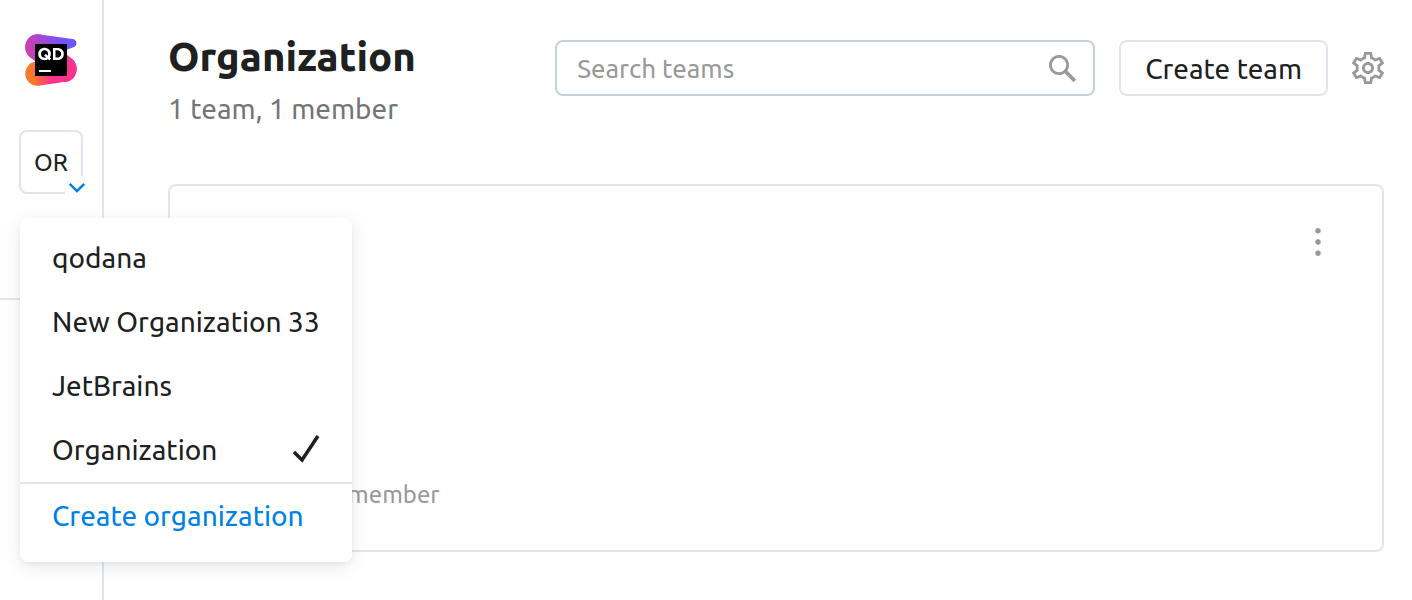
  1. In the sidebar, expand the list of organizations and then click Create organization.

    Creating an organization
  2. In the New organization dialog that opens, provide the organization name, and specify whether you would like to create this organization on the basis of an existing JetBrains account, or you need to create a new account for it. Finally, specify whether this organization will be public or private.

    The Add organization window

Configure organizations

You can configure membership and visibility of your organization, or leave the organization.

  1. In the sidebar, navigate to the organization that you wish to configure.

    Creating an organization
  2. On the organization page, click the Organization settings button in the upper-right corner.

    Navigate to the organization settings

On the settings page, you can find the following tabs:

  • Contributors contains the list of contributors to your organization

  • Logs contains the list of log entries connected with your organization

  • Members contains the list of organization members. Using this tab, you can manage your organization membership.

If you click the button in the upper-right corner of the UI, you can switch the status of your organization, or completely leave it.

Leaving and switching organization status

Manage organization membership

Within your organization, you can:

  • Invite new members using email addresses, and assign them user roles

  • Change roles of the existing organization members

  • Exclude members from your organization

  1. On the settings page of the organization, navigate to the Members tab.

  2. On the Members tab, click Invite members.

    Clicking the Invite members button
  3. In the Invite members to ... organization dialog that opens, you can manage members of your organization.

    Managing organization membership
Last modified: 28 April 2023