Live templates
Expand a live template: Tab
Configure: Ctrl+Alt+S Settings/Preferences | Editor | Live Templates
tip
To see the live templates available in RubyMine, open Settings/Preferences Ctrl+Alt+S and go to the page.
Expand a live template
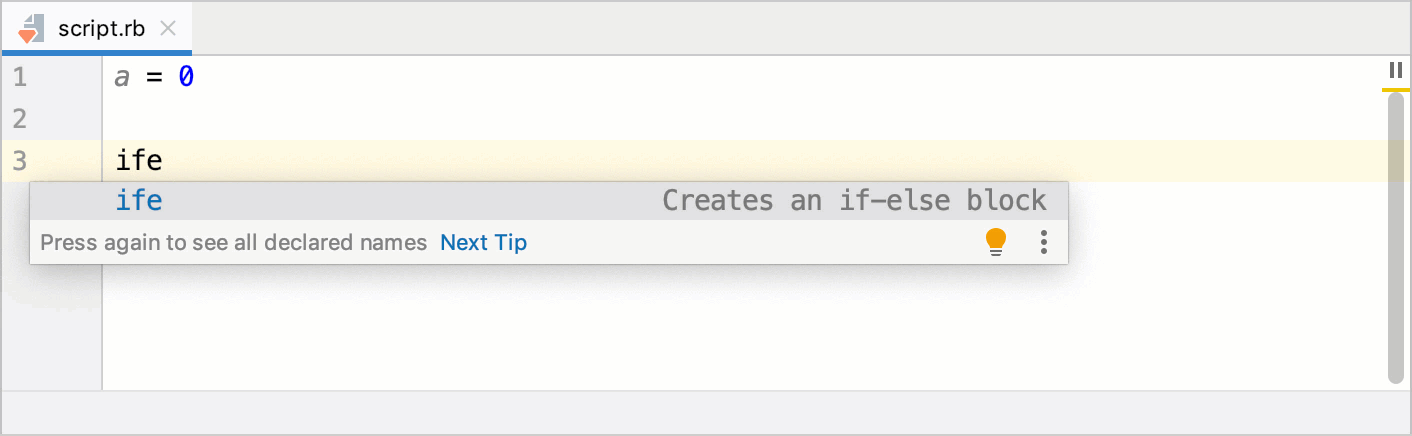
To expand a live template, type the corresponding template abbreviation and press Tab. Let's see on how to insert the if-else block using the predefined ife template.
In the editor, type
ifeand press Tab.Specify the required condition and press Tab to move to the next statement.
Type code executed if the condition is
trueand press Tab to move theelseclause.Type code executed if the condition is
falseand press Tab again to finish.(Optional) Before finishing, you can press Shift+Tab to move to the previous clause and change it.
Surround templates can be useful to wrap a piece of HTML code with tags. Perform the following steps to do this:
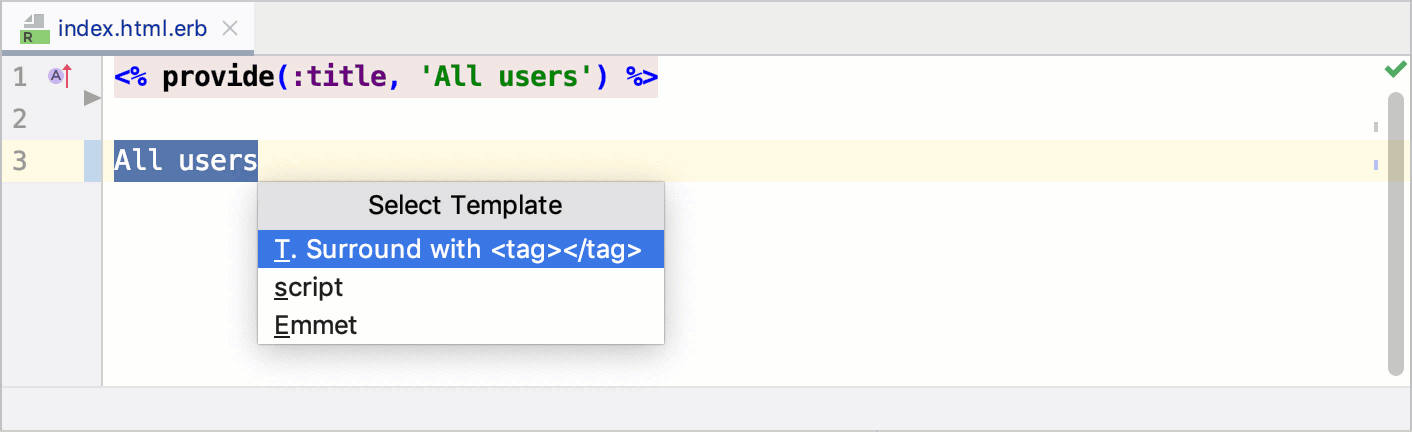
Select the desired code fragment and press Ctrl+Alt+J.
From the invoked popup, select the Surround with template and press Enter.
Type the desired tag and press Enter.
tip
You can also expand surround templates by pressing Ctrl+Alt+T.
Create a simple template
Select code in the editor.
From the main menu, select .
In the invoked dialog, specify the following settings.

Abbreviation: Specifies the template abbreviation used to expand a template in the editor. Here we use
todo.Description: Contains template description that will be displayed in the completion popup.
Template text: Template body containing code to be inserted.
Applicable in: Specifies the languages or pieces of code where you can expand the created code snippet. Click Change to specify the required context.
Click OK.
To try the created template in action, type
todoin the editor, and press Tab.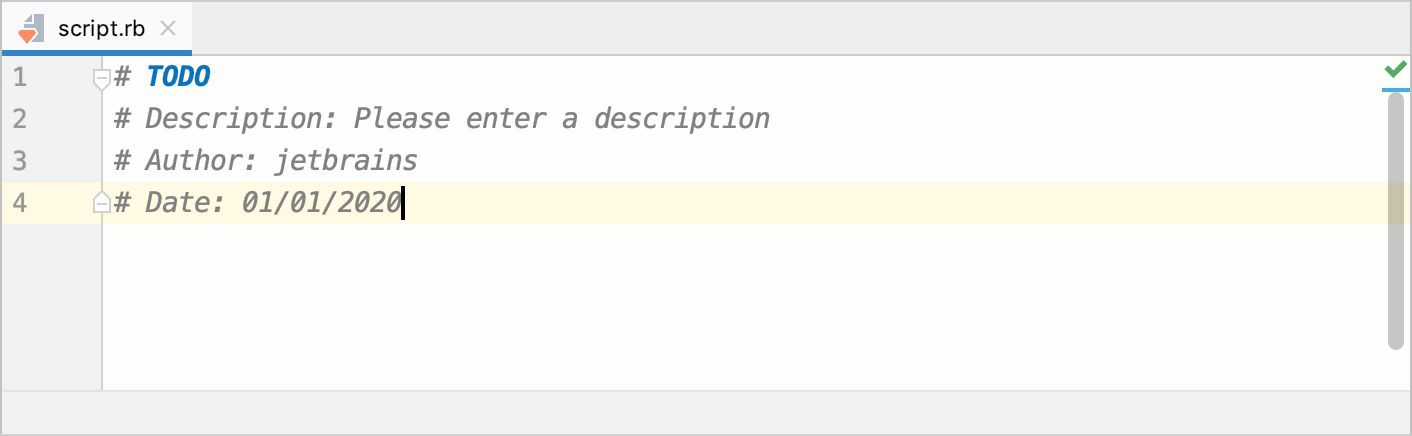 Gif
Gif
tip
You can also create templates in Settings/Preferences(Ctrl+Alt+S) on the page, or copy and reuse existing templates. Learn more at Live template settings.
Add template variables
Open Settings/Preferences and go to the page.
Select the
todotemplate created in the previous chapter.Add the
$DESCRIPTION$,$AUTHOR$, and$DATE$variables in Template text, as shown below.
# TODO
# Description: $DESCRIPTION$
# Author: $AUTHOR$
# Date: $DATE$
Click the Edit variables button. In the invoked Edit Templates Variable dialog, provide default values enclosed in quotes in the Default value column.

Click OK in this dialog and then click OK in Settings/Preferences.
tip
To learn how to provide variable values using expressions (the Expressions column), see Calculate variables using expressions.
To try the customized template in action, type
todoin the editor and press Tab. Use Tab to jump between variables.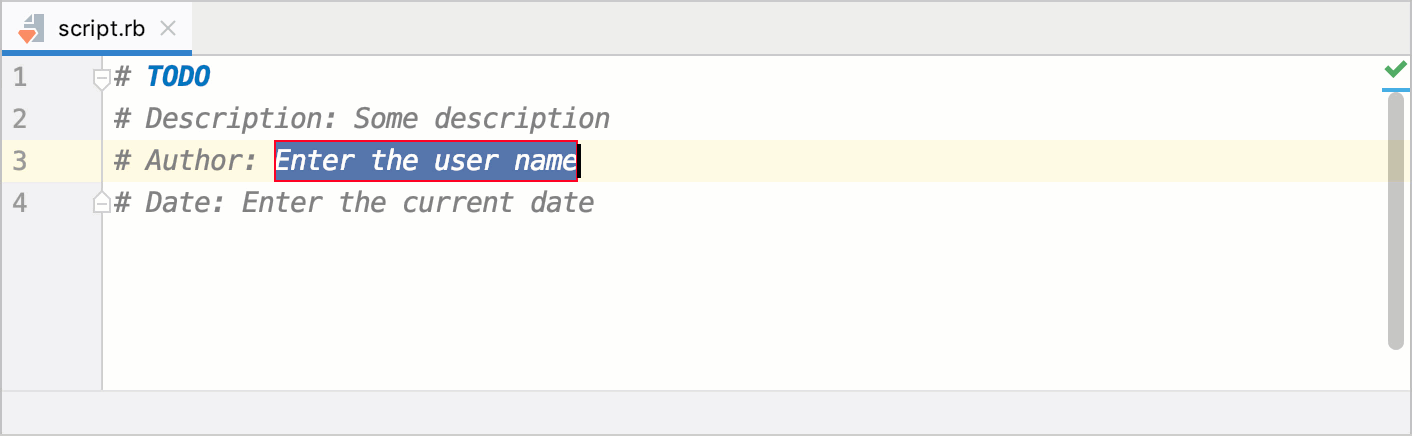 Gif
GifIf necessary, press Shift+Tab to move to the previous variable.
RubyMine allows you to calculate live templates variables using expressions and insert the calculated values automatically. Let's modify our custom todo template created in the previous procedure.
In the page, select the
todotemplate and click the Edit variables button.In the invoked Edit Templates Variable dialog, specify settings, as shown below.

DESCRIPTION: Leave a static Default value specified in the previous procedure.AUTHOR: Expand Expression next toAUTHORand select theuserfunction from the list. This function returns the name of the current user.DATE: Expand Expression next toDATEand selectdatefrom the list. This function returns the current system date in the specified format.For both
AUTHORandDATEvariables, enable the Skip if defined option. In this case, RubyMine won’t suggest that you specify these variables when expanding a template.
Click OK in this dialog and then click OK in Settings/Preferences.
tip
Learn more about predefined functions used in expressions from Predefined functions used in variables.
In the editor, type
todo, and press Tab to expand a template.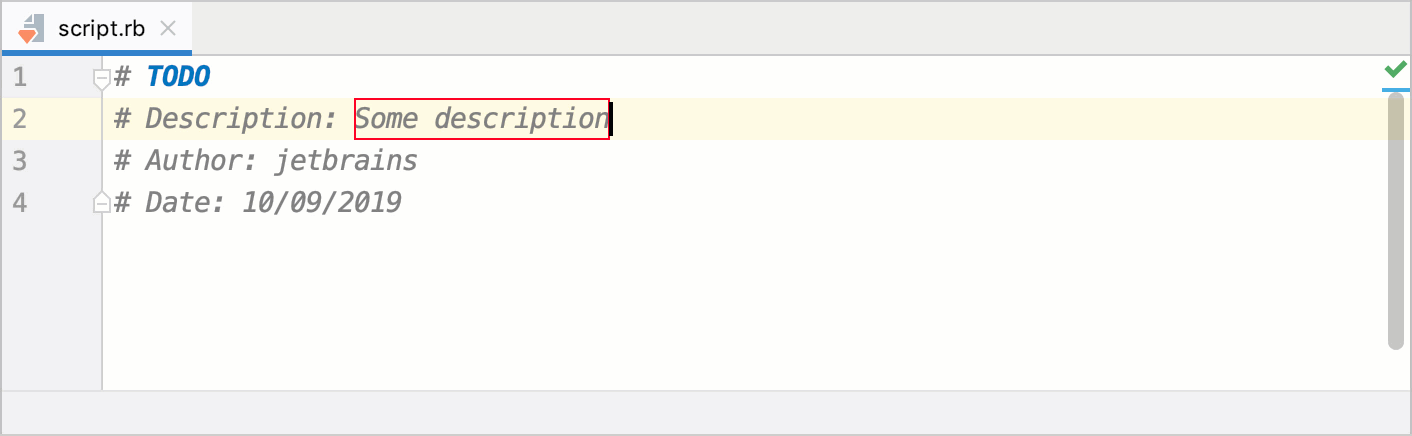 Gif
GifAs you can see, RubyMine fills out Author and Date automatically with values obtained using the
useranddatefunctions, respectively. So, you only need to provide a description.
Surround templates
Open Settings/Preferences and go to the page.
Select the Ruby group and click the
 button.
Specify settings, as shown below.

Abbreviation: Specifies the template abbreviation (
ife_surin our case).Description: Contains template description that will be displayed in the Select Template popup.
Template text: Specify the template body in the following way:
if $SELECTION$
    $STATEMENT_ONE$
else
    $STATEMENT_TWO$
end
$END$
Note that this code snippet contains the
$SELECTION$variable that will be replaced with the selected code when expanding a template.Define: Click OK in this dialog and then click OK in Settings/Preferences.
To expand the created surround template, select the required code fragment in the editor and press Ctrl+Alt+J. Select the desired surround template and press Enter.
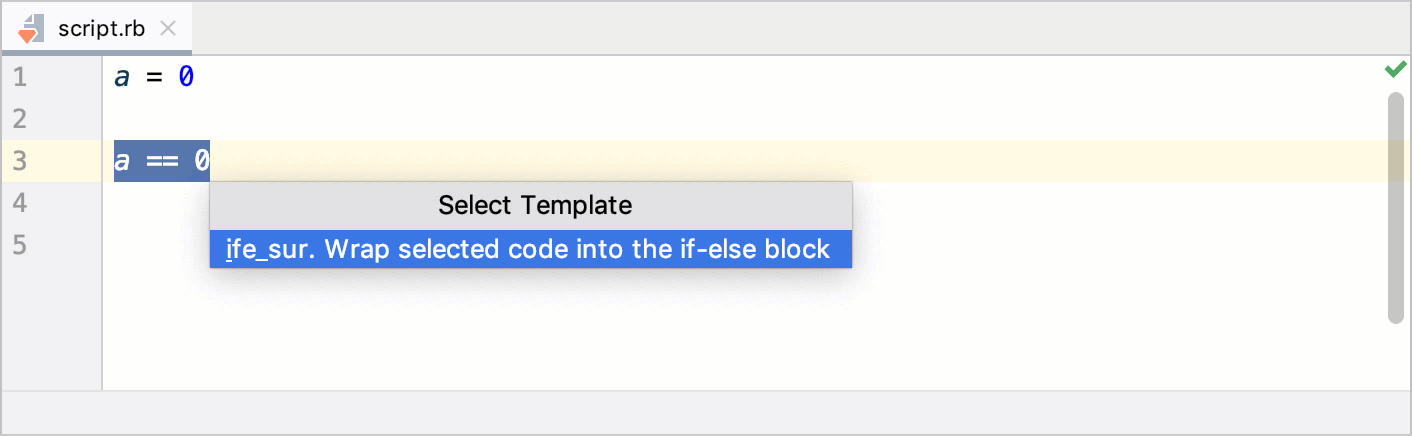 Gif
GifThe selected code will be inserted as a condition. Use Tab to jump between variables. When you finish, the caret will be placed on the line next to the generated snippet as the
$END$variable is placed in Template text.
tip
Postfix code completion is similar to live templates. It transforms the current expression without selecting it. For example, you can type
.ifafter the expression to invoke the corresponding postfix completion and wrap the expression with theifstatement.