Vagrant
Interact with Vagrant from the main menu: Tools | Vagrant
Configure: Settings/Preferences | Tools | Vagrant
Vagrant is a tool for building and managing virtual machine environments defined by Vagrantfile configuration files. RubyMine provides integration with Vagrant and allows you to perform all the required actions in your project - from initializing a Vagrant environment to executing Vagrant commands. Moreover, RubyMine allows you to use the running virtual machine as a remote interpreter. This means that you can run, debug, and test your application in an isolated environment right from the IDE.
In this topic, we'll cover the main Vagrant capabilities available in RubyMine: configuring Vagrant, adding and removing boxes, running Vagrant commands. We'll also show how to run the sample Rails application inside a virtual machine by configuring a remote interpreter.
tip
See the resulting project with Vagrant configured in the vagrant branch of the sample Rails application.
Prerequisites
To start working with Vagrant, do the following.
Install Vagrant and VirtualBox.
Make sure that the Vagrant plugin is enabled.
If necessary, configure Vagrant settings.
Vagrant init
To initialize a Vagrant environment for the opened project, follow the steps below.
From the main menu, select Tools | Vagrant | Init in Project Root.
In the invoked dialog, specify the box name and URL, for example:
Box name:
ubuntu/bionic64Box URL: https://app.vagrantup.com
/ubuntu /boxes /bionic64
If you already have several Vagrant boxes, select the desired one in the invoked Select Vagrant Box popup.
Wait until RubyMine downloads the specified box and initializes a Vagrantfile.
tip
Learn how to add this Vagrantfile to VCS at Add files to VCS.
Change the Vagrantfile in the following way:
Vagrant.configure("2") do |config|
    config.vm.box = "ubuntu/bionic64"
    config.vm.synced_folder ".", "/home/vagrant/sample_rails_app"
    config.vm.network "forwarded_port", guest: 3000, host: 3000
end
The following settings are specified in this configuration:
box: Specifies the box used to run the virtual machine.synced_folder: Configures a virtual machine folder to share your local project directory.network: Specifies options used to connect the virtual machine to the network. Here we've configured the port on the virtual machine to share via a port on the host machine.
Vagrant up
After initializing a Vagrant environment, you can create and run a virtual machine based on the Vagrantfile settings.
From the main menu, select Tools | Vagrant | Up.
(Optional) Select the project's Vagrantfile.
If several machines are defined in your Vagrantfile, select the desired machine.
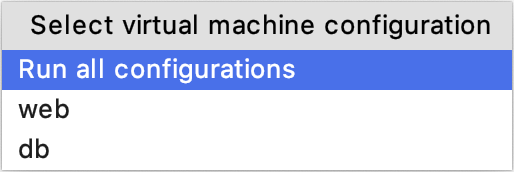
Wait until RubyMine creates and runs the machine.

You can now connect to this machine using SSH to install additional libraries, run the application, and so on. Moreover, you can configure this machine as a remote interpreter to run, debug, and test your application in an isolated environment right from the IDE.
tip
Apart from executing the vagrant up command from the Tools | Vagrant menu, you can perform other commands, including vagrant reload, vagrant provision, and so on.
SSH into a running machine
To connect to the running virtual machine, follow the steps below.
From the main menu, select Tools | Start SSH session.
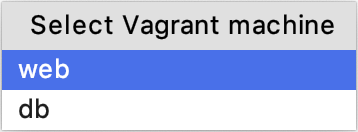
In the invoked popup, choose the desired Vagrant host.

(Optional) If several machines are running, select the desired one.
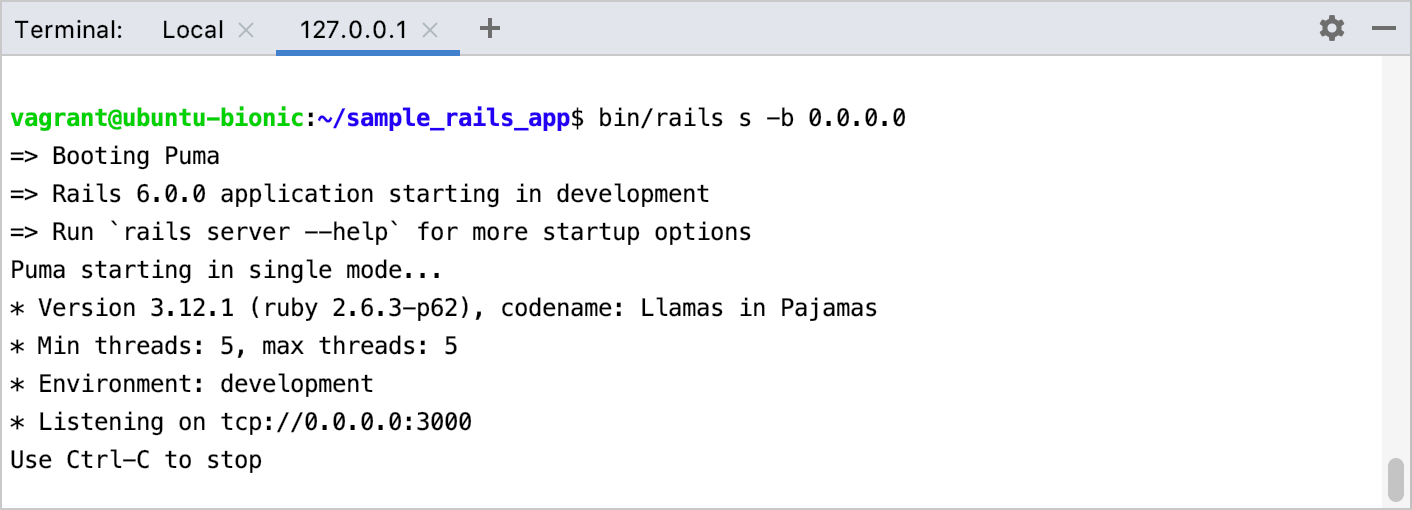
In the 127.0.0.1 tab of the opened Terminal window, you can execute a shell command, for example, you can install additional libraries, run the application, and so on.
Add Vagrant as a remote interpreter
RubyMine allows you to use the running virtual machine with Ruby installed as a remote interpreter. This means that you can run, debug, or test your application in an isolated environment right from the IDE. Perform the following steps to do this.
Open the Settings/Preferences dialog Ctrl+Alt+S, go to the Language & Frameworks | Ruby SDK and Gems page.
Click the
and select Remote Interpreter or Version Manager in the drop-down.
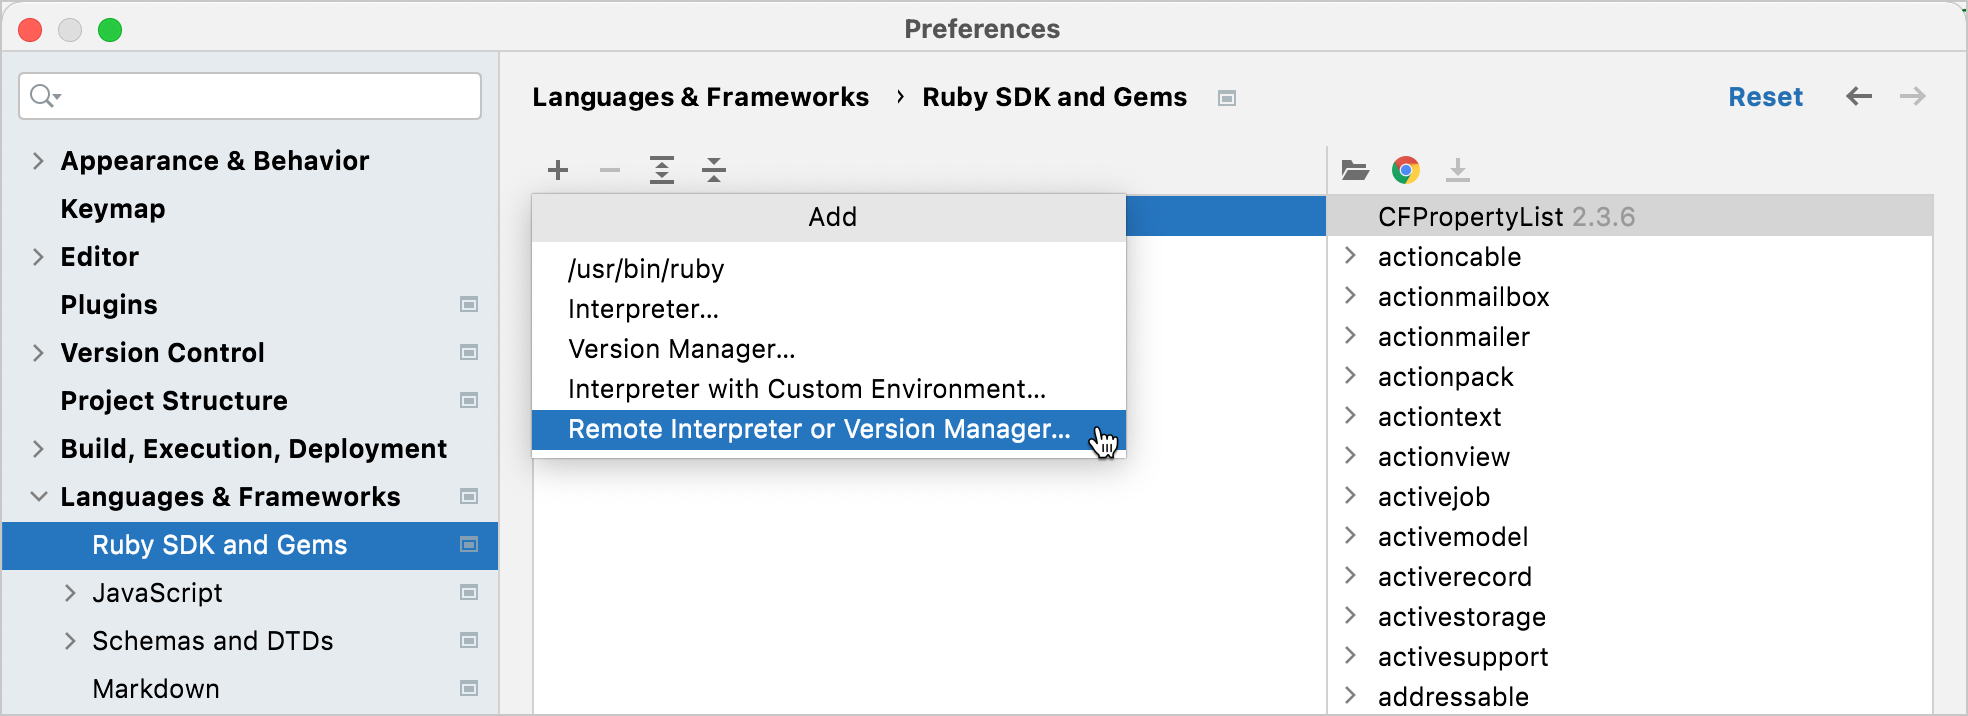
In the invoked dialog, select Vagrant.
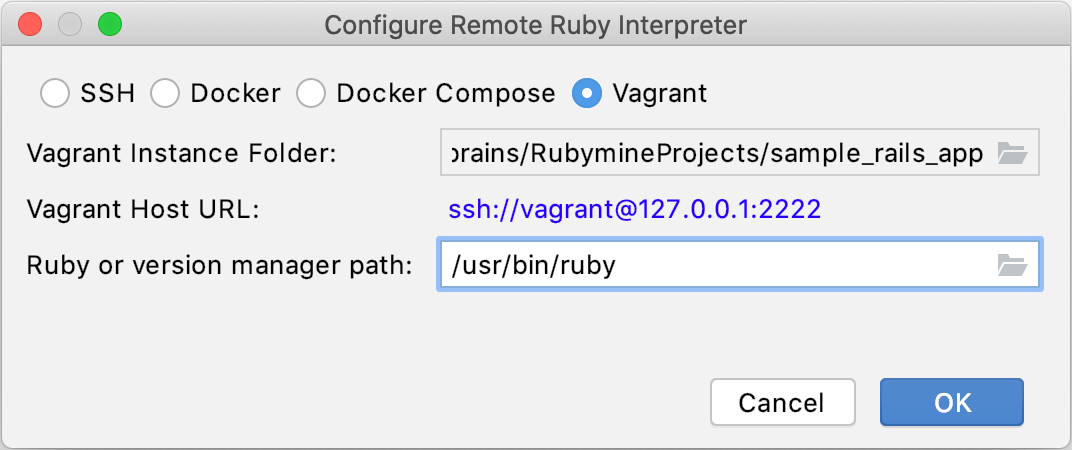
If a project root folder contains a Vagrantfile pointing to a running virtual machine, RubyMine detects the Vagrant Instance Folder automatically and displays the Vagrant Host URL used to access the virtual machine. If necessary, you can change the Vagrant Instance Folder to use another virtual machine.
In Ruby or version manager path, specify the path to the Ruby interpreter or the version manager executable. Click OK.
(Optional) If you specified a path to the version manager executable on the previous step, RubyMine suggests selecting the Ruby interpreter used to run a remote application.
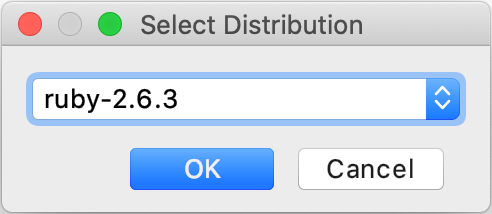
Select the added SDK in the Ruby SDK and Gems page and click OK.
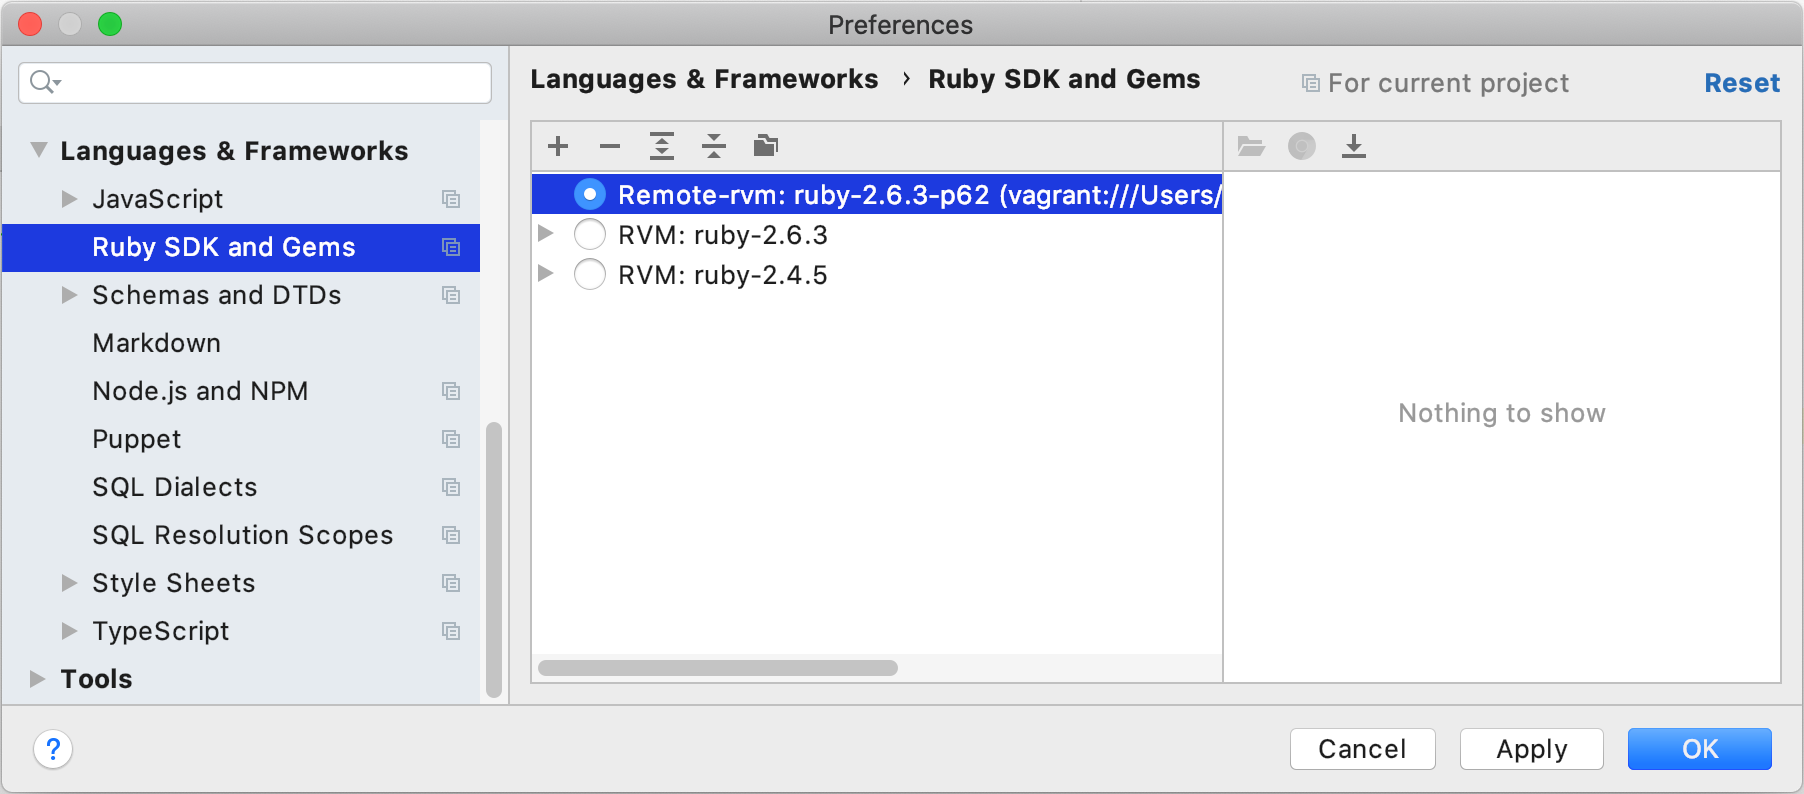
Wait until RubyMine downloads gems from the remote machine to local caches. This is required for indexing.
tip
Note that when you are using a remote interpreter, RubyMine downloads gems from a remote machine to a local cache to be able to use code insight features. In this case, you may encounter a situation when new gems were installed on a remote machine outside the IDE. To update a set of gems stored in a local cache, click the Synchronize gems
button in the Ruby SDK and Gems page.
(Optional) If you want to use the added SDK to debug a remote process, specify mappings between files of the local and remote project. To do this, click the Edit Path Mappings
button. In the Edit Project Path Mappings dialog, specify the local and remote project root paths.

RubyMine detects the Vagrant synced folders and adds corresponding mappings automatically.
After you've configured Vagrant as the remote interpreter, you can:
Install gems to the remote interpreter
Vagrant settings
You can configure the following Vagrant settings on the Tools | Vagrant page of the Settings/Preferences dialog Ctrl+Alt+S:
- Vagrant executable
Specify the Vagrant executable file if RubyMine didn't detect it automatically or you want to use a different one.
Example:
vagrant- Instance Folder
Specify the fully qualified path to the directory where the Vagrantfile is initialized and stored. By default, RubyMine uses the root of your current project to execute Vagrant commands. This directory is used when executing Vagrant commands, such as vagrant up, vagrant reload, vagrant halt, and so on.
Example:
/Users /jetbrains /RubymineProjects /sample_rails_app - Provider
Select the provider used as a backend to run a virtual machine. You can install the required provider as the Vagrant plugin on the Plugins tab.
Examples:
aws,libvirt- Environment variables
Environment variables enable you to pass the required values for configuring a provider. To specify environment variables, click the Browse button (Shift+Enter). For example, the vagrant-aws provider allows you to pass your AWS credentials using the AWS_ACCESS_KEY_ID and AWS_SECRET_ACCESS_KEY environment variables. You can read variable values in Vagrantfile when instantiating AWS instances.
config.vm.provider 'aws' do |aws| aws.access_key_id = ENV['AWS_ACCESS_KEY_ID'] aws.secret_access_key = ENV['AWS_SECRET_ACCESS_KEY'] # ... end- Boxes
This list shows the available Vagrant boxes. To add a new box, click the
button Alt+Insert and specify the box name and URL. For example:
Box name:
ubuntu/bionic64Box URL:
https://app.vagrantup.com/ubuntu/boxes/bionic64
To remove a selected box, click the
button Alt+Delete.
- Plugins
Use this table to add, remove, and update Vagrant plugins. For example, to install the vagrant-aws plugin, click the
button Alt+Insert, enter
vagrant-awsin the invoked dialog and click OK.