Creating and Managing Users
What is User Account in TeamCity
User account is a combination of username and password that allows TeamCity users to sign in to the server and use its features. User accounts can be created manually, or automatically upon sign in depending on used authentication scheme (refer to the Authentication Modules section for more details).
Each user account:
Has an associated role that ensures access to all or specific TeamCity features through corresponding permissions. Learn more about roles and permissions.
Belongs to at least one user group. Learn more about user groups.
In addition to authenticated users, there is a special user account for non-registered users called Guest User. It allows browsing TeamCity projects without authorization. By default, guest login is disabled.
Only users with the respective permissions can create and edit other user accounts on the TeamCity server.
Creating New User
The Administration | Users page provides the Create user account option.
When creating a user account when several authentication modes enabled on the server, only a username is required.
If only the default authentication is used, the password is required as well. Any new user is automatically added to the All Users group and inherits the roles and permissions defined for this group.
If you do not use per-project permissions, you can specify here whether a user should have administrative permissions or not. Otherwise, you can assign roles to this user later.
Editing User Account
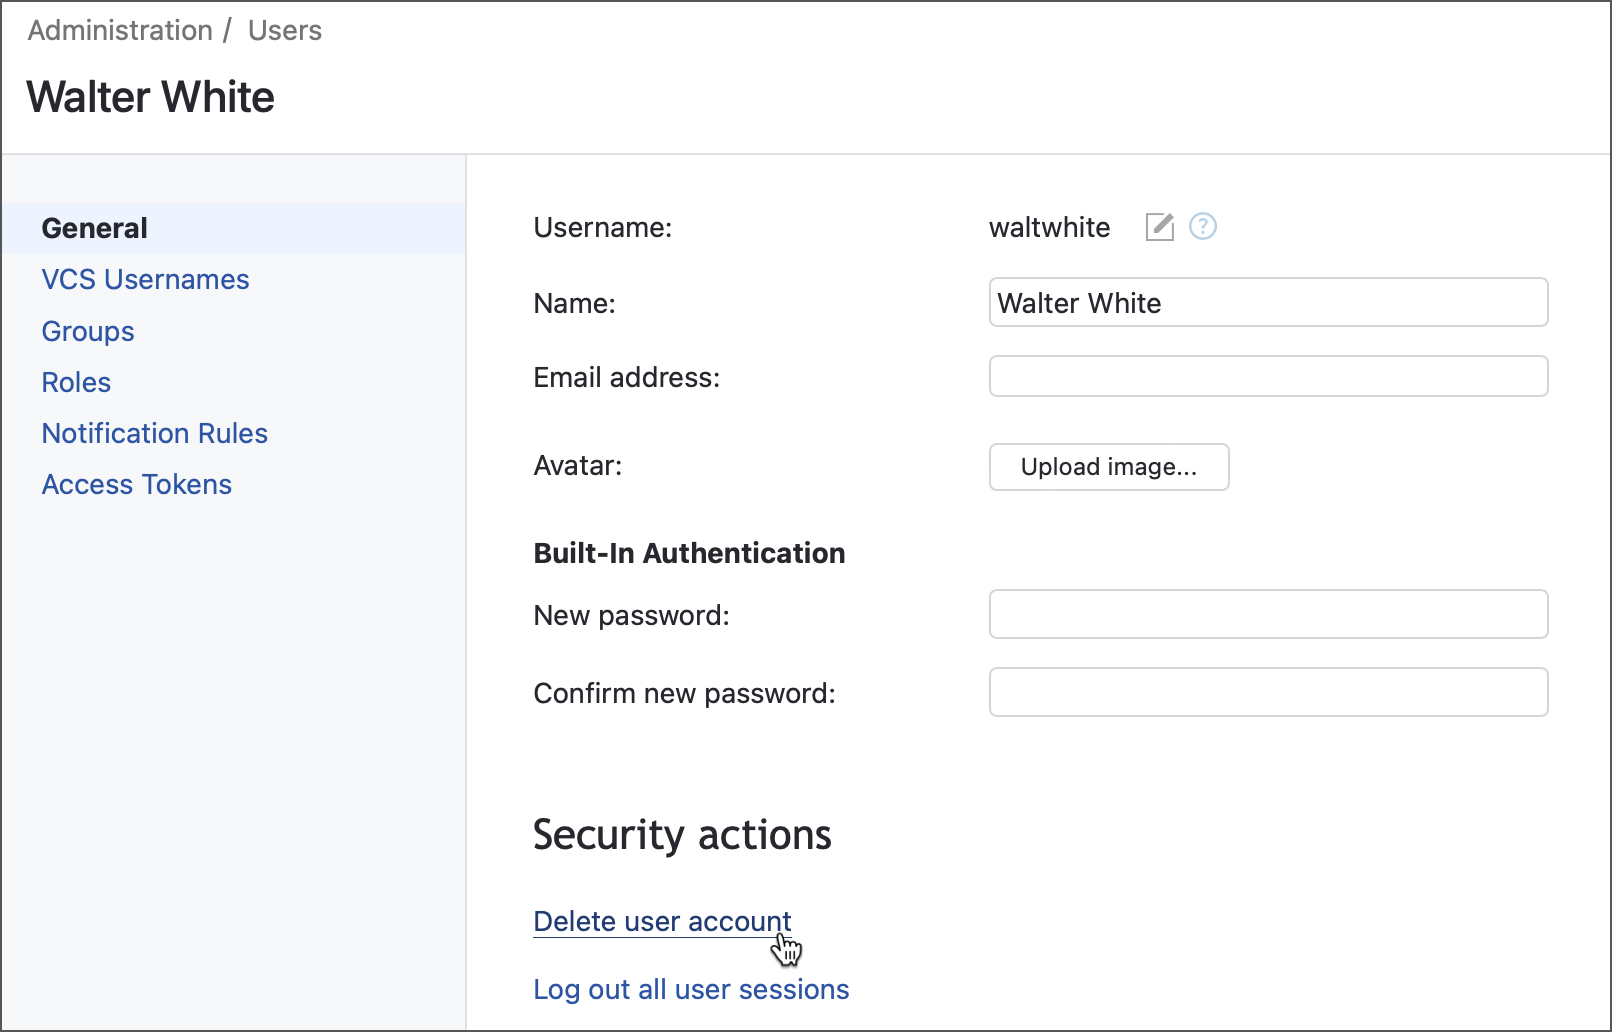
To edit an existing user account, go to the Administration | Users page and click the name of the user. The page provides several tabs allowing you to modify various user account settings
General
The General tab allows modifying the username, email address, and password. Users can change their own username only if free registration is allowed on the server. The administrator can always change the username of any user.
Authentication Settings
The Authentication Settings section appears if several authentication modules are enabled on the server. Here you can edit usernames for different authentication modules such as LDAP and Windows Domain.
You can map external OAuth usernames with an existing TeamCity user. If a user with the respective username signs in to TeamCity via OAuth, TeamCity will be able to recognize them.
VCS Usernames
This tab allows viewing and editing default usernames for different VCSs used by the current user.
Multiple usernames are supported for a VCS root type and for a separate VCS root: several newline-separated values can be used for each VCS username.
The names set here will be used to:
show builds with changes committed by a user with such a VCS username on the Changes page
highlight such builds on the Projects page if the appropriate option is selected,
notify the user on such builds when the Builds affected by my changes option is selected in notifications settings.
Add User to Group
Use the Groups tab to view the groups the user belongs to and add/remove the user from groups.
To add a user to the specific group (for example, a group of developers for the given project), you should have one of the following permissions:
Change user roles in project (included in the Project administrator role) — this permission is sufficient to add new people to a group of users who are working on the same project you administer. For example, if you administer only project A, you cannot add users to a group with the "Project developers" role for project B.
Modify user profile and roles (included in the System administrator role) — allows you to add any users to any groups.
Add User to Project
To add a user to a specific project and manage permissions this user has in it, you need to assign them with a certain role. Read how to manage roles.
The Roles tab for a user is available only if per-project permissions are enabled on the server Administration | Authentication page_. You can view this tab to view the roles assigned to the user directly and those inherited from groups. The roles assigned directly can be modified/removed here.
Assigning Roles to Users
To be able to grant roles to users on per-project basis, enable per-project permissions on the Administration | Authentication page. The Administration | Roles page lists all existing roles detailing their permissions.
There are several ways to assign roles to one or several users:
To assign a role to a specific user, on the Users tab for the user click View roles in the corresponding column. In the Roles tab, click Assign role.
To assign a role to multiple users, on the Users tab, check the boxes next to the usernames and use the Assign roles button at the bottom of the page.
To assign a role to all users in a group, on the Groups tab click View roles for the group in question, then assign a role on the group level.
When assigning a role, you can:
Select whether a role should be granted globally, or in particular projects.
Replace existing roles with the newly selected. This will remove all roles assigned to user(s)/group and replace them with the selected one instead.
Note that if you are logged in as a project administrator, you can assign roles only in the scope of the same project. For example, an administrator of project A cannot grant users any roles for project B; only project B administrators (and system administrators) can do that.
Notification Rules
This tab displays notification rules for the user:
Own rules: rules configured by the user are displayed here and can be modified.
Inherited rules: rules inherited by the user from the groups they belong to.
Adding Multiple Users to Group
On the Administration | Users page, select users, click the Add to groups button at the bottom, and specify the groups to add the users to. Note that all these users will inherit the roles defined for the group.
Block and Remove Users
Currently, there is no functionality that allows you to temporarily suspend user accounts. However, you can achieve a similar effect by revoking all of a user's permissions, effectively preventing them from viewing projects or performing any significant actions. For instance, the default TeamCity All Users group does not have any roles assigned. If you leave it as is, users who are only part of this group, without any additional roles, will still be able to log in but won't have access to any projects.

When someone leaves your organization, be sure to delete their user account. This is particularly crucial if you have multiple authentication modules configured. While removing users from Google, GitHub, GitLab, or other linked platforms will stop them from logging in through those accounts, they could still access TeamCity using the standard username/password method unless their user account is completely removed.
