Self-Hosted Build Agents
Last modified: 18 September 2024TeamCity Pipelines provides a range of build agents hosted by JetBrains, equipped with essential tools to meet common development requirements. These agents come in various configurations, allowing you to select the optimal performance-to-cost ratio for each project.
In addition to these preconfigured agents, you can connect your own self-hosted agents to the Pipelines server, offering several advantages:
Self-hosted agents can be customized to meet your specific development needs, including tools not available on JetBrains-hosted agents.
Custom agents can also offer a more cost-effective alternative to renting JetBrains-hosted machines for running your pipelines.
Add a New Self-Hosted Agent
In TeamCity Pipelines, go to the Agents tab...
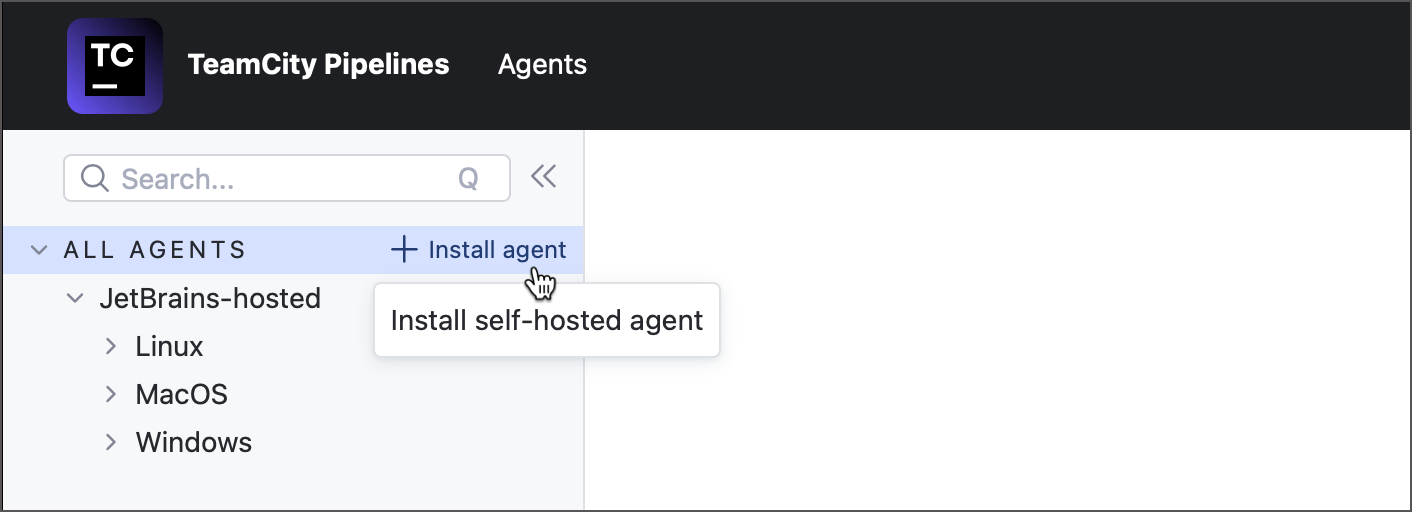
... or click Install self-hosted agent link in the Run On section of Job Settings.
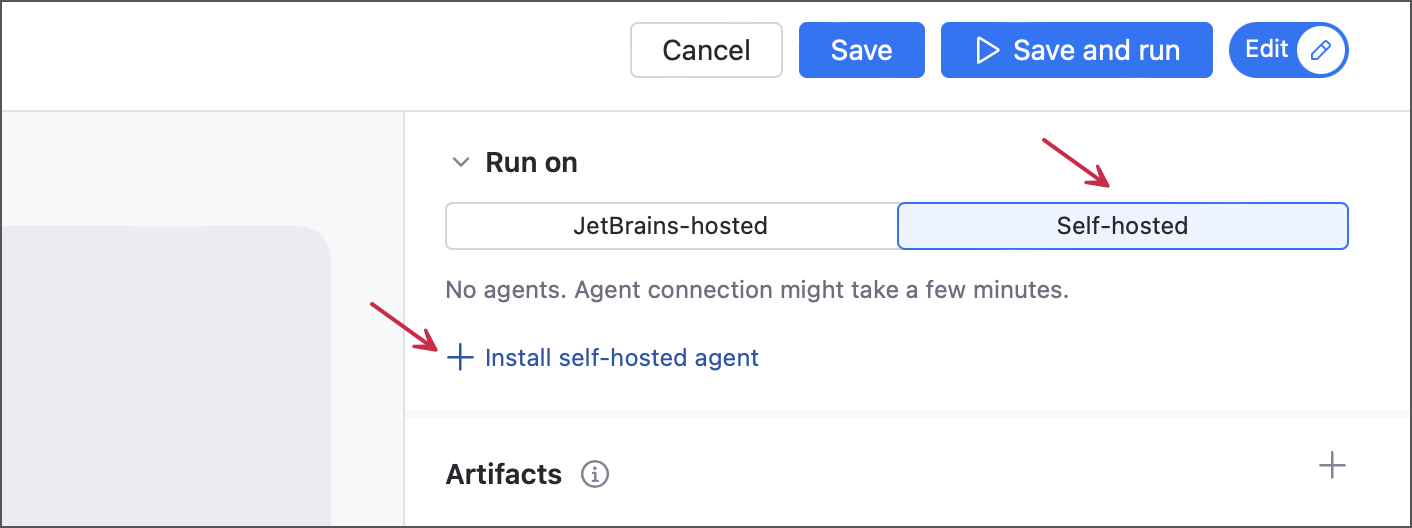
The Install self-hosted agent dialog has the Manually/Docker Image toggle that allows you to choose the agent type.
The manual option involves installing standalone agent software on a bare-metal or cloud-based machine using a ZIP archive downloaded from your Pipelines server.
Alternatively, you can use Docker Images to run agents as containers. Our agent images are regularly updated, so you won't need to manually update the essential software bundled with standard build agents.
- Install from a ZIP archive
Switch to the Manually mode and choose the operating system type.
Enter your public agent name. This name will be stored in the
buildAgent.propertiesconfiguration file that you can edit later. Since you download the archive from a server, other core agent properties (such as server URL and port) will already be included in this file.Copy the entire script and run it on the machine that should host the agent.
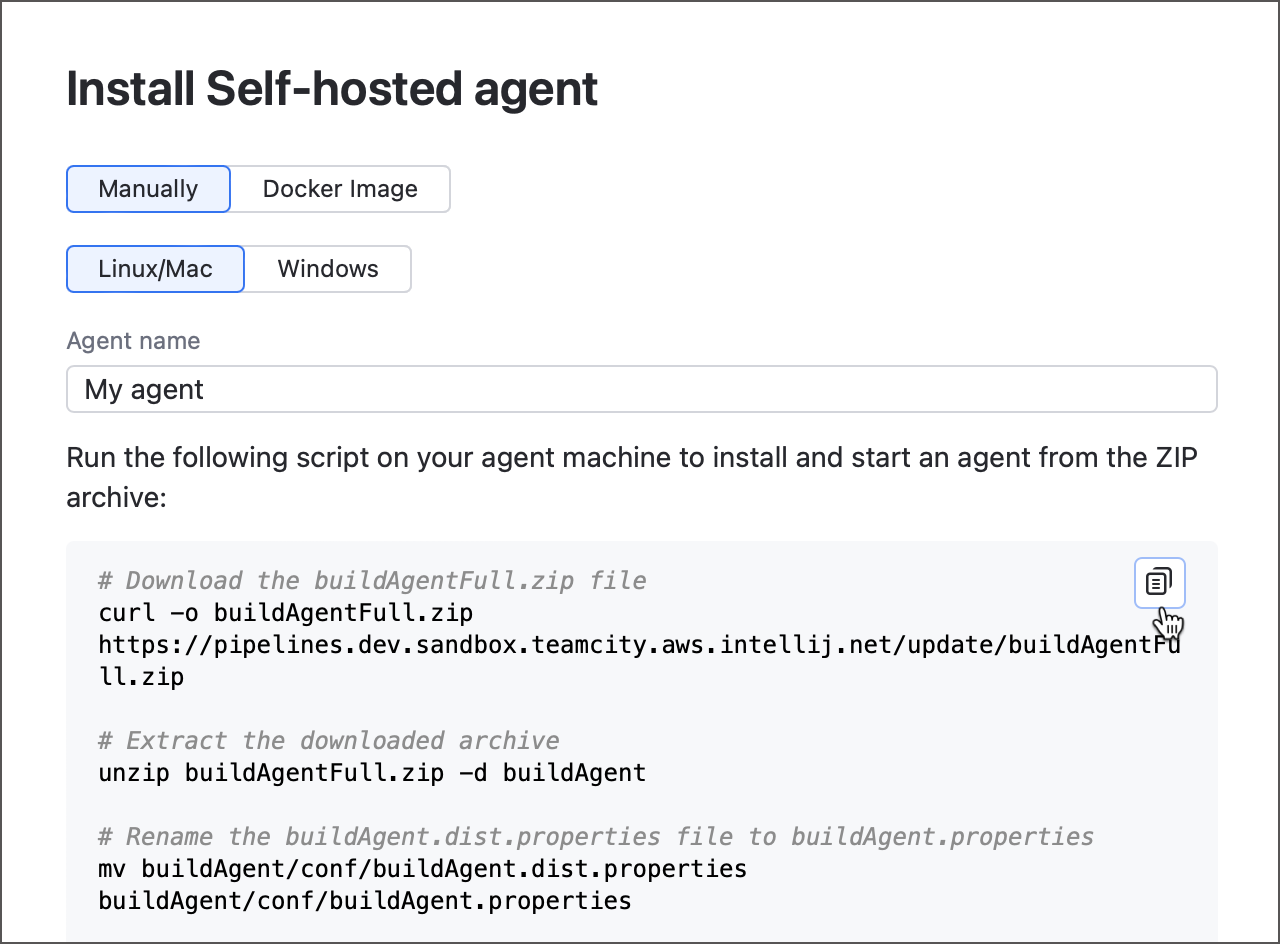
See this help article for more information on how to setup the agent host machine to automatically start agents when it boots: Start TeamCity Agent.
- Run a Docker Container
Switch to the Docker Image mode and choose the operating system type.
Enter your public agent name and run the generated script on the machine that should host the agent. Note that you will need Docker installed and running.
The installation dialog offers two script options for you to choose from: a regular setup where the host's Docker daemon starts the agent container, or an isolated setup in which your agent will be running within its own container. The latter script utilizes the
-vflag to bind-mount the Docker socket to an agent container, which allows the container to spawn "sibling" containers.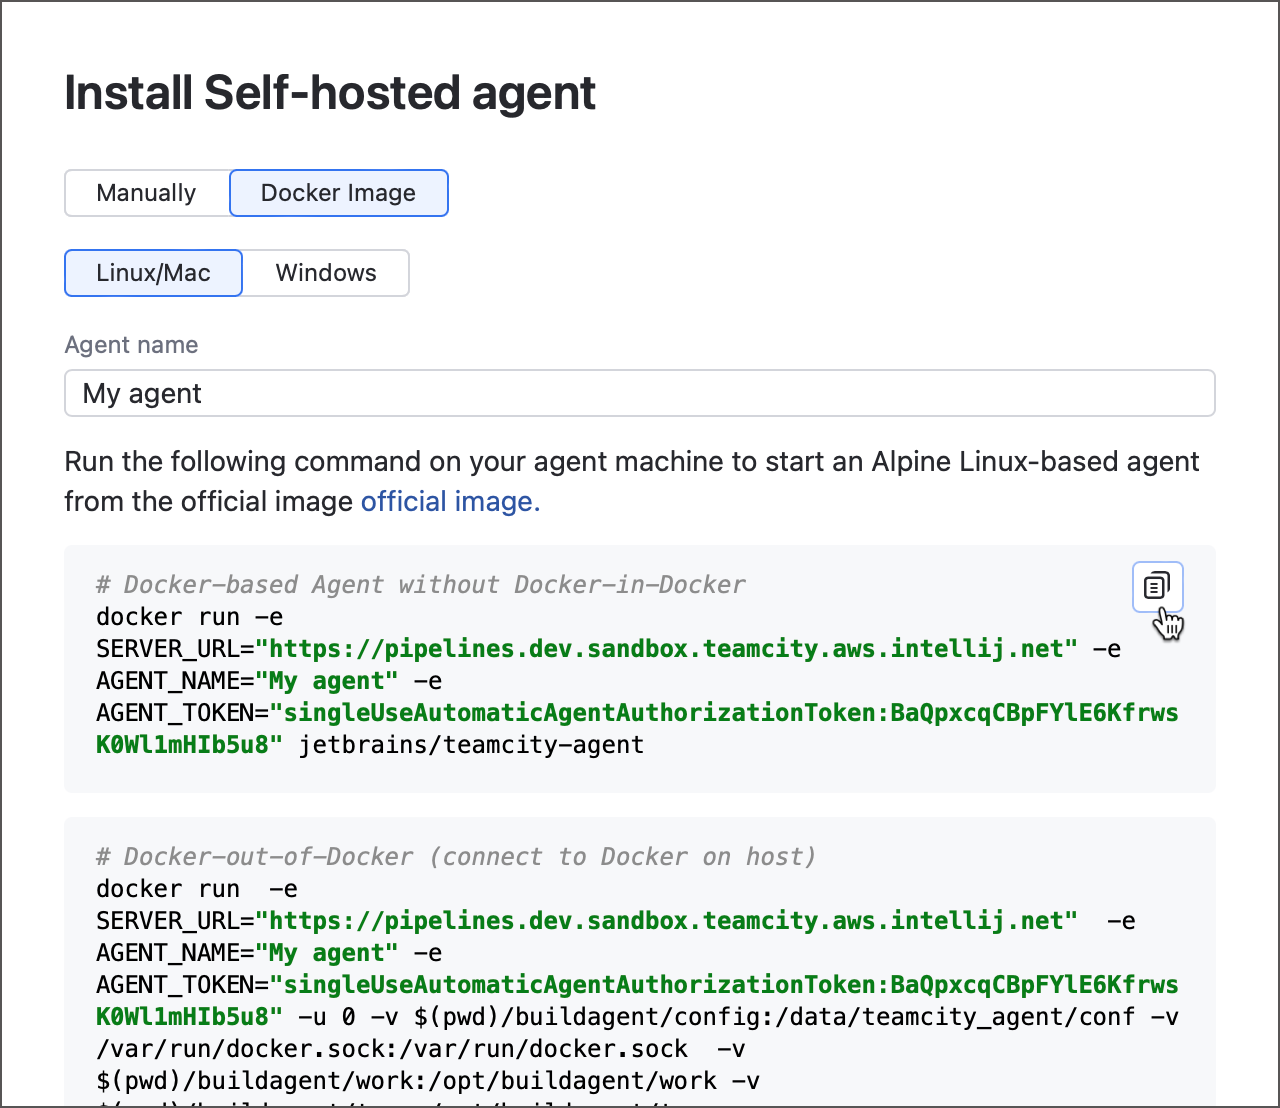
If you want the agent to start whenever your machine does, add the
--restart alwaysflag to thedocker runcommand or set up your system process manager. See this Docker help article for more information: Start containers automatically.Refer to the official DockerHub page for more information on the image.
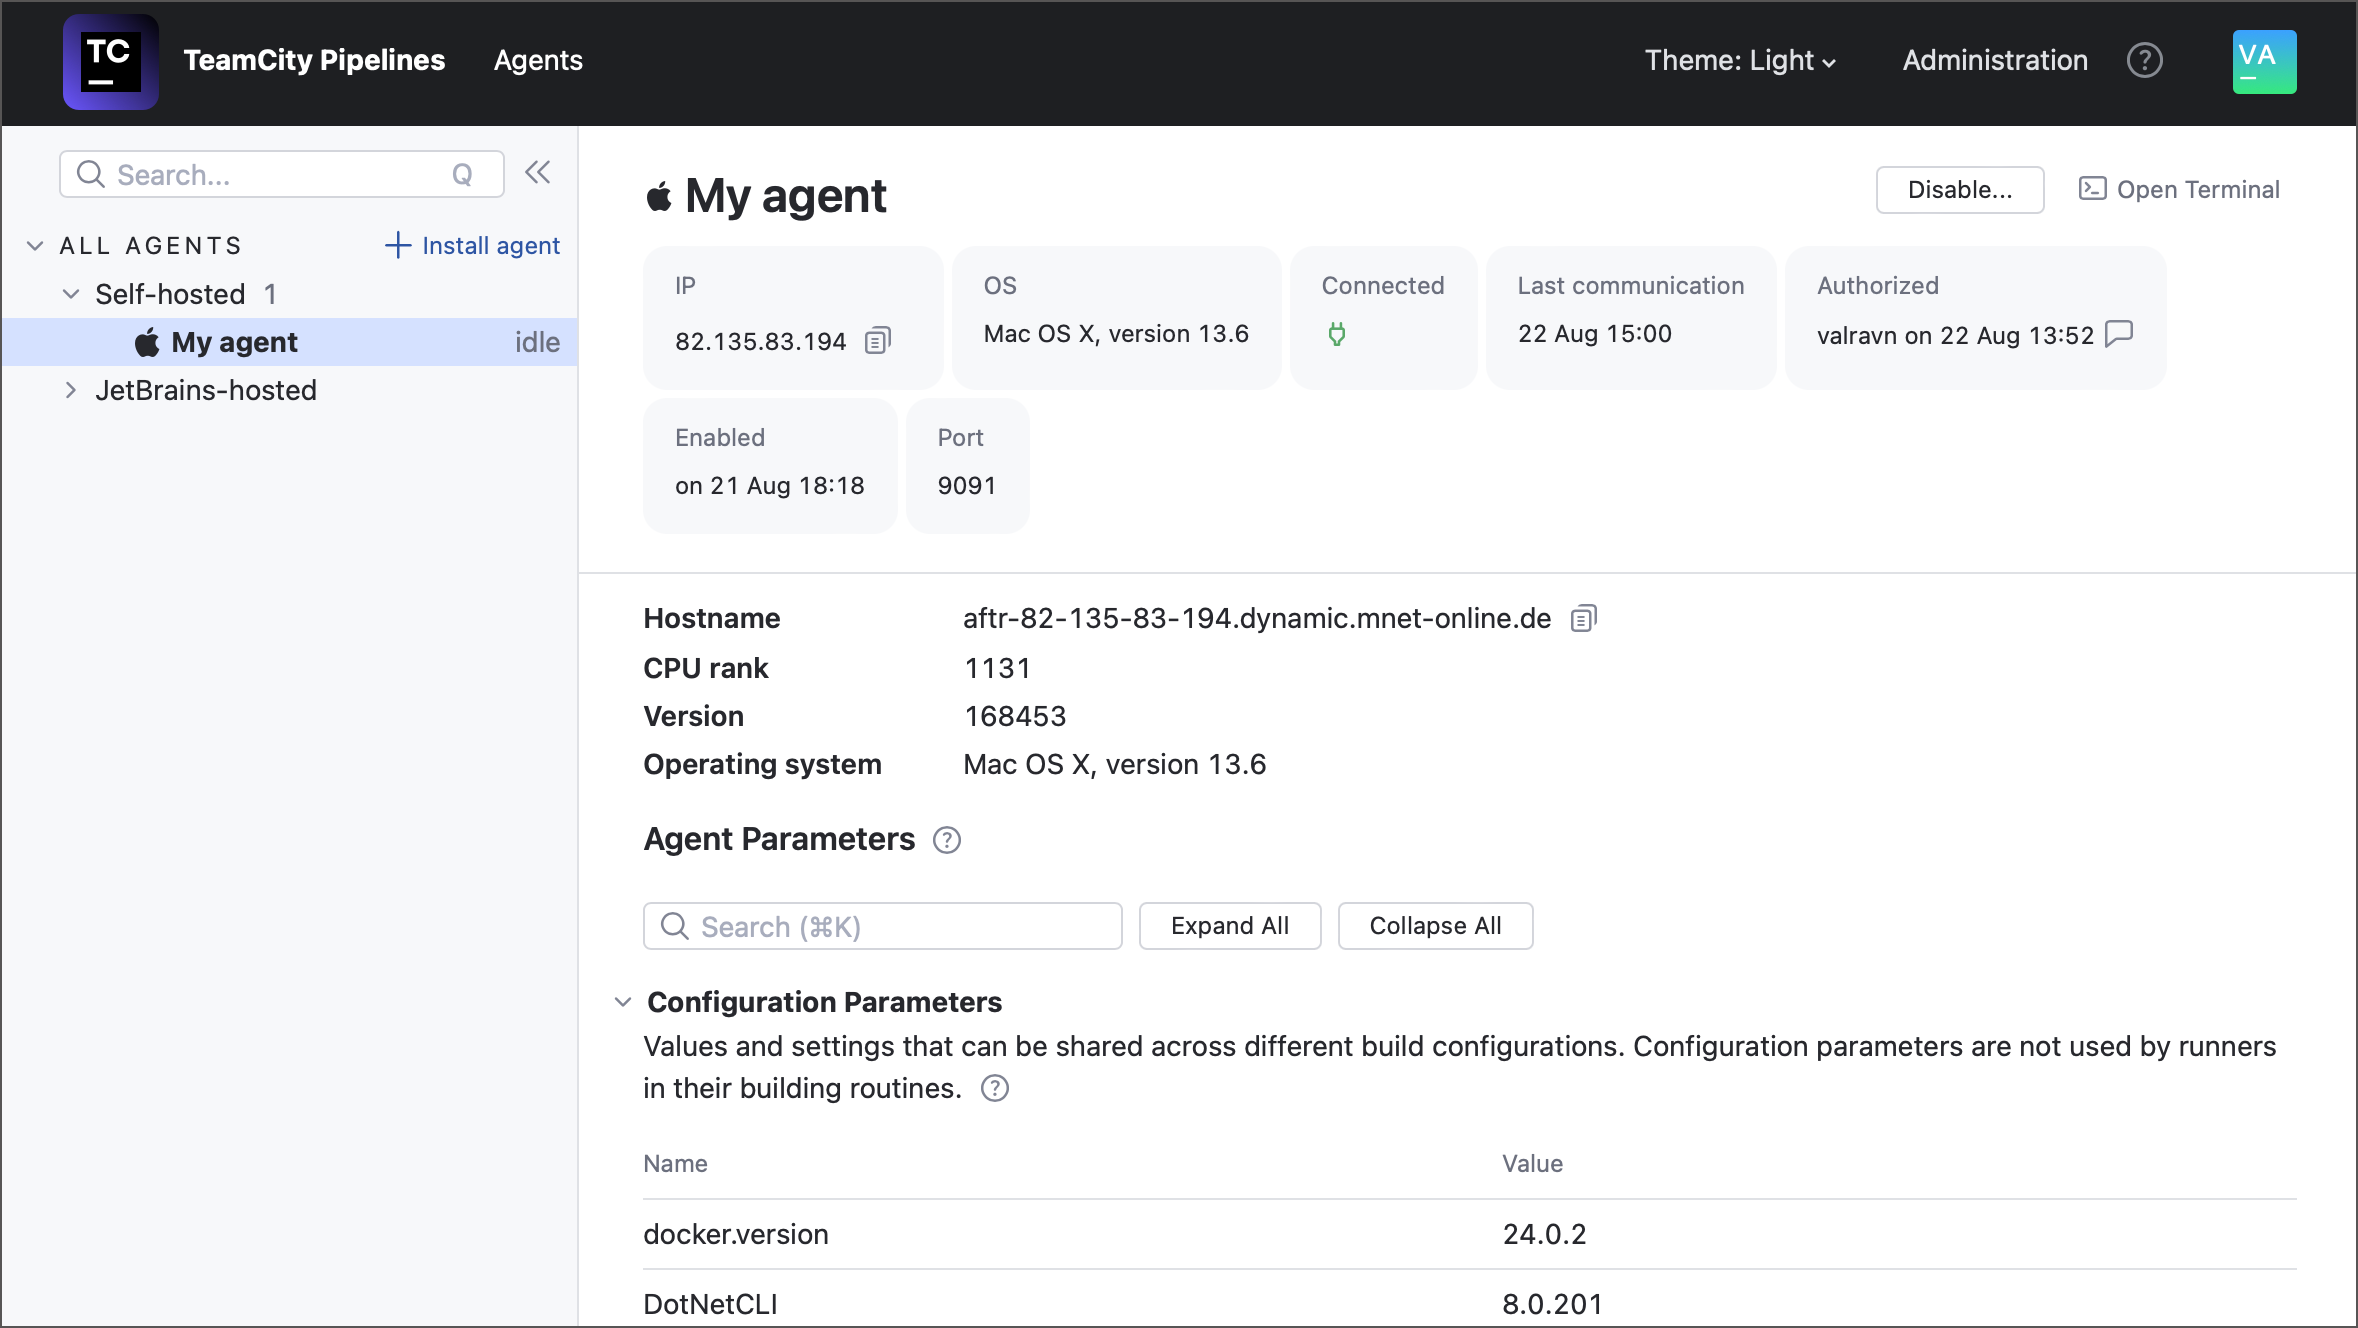
After the agent is successfully installed, give it a few minutes to connect to the Pipelines server and pass the authorization procedure. Once it does, you will be able to see your new agent on the Agents tab.
note
For security reasons, only users with Agent manager and System administrator roles can install new agents.
Assign Self-Hosted Agents to Jobs
Once your custom agent is up and running, it's time to put it to good use. Agents are assigned to building tasks on the per-Job basis, meaning you should pick eligible agents for every Job. To do this, navigate to the Run On section of Job settings and switch the toggle to Self-hosted.

Since your custom agents can be missing software essential for running this specific Job (for example, your Job should run inside a Docker container and the agent has no container manager running), TeamCity Pipelines automatically checks your agents and displays the total number of compatible machines. To choose one or multiple agents from this list, specify an agent requirement.
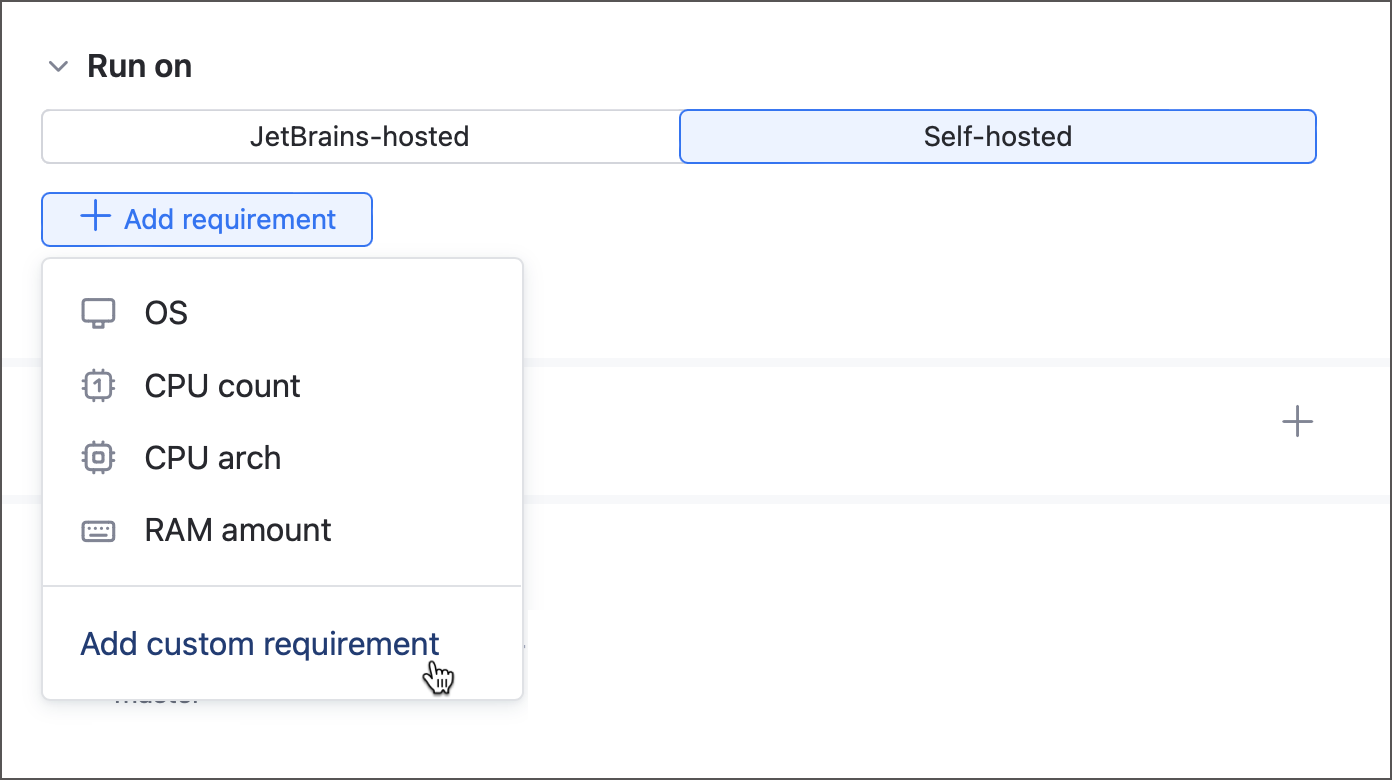
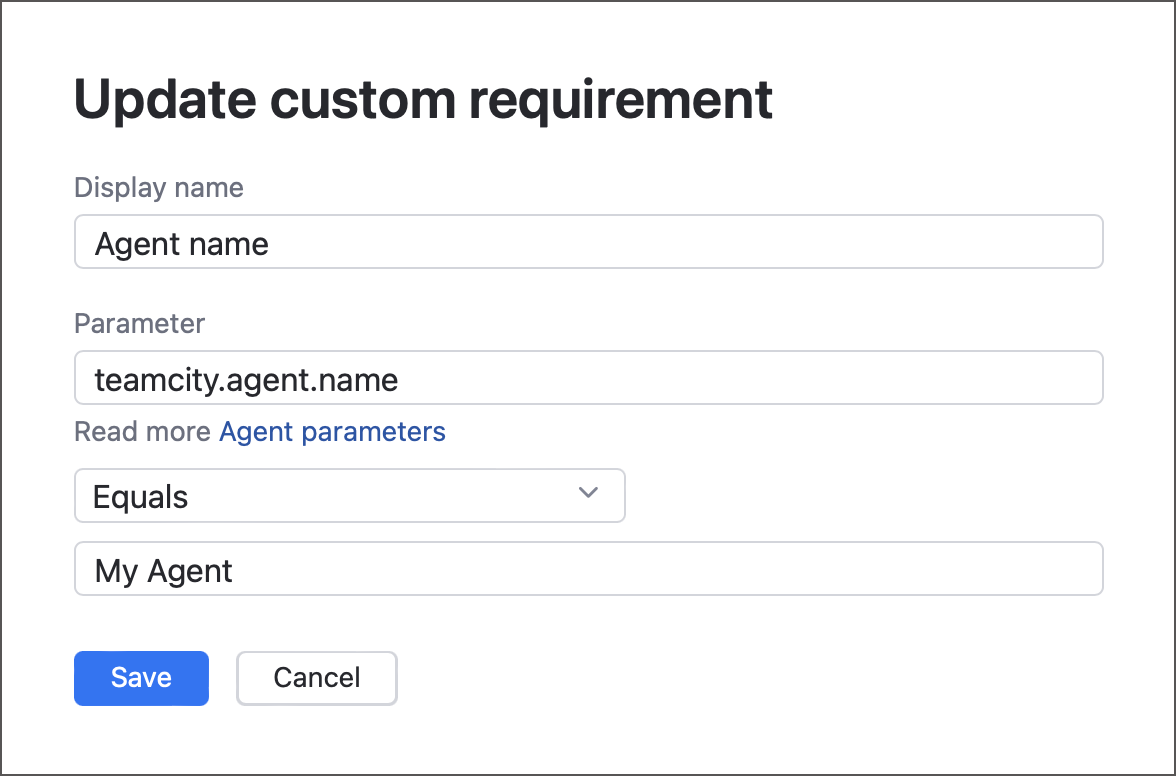
The most straightforward way to pick an agent (or multiple agents) is by using public agent names. Use the "Equals" operator to choose one specific agent...
Job1:
   runs-on:
      self-hosted:
         - requirement: equals
           name: Agent Name
           parameter: teamcity.agent.name
           value: My agent
...or non-strict operators (such as "More than" or "Matches") to reference multiple agents at once.
Job1:
   runs-on:
      self-hosted:
         - requirement: matches
           name: Agent Name Match
           parameter: teamcity.agent.name
           value: My$
In addition to names, you can use any other parameter reported by an agent to craft a requirement or use a few predefined options that allow you to filter agents by their OS types, architecture, CPU core count, and total available RAM.