Manage Project Notification Settings
YouTrack lets you configure the notification settings on a per-project basis. You can customize the email addresses associated with the project as well as the templates that are used for email notifications. Project-level customizations for notification templates overwrite changes that have been applied at the global level.
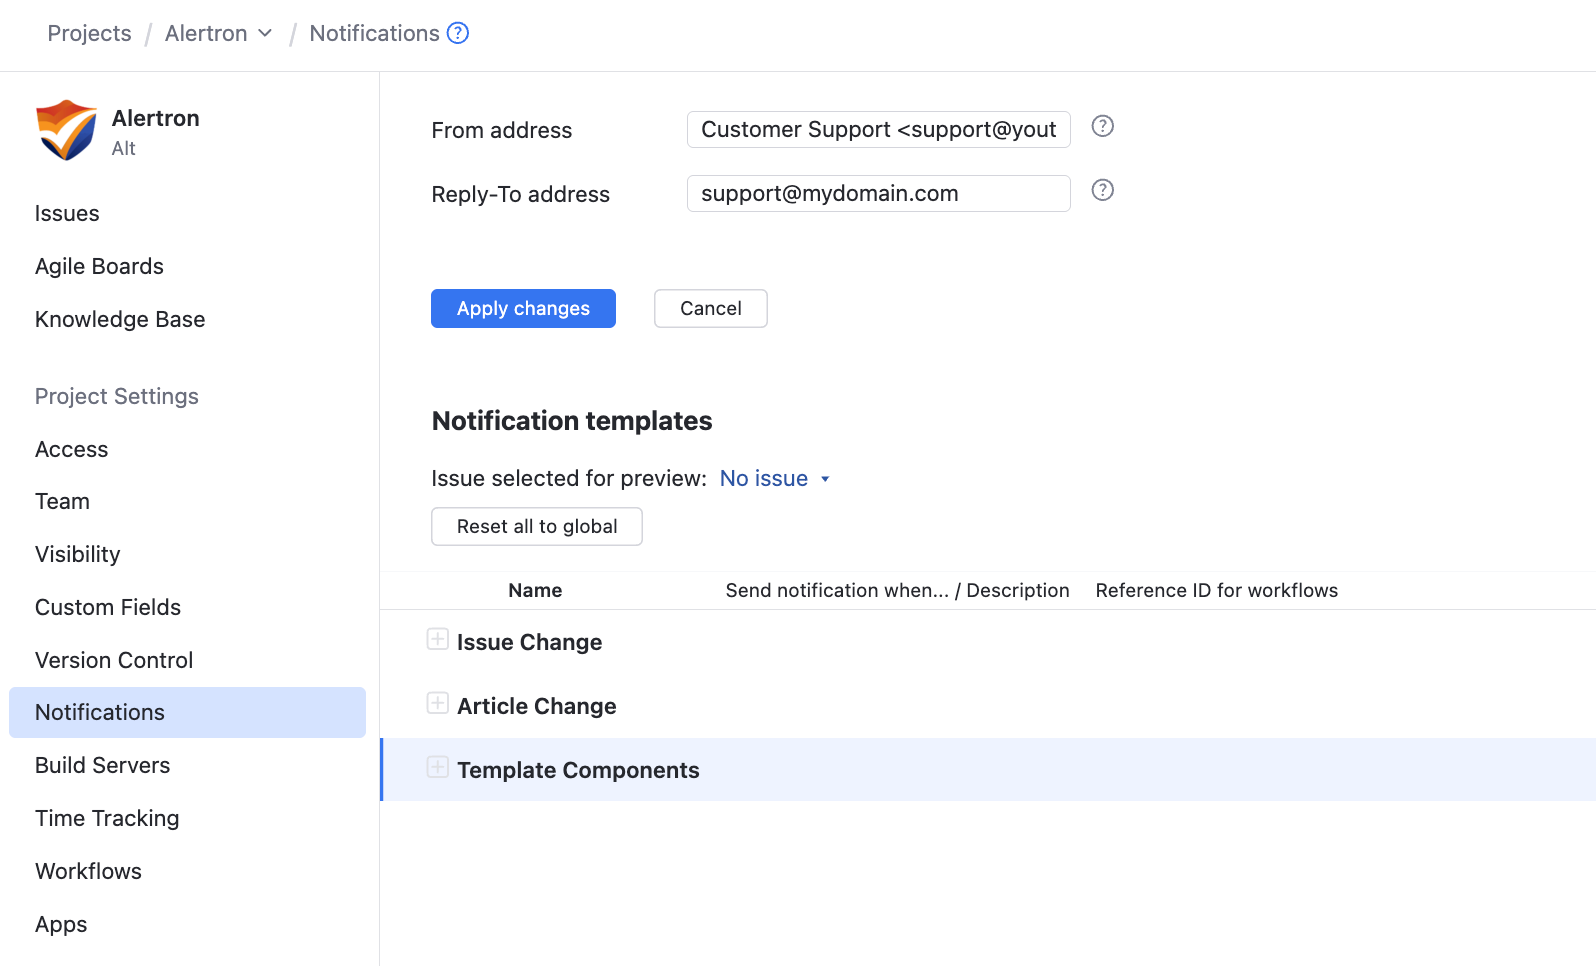
You can manage project notification settings on the Notifications page in the Project Settings side panel.
Manage From and Reply-to Addresses
The Notifications page lets you set custom From address and Reply-to address for the project.

When you've entered the values, click the Apply changes button to save the values and apply the changes.
Setting | Description |
|---|---|
Sender name | The name that is shown in email client apps as the sender for email notifications that are generated for your YouTrack instance. Use this setting to override the sender name that is used at the global level. This setting is only available when your YouTrack Cloud instance uses the default connection for email notifications. |
From address | The email address that is used to send notifications for issues in this project. This sets the value for the This setting is only available when your YouTrack Cloud instance is connected to a custom mail server. For more information, see From and Reply-to Addresses. |
Reply-to address | An optional address to which email replies are sent. This sets the value for the If you do not set a value, replies are sent to the address from which the message was sent.
|
Edit Notification Templates
A list of templates that are used for notifications in your project is shown on the Notification templates list on the Notifications page.

You can expand each item in the list to view and edit the template components. The template components are actual Freemarker Template Language files that are used as building blocks for messages.
Prerequisites
Before you modify the notification templates for your project, check the following prerequisites:
Your administrator has enabled notifications for email in your YouTrack server.
If you want to modify the appearance of the notification templates, you should be familiar with the syntax used in Freemarker Template Language files.
Edit a Notification Template
If you only want to modify the message text, you can easily update the notification templates that are used for your project. If you want to make more radical changes, see Edit Notification Templates.
To edit a notification template:
From the main navigation menu, select
Projects.
From the project list, select a project.
From the project navigation menu, select Notifications.
Expand the item in the Notification Templates list.
Open a template component (a
<component_name>.ftlfile)Make the desired changes.
The following controls are available for editing notification templates:
Control | Description |
|---|---|
Available Variables | Lists the variables that can be used in this template. For more information, see Local Variables. |
Save changes | Saves the current changes. |
Undo | Reverts the most recent change. |
Redo | Restores the most recently reverted change. |
Reset to global | Discards all current and previously saved changes and restores the default notification. |
Preview and Test Changes
To view how your changes affect a template or a template component, select an issue in the Issue selected for preview drop-down list. When you select a notification from the list, a preview that contains data from the selected issue is shown in the Details sidebar.
Along with the preview that shows changes in the browser window, you can also see your changes in your email client. Select the Email branch of a template and click the Send test message button in the toolbar.