Create a Workflow #
When you want to enhance your issue tracking and automate changes in a project, create a workflow.
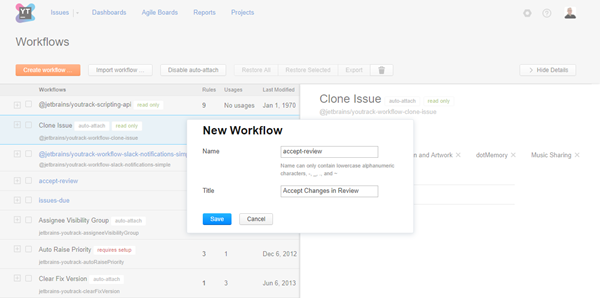
As an administrator, you have access to the complete list of workflows in YouTrack on the Workflows page. Only here can you add workflows to YouTrack.
To create a workflow: #
Now you have a new workflow, but the workflow is empty. Empty workflows cannot be attached to projects.
To finish the job, you need to define one or more rules for the workflow.
To define rules for a workflow: #
- Locate the workflow in the Workflows list and click its name.
The workflow opens in the workflow editor.
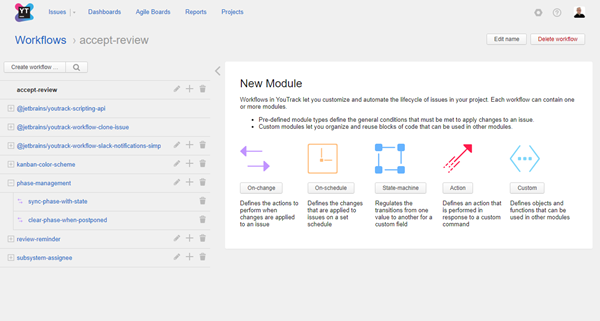
The New Module panel opens in the editor window.
 +
+ - Click the button for the module that corresponds to the type of rule you want to write. For example, Action.
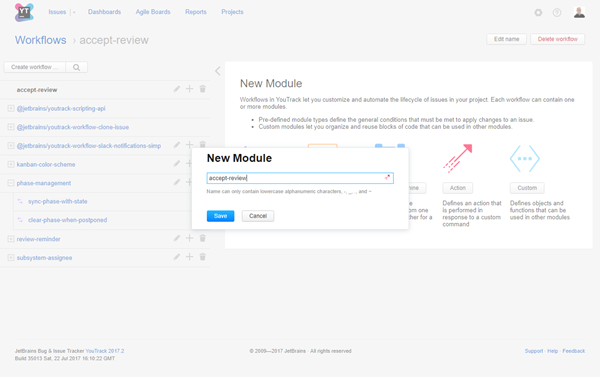
The New Module dialog opens.
 +
+ Enter a Name for the module.
- Click the Save button.
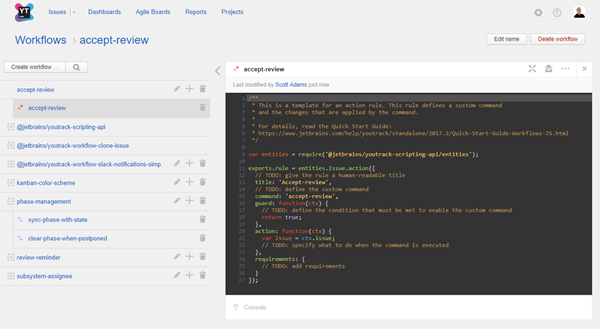
The module is added to the current workflow.
The template for the selected rule type loads in the workflow editor.
 +
+ Define your rule in the current module. For rule-specific guidelines, see Workflow Rules.
When done, click the Save button.
Continue to add modules to the workflow until you have defined all of the rules that you want to include in this workflow. Use the Add module menu to select which type of rule you want to create.
Once you have defined at least one rule, the new workflow is available for use and can be attached to one or more projects. For instructions, see Manage Workflows for Multiple Projects.
