Import from Redmine
YouTrack lets you connect to a Redmine instance and import projects, users, issues, and other entities from Redmine to YouTrack.
Prerequisites
Before you import projects from Redmine to YouTrack, check the following requirements:
-
Your Redmine installation allows remote API calls. To ensure that, open Administration > Settings > API tab in your Redmine, check the Enable REST web service option, and click Save.
If your Redmine version is older than 4.10, the option to enable REST API support is located on the Settings > Authentication tab.
Your YouTrack and Redmine installations are accessible to inbound connections. Specifically, you need to make sure that your network doesn't block connections between your Redmine installation and YouTrack.
Your user account in Redmine has administrative permissions.
Import Details
If the Redmine database contains references to entities that do not already exist in YouTrack, they are created. The YouTrack user account that you use to run the import should have permissions to create all imported entities. We recommend that you use an account with a System Admin role or the Low-level Admin Write permission to run the import.
Here is the list of entities that are imported from Redmine and their mapping to YouTrack entities:
Entity in Redmine | Entity in YouTrack |
|---|---|
Projects | Projects |
Users | Users |
Groups | Groups |
Project members | Project team members |
Issues | Issues |
Watchers | Watchers |
Notes | Comments |
Files | Attachments |
Project wiki page | Knowledge base article |
Spent time | Work items |
Custom fields, issue statuses, enumerations, issue categories, versions. | Custom fields |
Custom field values | Custom field values |
Set up an Import from Redmine
The setup wizard guides you through the setup process.
To connect to a Redmine instance:
In the Integrations section of the Administration menu, select Imports.
Click the New import button.
The New Import dialog opens.

Click Redmine.
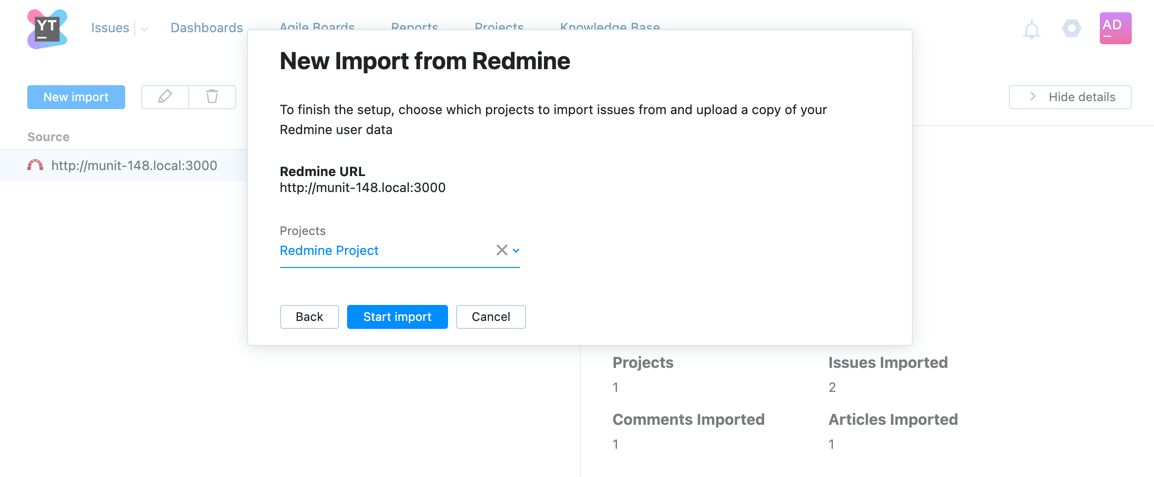
The New Import from Redmine dialog opens.

Enter values for the following settings:
Setting
Description
URL
Enter the URL of the Redmine instance.
Token
Enter the API access key from the admin account in Redmine.
SSL key
If your Redmine instance requires client SSL authentication, activate the Use SSL key for client authentication switch. You can then select the SSL key that identifies your YouTrack server from the list.
The list only displays SSL keys that have already been imported into YouTrack. To learn how to generate and upload SSL keys, see SSL Keys.
-
Click the Next button.
The next part of the configuration dialog opens.

In the dropdown, select the projects that you need to import data from.
-
Click the Start import button.
The import process starts.
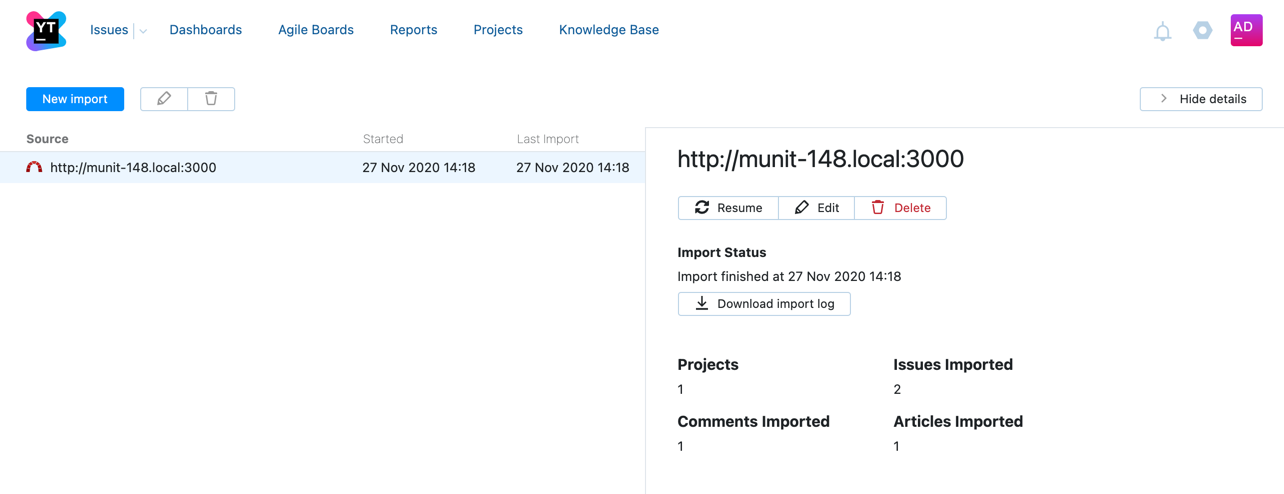
When the import is finished, Import Status is updated.

If you want to learn more details about the import, click the Download import log button.
Default Custom Fields
The list of custom fields that are created in the target YouTrack project by default:
Name | Type |
|---|---|
State | state |
Assignee | user[1] |
Estimation | period |
Spent time | period |
Priority | enum[1] |
Type | enum[1] |
Fix versions | version[*] |
Due Date | date |
Start Date | date |
% Done | string |
Subsystem | ownedField[1] |
Delete Import Configuration
When all your data is imported from Redmine to YouTrack, you can delete the import configuration.
When you delete the import configuration, Redmine entity IDs that are attached to imported issues are also removed. Projects, issues, users, and groups that were imported from the connected Redmine instance are not affected. If you delete the import settings and connect to the same Redmine instance, the issues are re-imported into existing projects with new issue IDs.
To edit an existing import configuration:
Select Imports from the Integrations section of the Administration menu.
In the list of configured imports, select the one you need to delete.

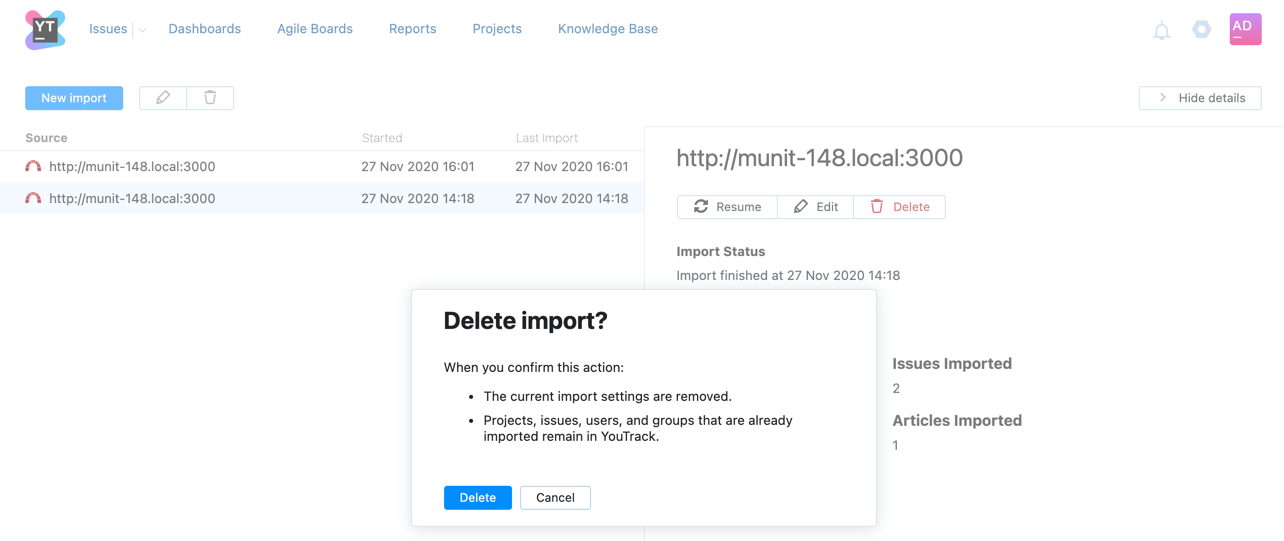
Click the trash icon in the main toolbar of the page, or the Delete button in the right details sidebar.
-
In the shown dialog, confirm the operation by clicking Delete.

The current import settings are removed.
All entities that are already imported remain in YouTrack.