Create Dev Environment Template
In CodeCanvas, dev environments are configured by namespace administrators. To make it possible for developers to work on a project in dev environments, a namespace administrator should create a dev environment template.
Dev environment template
A dev environment template is a set of predefined settings used as a basis for creating the environments. The template defines: a dev environment image, an IDE, resources, a Git repository and branch, and other settings.
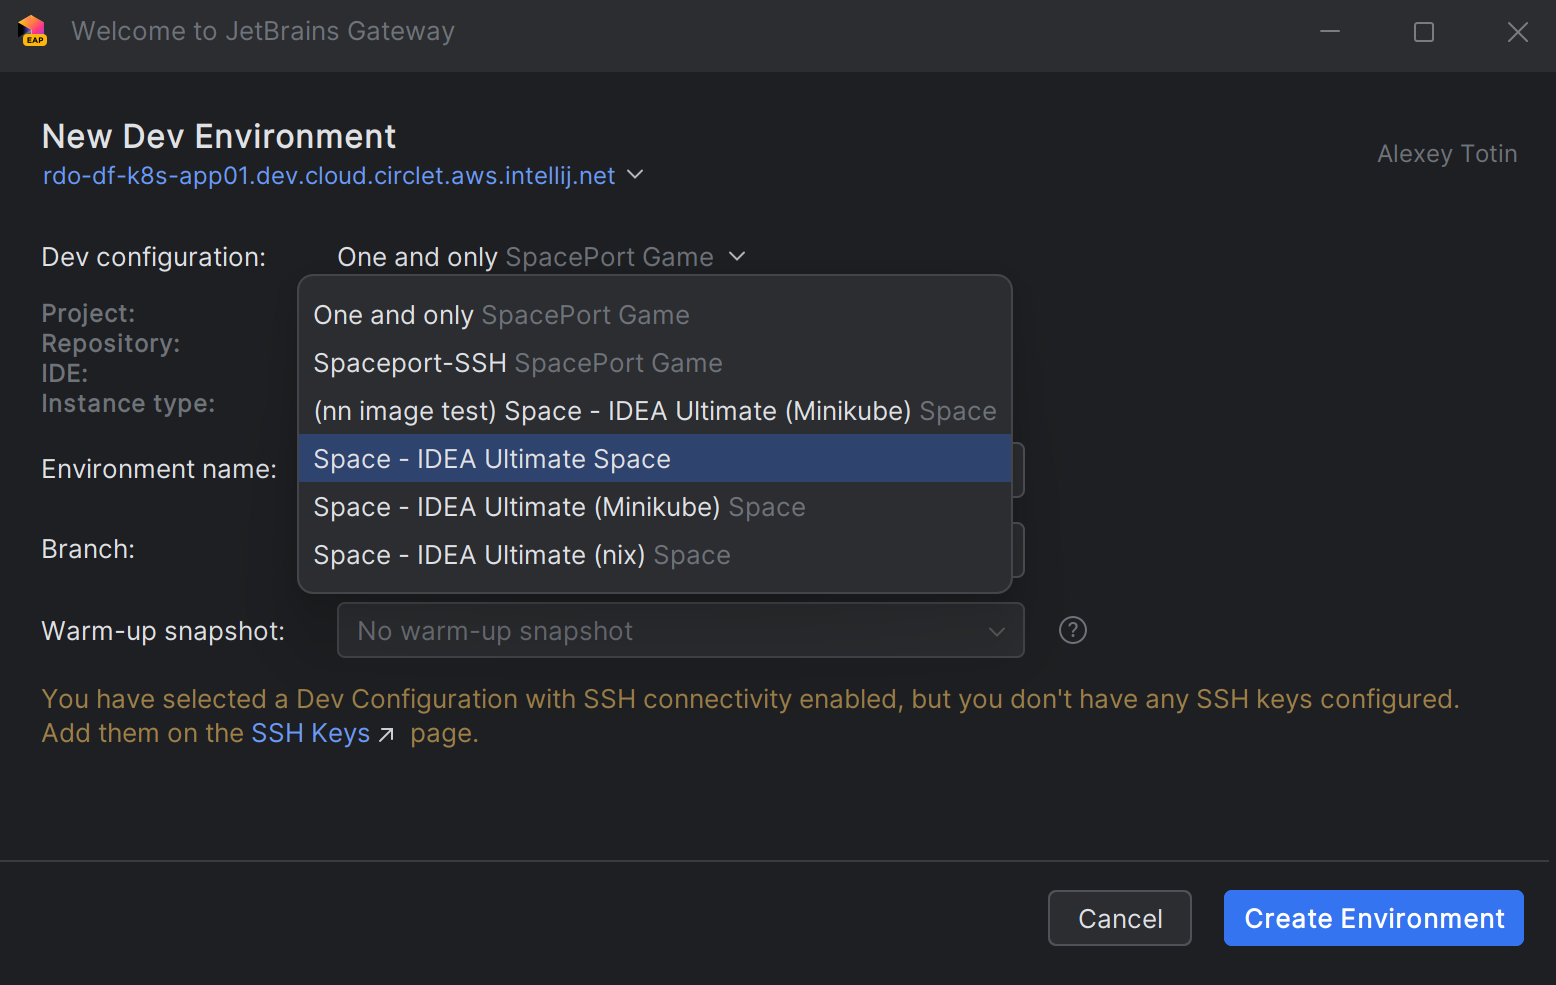
When users create a dev environment, they can choose from the templates available for their account.

Create a template
Select Namespaces in the header navigation, then select the namespace where you want to create a template.
In the sidebar namespace menu, select Templates and click New template.
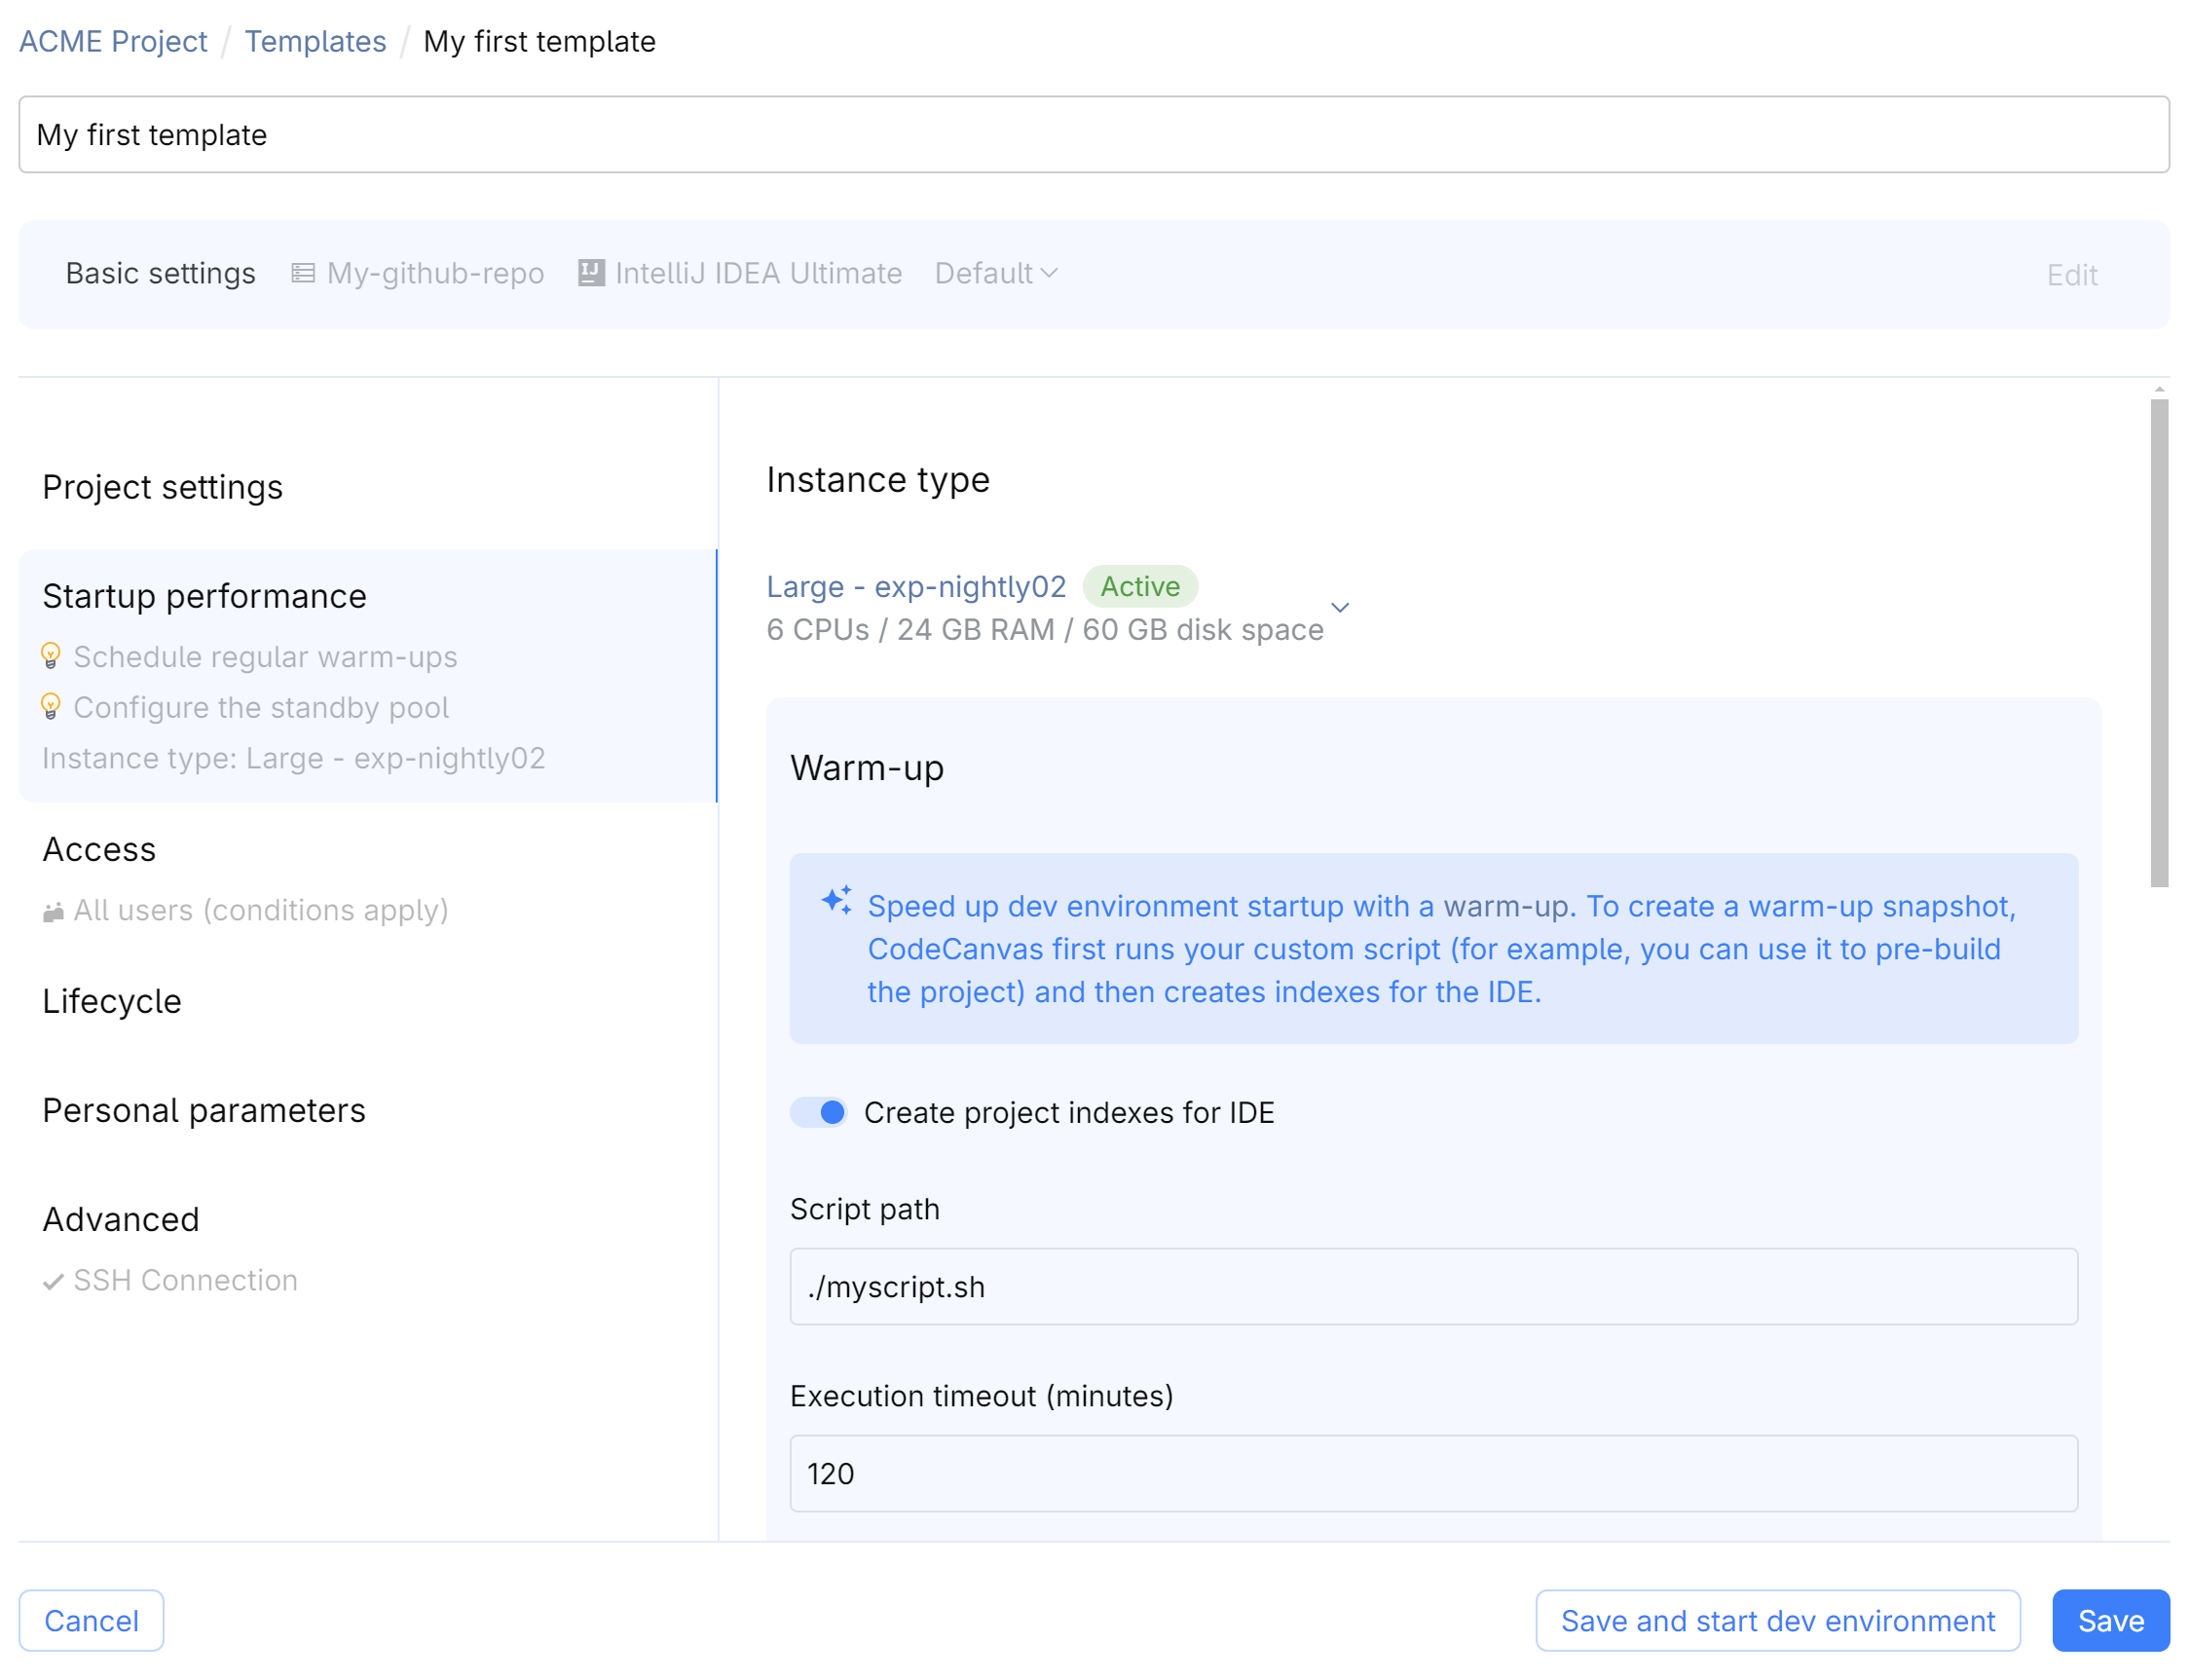
Specify basic settings:
- Basic settings
Name – a name for the template. Try to make it descriptive and include the project name in it – in JetBrains Gateway users choose from the unsorted list of all templates available for their account.
Repositories – Git repositories with the project sources.
If you have multiple repositories, you can add them using the dropdown list. Note that currently, it is not possible to use different IDEs for different repositories. On dev environment start, repository roots will be opened in different tabs of the same IDE specified in the template. If needed, you can redefine the project root in Project roots.
Instance type – a dev environment instance type (CPU, memory, disk). The list of available instance types is defined by the system administrator. Learn more
IDE and IDE Version – an IDE and its version that will be used to open the project sources. If you leave Default as an IDE version, the system will use the version specified as default by the system administrator. Learn more
Click Create.
Specify other template settings.

- Project settings
Checkout branches – the branch that CodeCanvas must check out from the project repository. In the case of multiple repositories, you can specify a branch for each repository.
Project roots – by default, the project root is the repository root. Here you can specify alternative project root locations (relative to the repository roots). This might be helpful for mono-repositories which include multiple projects.
After a user starts a dev environment, the IDE opens a project root directory. In the case of multiple repositories, the IDE opens all project roots.
IDE plugins/IDE extentsions – a list of plugins/extensions that will be installed in the IDE. Specify the plugin/extensions ID as it appears in the JetBrains Marketplace or Visual Studio Marketplace. Learn more about JetBrains IDE plugins and VS Code/Cursor extensions
Environment variables – a list of environment variables that will be set in the dev environment. Plain text values only. Use it to pass non-sensitive data, e.g., URLs, paths, or various configuration settings. For sensitive data, use personal parameters
Predefined environment variables:
CANVAS_VERSION– full version of the CodeCanvas platform (e.g.,2025.2.0.2498)CANVAS_IDE_HOME– path to the IDE installation directory in the dev environment (e.g.,/mnt/jetbrains/system/ide)CANVAS_IDE_TYPE_ID– IDE type identifier (e.g.,Idea)CANVAS_IDE_VERSION– IDE version identifier (e.g.,2025.1.1.1)CANVAS_IJ_PLUGIN_DEV_ENV_TITLE– dev environment name (e.g.,adorable-salmon)
- Startup performance
You can speed up the startup of dev environments based on this template with:
Warm-up – a process of pre-building data for a dev environment. Learn more
Standby pool – a pool of running dev environments that are ready to be used. Learn more
- Personal parameters
A list of environment variables and files with sensitive personal data required for development, e.g., user credentials, API keys, and so on. Learn more
- Access
Define who can use this template to create dev environments:
Only selected users – explicitly specify users who can use this template.
Even if a user is not in the list, they can still view and use templates in the namespace if they fall under one of the following categories:
System administrators
Namespace administrators of this namespace
Users with the Manage all repository connections and Manage all dev environment templates permissions in this namespace
This refers only to the CodeCanvas user interface. They won't see these templates in the JetBrains Gateway.
All users (conditions apply) – all CodeCanvas users can use this template.
If All users (conditions apply) is selected, any user in CodeCanvas can create a dev environment and view the Git repository contents. They can do this even if they don't have access to the repository on the Git server. To prevent this, you can restrict access to the Git repository using the repository's Read restrictions setting. Learn more
- Lifecycle
Lifecycle scripts – shell scripts that run at a certain stage of the dev environment lifecycle. Learn more
Auto-stop – automatically stop dev environments on specific conditions, e.g., after a certain period of inactivity. Learn more
- Advanced
SSH access – if enabled, users can connect to dev environments using SSH.
To provide custom
sshdconfiguration, use the Override sshd server settings field (each line is a separate setting). For example:X11Forwarding yes MaxSessions 10VM options – configuration options of Java Virtual Machine (JVM) that runs the IDE. For example, you can increase the heap size allocated for the IDE, e.g.,
-Xms2048m,-Xmx4096m.Dev container image – a Docker image for a dev environment container. If you don't provide a custom image, CodeCanvas uses the default image. Learn more
Cloud policy – a policy that defines access to cloud resources, e.g., a database in Amazon RDS, a storage in Amazon S3, and so on. All the required credentials will be automatically injected into the dev environment. A system administrator can define cloud policies for the namespace. Learn more
IDE settings – a set of predefined personal IDE settings that will be applied to the IDE in the dev environment. Learn more
Click Save or Save and run dev environment to save the template and quickly create a dev environment based on it.