IDE and IDE Components
Last modified: 13 December 2024CodeCanvas lets you flexibly configure the IDE for user dev environments. You can specify the IDE and its version, the plugins that will be installed, and the VM options that will be used to run the IDE.
IDE and IDE version
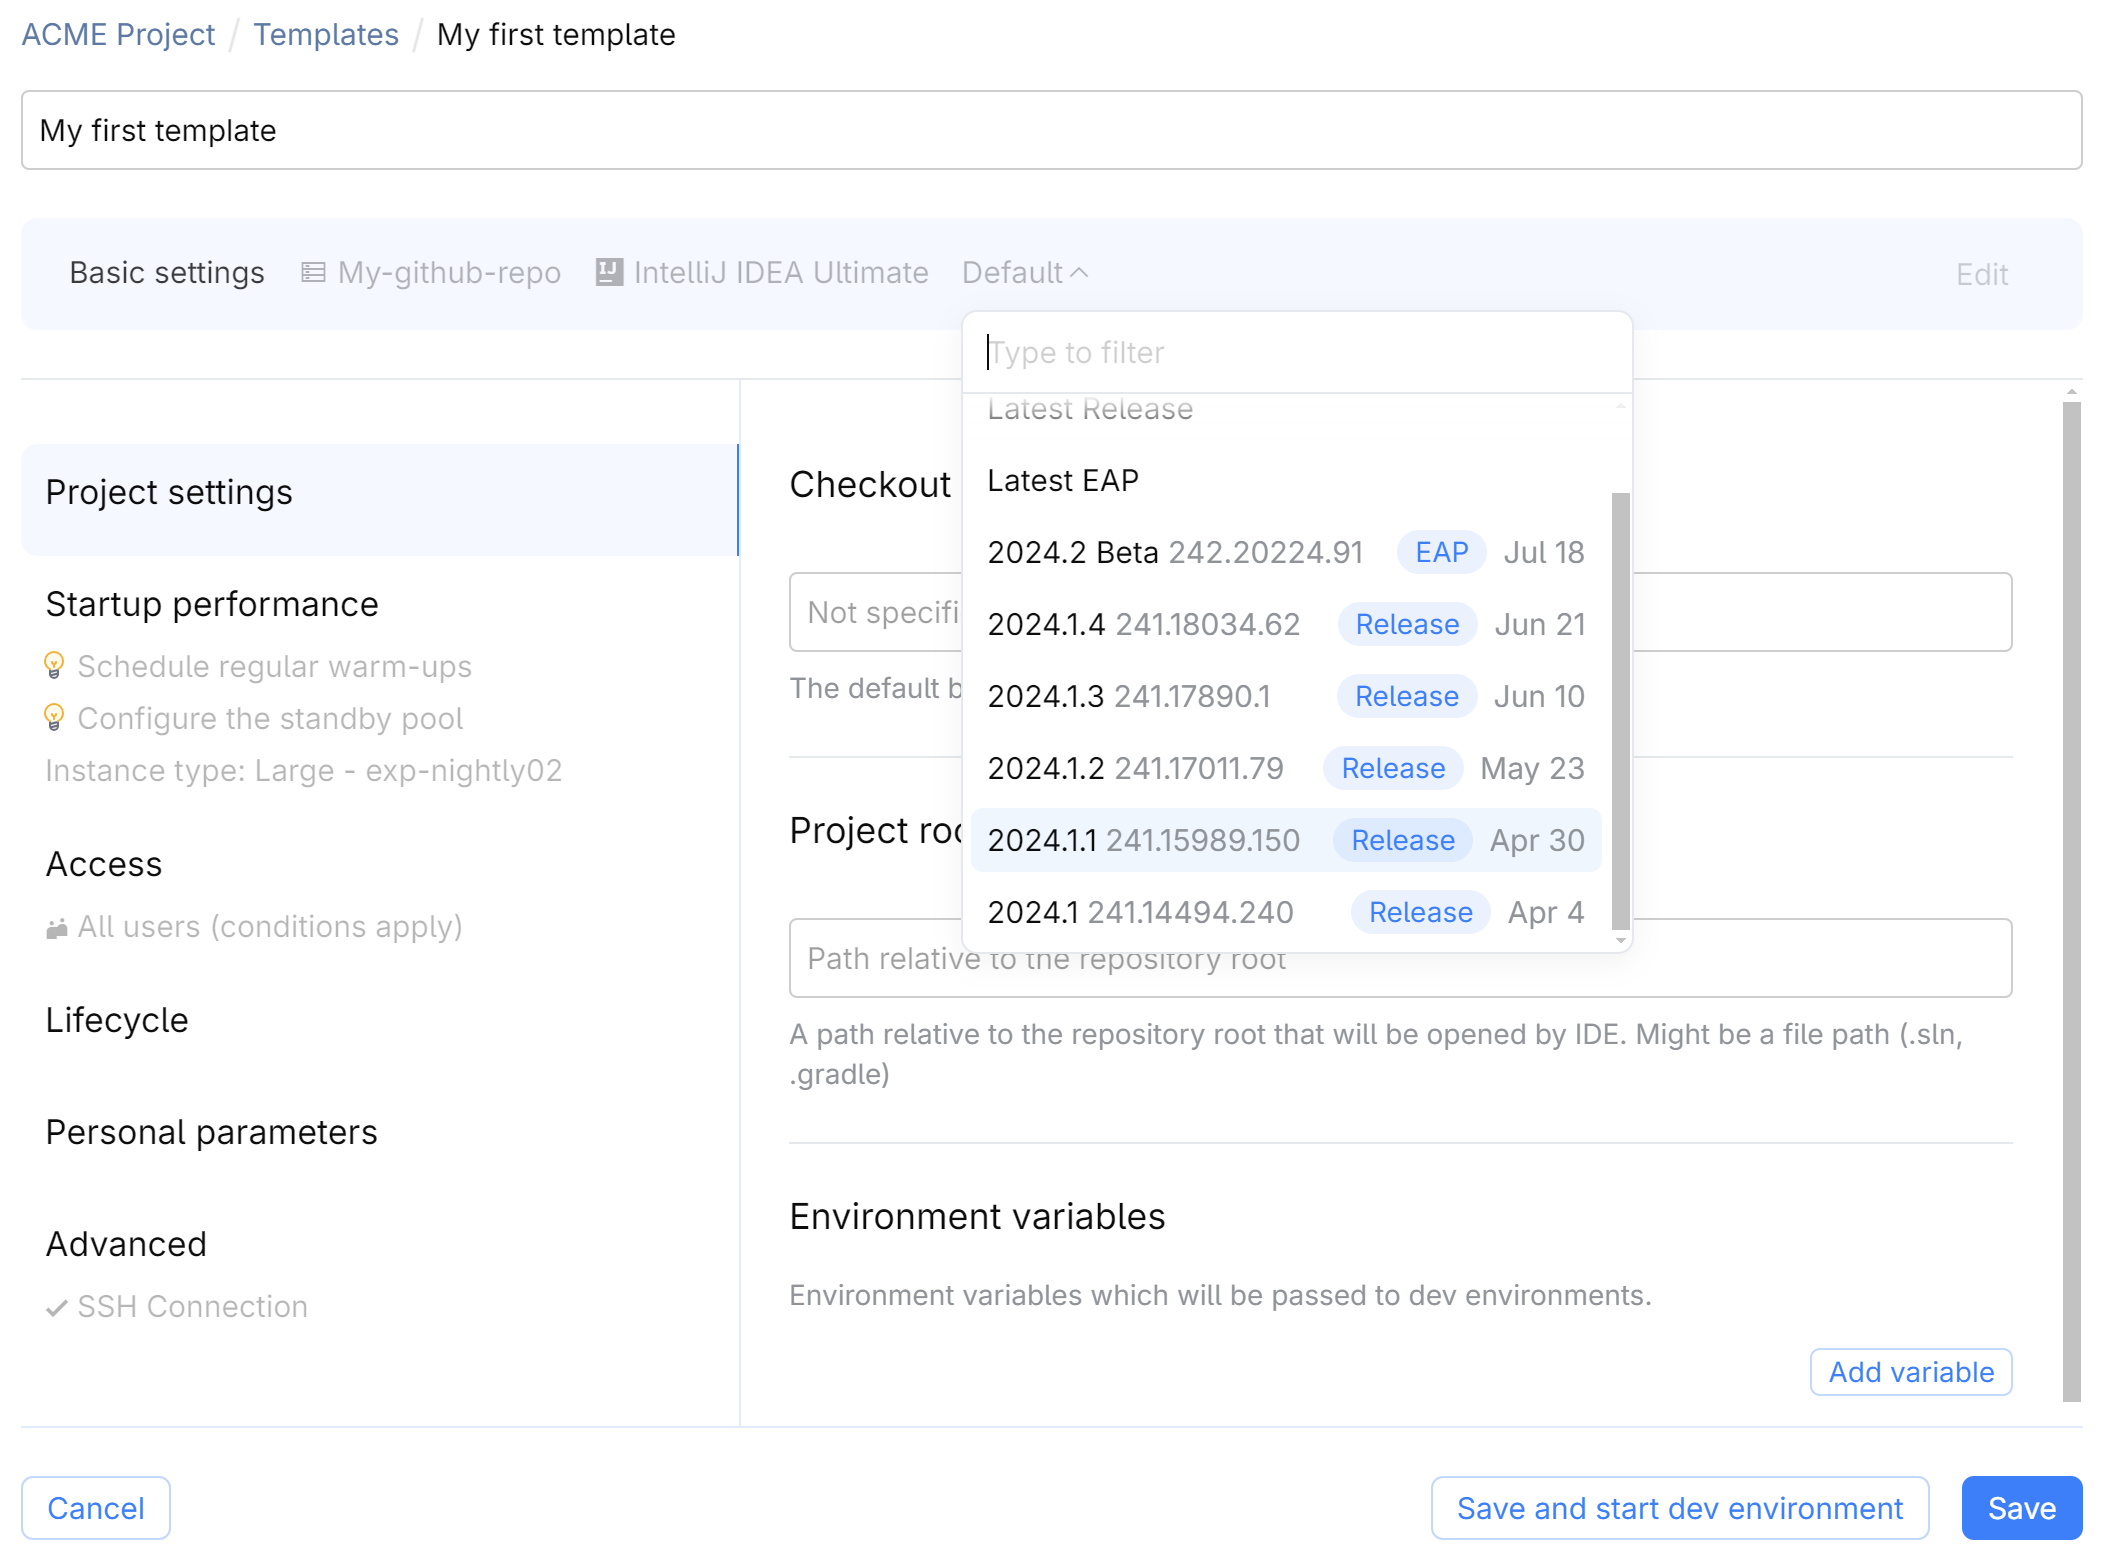
You can specify the IDE and its version when creating a dev environment template. If you specify Default as the IDE version, dev environments will use the version set by the system administrator. By default, the Default version means the latest release version. Learn more
In an already existing dev environment template, you can change the IDE version but not the IDE itself.

VM options
tip
IntelliJ-based IDEs only
In some cases, you might need to change the configuration of Java Virtual Machine (JVM) your IntelliJ-based IDE runs on. For example, increase the maximum memory heap size allocated for the IDE.
To configure VM options, use the Advanced | VM options section of the dev environment template. Specify one option per line. For example:
-Xms2048m
-Xmx4096m
IDE settings
tip
IntelliJ-based IDEs only
There are two types of settings in IntelliJ-based IDEs: project settings and personal settings.
Project settings
The .idea directory in the project directory contains project settings like the list of modules, run configurations, file encodings, and others. As this directory is stored in the source code, your project settings will be automatically applied to the IDE in a dev environment.
Personal settings
Personal IDE settings include the code style, inspections, live templates, and others. Personal settings are stored in the IDE configuration directory.
Namespace administrators can predefine personal settings for dev environments via a template as described in this topic.
Developers can override these predefined settings in a dev environment, e.g., using the Settings Sync feature. Learn more
To predefine personal IDE settings in a template
Create a dev environment based on the same template as the one you want to configure.
In the IDE, configure the settings you want to apply to dev environments. Note that when the IDE runs in a dev environment, its settings are split into two categories: Host (settings of the remote IDE) and Client (settings of the local client). Yours are the Host settings.

Keep the dev environment running and open the Advanced section of the dev environment template.
Go to IDE settings and select the running dev environment from the list.

Click Copy settings, then Save. After that, the settings will be applied to all new dev environments created from this template.
Pre-install IDE plugins
tip
IntelliJ-based IDEs only
You can pre-install plugins in IntelliJ-based IDEs (like IntelliJ IDEA, PyCharm, WebStorm, and others) using the Project settings | IDE plugins section of the dev environment template. CodeCanvas downloads and installs plugins from JetBrains Marketplace or custom sources.
Plugin and IDE compatibility
CodeCanvas always installs the latest version of the plugin compatible with the IDE version. If the plugin is not compatible with the IDE (e.g., the plugin is not yet updated to support the latest IDE version), CodeCanvas won't install the plugin.
Plugin location
IDE plugins are stored on a dev environment in /mnt/jetbrains/system/ide-plugins (outside the IDE installation directory). If you need to install a plugin that is not available in JetBrains Marketplace, you can upload it to this directory using the On initialization lifecycle script.
Install plugins
In JetBrains Marketplace, find the plugin you need.
On the plugin page, go to the Additional Information section and copy the plugin ID.

In CodeCanvas, open the Project settings section of the dev environment template.
In the IDE plugins section, specify the plugin ID. To install multiple plugins, use the Add plugin button.
Install plugins from custom repositories
CodeCanvas can install plugins from custom sources (e.g., a private plugin repository) in addition to JetBrains Marketplace. When creating a dev environment, CodeCanvas searches for the specified plugins in all available sources, including JetBrains Marketplace and the custom repositories configured by the system administrator. If the same plugin is found in multiple sources, CodeCanvas always downloads the newest available version.
note
Your custom plugin repositories must meet the requirements of the IntelliJ Platform Plugin SDK.
To add a custom plugin source
tip
System administrator permissions are required.
Select Administration in the header navigation, then in the sidebar menu, select IDE Plugin Sources.
Click New source and specify the source URL.
(Optional) Install plugins via lifecycle script
Alternatively, you can install plugins using the CodeCanvas's system tool – remote-dev-server.sh. To do this, create a script that installs the plugins, e.g.:
#!/bin/sh
$CANVAS_IDE_HOME/bin/remote-dev-server.sh installPlugins IdeaVIM
Then, use it as the On initialization script in the template's Lifecycle section.
Start run configuration on IDE startup
tip
IntelliJ-based IDEs only
You can use the canvas tool (provided in each dev environment) to start a run configuration automatically when the IDE starts. This might be useful for speeding up the development process. For example, you can start a run configuration that runs tests or starts a server each time a developer opens the dev environment.
In CodeCanvas, open the Lifecycle section of the dev environment template.
Turn on the On every activation script and add the following script content:
#!/bin/bash
# Start the run configuration
canvas run-configuration <project-name> <run-configuration-name>
For example, to start the Test run configuration in the MyProject project:
#!/bin/bash
# Start the run configuration
canvas run-configuration MyProject Test