Computing Platforms
tip
Basic post-installation steps for the system administrator:
Configure infrastructure
A computing platform defines the infrastructure used to run user dev environments. It is a configuration entity consisting of a dev environment cluster managed by a specific Kubernetes operator, a Jump server, and a Relay server. The computing platform concept addresses the multi-region nature of CodeCanvas installations as the location of these components is crucial for end user experience. For example, a computing platform configured in a region close to end users ensures lower latency and improved interaction with their dev environments.
Select Administration in the header navigation, then in the sidebar menu, select Computing Platforms.
Click New connection and specify the platform Name and other settings:
Kubernetes namespace – the Kubernetes namespace where the dev environments are running. The namespace may already exist, otherwise, it will be created during the connection.
Relay server – a relay server that is used to establish a secure connection between user machines and dev environments. A typical CodeCanvas installation implies that the relay server is running in the same cluster with the CodeCanvas application. To use it, choose Default relay. Alternatively, you can configure and use custom relay servers.
Jump server – a Jump server that is used for SSH connections to dev environments. A typical CodeCanvas installation implies that the Jump server is running in the same cluster with the CodeCanvas application. To use it, choose Default jump. Alternatively, you can configure and use custom jump servers.
Pod template YAML – the YAML file that describes the pod template for the worker pod. Customize this template to make worker pods better meet the requirements of your infrastructure. CodeCanvas will automatically add all required labels, annotations, environment variables, and volumes that are necessary for the pods to function correctly. Therefore, all you need is to add your custom configuration to the pod template.
For example, the following snippet shows how to add a label, an annotation, and an environment variable to the pod template:
apiVersion: v1
kind: Pod
metadata:
  labels:
	codecanvas: true
  annotations:
    codecanvas: true
spec:
  containers:
  - name: worker-main
	env:
	- name: CODECANVAS
	  value: true
  restartPolicy: Never
Note that a worker pod is not a dev environment itself. It is a management container that starts nested dev environment containers. If you need to pass environment variables or files from the worker container to the dev environment containers, you can use the following special environment variables:
WORKER_STEP_CONTAINER_PROPAGATION_ENV_VAR_KEYSfor environment variablesWORKER_STEP_CONTAINER_PROPAGATION_PATHSfor paths to files
For example, the following configuration will propagate the
MY_ENV_VAR_1andMY_ENV_VAR_2environment variables from a pod to dev environment containers:apiVersion: v1 kind: Pod spec: containers: - name: worker-main env: - name: WORKER_STEP_CONTAINER_PROPAGATION_ENV_VAR_KEYS value: "MY_ENV_VAR_1;MY_ENV_VAR_2"This template is applied to all worker pods in the computing platform. If you need separate configurations for different instance types, you can specify Pod template YAML on the instance type level.
Click Save. The platform will be added to the list but will be in the Inactive state as it is not yet connected to CodeCanvas.
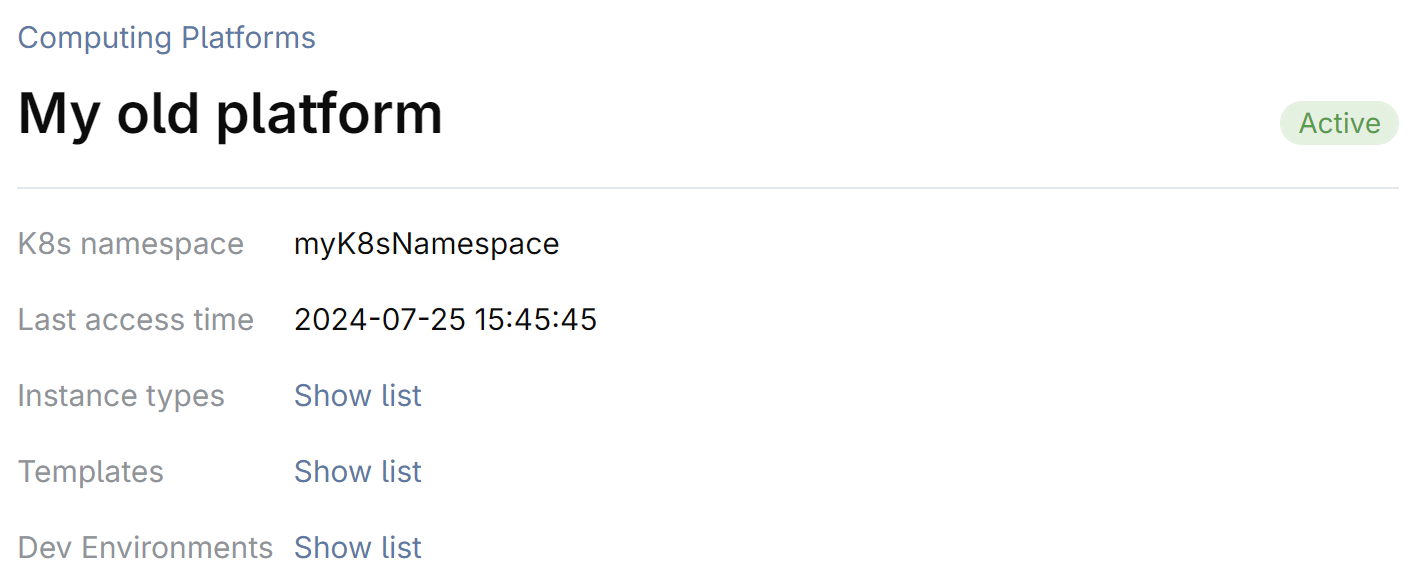
Open the newly added platform.
The platform page provides the snippet that you should use to install the CodeCanvas operator in the dev environment cluster. The operator communicates with the CodeCanvas application and starts/stops worker pods in the dev environment cluster. The snippet looks like this:
kubectl apply -f - <<EOF{...}To communicate with each other, the CodeCanvas application and the operator require a key pair. The public key is stored in CodeCanvas, and the private key is used by the operator.
To generate a key pair click Generate keys. The private key will be automatically added to the snippet.
Copy the snippet to the clipboard.
Run the snippet to apply the configuration to the dev environment cluster.
To check the connection status, click Test connection. All checks must return Success.
To delete a connection, click Delete on the platform settings page. This will permanently delete the connection and all dev environments that are running on this platform.
If you want to temporarily stop creating new dev environments on a specific platform, click Freeze on the platform settings page. Note that this will not affect the existing dev environments.
When upgrading your infrastructure, you may need to migrate from one computing platform to another. You can't migrate the existing dev environments, but you can transfer configuration data, namely, instance types that use the deprecated platform and dev environment templates based on these instance types.
In the instructions below, we will call the platform that you want to stop using deprecated and the new platform new.
Freeze the
deprecatedplatform: Open the platform settings in Administration | Computing Platforms and click Freeze.Rename the instance types that use the
deprecatedplatform:In the platform settings, click Show list next to Instance types.

Click Select all to select all instance types.
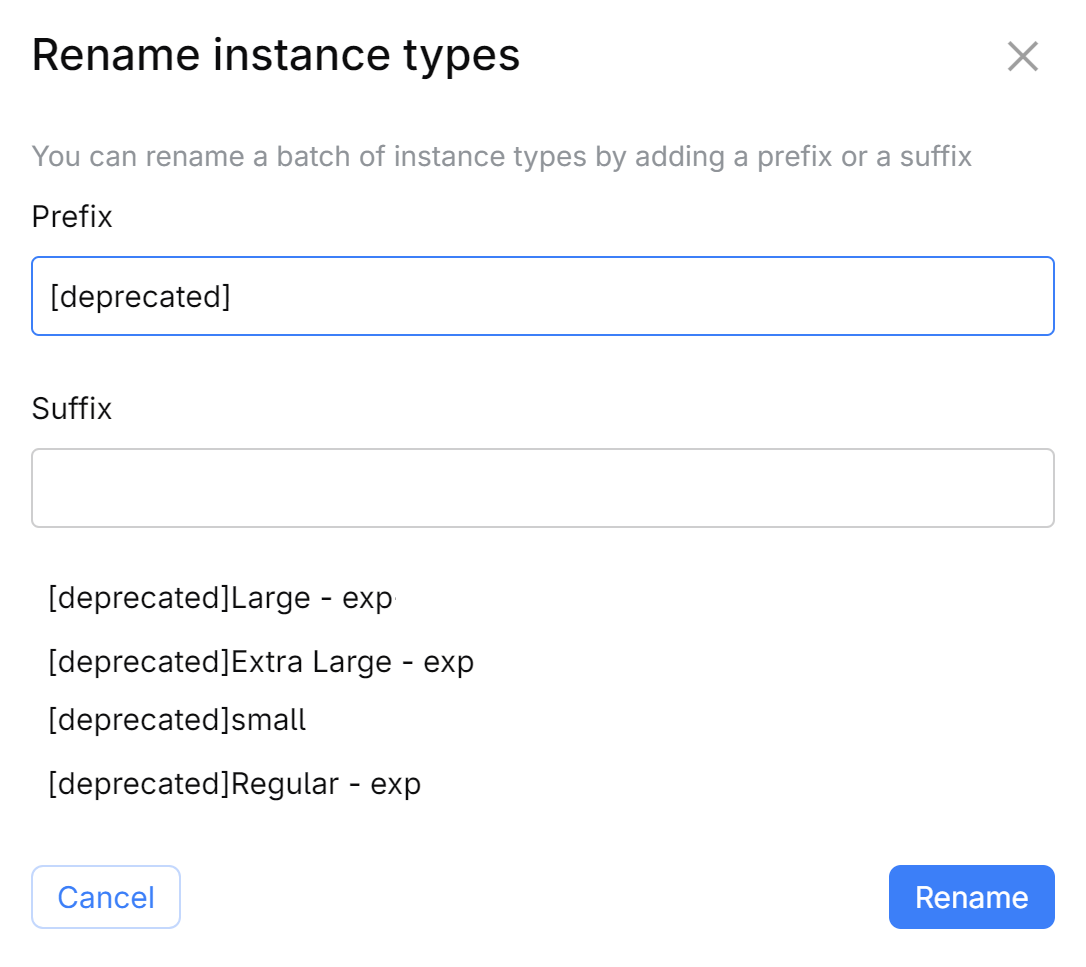
Click Rename and in the dialog that opens, specify either a prefix or a suffix for the instance type names. For example, you can add the
[deprecated]prefix.
Click Rename.
Rename the dev environment templates that use the
deprecatedinstance types:In the platform settings, click Show list next to Templates.
Click Select all to select all templates.
Click Rename and in the dialog that opens, specify either a prefix or a suffix for the template names. For example, you can add the
[deprecated]prefix.Click Rename.
Use the
[deprecated]instance types to create new ones:Select Administration in the header navigation, then in the sidebar menu, select Instance Types.
For each
[deprecated]instance type: Open the instance type settings and click Copy. In the dialog, specify a new name for the instance type and select thenewComputing platform. Click Create.
Use the
[deprecated]templates to create new ones:Select Administration in the header navigation, then in the sidebar menu, select Templates.
For each
[deprecated]template: Click Copy. In the dialog, specify a new name for the template and select the new Instance type. Finish creating the template.