Share a workspace
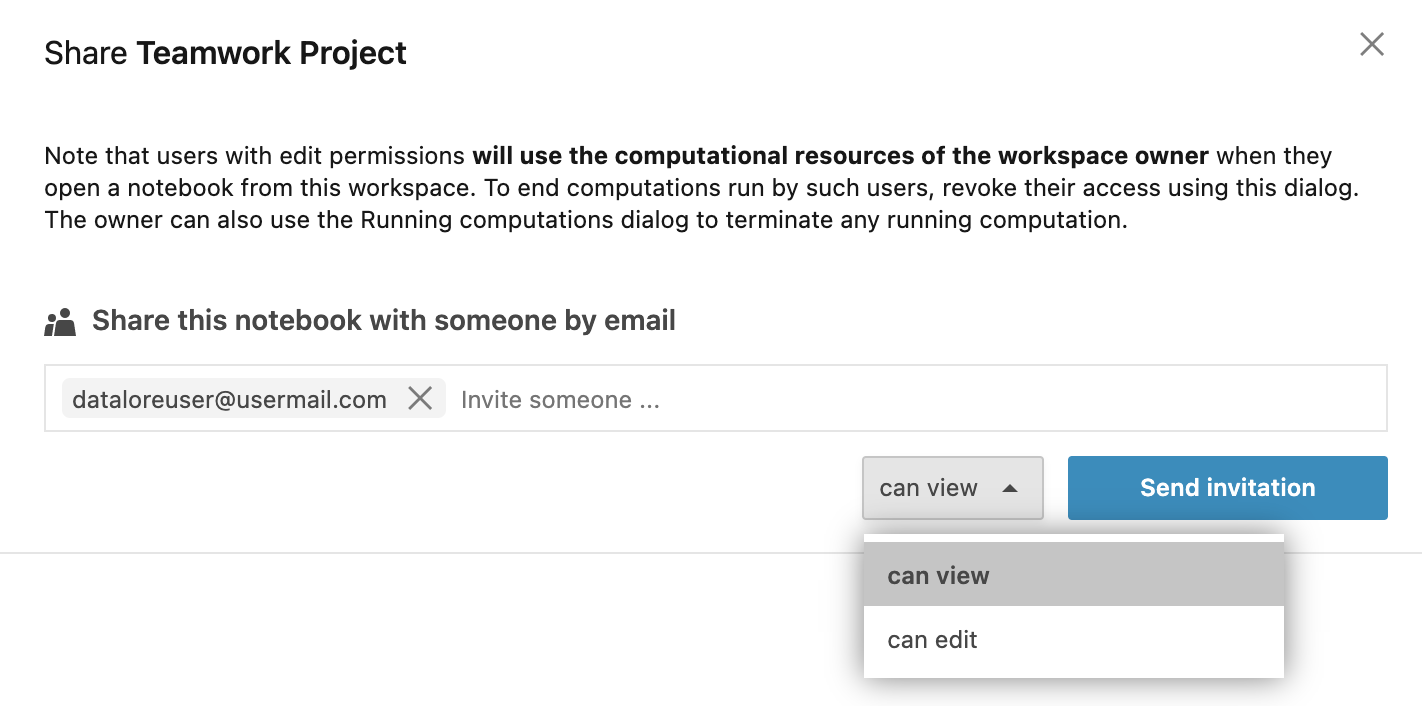
You can share a workspace you created to manage it and edit its notebooks together with other users. When sharing, you grant one of the two types of access:
View: invited users can view the notebooks of a shared workspace in the editor. To edit a notebook, they must clone it to their workspace.
Edit: invited users can edit the notebooks of a shared workspace.
Shared workspaces are accessed from the Home page.
Access type comparison
The table below shows how viewers and editors can work on a shared workspace.
Collaborator types compared
Action | View access | Edit access |
|---|---|---|
Share the workspace | No | Yes. When running the notebooks of the workspace, the owner's resources are consumed. |
Create or upload notebooks | No | Yes. |
Clone and copy the notebooks | Yes. A notebook can only be cloned when opened in the editor. | Yes |
Move the notebooks to trash | No | Yes |
Rename the notebooks | No | Yes |
View the notebooks in the editor | Yes | Yes |
Run or edit the notebooks | A shared notebook must be cloned to the viewer's file system. | Yes |
Export the notebooks | Yes | Yes |
View the workspace and notebook attachments | Yes | Yes |
Change the workspace and notebook attachments | No | Yes |
Create and edit workspace database connections | No | Yes |
Attach database connections to the workspace notebooks | No. Can only view the database connection list and respective database schemas. | Yes |
Create and execute SQL cells for connected databases | No | Yes |
Create an invitation
Click the Share workspace icon in the upper right corner of the Home page. You can now use the Share [Workspace_name] with others dialog.
Enter the email addresses of the users you want to invite.
Select a permission type for the invited users.
Click Send invitation.

Revoke an invitation
To cancel a pending invitation or granted access, remove the respective record from the invitation list:
Click the vertical ellipsis icon in the record that you want to remove.
Click Remove.
Click the Send invitation button.
