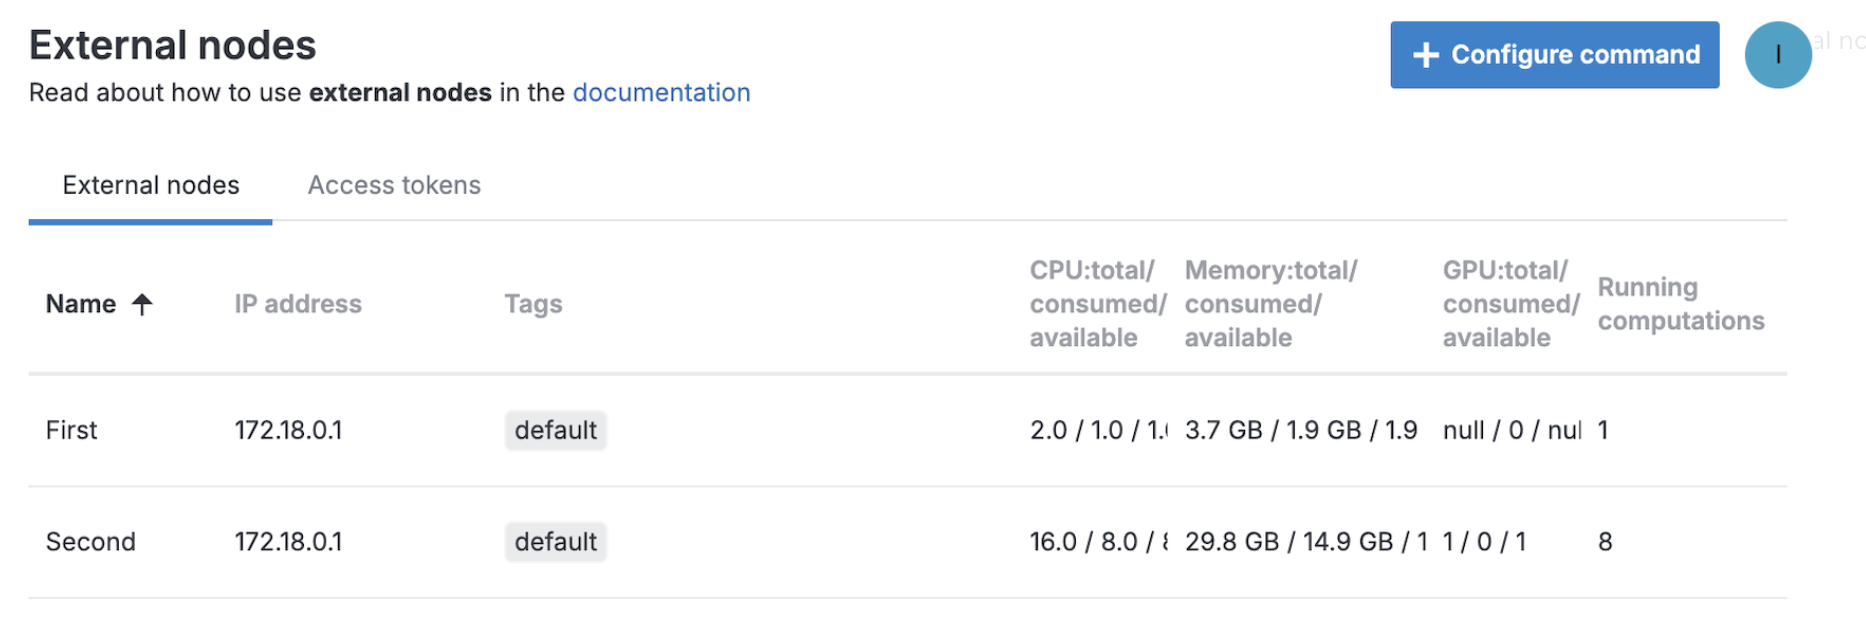
Set up external agents
Use the External nodes menu on the Admin panel to manage your computational agents outside the Datalore infrastructure. All you need is a machine that can connect to your Datalore server with a docker engine on it. Configure a command to run a docker container on this machine using the Admin panel interface, and you can start using it as a manager for external agents with preset selection of available instances. The agents on these external nodes are configured similarly to how you generally configure your agents in Datalore.
Workflow
Setting up external agents in Datalore comprises the following stages:
Create access tokens required for new external nodes (Unless you already have generated some previously)
Run the command to launch the container and start using the external agents
Set up an external node
This chapter provides instructions on how to set up an external node that will represent in Datalore a docker container for running computations outside your Datalore infrastructure.
Open Datalore ports
Configure the Datalore server to open ports for external agents.
Open the Datalore server configuration file:
Kubernetes installation: datalore.values.yaml
Docker installation: docker-compose.yaml
Expose a new random port and specify it in the EXTERNAL_AGENTS_MANAGER_ENDPOINT_PORT variable.
services: datalore: ... ports: - "8080:8080" - "8081:8081" - "5050:5050" - "4060:4060" - "3070:3070" expose: [ "8081", "5050", "4060" ] ... volumes: ... - "./agents-config.yaml:/opt/datalore/configs/agents-config.yaml" ... environment: ... EXTERNAL_AGENTS_MANAGER_ENDPOINT_PORT: "3070" ...
Configure agents
Define instances you want to use as external agents. The procedure is similar to how you generally configure agents for Helm-based and Docker-based installations. Below are the details that are specific for setting up external agents.
Use one of the formats below based on the type of your installation:
In agents-config.yaml:
In datalore.values.yaml:
Follow the steps below to configure resource consumption for each instance.
Configure CPU and memory consumption for each instance.
Example
You expect agents to be idle 75% of the time. At the same time, you do not want agents to consume more than 2 CPUs and 4 GB at a peak. So, you set the maximum available amount (
limits:) as 2 CPU and 4 GB and minimum (requests:as 25% of those values: 0.5 CPU and 1 GB.instances: - id: external-agent ... limits: cpus: 2 memory: "4G" requests: cpus: 0.5 memory: "1G"Define how many GPUs each instance consumes:
external: ... instances: - id: external-agent ... requests: ... gpu: 1 ...Define tags to configure whether the agent can be started by an external node, which has its own set of tags. An external node must have all the tags of an agent in order to start it. If no tags are provided for an agent, it can be started by any external node.
Example
You have a number of machines with GPUs and a few more machines without. You want your GPU machines reserved only for GPU agents: you do not want CPU-only agents to run on GPU machines. For this purpose, you mark CPU-only machines with the tag ‘cpu’, and GPU machines with the tag ‘gpu’. Then, you assign the ‘cpu’ tag to CPU-only agents and the ‘gpu’ tag to GPU agents.
Also, you could have some very powerful machines with some GPUs, and you want to use those powerful machines both for CPU-only and GPU agents. In that case, you mark these machines with both tags.
The format for assigning tags is presented in the example below.
external: ... instances: - id: external-agent ... tags: - cpu
Create an access token
Create an access token required to configure a script for a docker container that you want to use as an external agent manager (referred to as external node in the Admin panel).
Click the avatar in the upper right corner of the screen and select Admin panel.
From the sidebar of the Admin panel, select External nodes.
In the External nodes menu, switch to the Access tokens tab.
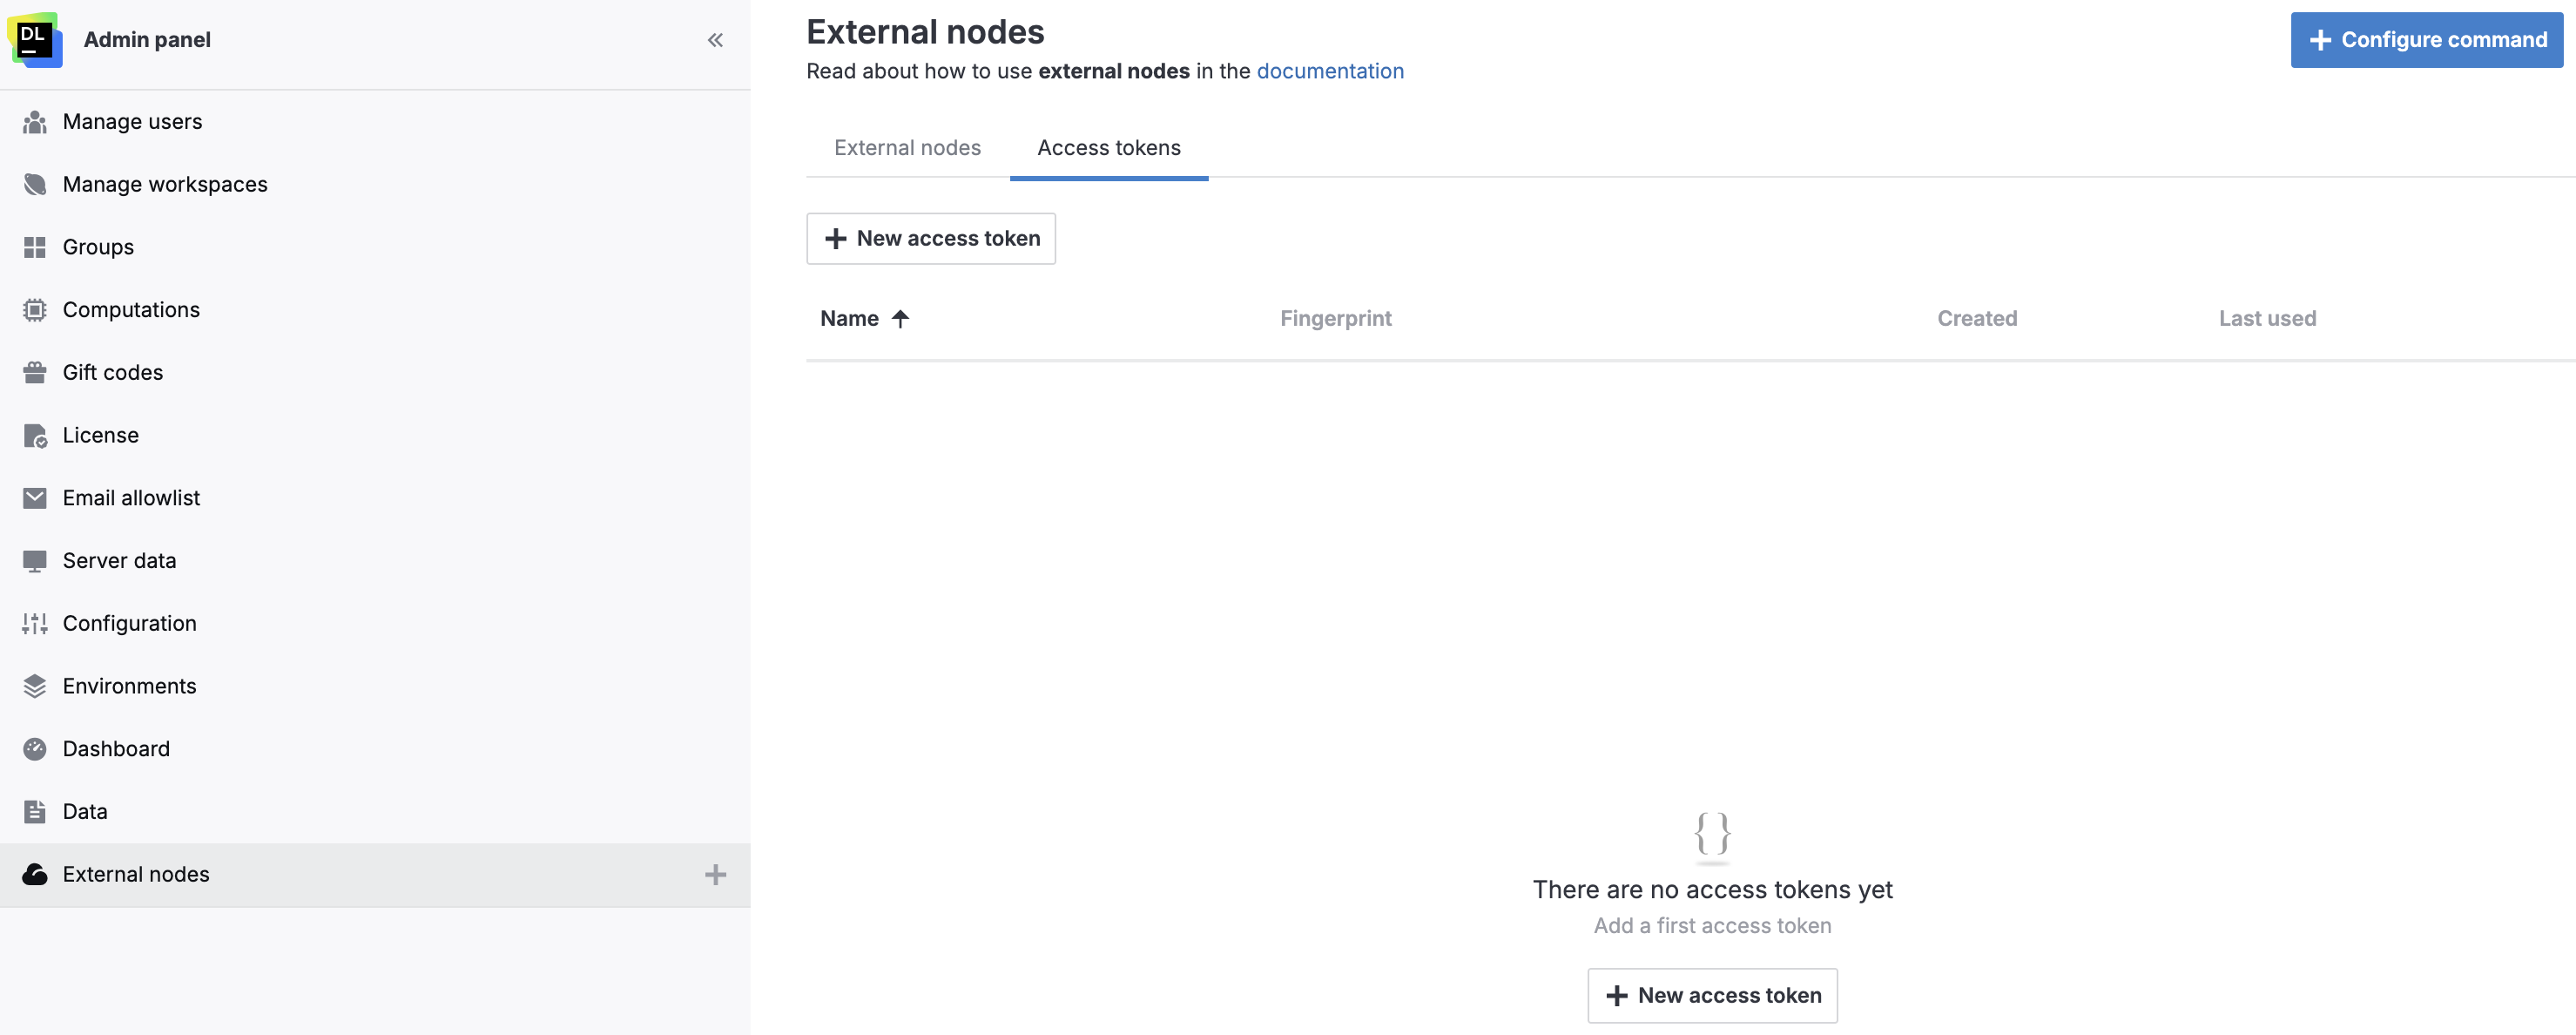
Click the New access token button. This will open the dialog under the same title.
In the New access token dialog, provide a name for the new access token and click the Generate button.
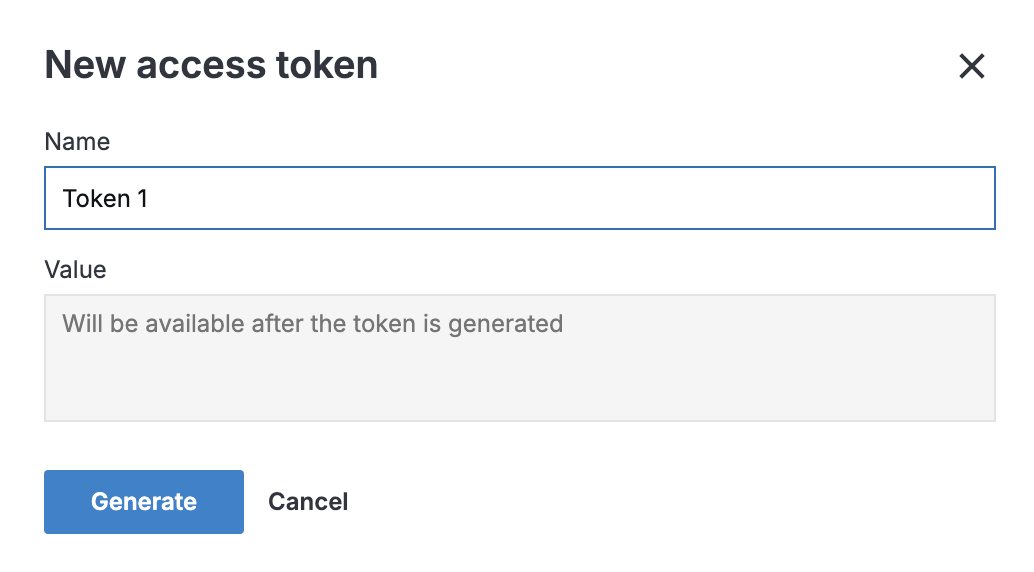
This will generate a value for the new access token.
(Optional) To view the value of the generated token, click the view icon in the Value field.
Click the Close button to save the new access token and close the dialog.
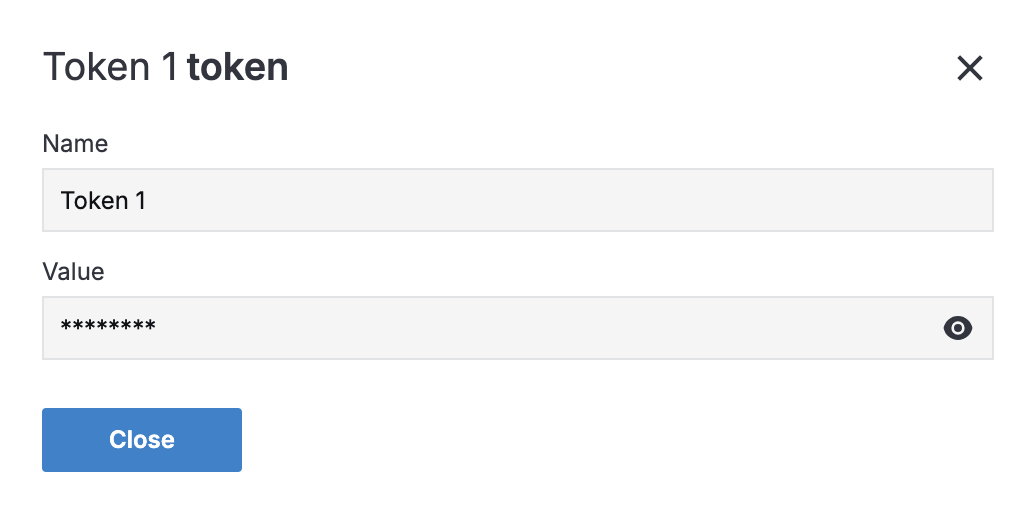
The new access token is added to the Access Tokens list and can now be selected when configuring an external node command.
Configure a command to start an external node
The procedure explains how to configure a docker command for a machine you want to use as an external node. For convenience, such an external agent manager is referred to as external node.
Click the avatar in the upper right corner of the screen and select Admin panel.
From the Admin panel, go to External nodes.
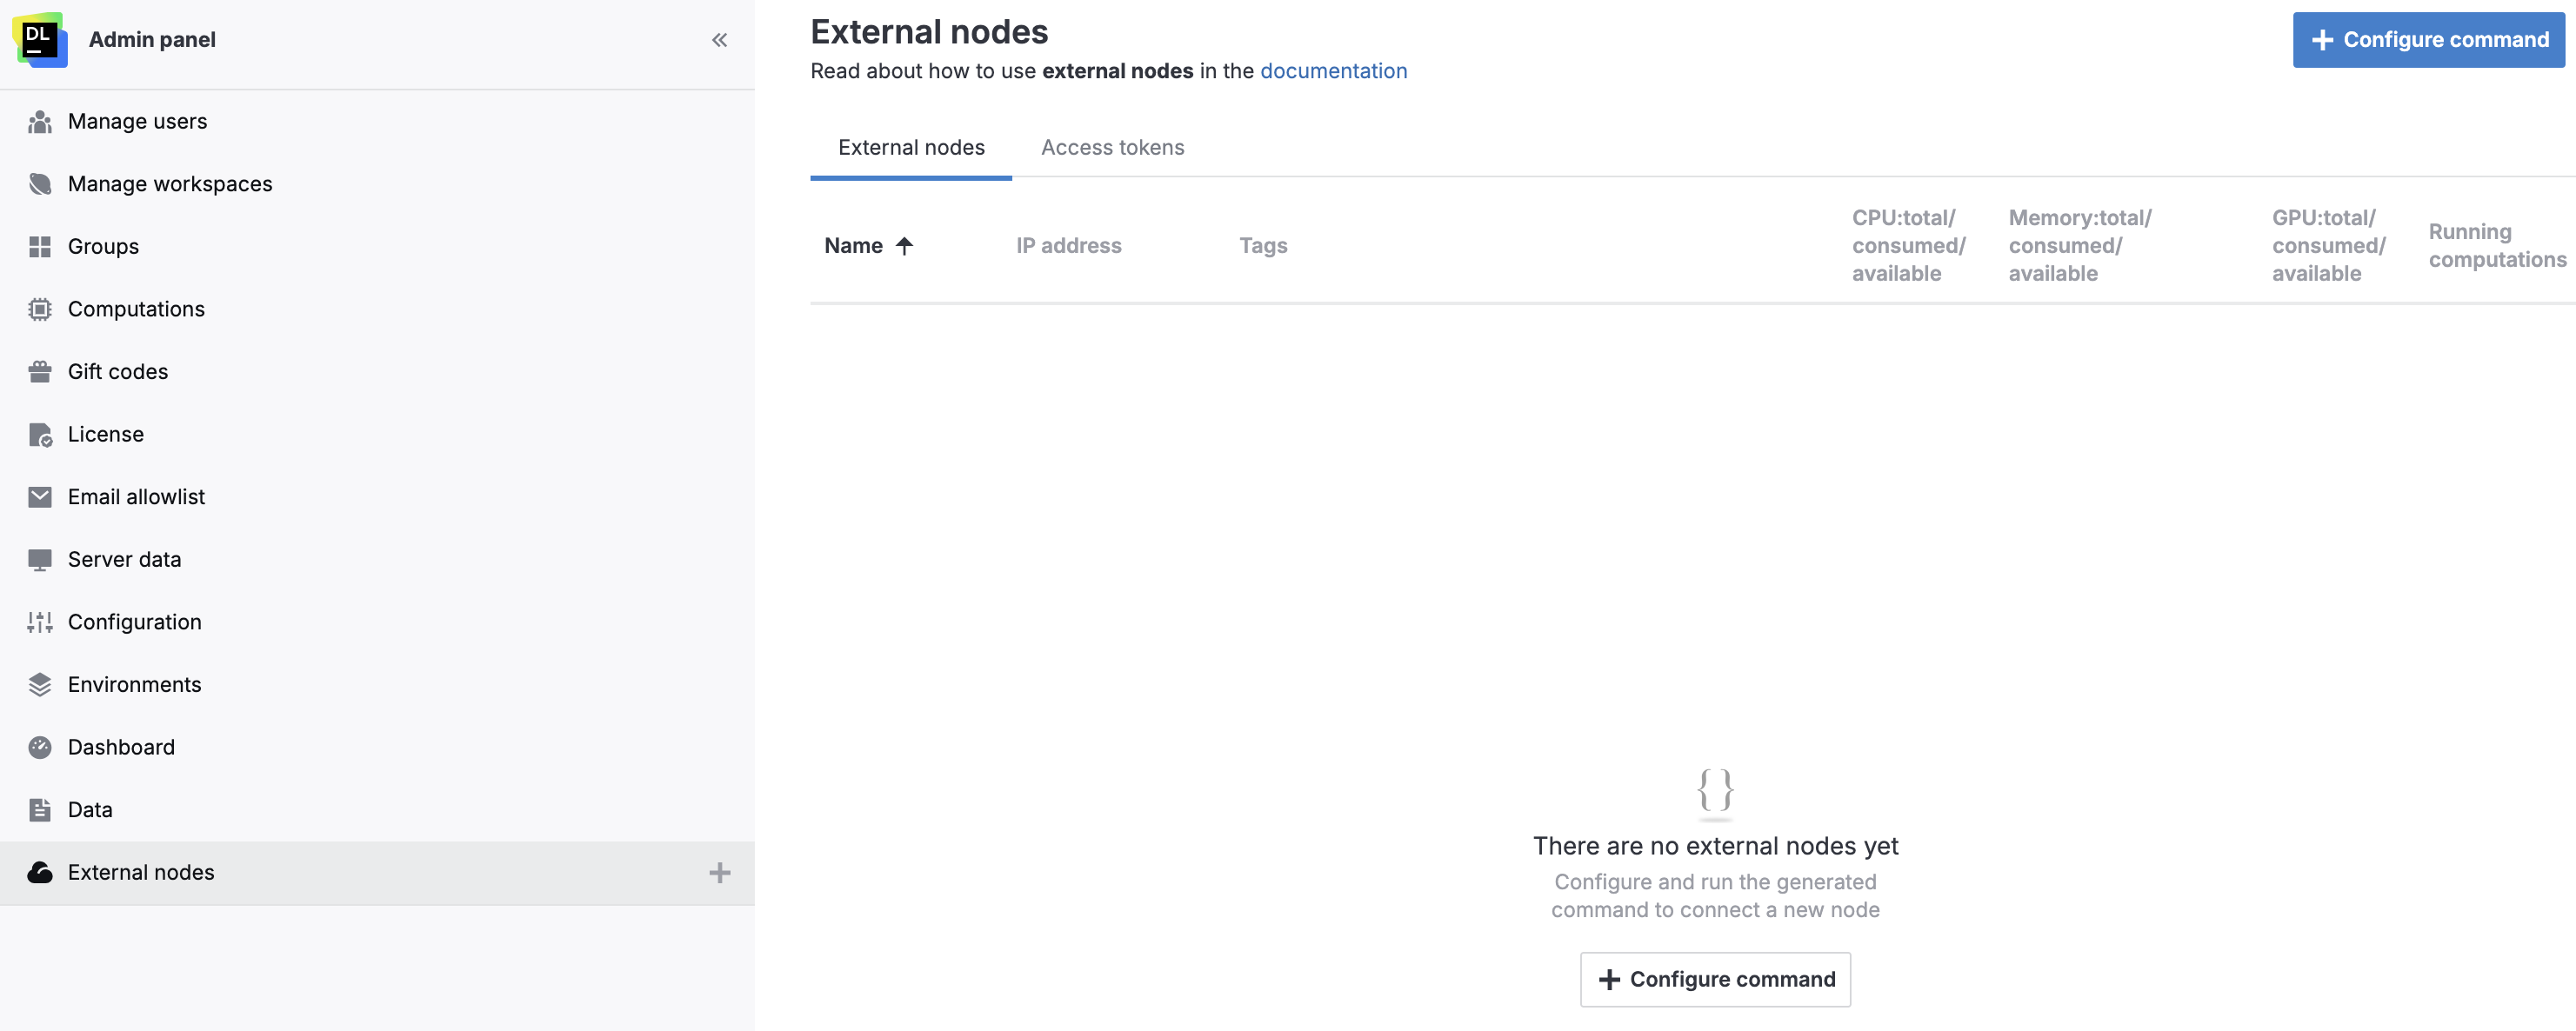
On the External nodes tab, click the Configure command.
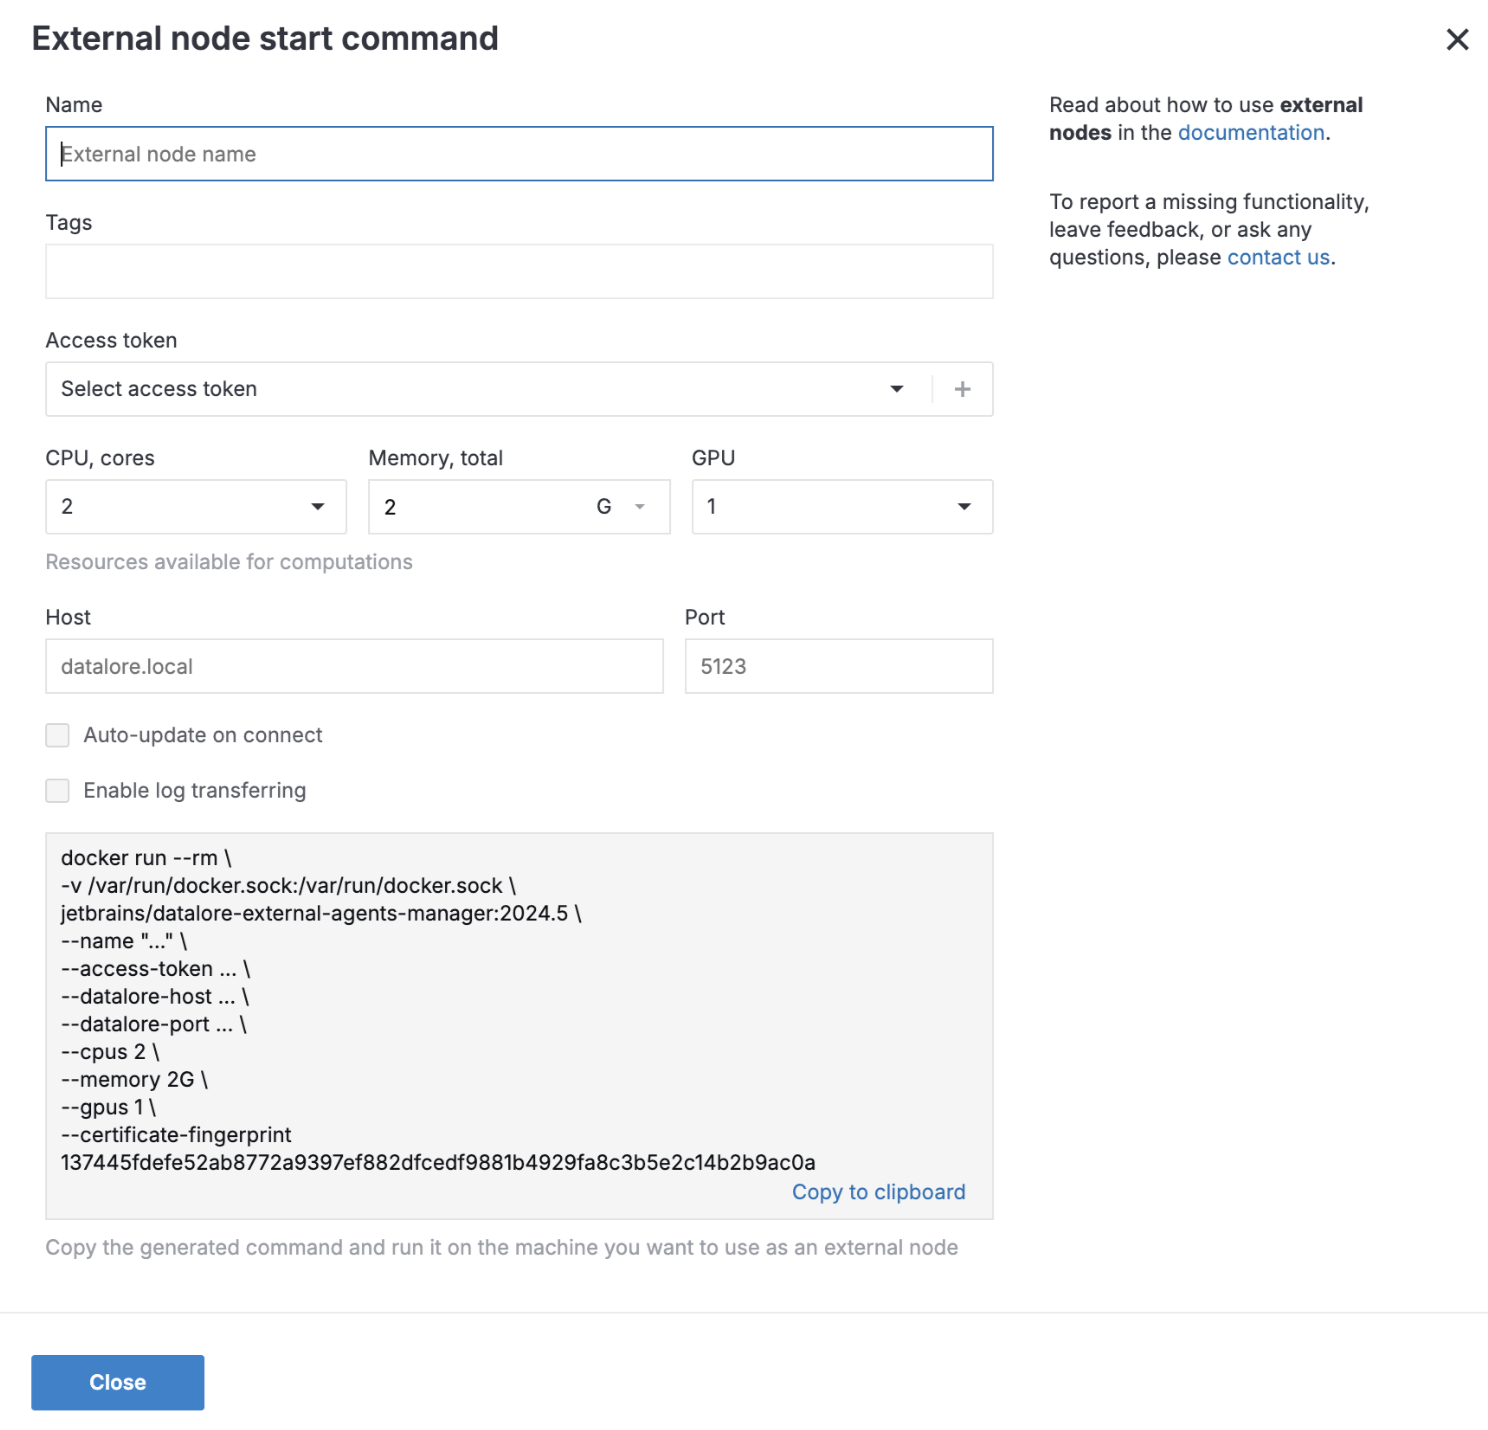
This will open the External node start command dialog.

In the Name field, provide a name for the node.
In the Tags field, provide tags. Multiple tags are separated by commas.
Under Access tokens, do one of the following:
Use one of the tokens you created earlier
Expand the list and select one of the available tokens.

Generate a token
Click the plus icon and perform this procedure. Then, select it as shown above.
Under CPU, cores, expand the list and select the number of available CPU cores on this machine. This parameter is used to choose which and how many agents will run on this machine. It is not required to be equal to the actual number of CPU cores.
Under Memory, GB, specify the amount of available RAM (in gigabytes). Similarly to the CPU, cores parameter, it correlates with the
requestsproperty defined in your agent configuration.Under GPU, expand the list and select the number of available GPUs. This value cannot be greater than the number of actual GPUs on the machine.
Provide the hostname or IP address of your Datalore server and the valid external manager port in the respective fields.
To ensure connecting to Datalore's latest version, enable the auto-update feature by selecting the Auto-update on connect checkbox.
To enable log transferring, select the Enable log transferring checkbox.
In the Docker command box, review the script generated based on the provided values.
Click the Copy to clipboard button in the Docker command box to copy the command. You can now use it to run the docker container that you want to use as your new external agent manager.
Results
Once started and connected, the new external node is added to the External nodes list and can now be used for running available agents. Such machines can be selected from the editor's main menu ().
Manage external nodes and access tokens
The instructions below explain how to view your external nodes and manage access tokens.
View external nodes
As an admin, you can track the usa of your external nodes from the Admin panel.
Manage access tokens
As an admin, you can manage access tokens using the Admin panel.
Click the avatar in the upper right corner of the screen and select Admin panel.
From the Admin panel, go to External nodes.
Switch to the Access tokens tab.

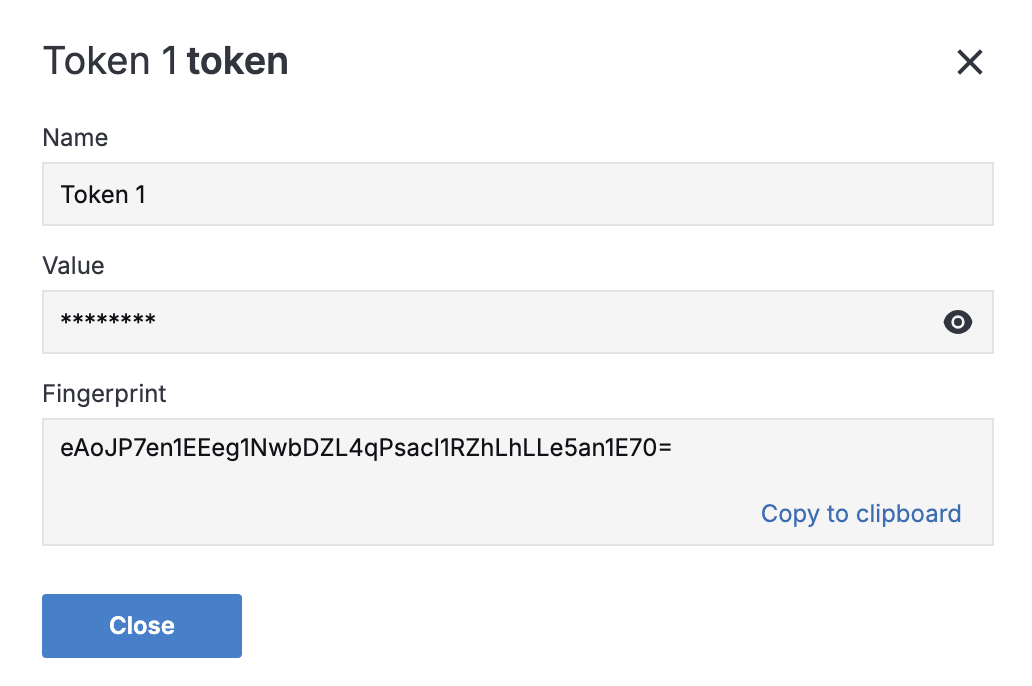
To view an access token, click the ellipsis for the respective list item and select View from the menu. In the view dialog, you can view the token value or copy the fingerprint.
To revoke an access token, click the ellipsis for the respective list item and select Revoke from the menu. Then, click the Revoke button in the confirmation dialog.
