Instance-wide data sources
As a Datalore admin, you can create and manage database and cloud storage connections shared across all workspaces within your Datalore instance, instance-wide data sources.
This will save you the trouble of managing several identical data source connections created individually for different workspaces. You will also make sure that all of your teammates have the same access to a shared data source, which will facilitate your collaborative process.
note
Security note - Cloud storage connectionsDue to the current architectural constraints, all users registered to your instance of Datalore may have access to the credentials a cloud storage once it is attached instance-wide. Therefore, proper credential update is advised in case of user rotation or other security concerns.
Click the avatar in the upper right corner and select Admin panel from the menu.
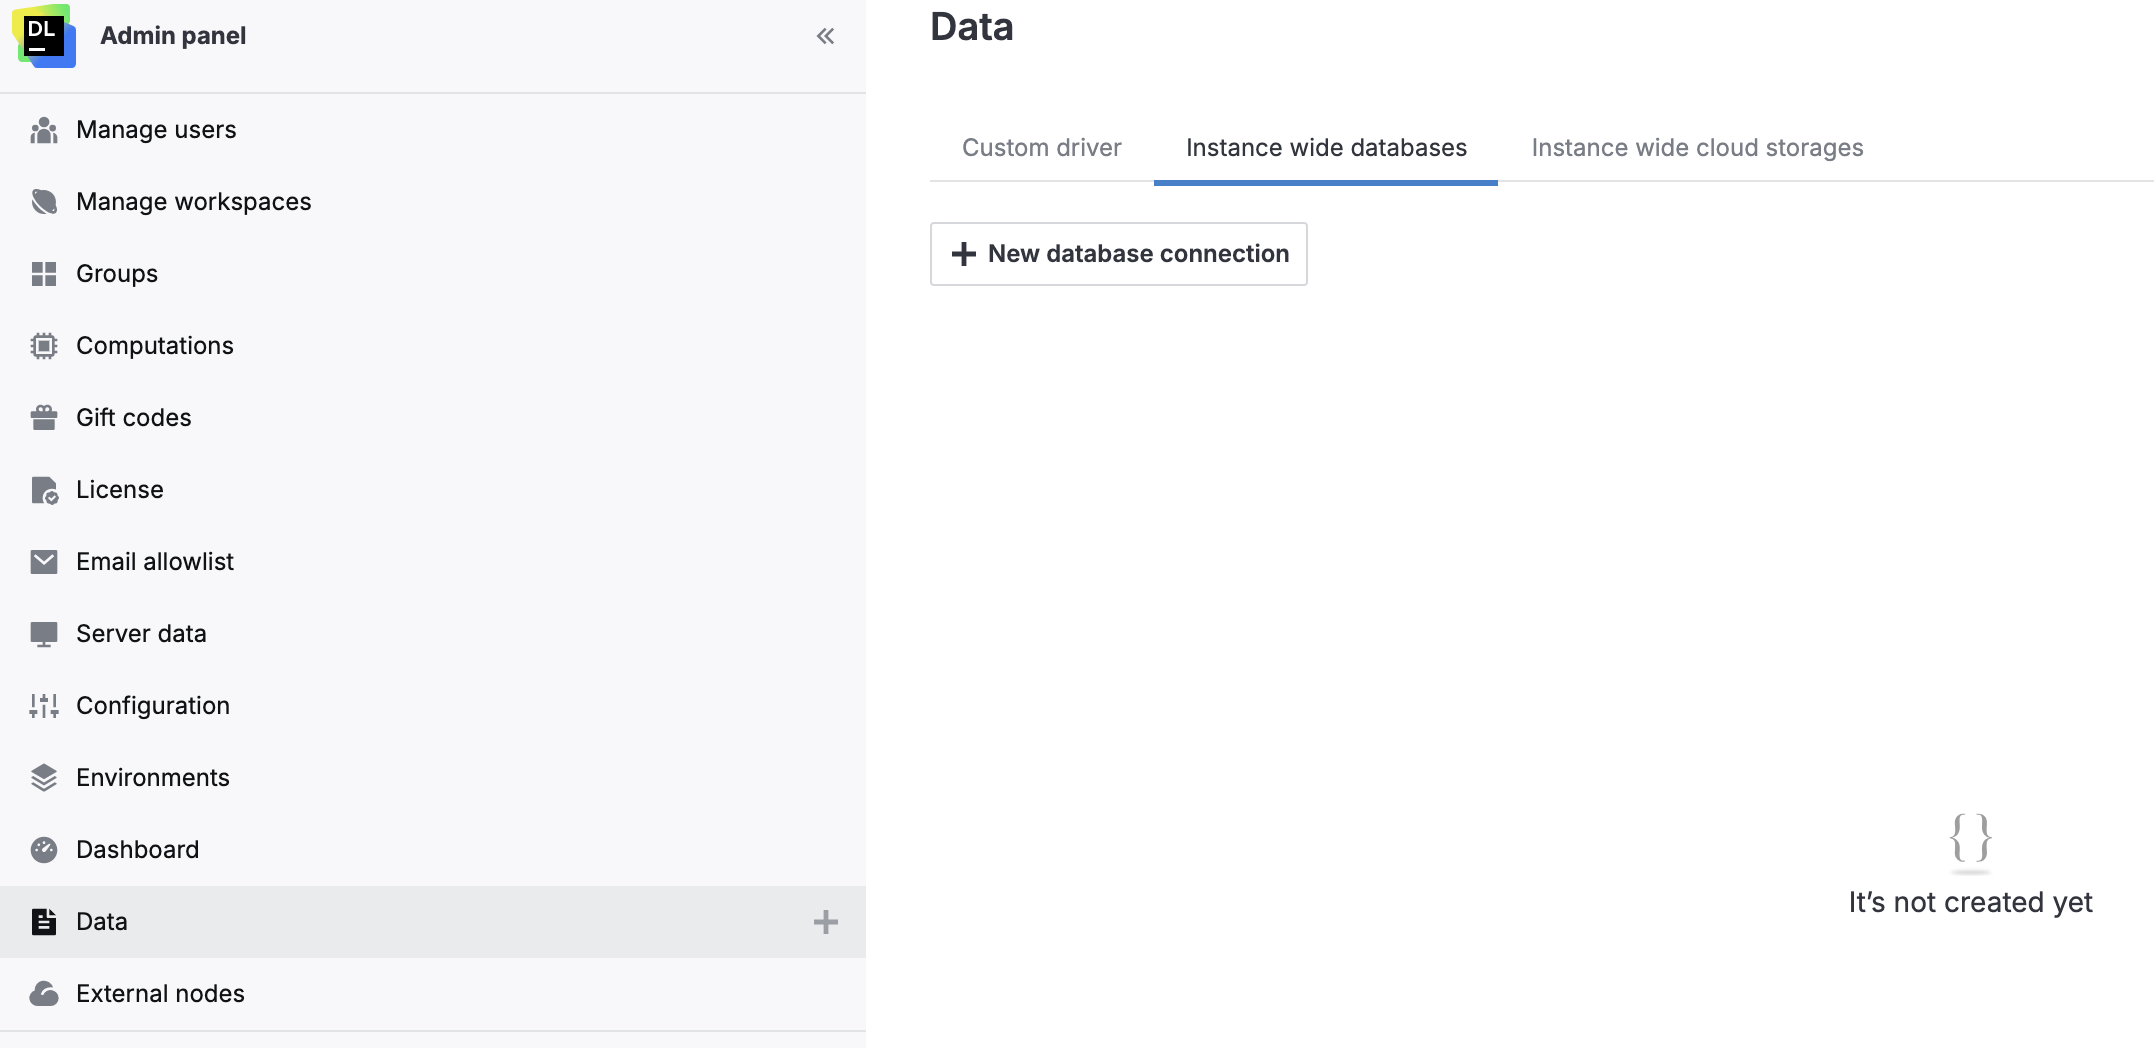
From the Admin panel, select Data.
Based on the type of the data source you're connecting, switch to Instance wide databases or Instance wide cloud storages.

On the selected tab, click the New database connection | New cloud storage connection button. This will open the New database connection or New cloud storage connection dialog respectively.
Based on the selected data source type, create the new connection by following one of the instructions below.
The newly added data source connection will be added to the resources of all workspaces within your Datalore instance for all teammates to use.
Although instance-wide database and cloud storage connections are shared across all workspaces and available to all team members, only Datalore admins can manage them. Therefore, users cannot manage such connections as workspace resources (like other connections available there).
Click the avatar in the upper right corner and select Admin panel from the menu.
From the Admin panel, select Data.
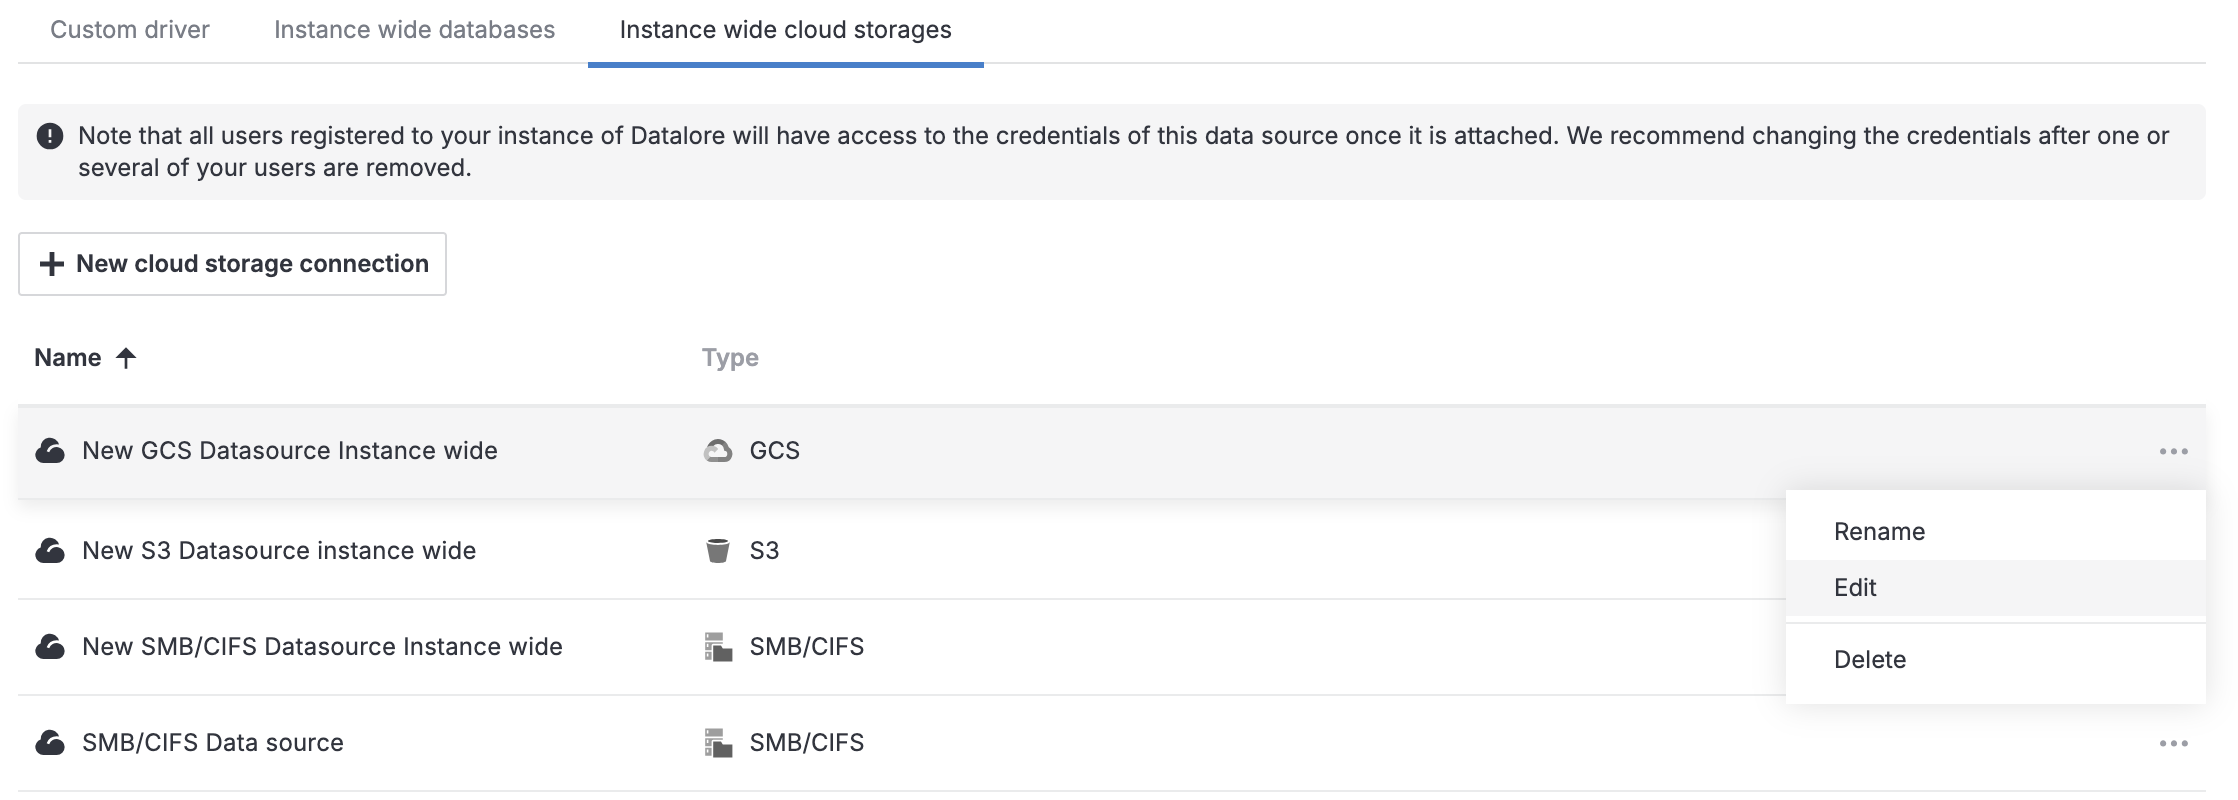
Based on the type of the data source you're managing, switch to Instance wide databases or Instance wide cloud storages. You will see the list of the connections created for your Datalore instance.
Do one of the following:
To rename a connection, click the ellipsis for the respective list item and select Rename. Type the new title in the respective field and press Enter.
To edit a connection, click the ellipsis for the respective list item and select Edit. This will open the Edit [connection_title] connection dialog. Make your changes and click the Save and close button to apply them.
tip
If you only want to rename the connection, select Rename from the popup menu, provide a new name, and press Enter.
To delete a connection, click the ellipsis for the respective list item and select Delete.
