Getting started with PHP
This tutorial gets you up to speed with PHP development in JetBrains Fleet. It covers the installation, project setup, and working with code.
JetBrains Toolbox: the Download page.
Download and install PHP for your operating system as described in the official documentation.
Alternatively, you can install a preconfigured operating system-specific AMP package such as XAMPP for Windows, LAMP for Linux distribution used, and MAMP for macOS.
Download and install JetBrains Toolbox.
For macOS, you can also download the installer that matches your processor type: Apple Silicon or Intel. Ensure you select the correct option based on your system's processor.
In JetBrains Toolbox, click Install near the JetBrains Fleet icon.
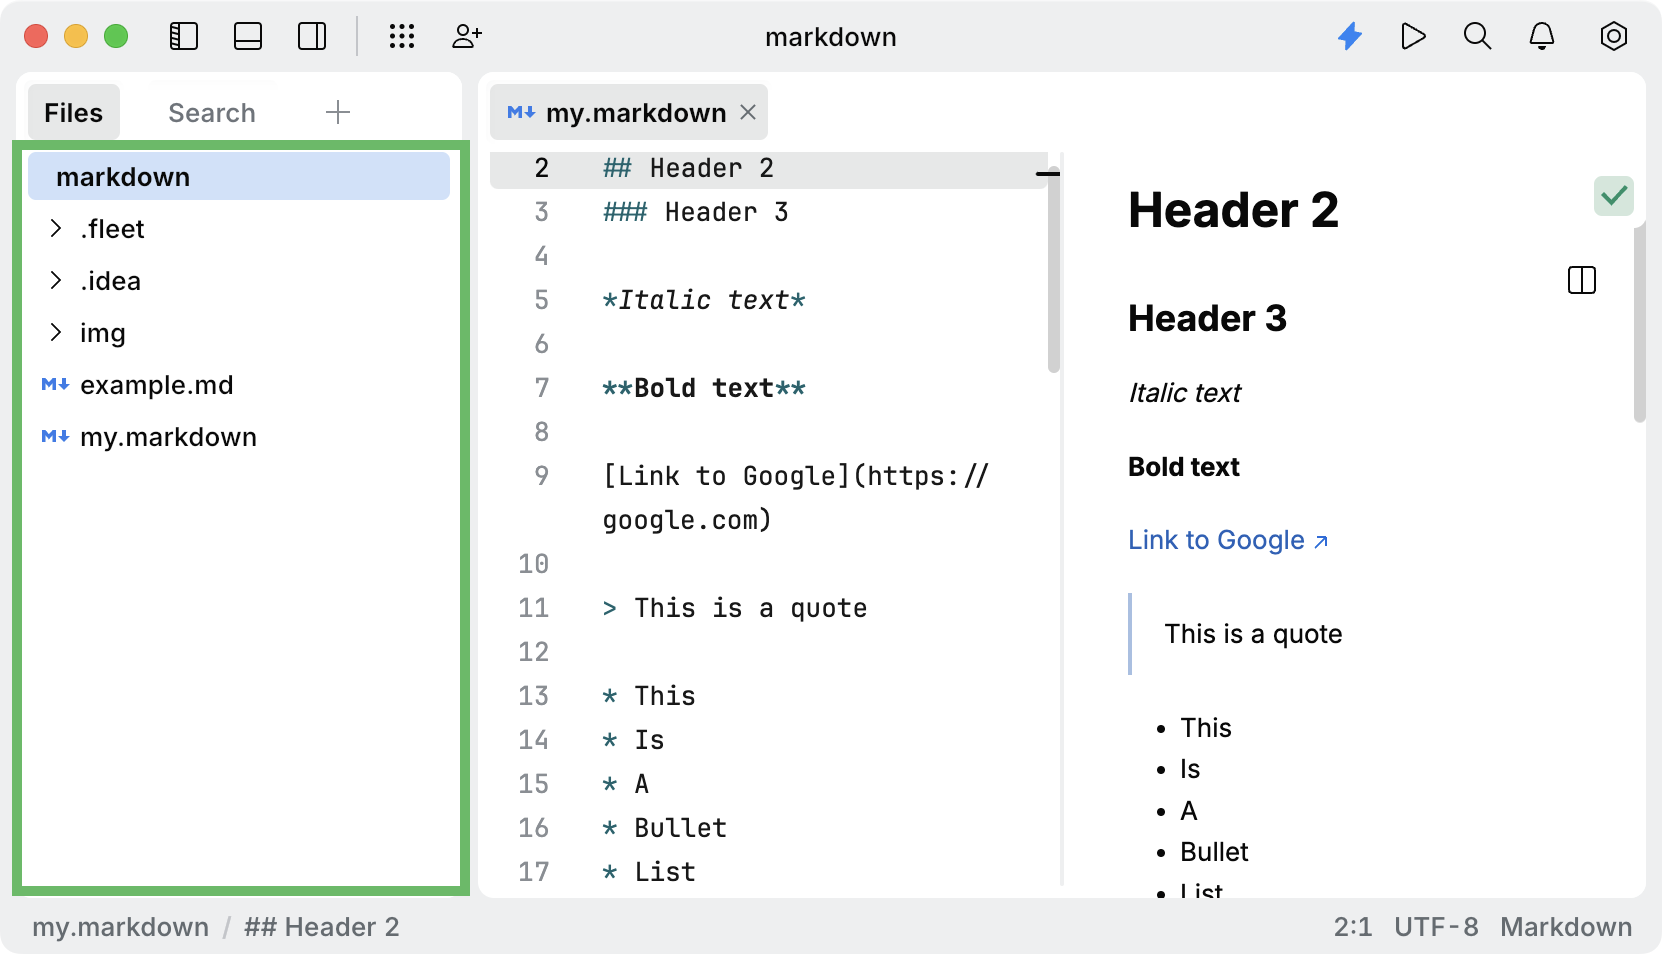
Workspace is the directory where your project resides. It contains the project files and settings. You can open an existing project or start a new project by opening an empty directory.
Press or select File | Open from the menu.
In the file browser, navigate to the folder containing your code and click Open.
Proceed to the workspace configuration.
When you open a directory, it becomes the root of a workspace. You can view its contents in the Files view.
Usually the PHP interpreter is configured automatically. But you can always set the interpreter manually.
Press to open settings, then click the tab with the name of your workspace.
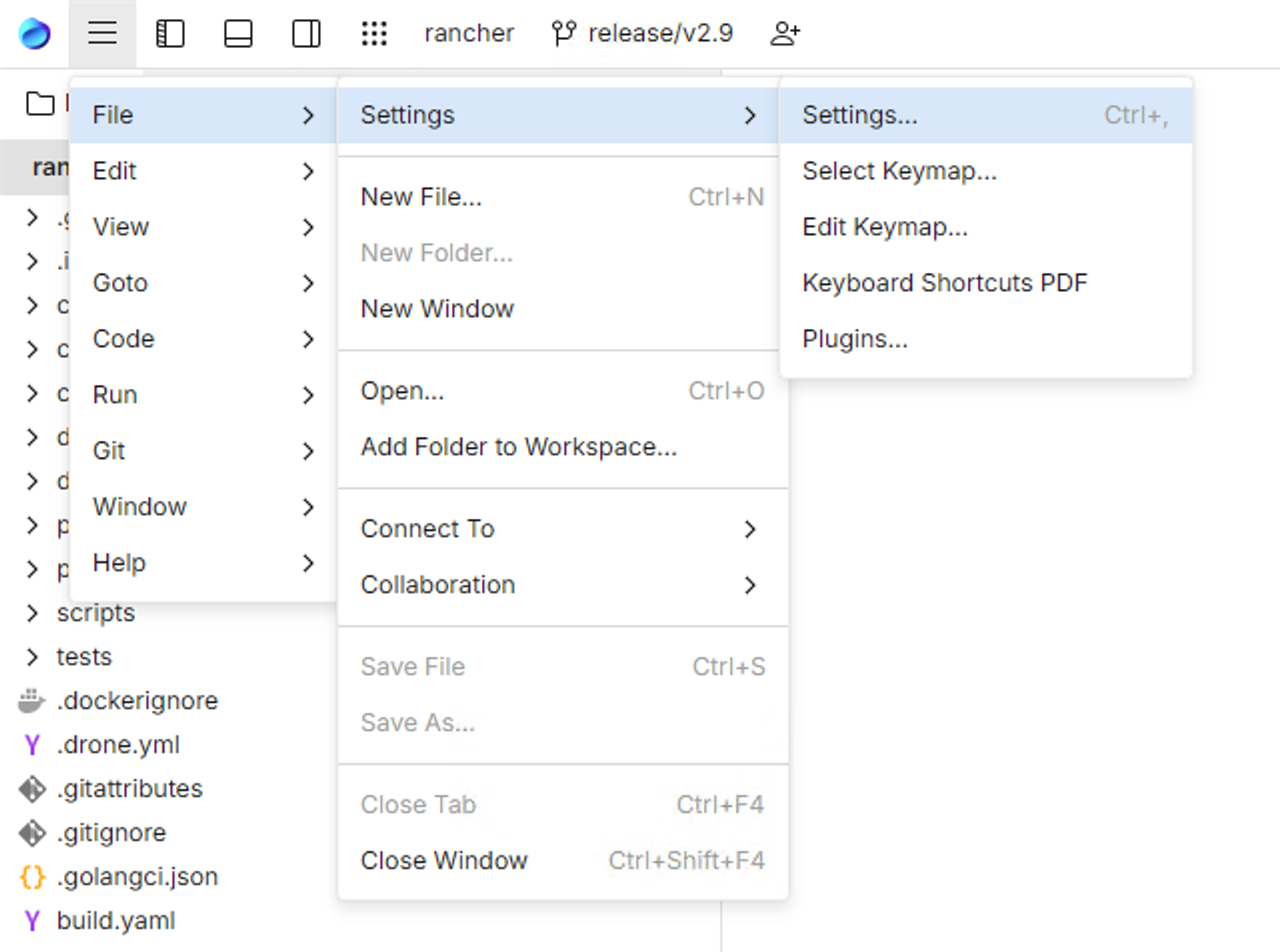
Alternatively, to open settings, you can use the main menu:
Windows and Linux: click the Menu icon and navigate to File | Settings | Settings.
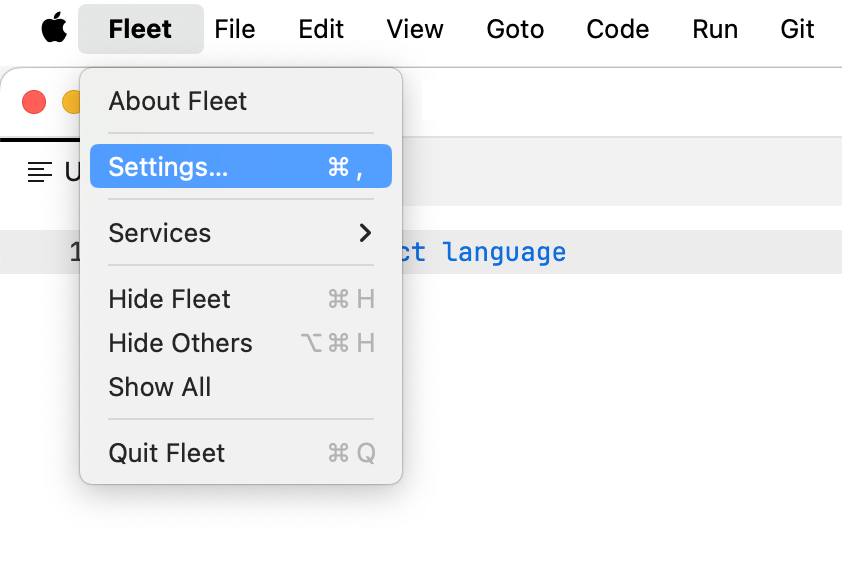
macOS: from the main menu, click Fleet | Settings.
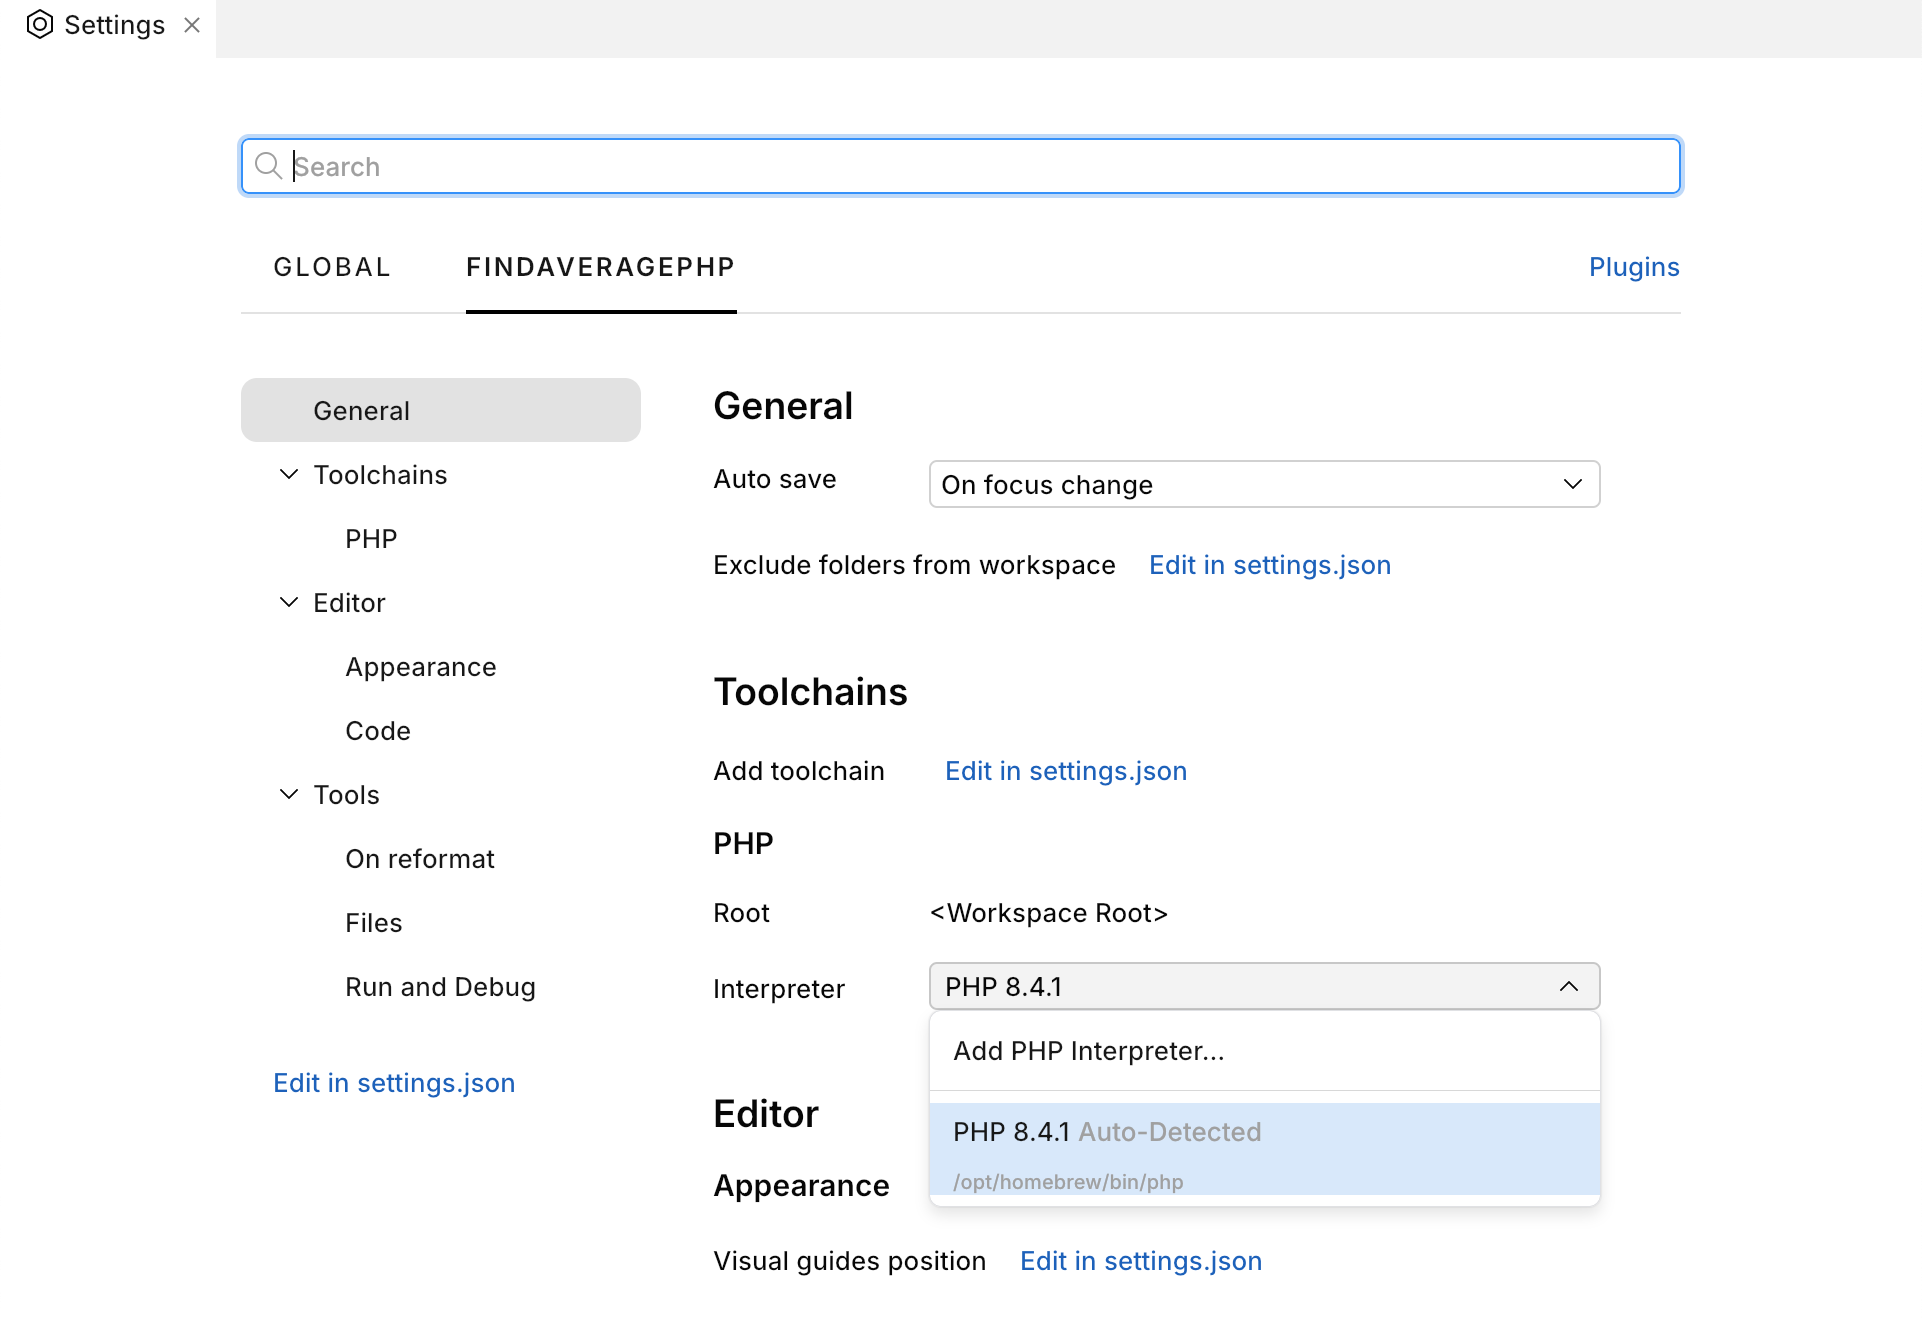
Navigate to Toolchains | PHP.
From the Interpreter drop-down menu, select the PHP interpreter that you need.
There are two options available to set the PHP language level for Fleet:
Set the required PHP language level in your
composer.jsonfile. Fleet will automatically adjust language level inspections based on this setting. Add the following entry under therequiresection:{ "require": { "php": "^8.3" } }Create a
/.fleet/settings.jsonfile in your project and manually specify the PHP language level by adding the following setting:{ "php.language.level": "8.3" }
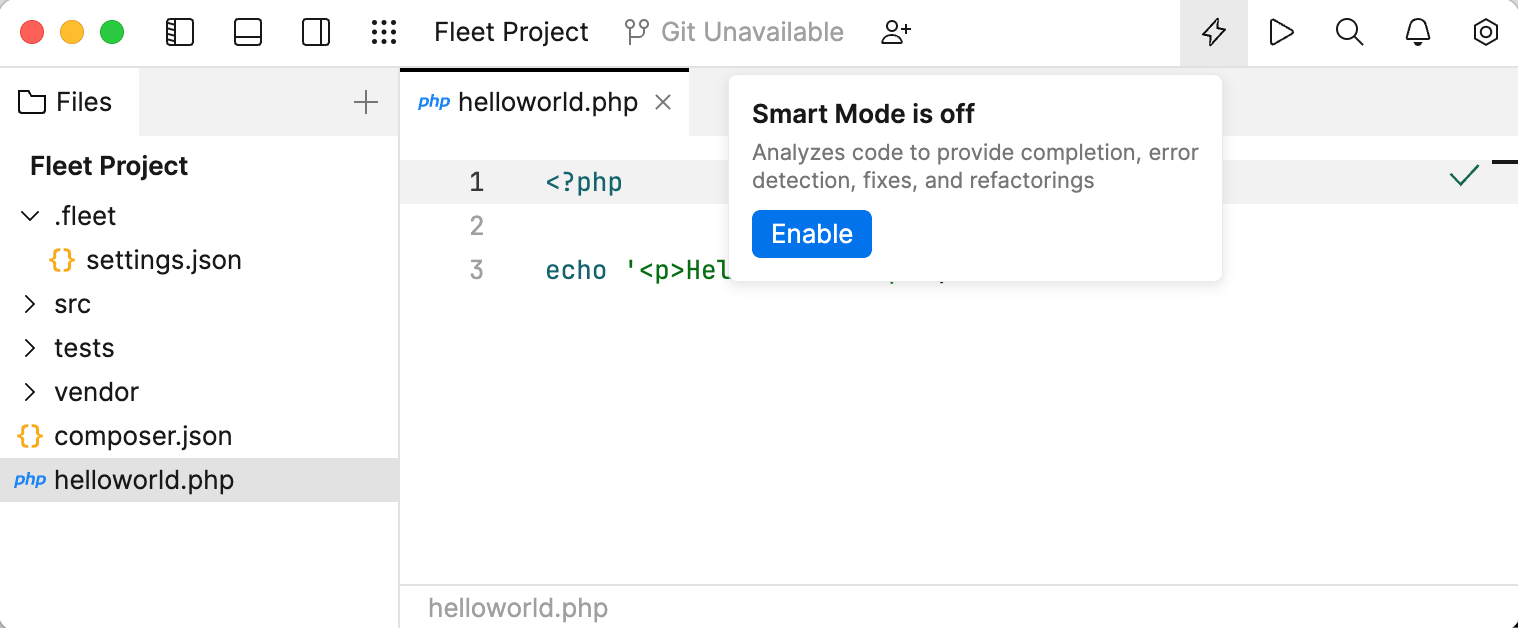
You can use JetBrains Fleet as a smart text editor, rather than a full-fledged code editor. However, if you need code intelligence features, you can enable them by turning Smart Mode on.
Click the Smart Mode Status icon in the top-right corner. In the popup that appears, click Enable.
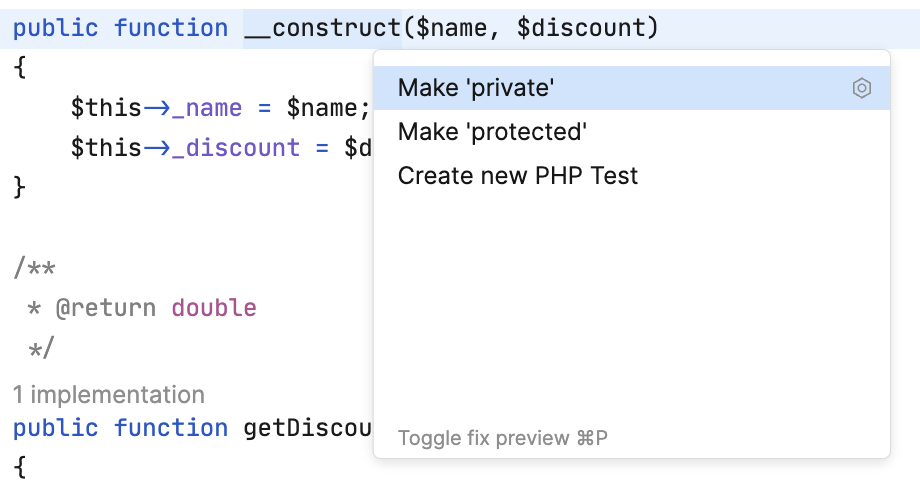
Here's what you can do in Smart Mode. The below is not an exhaustive list of Smart Mode features, rather a couple of examples that'll help you to get the feel of how it works in Fleet.
Press to access actions that Fleet suggests in the current context.
Navigate to the declaration of a symbol with .
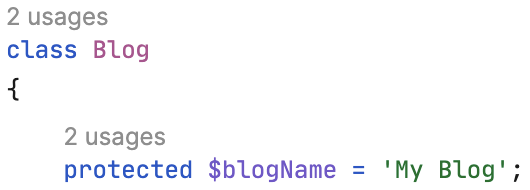
Use code interlines to navigate to usages and hierarchy members.
Skim over the errors with and .
To generate a
forloop, typeforekand press . Press as you fill in the necessary variables.
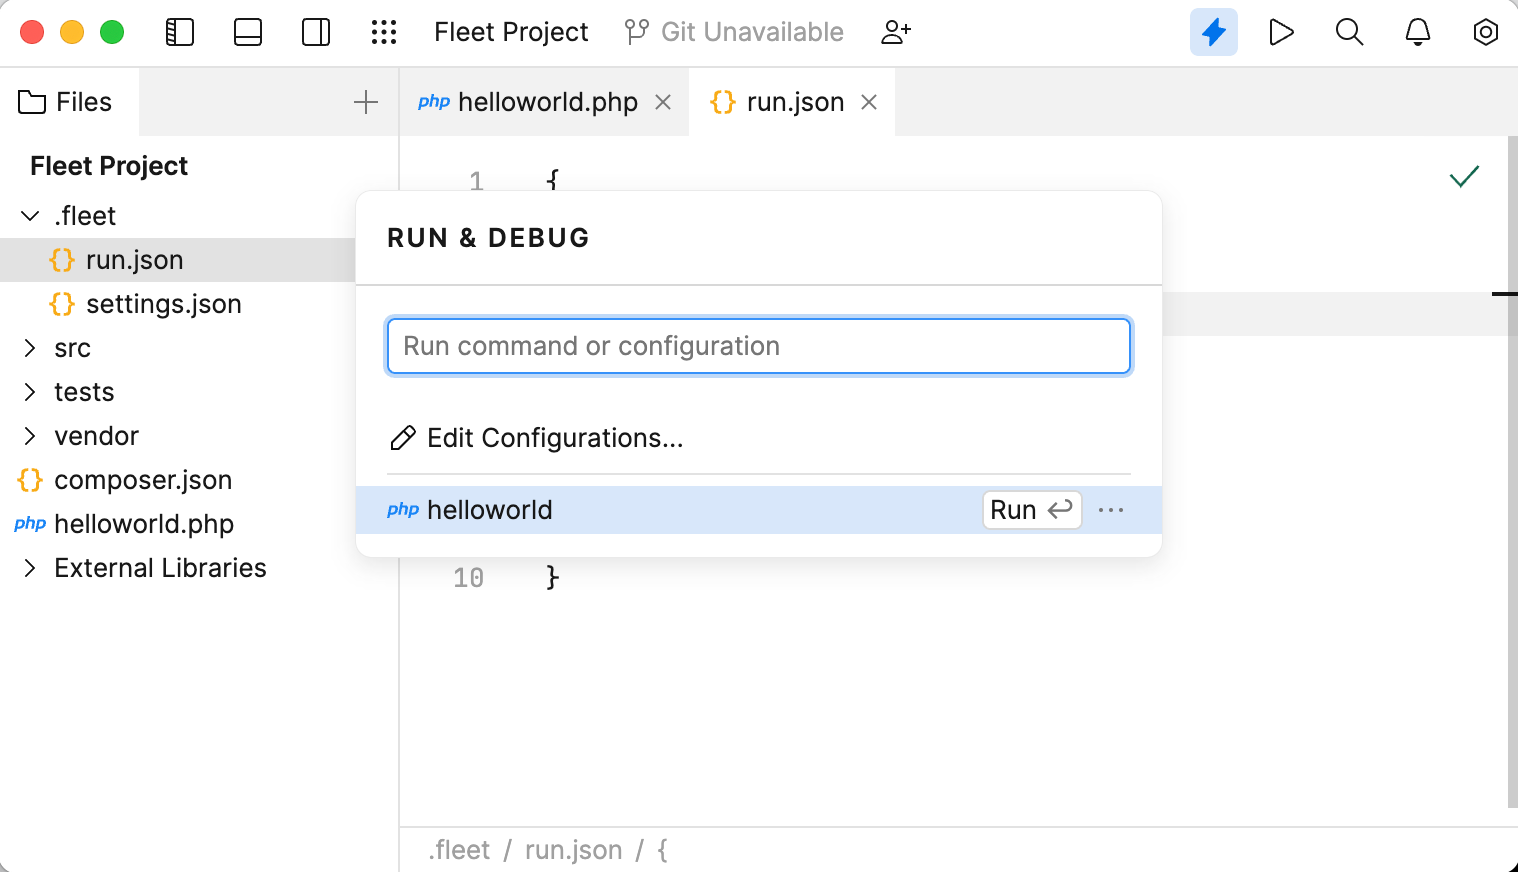
Click the Run icon () and select Create Run Configurations in run.json.
In the run.json file that opens, define running or debugging parameters. If the file is empty, press or click the file template link.
Alternatively, paste and edit the following code:
{
    "configurations": [
        {
            "type": "php",
            "name": "run-config-name",
            "file": "relative-path-to-your-php-file"
        }
    ]
}
For the full list of available properties, see the PHP run configurations reference.
Click the Run icon () and select the configuration.
