Workspace
JetBrains Fleet uses the concept of Workspace to define the scope of the code you are working on. In practical terms, a workspace is a folder, either on a local or remote system, that contains the files you need for development.
Press Ctrl0O or select File | Open from the main menu.
Select the folder and click Open.
Another way to create a workspace is to clone a repository from VCS. The repository opens in a separate window.
From the Workspaces menu, select Clone from Git.
In Source URL and Location fields, specify the repository URL and the desired
git-clone
location.Click Clone.
When you open a workspace, you can view the hierarchy of files that belong to it in the Files tree.
![The Files view in the left panel The Files view in the left panel](https://resources.jetbrains.com/help/img/fleet/1.45/files-tree.png)
If you need to work with multiple locations, you can attach additional folders to the open workspace.
Press CtrlShift0K and start typing
Add Folder
. Select Add Folder.Select a folder. The selected folder gets attached alongside the existing one.
Click the workspace name and select Rename Workspace. Type a new name and press Enter.
Press CtrlShift0K and start typing
Rename Workspace
. Select Rename Workspace. Type a new name and press Enter.
This functionality relies on the AI Assistant plugin that requires an additional license.
For more information about licensing and enabling AI Assistant, refer to JetBrains AI Service licensing and Enable AI Assistant.
JetBrains Fleet provides a feature that allows users to generate a workspace using AI. This functionality streamlines the initial setup process by creating the necessary structure and providing example code tailored to the desired template.
Launch JetBrains Fleet.
On the welcome screen, click the Create with AI button.
When you click this button, JetBrains Fleet opens the AI Assistant view.
In the AI Assistant view, type the prompt and specify what kind of a template you want to generate.
The AI will use this information to build the project structure and insert example code into the generated files.
Click the Create Workspace button and select an empty directory on your hard drive where the workspace will be saved. Ensure that the directory is empty.
With the workspace set up, you can begin developing your project. Use the example code as a starting point and customize it as needed.
In addition to user settings, which apply globally to all files, you can specify settings for a particular workspace. These settings will only apply to files in this folder, and will be shared among all the users of the workspace.
note
Workspace settings take precedence over user settings. For this reason, it is recommended to only use them for configuration that is suitable for all users of the workspace. For example, font size or line spacing might be a matter of personal preference and should not be shared through workspace settings.
Open the workspace, whose settings you want to edit.
Press Ctrl0, to open settings.
Alternatively, to open settings, you can use the main menu:
Windows and Linux: click the Menu icon and navigate to File | Settings | Settings.
macOS: from the main menu, click Fleet | Settings.
Click the tab with the name of your workspace.
In the workspace settings menu, select Show settings.json.
Alternatively, open the .fleet folder in the workspace, whose settings you want to edit. If no settings have been defined for the workspace, and the .fleet folder does not exist, create the folder and the settings.json file in it.
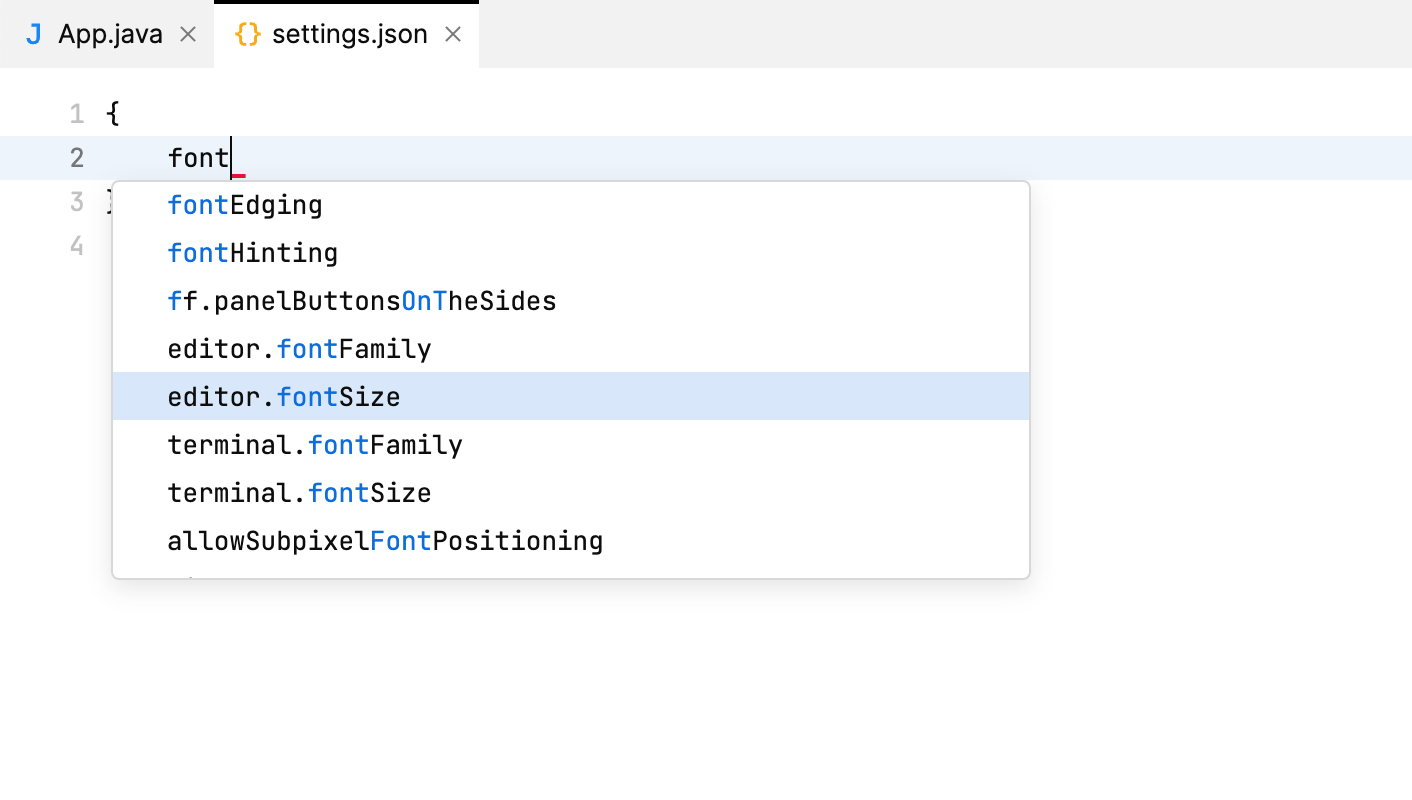
Fill in settings.json with the required settings using JSON syntax.
For available settings and their descriptions, refer to Settings reference.
Giftip
If you don't know the name of the setting, type a quotation mark and try some related words to see if the required setting appears on the suggestion list.
Changes are applied immediately when you save the file.
Workspaces support nested settings in their subfolders. You can use them to achieve any level of granular control when you need custom settings for subfolders.
![settings.json in a workspace subdirectory settings.json in a workspace subdirectory](https://resources.jetbrains.com/help/img/fleet/1.45/settings-nested.png)
To achieve the necessary granularity, create .fleet/settings.json in a subfolder. When you are working with files inside the subfolder, these settings will override the more general workspace settings.
You can change the default directory locations for JetBrains Fleet. Specifically, you can set new paths for your configuration, caches, and plugins.
Windows | %APPDATA% |
Linux | ~ |
macOS | ~ |
Windows | %LOCALAPPDATA% |
Linux | ~ |
macOS | ~ |
WS Server | <config_path>/pluginStorage |
Frontend | <config_path>/plugins |
Locate the fleet.properties file. The default locations of the file are:
Home directory: ~/fleet.properties
Default caches directory: <caches_dir>/fleet.properties. Value of <caches_dir> depends on your operating system. For more information, refer to Caches Directory.
Open fleet.properties in an editor and add the following properties to the file:
fleet.config.path=<your_custom_path>: sets a path to the configuration directory.
fleet.caches.path=<your_custom_path>: sets a path to the caches directory.
fleet.log.path=<your_custom_path>: sets a path to the logging directory.
note
In PROPERTIES files, if you want your value to include a backslash (
\
), it should be escaped by another backslash (\
). For example,F:\\Fleet\\config
.
Press to open settings.json. A separate editor tab opens. In the opened tab, specify the required settings using JSON syntax.
Add the following property to settings.json.
"internalMode": true
Press CtrlShift0K and type
Open FleetCfg
.In the Fleet.cfg file, add the following properties:
java-options=-Dfleet.config.path=<custom_path>
: a property that sets a path to the configuration directory.java-options=-Dfleet.caches.path=<custom_path>
: a property that sets a path to the caches directory.java-options=-Dfleet.log.path=<custom_path>
: a property that sets a path to the logging directory.
Restart JetBrains Fleet.
note
Properties in Fleet.cfg are processed first. If the same property is specified in the fleet.properties file, the property from Fleet.cfg will be overridden.
note
In PROPERTIES files, if you want your value to include a backslash (
\
), it should be escaped by another backslash (\
). For example,F:\\Fleet\\config
.
To set the location of the fleet.properties file, follow the procedure for your operating system:
Press Win + R, type cmd
, and press Enter.
Type set FLEET_PROPERTIES_FILE=C:\path\to\your\file
and press Enter. This will set the variable for the current session only.
To set the environment variable permanently, consider adding it in the System Properties window.
note
In PROPERTIES files, if you want your value to include a backslash (
\
), it should be escaped by another backslash (\
). For example,F:\\Fleet\\config
.
![System Properties System Properties](https://resources.jetbrains.com/help/img/fleet/1.45/fleet_windows_fleet_properties_file.png)
Search for the Terminal application in the Utilities folder within your Applications folder, or use Spotlight to search for it.
Type export FLEET_PROPERTIES_FILE=/path/to/your/file
and press Enter. This will set the variable for the current terminal session only.
To set the environment variable permanently, consider adding export FLEET_PROPERTIES_FILE=/path/to/your/file
to .bashrc for bash or .zshrc for zsh.
![System Properties System Properties](https://resources.jetbrains.com/help/img/fleet/1.45/fleet_macos_fleet_properties_file.png)
Search for Terminal
in your application menu or by using a keyboard shortcut, often it is Ctrl+Alt+T.
Type export FLEET_PROPERTIES_FILE=/path/to/your/file
and press Enter. This will set the FLEET_PROPERTIES_FILE variable for the current session only.
To set the environment variable permanently, consider adding export FLEET_PROPERTIES_FILE=/path/to/your/file
to .bashrc, .bash_profile, or .profile files.
![Linux FLEET_PROPERTIES_FILE Linux FLEET_PROPERTIES_FILE](https://resources.jetbrains.com/help/img/fleet/1.45/fleet_linux_fleet_properties_file.png)
Thanks for your feedback!