Configuring folders within a content root
Within a content root, GoLand can distinguish between Resource Root and Excluded folders.
Resource roots
are intended for resource files in your application (images, Style Sheets, and so on). By assigning a folder to this category, you tell GoLand that files in it and in its subfolders can be referenced relative to this folder instead of specifying full paths to them.
Excluded
contain files and folders ignored by GoLand when indexing, searching, parsing, watching, and so on.
Files in the folder that is marked as resource root can be referenced relative to this folder. Excluded folders are not involved in indexing and therefore they are ignored while searching, parsing, watching, and other operations.
You can assign a folder to a category in two different ways:
In settings (), under the Project Structure menu item.
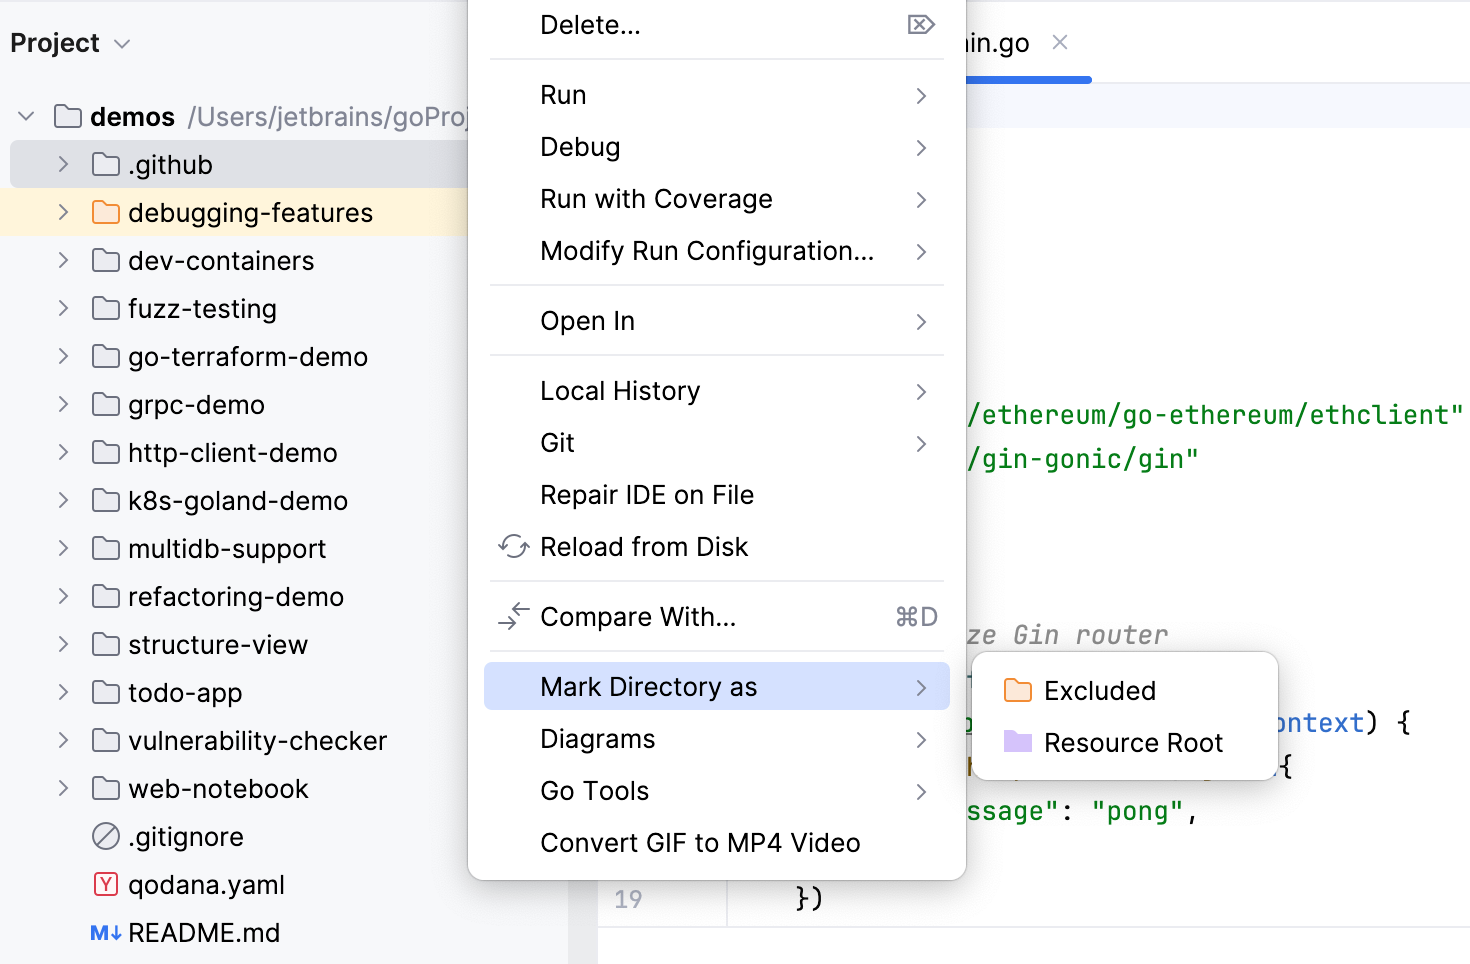
In the Project tool window, by using the context menu of a folder.
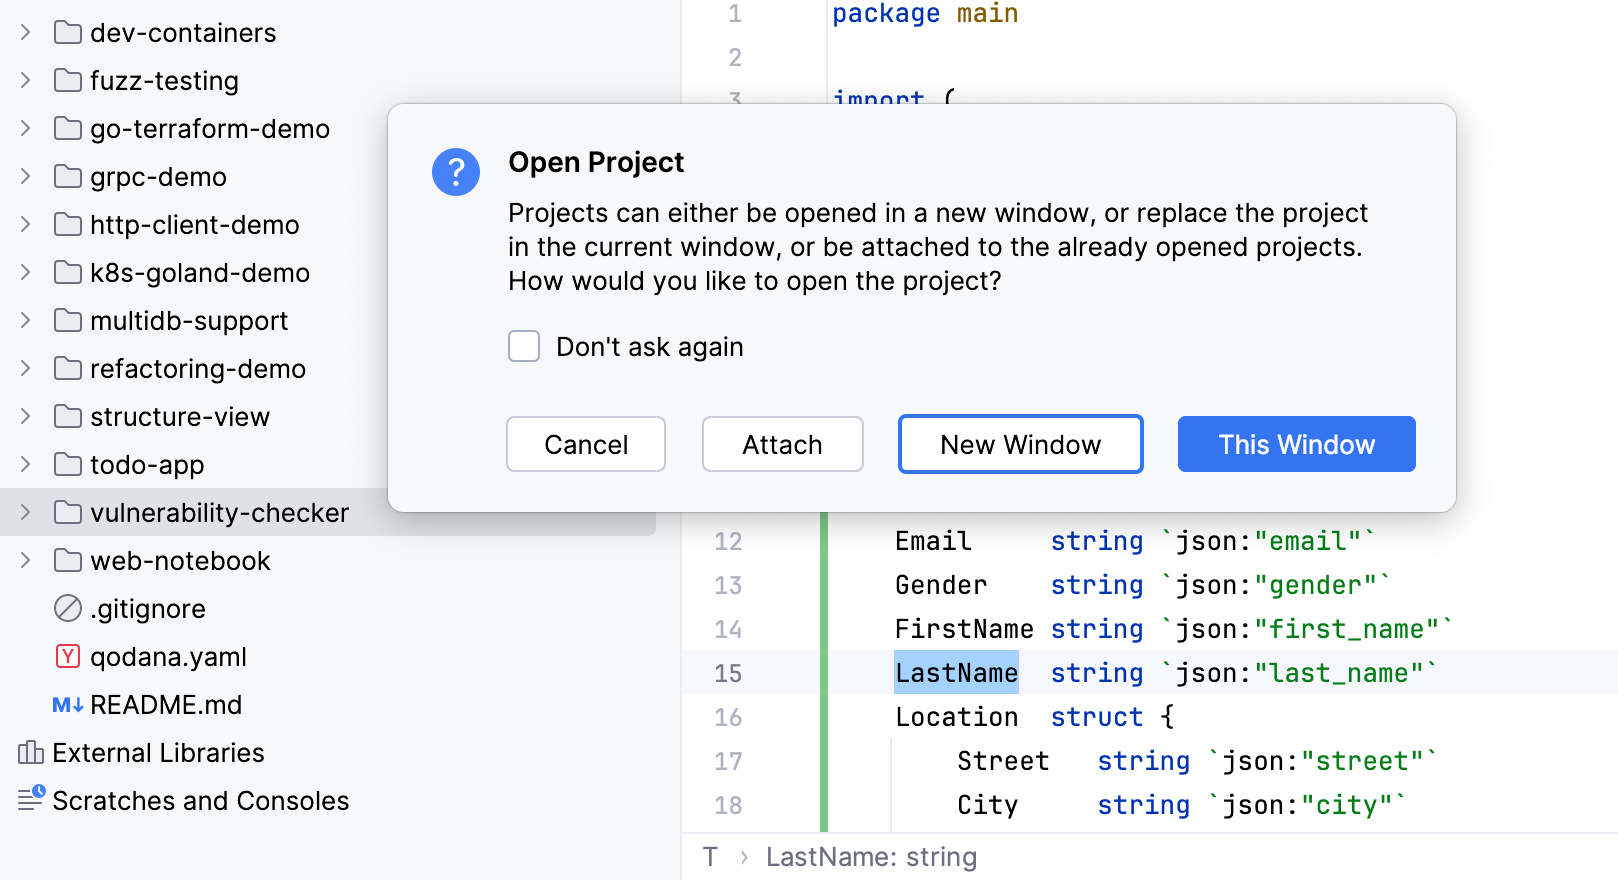
Click File | Open.
In the file browser, navigate to the directory that you want to attach.
Click Open.
In the Open Project dialog, click Attach.

Right-click a directory that you want to detach and select Remove from Project View.
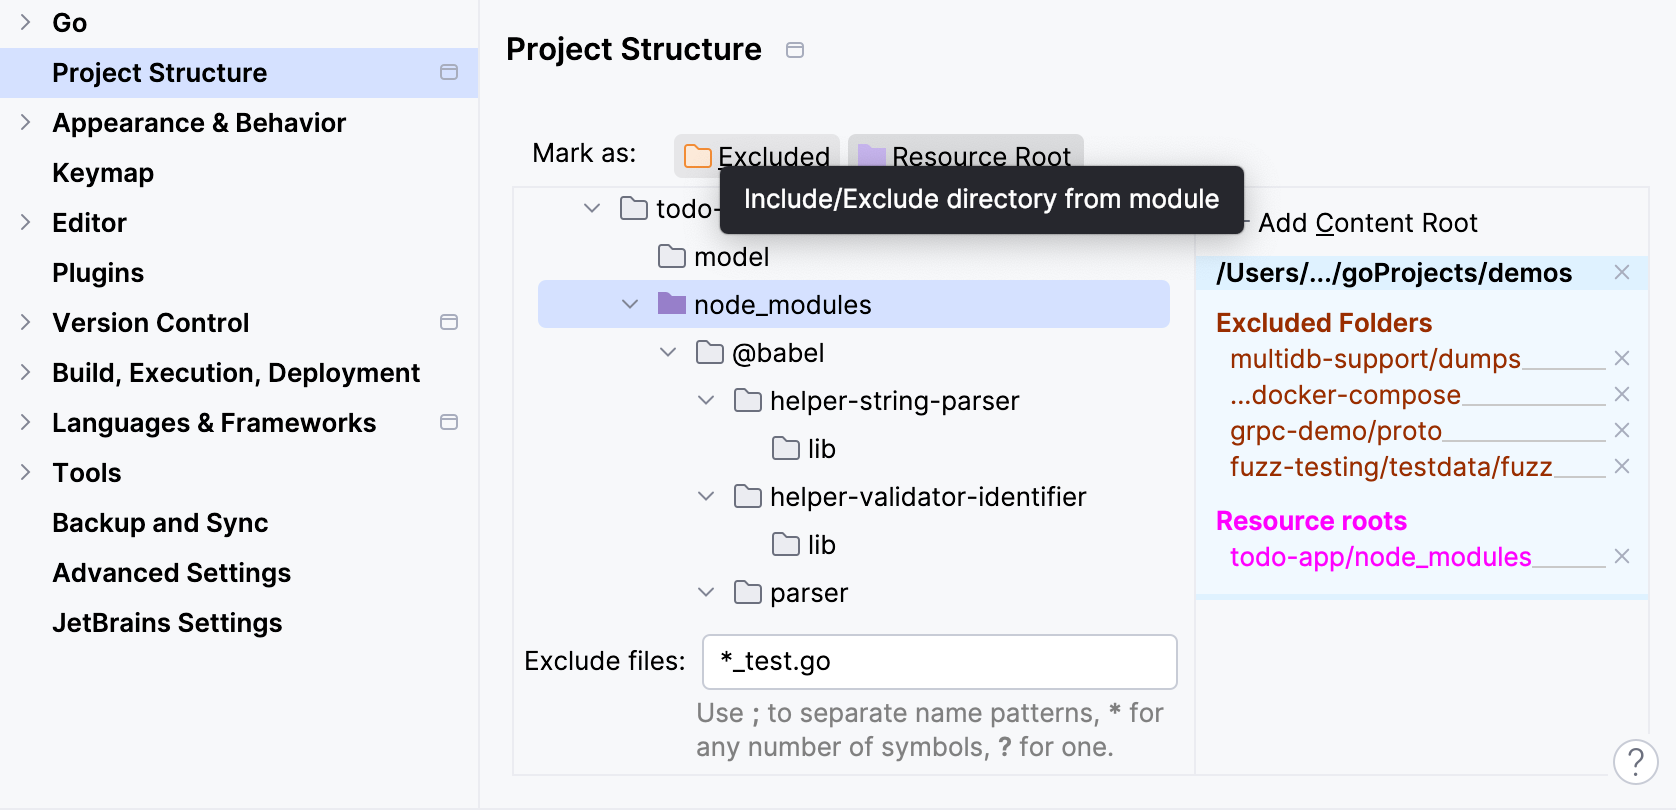
In the Settings dialog () , select Project Structure.
On the Project Structure page, click the desired content root. Directories under this content root are displayed as a tree view in the right-hand pane.
Select the directory and use its context menu or the Mark as toolbar to mark it as one of the following:
Excluded: GoLand ignores Excluded folders during indexing, parsing, code completion, and so on.
Resource Root: GoLand completes relative paths to resources under the Resource Root folder.

Right-click the desired directory in the Project tool window.
From the context menu, point to Mark Directory As node.
Choose Mark as <directory status>.

To reset a folder to its regular status, you need to unmark it.
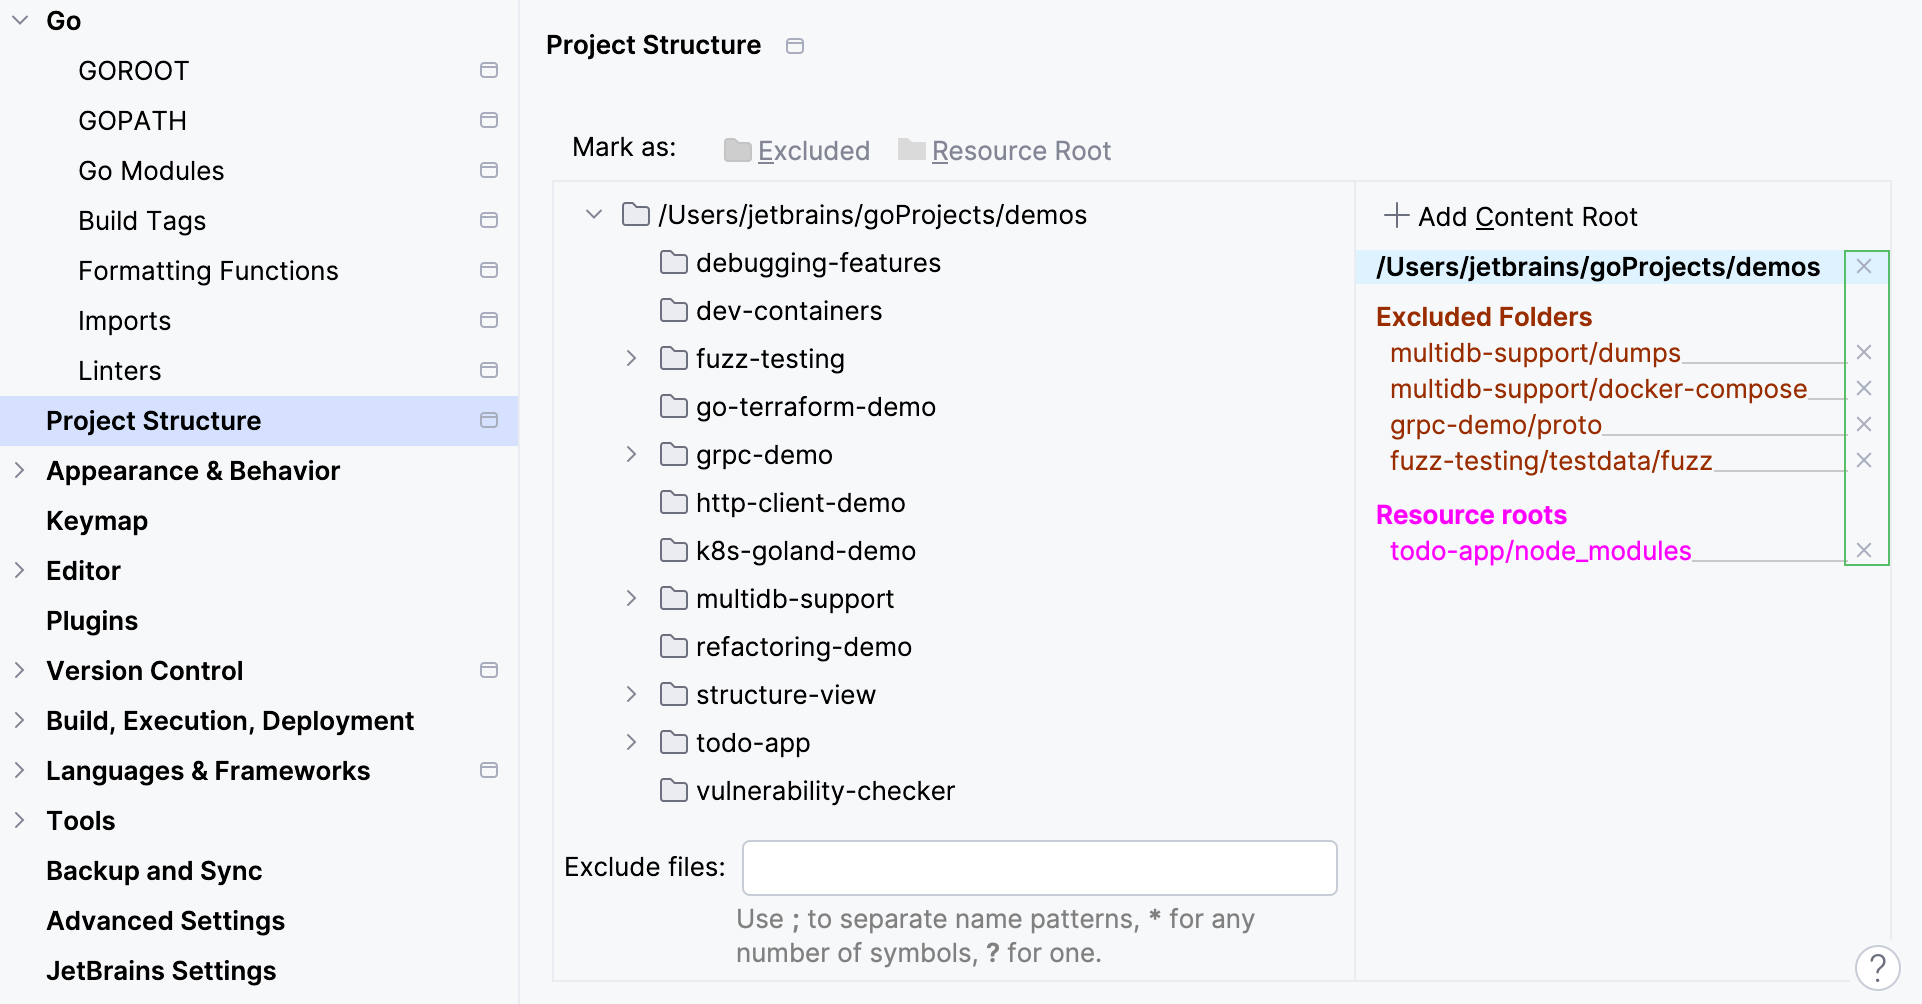
Open settings () and click Project Structure.
Select the directory in the list of folders under the content root, and click the remove button
. Alternatively, you can right-click the folder in the Project tool window and navigate to Mark directory as | Cancel Exclusion.

Thanks for your feedback!