Private plugin repository
Last modified: 21 February 2025IDE Services comes with a plugin repository for IntelliJ-based plugins, streamlining the process of building and delivering plugins within your organization.
You can configure profiles and install plugins from the organization's private repository on developer machines automatically. Additionally, developers can manually install plugins from the private repository.
The same plugin from the private repository can be distributed through several channels. These include the default Stable channel and custom channels, which you can use for different purposes within your organization.
By default, IDE Services uses the IntelliJ plugin repository and automatically distributes the configuration to all IDEs. IDE Services offers several ways to upload a new plugin:
Upload manually using the Web UI
Upload via HTTP (for example, using cURL or similar HTTP-based methods)
Upload from Gradle via IntelliJ Plugin SDK
warning
Currently, you can only upload plugins as ZIP-packages.
Upload plugins
Upload plugins manually
In the Web UI, open the Plugins page.
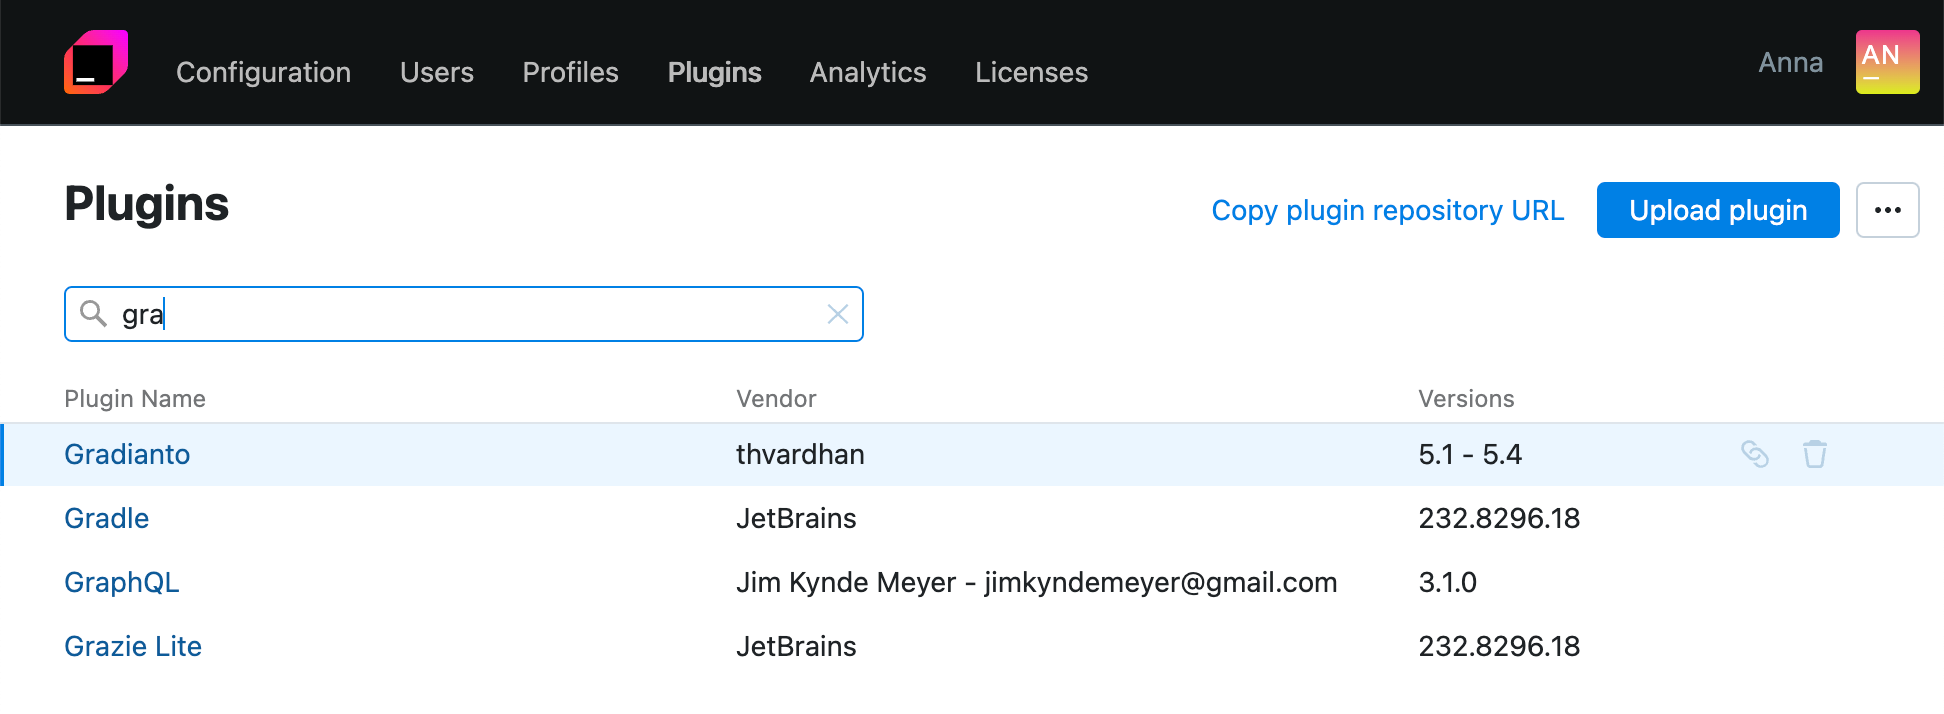
Click Upload plugin.
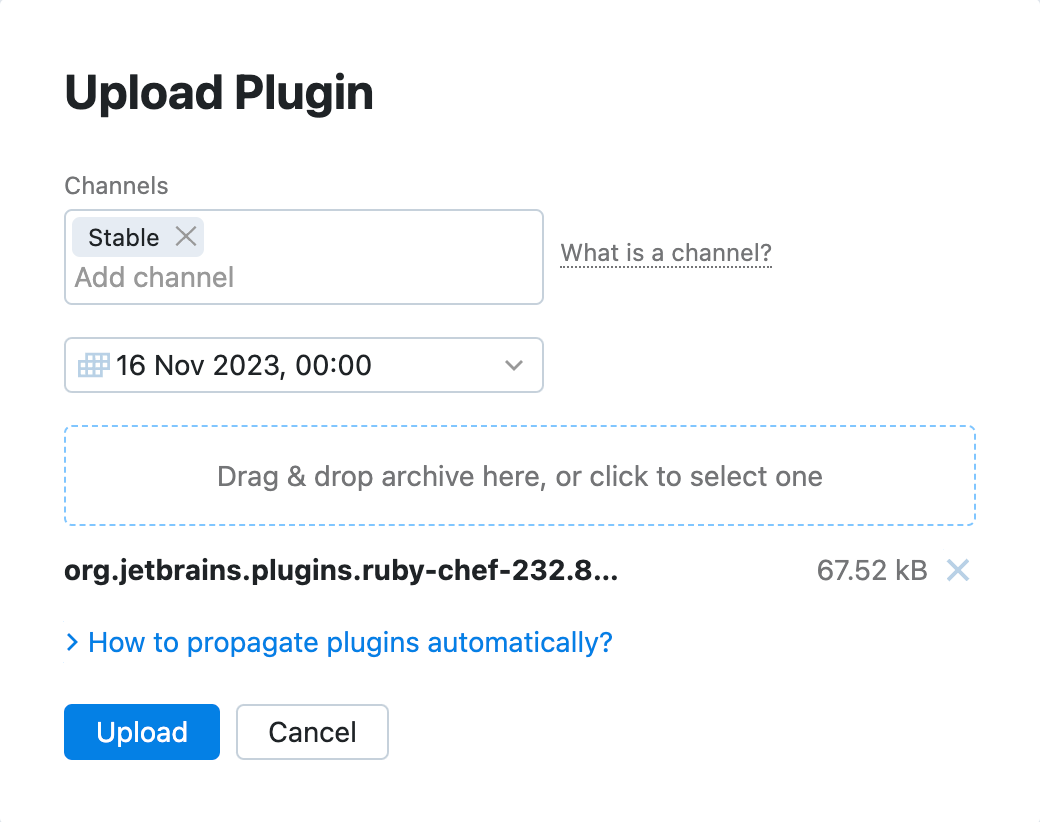
If necessary, select plugin channels in the Channel field.
(Optional) Configure the expiration date for the plugin versions you want to upload. After this date, IDE Services will remove these plugin versions from the repository.
note
If you upload multiple plugin versions at once, the specified expiration date will be applied to all of them.
Drag one or several .zip files with the plugins you want to upload to the dedicated area. Alternatively, click the drag and drop area to select plugins in your file system.
Automate plugin distribution
To set up continuous delivery of plugins in IDE Services:
Create a new automation token to upload plugins.
Configure a CI tool of your choice to upload fresh plugin binaries to the IDE Services Server.
Configure auto-installed plugins to install plugins automatically on every developer machine.
tip
Plugin repository authentication is only supported in IntelliJ-based IDEs of version 2022.1 and later.
Publish a plugin via cURL
Use the following cURL command to upload a plugin to the IDE Services Server:
curl -i \
    -H 'Authorization: Automation <permanentToken>' \
    -F file=@<path to the .zip file with the plugin> \
    -F channel=Stable \
    https://HOST_NAME/api/plugins
Publish a plugin via Gradle intelliJ Plugin
Use the Gradle IntelliJ Plugin to upload custom plugins to the IDE Services Server.
note
The minimum required plugin version is 1.5.0.
In your build.gradle.kts file, configure the publishPlugin task:
plugins {
    id("org.jetbrains.intellij") version "1.16.0"
}
tasks {
    publishPlugin {
        toolboxEnterprise.set(true)
        host.set("https://HOST_NAME")
        token.set(<permanentToken>) // An automation token that enables you to perform HTTP requests
    to the IDE Services API.
        channels.set(listOf("CHANNEL_NAME")) // If no value is provided, the default 'Stable' channel is used.
    }
}
Manage plugins
Search for plugins
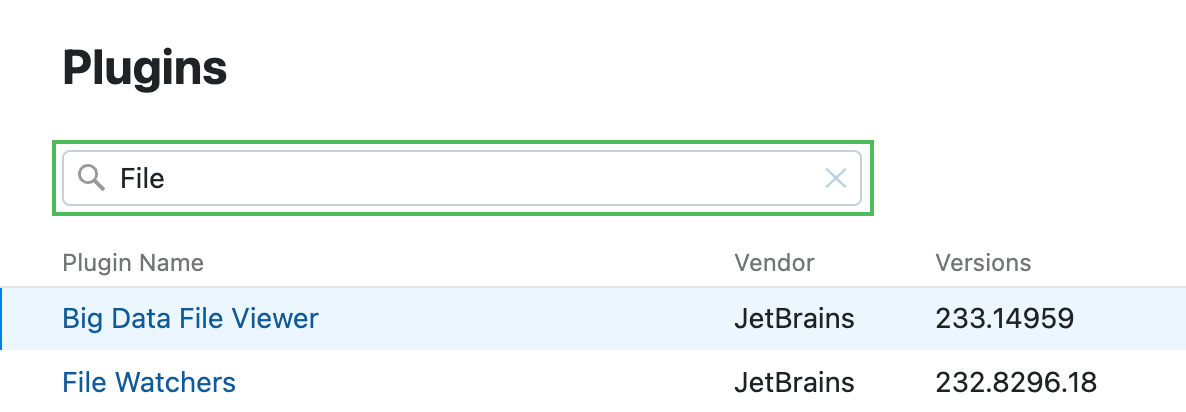
On the Plugins page, use the search field to find the necessary plugin by its name or vendor name.
Configure plugin details
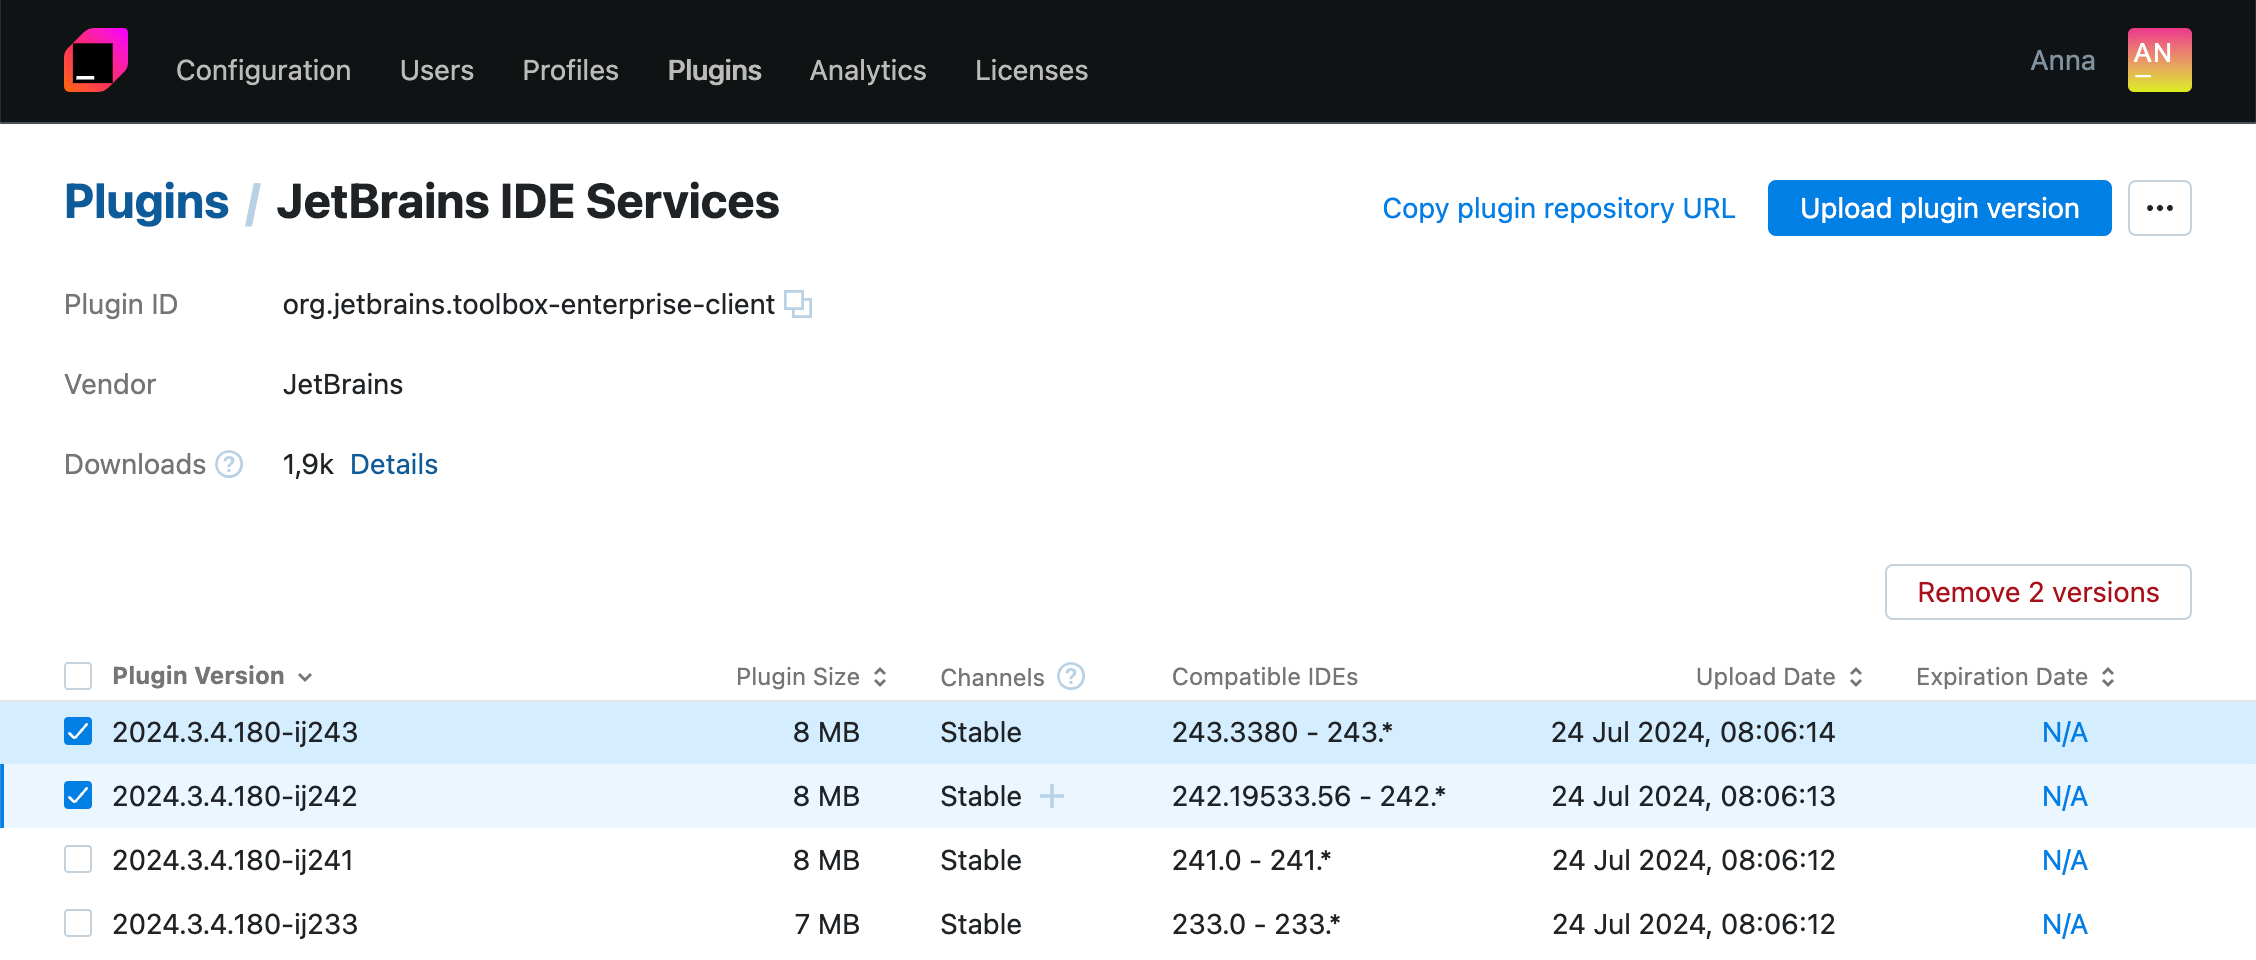
To configure an existing plugin, click its name in the table.
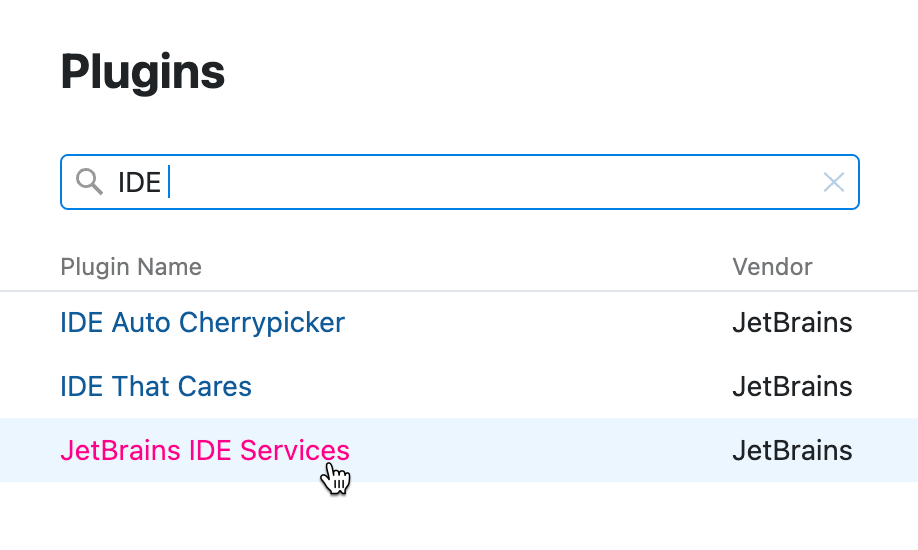
IDE Services will open a page with plugin details.
Manage plugin versions
You can upload and distribute multiple versions of the same plugin. To manage plugin versions, click the link with the plugin name to open the page with plugin details.
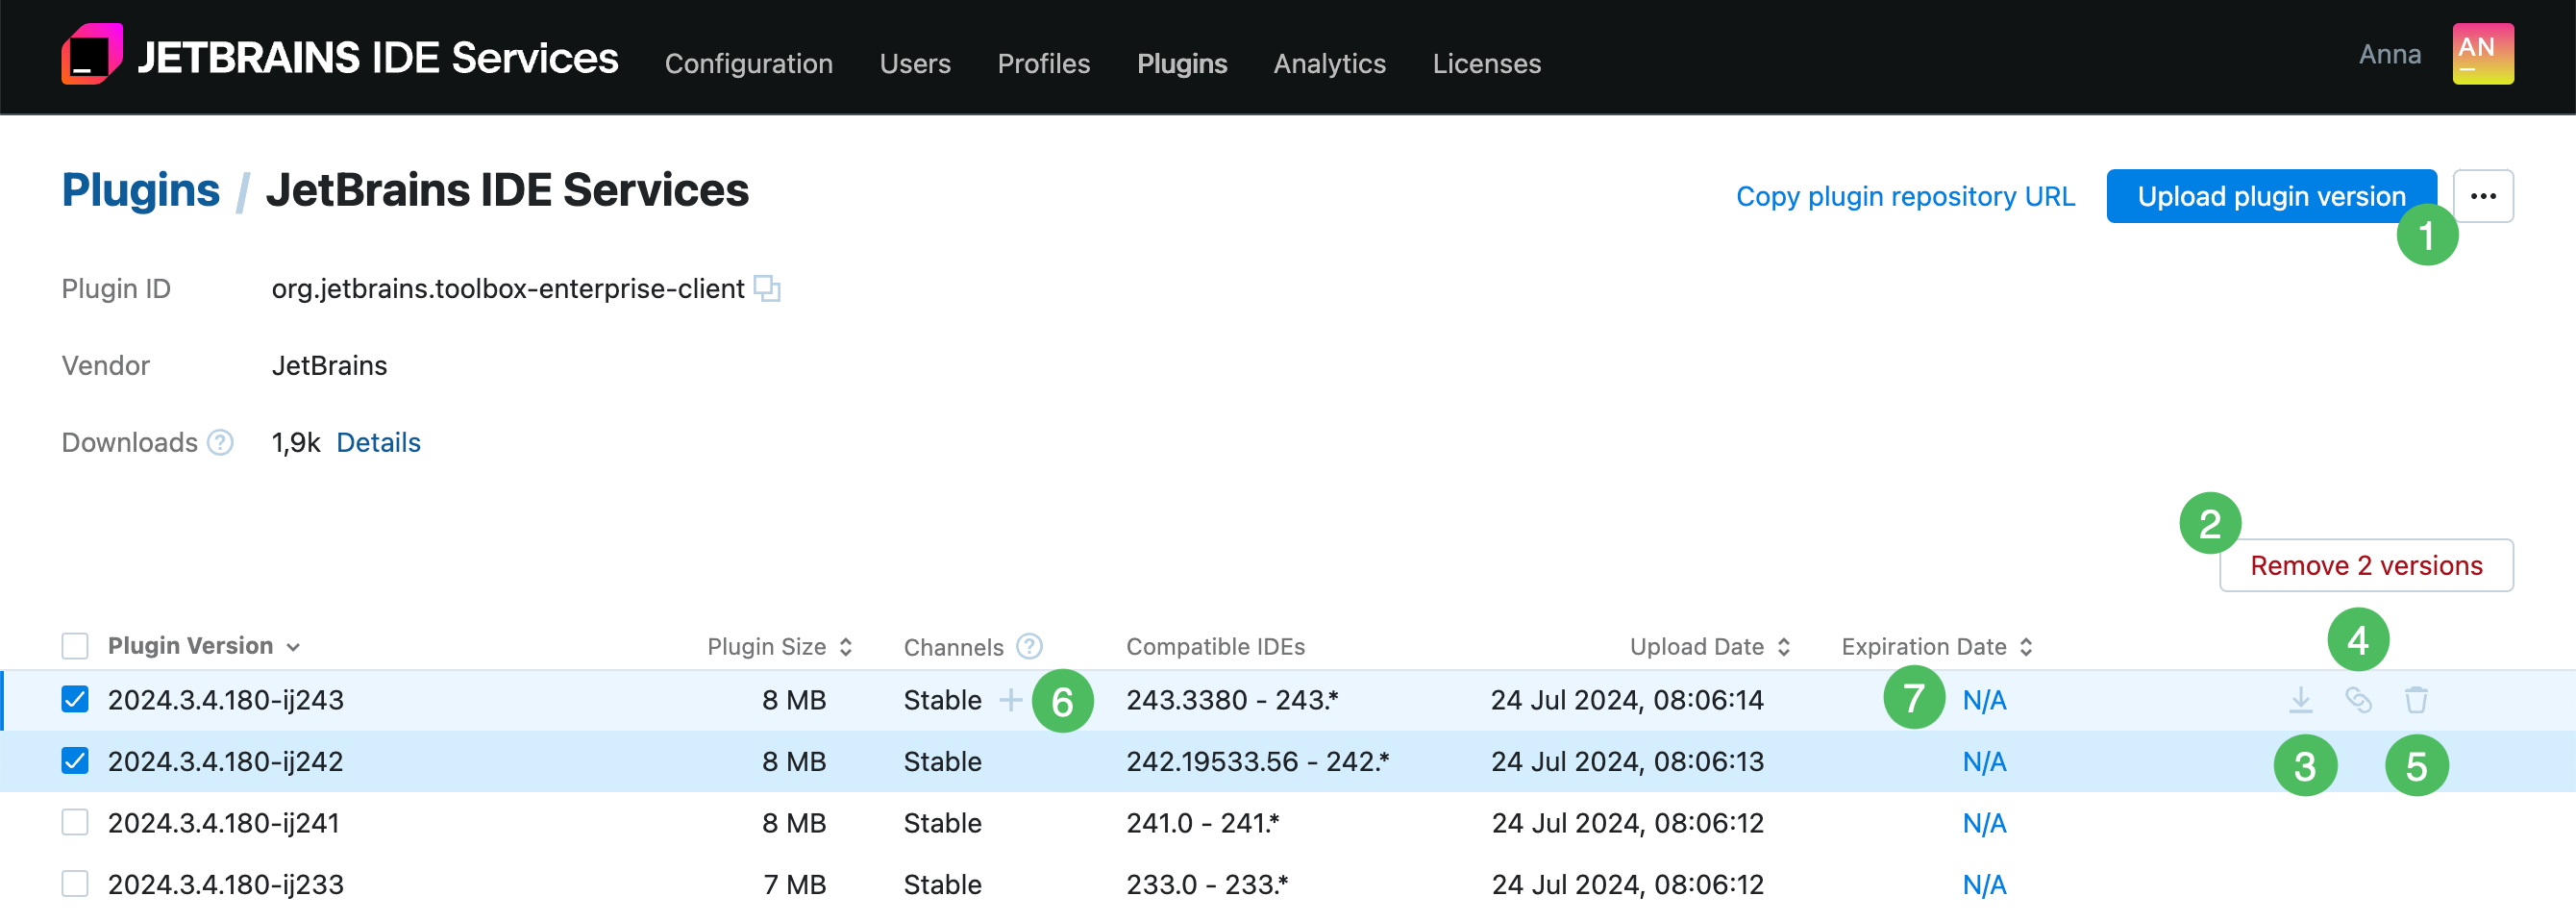
Use the Upload new plugin version button to upload another plugin version. This functionality works the same way as described in Upload plugins.
Select one or multiple plugin versions using checkboxes and click Remove N versions to delete them.
Use the
icon to download a particular plugin version.
Use the link icon to copy the plugin installation link.
Use the
icon to remove a particular plugin version.
Use the
icon in the Channels column to add a plugin version to a particular channel.
Use links in the Expiration date column to configure the expiration date for a particular plugin version.
tip
To learn how to manage channels in IDEs, check out the changing plugin channel section.
Launch the consistency check
IDE Services originally hosts plugins in the S3 storage. To provide a smoother experience, some indexes have to be present in the PostgreSQL database. If you notice any inconsistency in the private plugin repository, try synchronizing these two types of storage. To launch the consistency check, click and select the Synchronize plugins option.
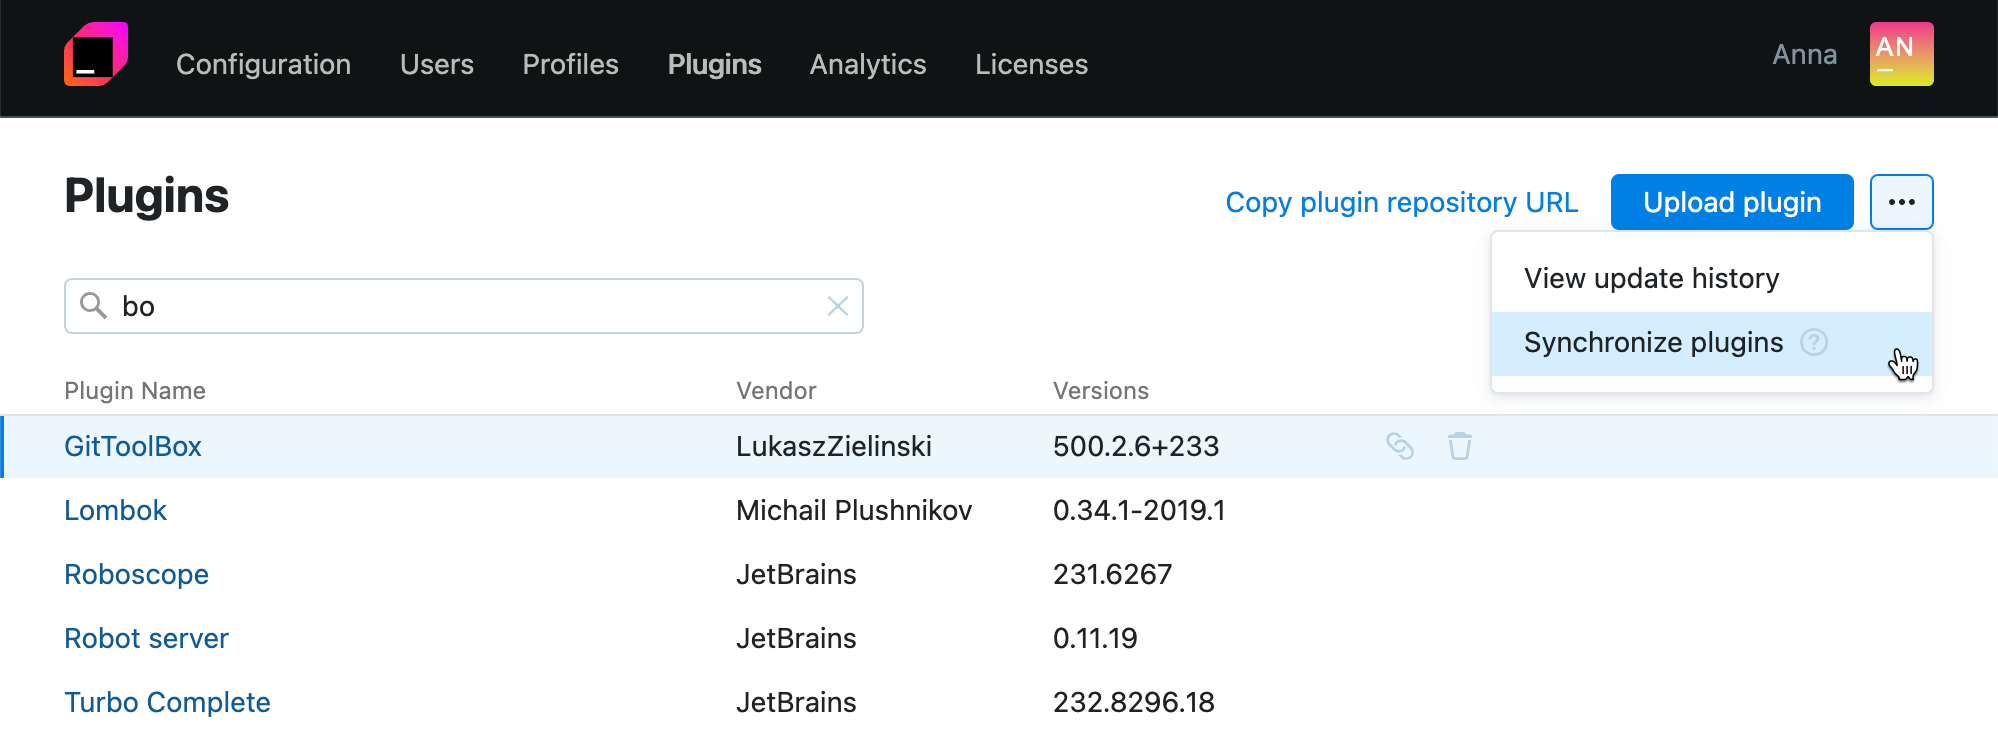
The action runs in a non-blocking manner. Therefore, the results will not be available instantly. You can check the action progress in the IDE Services logs.
View plugin update history
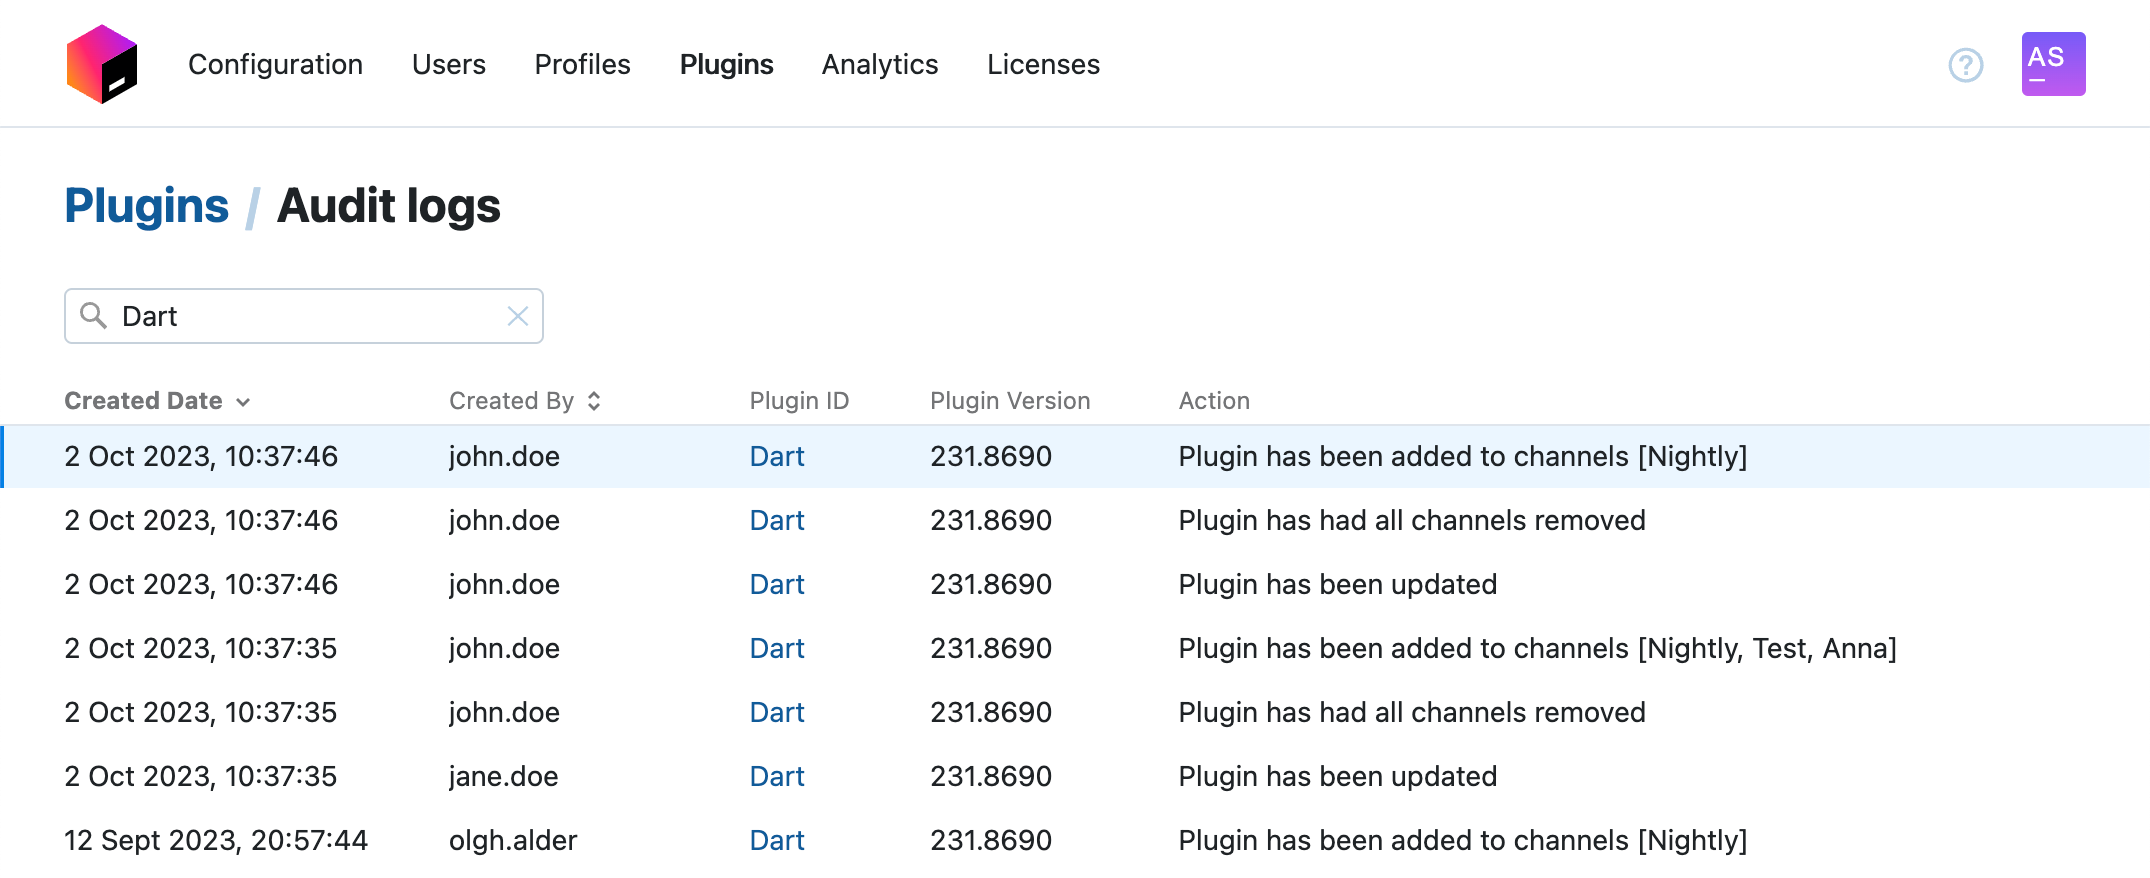
You can check all the changes made to the plugin repository from the Plugins page of the Web UI. This includes operations with channels, uploading of new plugins or plugin versions, and so on. To access the history of changes, click and select the View update history option.
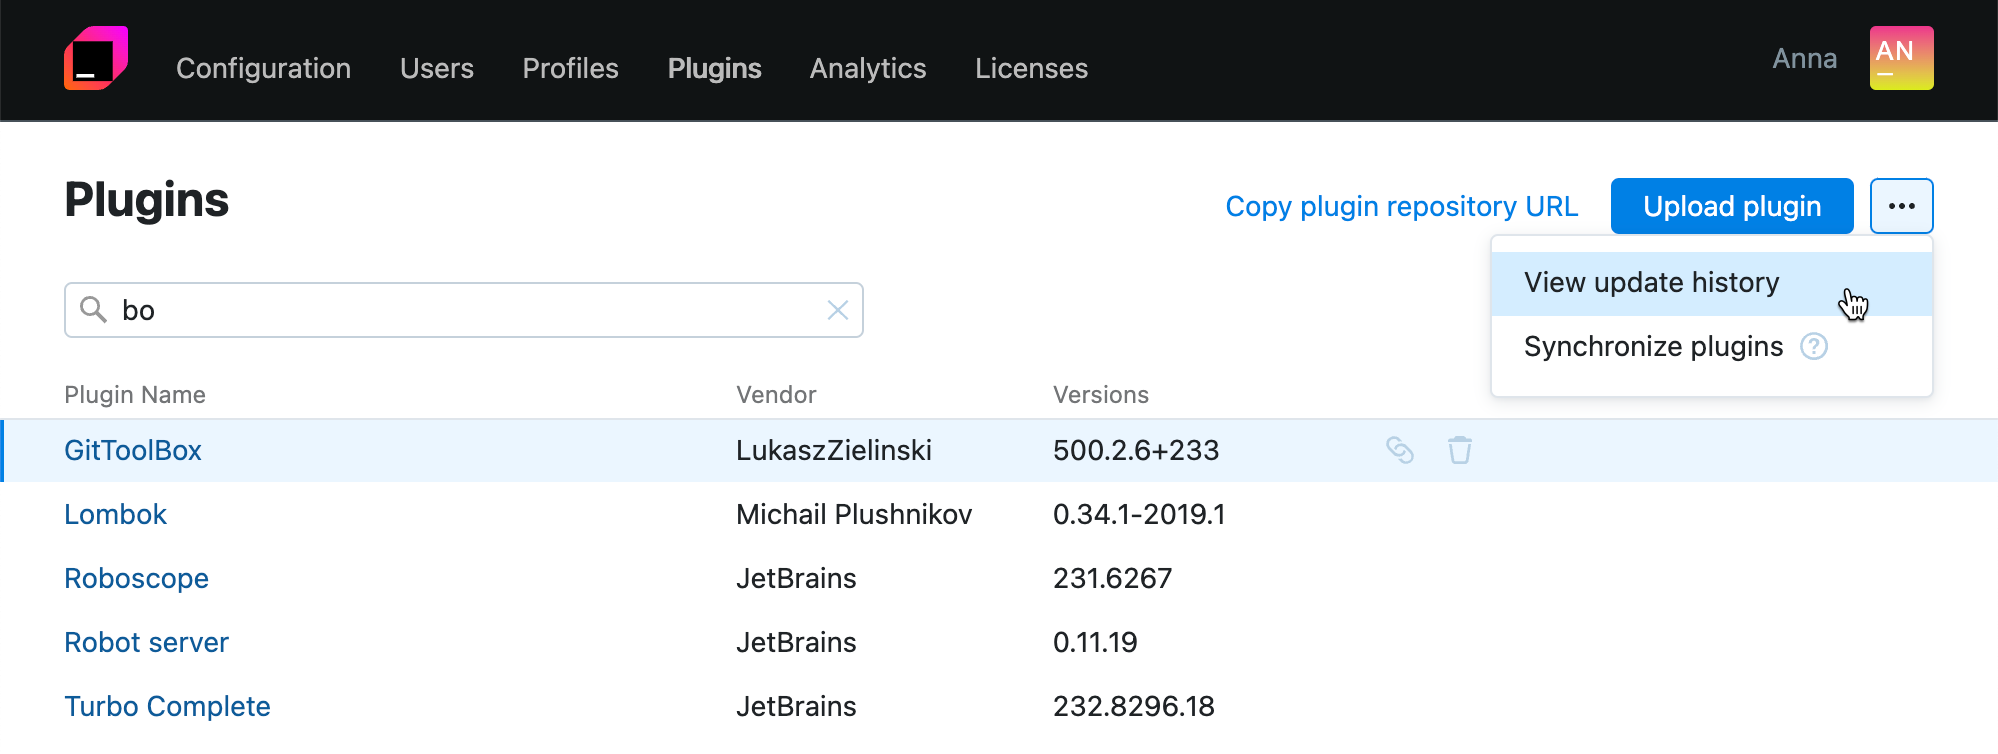
You can use the search field to filter the history and display only the changes made in a particular plugin.
