Get started with JUnit
In this tutorial, you will learn how to set up JUnit for your projects, create tests, and run them to see if your code is operating correctly. It contains just the basic steps to get you started.
If you want to know more about JUnit, refer to the official documentation. To learn more about testing features of IntelliJ IDEA, refer to other topics in this section.
You can choose to follow the tutorial using either Maven, Gradle, or the IntelliJ builder.
Create a project
In the main menu, go to .
In the New Project wizard, select Java from the list on the left.
Specify the name for the project, for example,
junit-tutorial, and select Maven as a build tool.From the JDK list, select the JDK that you want to use in your project.
If the JDK is installed on your computer, but not defined in the IDE, select Add JDK and specify the path to the JDK home directory.
If you don't have the necessary JDK on your computer, select Download JDK.
Click Create.
Add dependencies
For our project to use JUnit features, we need to add JUnit as a dependency.
Open pom.xml in the root directory of your project.
In pom.xml, press Alt+Insert and select Dependency.
In the dialog that opens, type
org.junit.jupiter:junit-jupiterin the search field.Locate the necessary dependency in the search results and click Add.
When the dependency is added to pom.xml, press Ctrl+Shift+O or click
in the Maven tool window to import the changes.
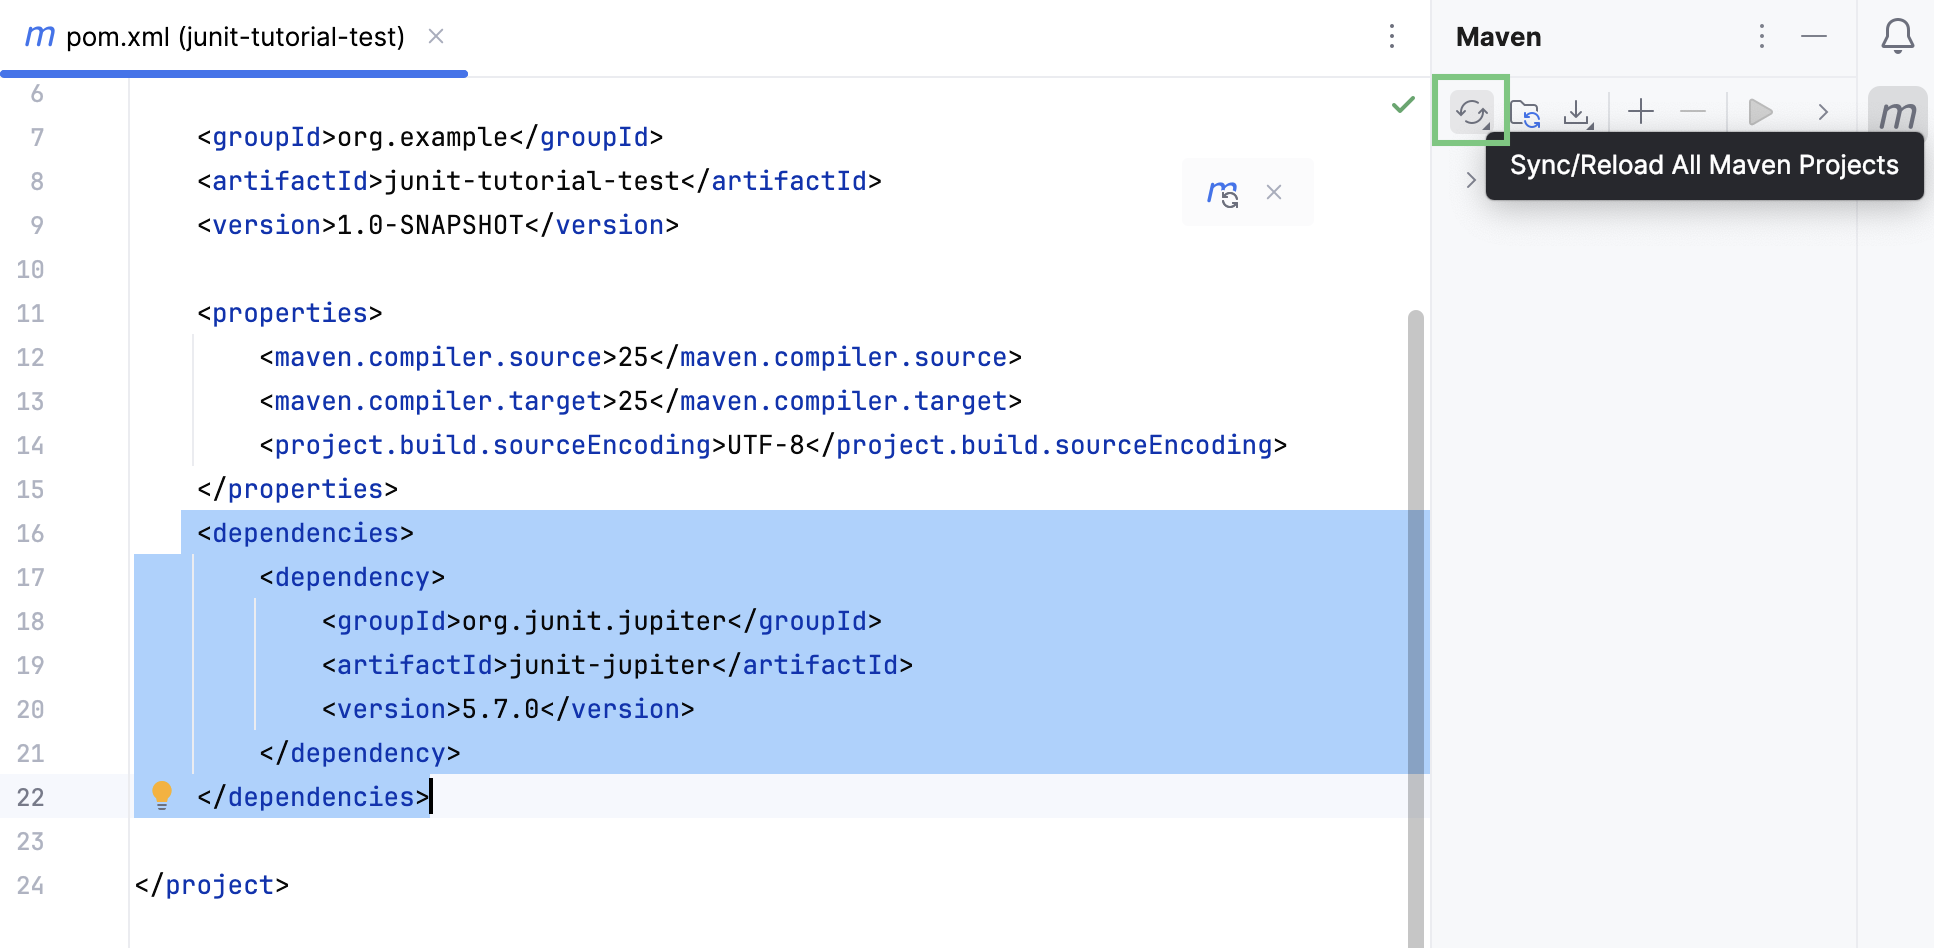
In the result of adding the dependency, your pom.xml file will look similar to this:
Write application code
Let's add some code that we'll be testing.
In the Project tool window Alt+1, right-click the src/main/java folder and select . Name the class
Calculator.java.Paste the following code in the file:
import java.util.stream.DoubleStream; public class Calculator { static double add(double... operands) { return DoubleStream.of(operands) .sum(); } static double multiply(double... operands) { return DoubleStream.of(operands) .reduce(1, (a, b) -> a * b); } }
Create a project
In the main menu, go to .
In the New Project wizard, select Java from the list on the left.
Specify the name for the project, for example,
junit-tutorial, and select Gradle as a build tool.From the JDK list, select the JDK that you want to use in your project.
If the JDK is installed on your computer, but not defined in the IDE, select Add JDK and specify the path to the JDK home directory.
If you don't have the necessary JDK on your computer, select Download JDK.
Click Create.
Add dependencies
Newly created Gradle projects usually have the latest JUnit dependency by default. If it is missing, you can add JUnit as a dependency manually.
Open build.gradle in the root directory of your project.
In build.gradle, press Alt+Insert and select Add Maven artifact dependency.
In the tool window that opens, type
org.junit.jupiter:junit-jupiterin the search field.Locate the necessary dependency in the search results and click Add.
When the dependency is added to build.gradle, press Ctrl+Shift+O or click
in the Gradle tool window to import the changes.
Write application code
Let's add some code that we'll be testing.
In the Project tool window Alt+1, right-click the src/main/java folder and select . Name the class
Calculator.java.Paste the following code in the file:
import java.util.stream.DoubleStream; public class Calculator { static double add(double... operands) { return DoubleStream.of(operands) .sum(); } static double multiply(double... operands) { return DoubleStream.of(operands) .reduce(1, (a, b) -> a * b); } }
Create a project
In the main menu, go to .
In the New Project wizard, select Java from the list on the left.
Specify the name for the project, for example,
junit-tutorial, and select IntelliJ as a build tool.From the JDK list, select the JDK that you want to use in your project.
If the JDK is installed on your computer, but not defined in the IDE, select Add JDK and specify the path to the JDK home directory.
If you don't have the necessary JDK on your computer, select Download JDK.
Click Create.
Add dependencies
For our project to use JUnit features, we need to add JUnit as a dependency.
In the main menu, go to (Ctrl+Alt+Shift+S).
Under Project Settings, select Libraries and click
.
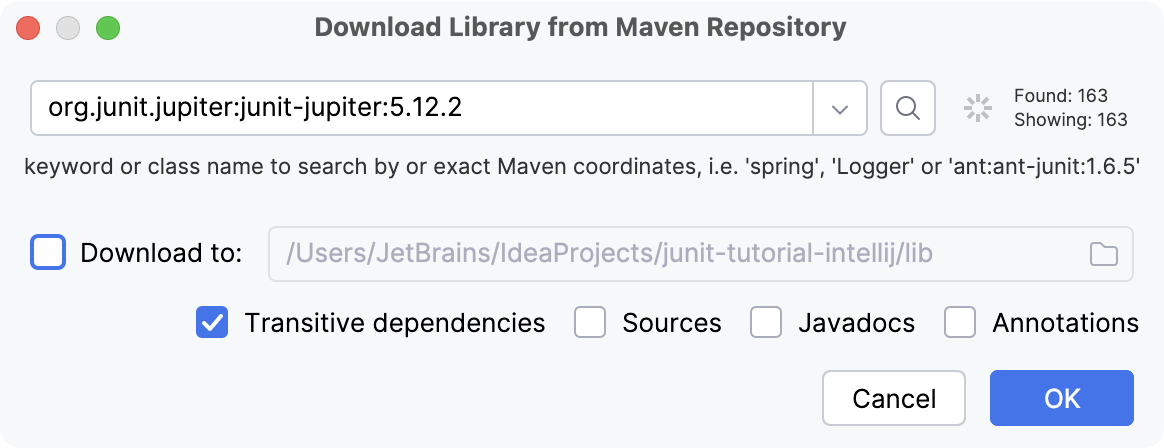
In the dialog that opens, specify the necessary library artifact, for example:
org.junit.jupiter:junit-jupiter:5.9.1.Apply the changes and close the dialog.
Create a folder for tests
In the Project tool window Alt+1, right-click the top-level folder and select .
Name the new directory test.
Right-click the new test directory and select .
The test directory changes the color in the Project tool window to green
.
By creating a dedicated test folder, you separate test code from production code. This helps the IDE recognize tests, apply the right settings, and organize them consistently. It also ensures that tests are compiled and run correctly without interfering with your main source files.
Learn more from Test Sources Root.
Write application code
Let's add some code that we'll be testing.
In the Project tool window Alt+1, right-click the src folder and select . Name the class
Calculator.java.Paste the following code in the file:
import java.util.stream.DoubleStream; public class Calculator { static double add(double... operands) { return DoubleStream.of(operands) .sum(); } static double multiply(double... operands) { return DoubleStream.of(operands) .reduce(1, (a, b) -> a * b); } }
Create tests
Now let's create a test. A test is a piece of code whose function is to check if another piece of code is operating correctly. To do the check, it calls the tested method and compares the result with the predefined expected result. An expected result can be, for example, a specific return value or an exception.
Place the caret at the
Calculatorclass declaration and press Alt+Enter. Alternatively, right-click it and select Show Context Actions. From the menu, select Create test.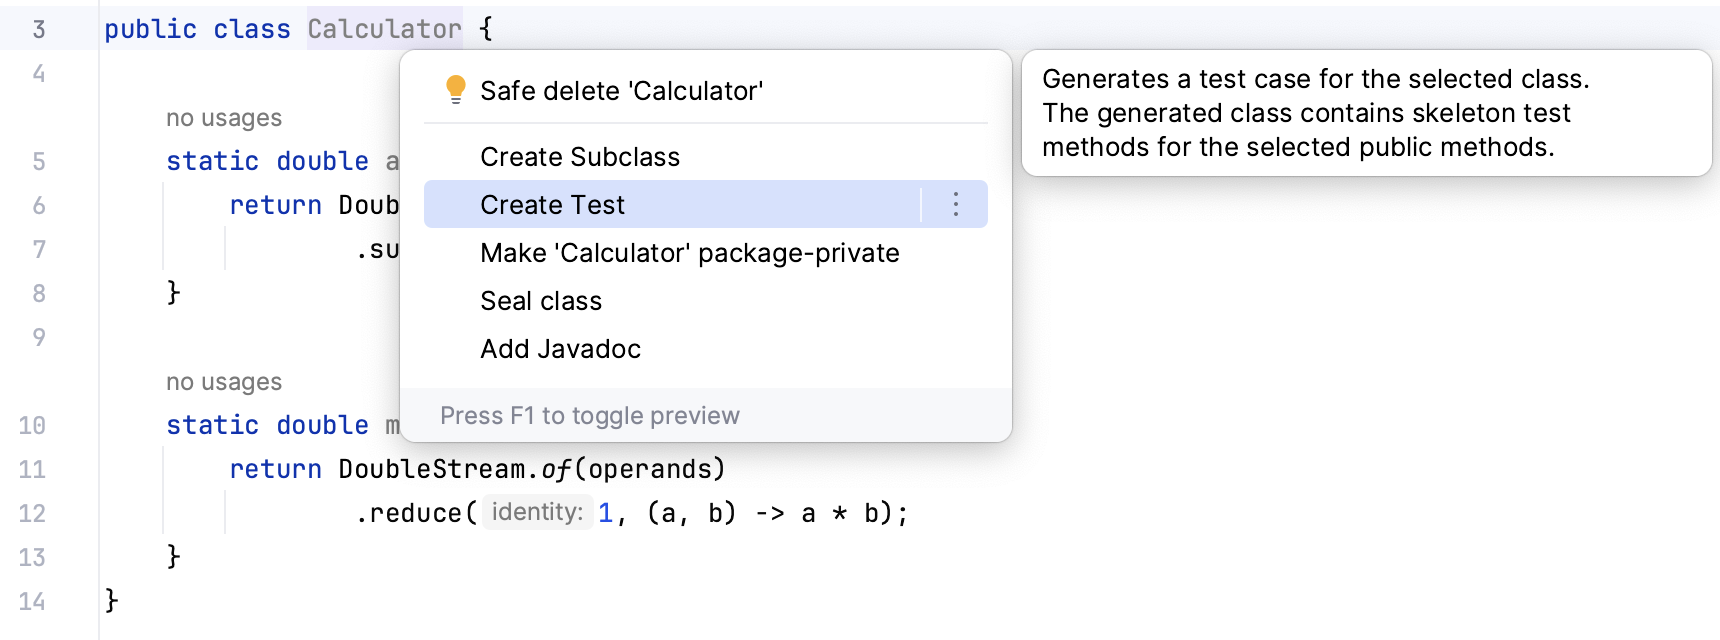
Select the two class methods that we are going to test.
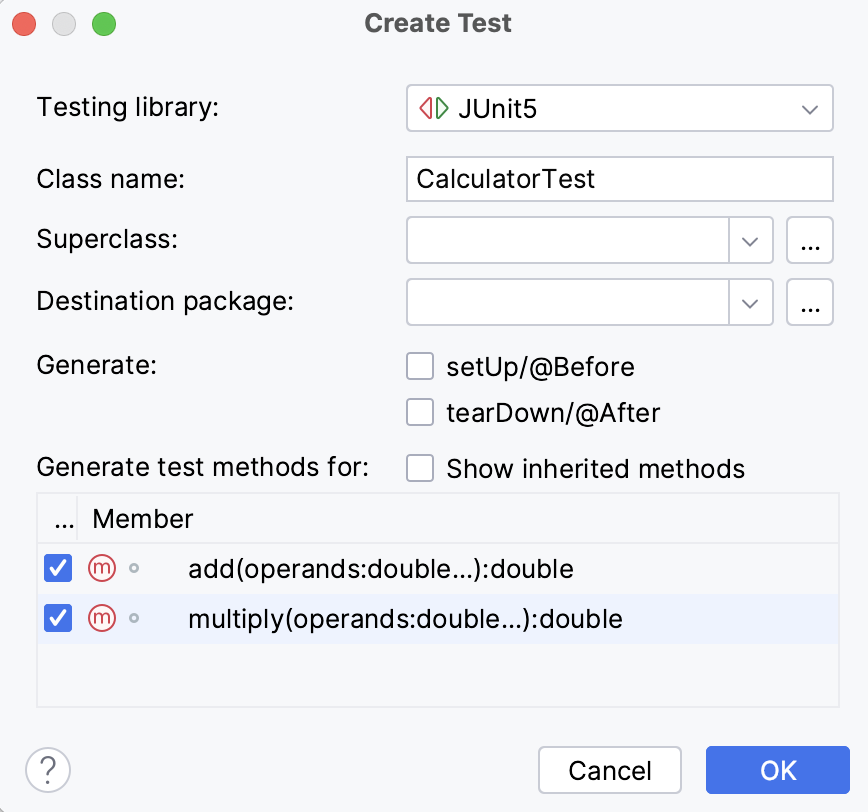
The editor takes you to the newly created test class. Modify the
add()test as follows:@Test @DisplayName("Add two numbers") void add() { assertEquals(4, Calculator.add(2, 2)); }This simple test will check if our method correctly adds 2 and 2. The
@DisplayNameannotation specifies a more convenient and informative name for the test.Now what if you want to add multiple assertions in a single test and execute all of them regardless of whether some of them fail? Let's do it for the
multiply()method:@Test @DisplayName("Multiply two numbers") void multiply() { assertAll(() -> assertEquals(4, Calculator.multiply(2, 2)), () -> assertEquals(-4, Calculator.multiply(2, -2)), () -> assertEquals(4, Calculator.multiply(-2, -2)), () -> assertEquals(0, Calculator.multiply(1, 0))); }The
assertAll()method takes a series of assertions in form of lambda expressions and ensures all of them are checked. This is more convenient than having multiple single assertions because you will always see a granular result rather than the result of the entire test.
Run tests and view their results
After we have set up the code for the testing, we can run the tests and find out if the tested methods are working correctly.
To run an individual test, click
in the gutter and select Run.
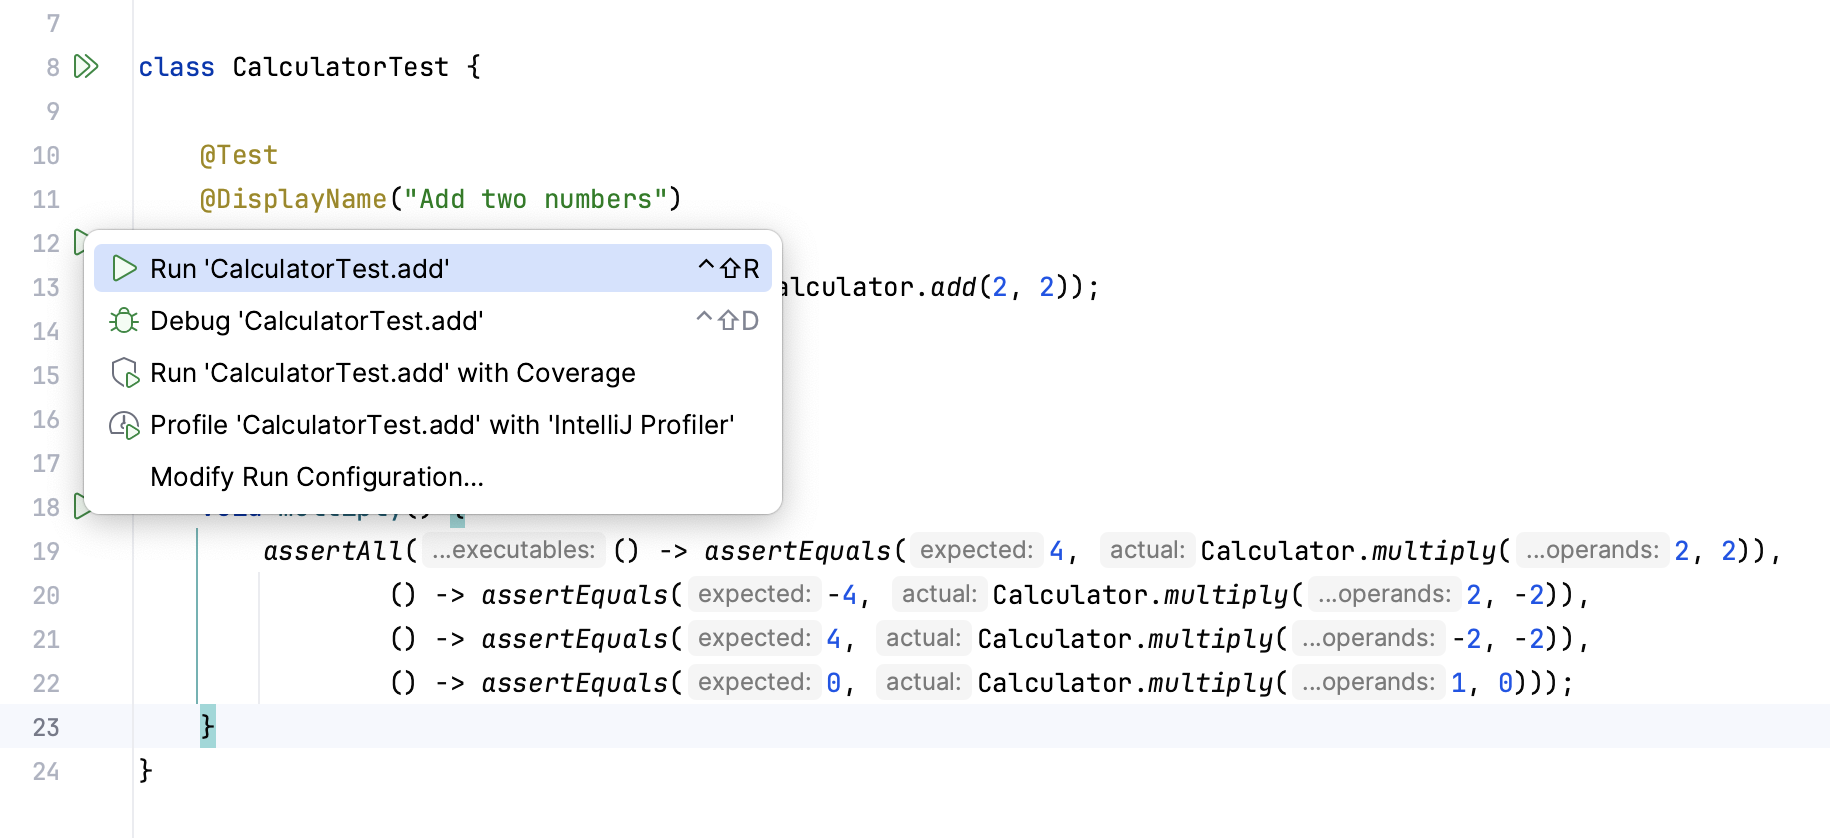
To run all tests in a test class, click
against the test class declaration and select Run.
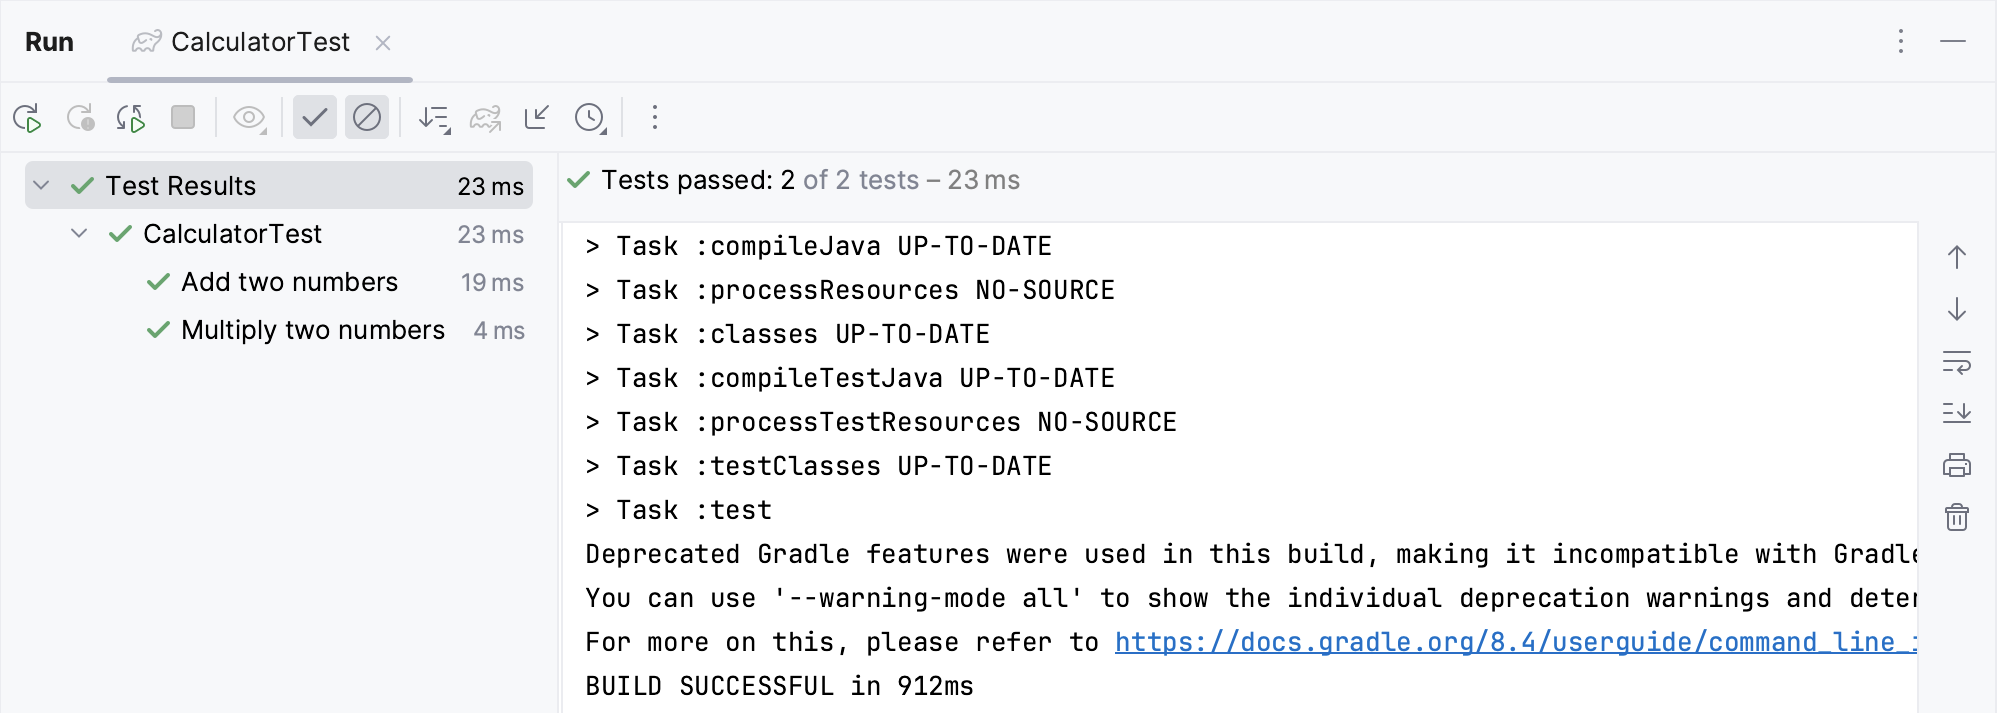
You can view test results in the Run tool window.
