Testing TypeScript
Starting with version 20, Node.js comes shipped with a stable version of the built-in Node.js test runner. RustRover supports integration with the built-in test runner, so you can run your tests without installing and configuring any third-party frameworks.
RustRover provides out-of-the-box configuration for the ts-node and tsx loaders, so you can run and debug your TypeScript tests without previously compiling them into JavaScript. Alternatively, you can install a custom loader and configure it as described in Create a Node.js Test Runner run/debug configuration.
You can run and debug tests right from the editor or launch a run/debug configuration of the type Node.js Test Runner.
Make sure you have Node.js version 20 or later installed on your computer and configured as a local Node.js interpreter.
Install a loader. In the embedded Terminal (AltF12) , type:
npm install --save-dev ts-nodeto installts-nodenpm install --save-dev tsxto installtsx
To run a test, click
in the gutter next to it and then select Run '<test name>' from the list.
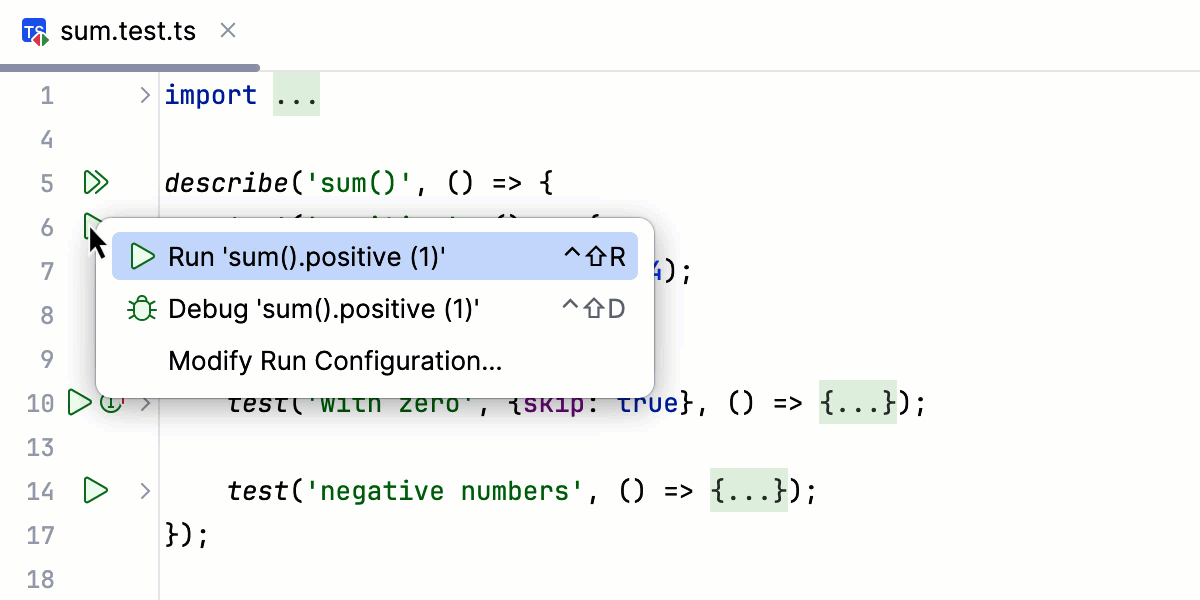 Gif
GifTo run all test in a suite, click
in the gutter next to it and select Run '<suite name>' from the list.
 Gif
Gif
tip
Note that gutter icons change depending on the state of the tests and suites they launch, see Performing tests for details.
Running tests via a run/debug configuration is helpful when you need to run tests from several test files. Another advantage of using a run/debug configuration is the option to configure a custom loader.
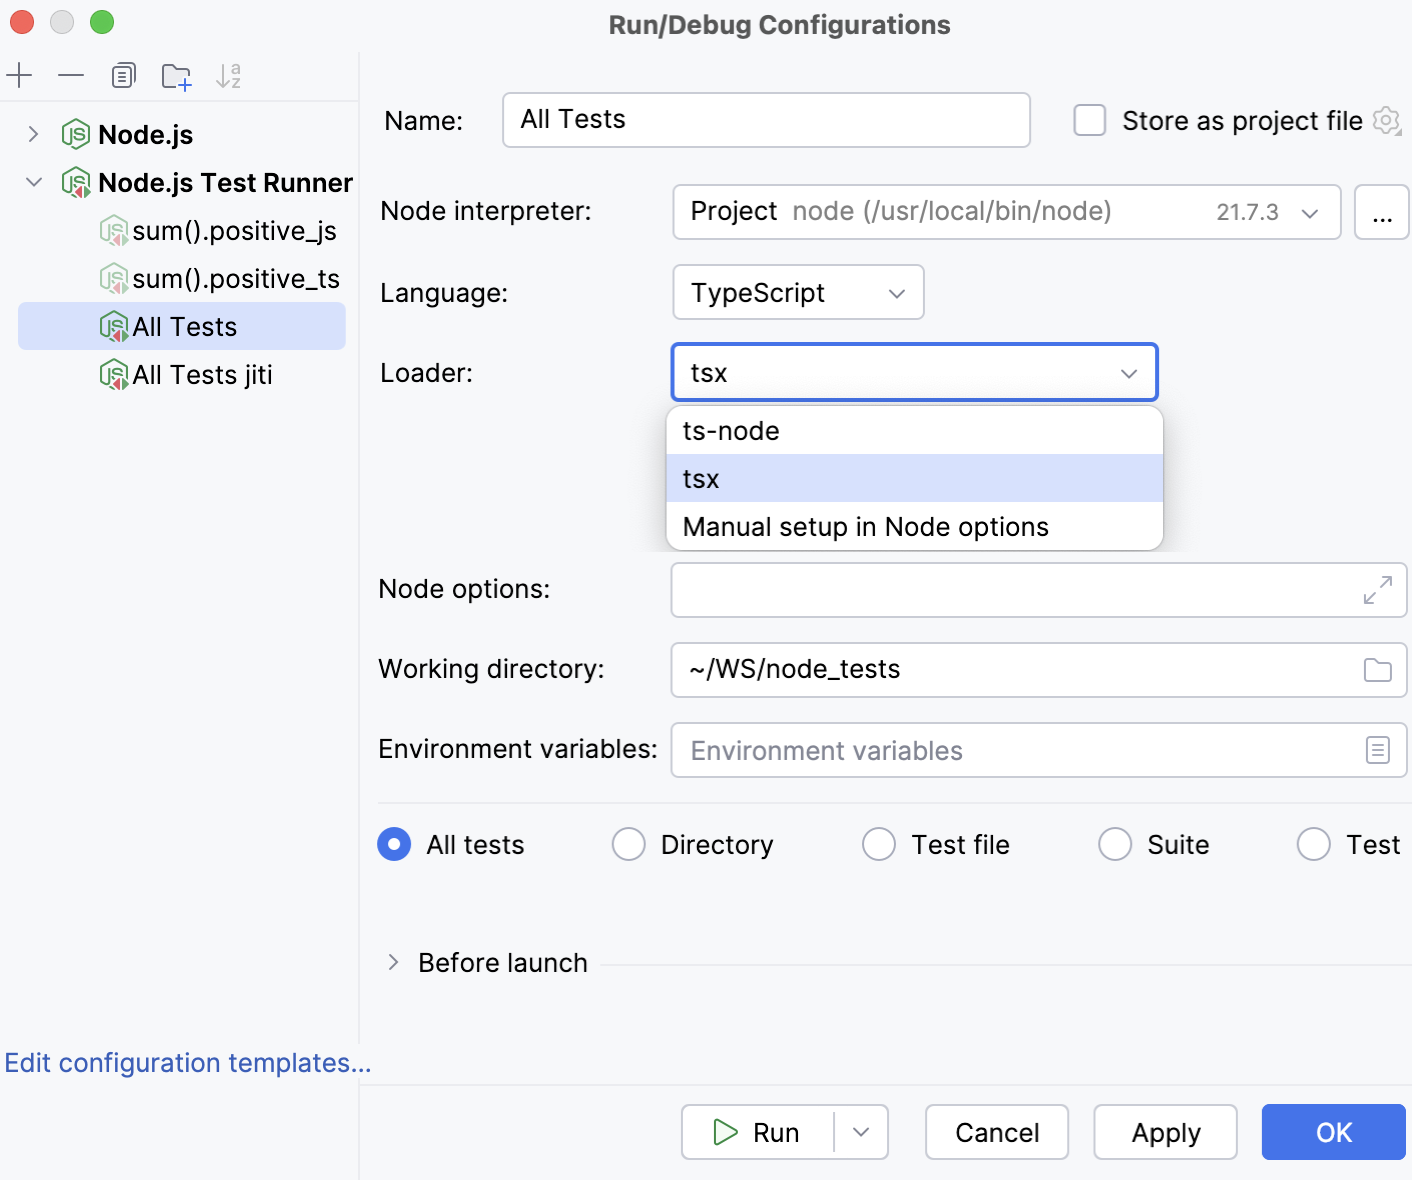
You can create a run/debug configuration yourself or save, edit, and reuse a temporary run/debug configuration of the type Node.js Test Runner that RustRover creates when you run a test or a suite from the editor.
Go to Run | Edit Configurations. Alternatively, select Edit Configurations from the Run widget on the toolbar.

Alternatively, select a previously generated temporary run/debug configuration.
In the Edit Configurations dialog that opens, click the Add button (
) on the toolbar and select Node.js Test Runner from the list.
The Run/Debug Configurations: Node.js Test Runner dialog opens.
Specify the Node.js interpreter to use, the working directory, and select the range of tests to run.
From the Language list, select TypeScript.
From the Loader list, select the loader to use. By default, integration with tsx and ts -node is provided out-of-the-box.
Alternatively, install and configure a custom loader. For example, install jiti and type
-r jiti/registerin the Node options field.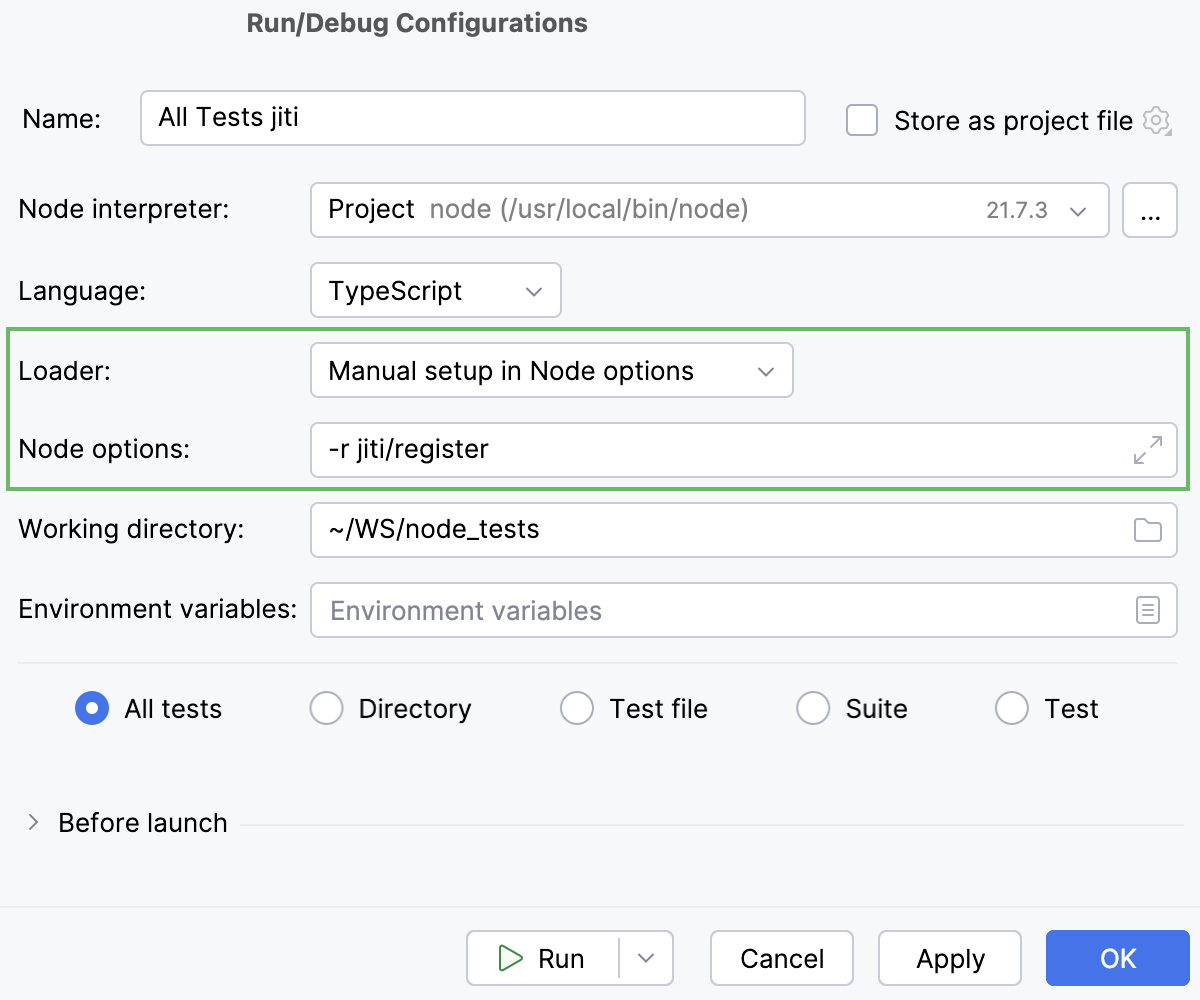
Click Run.
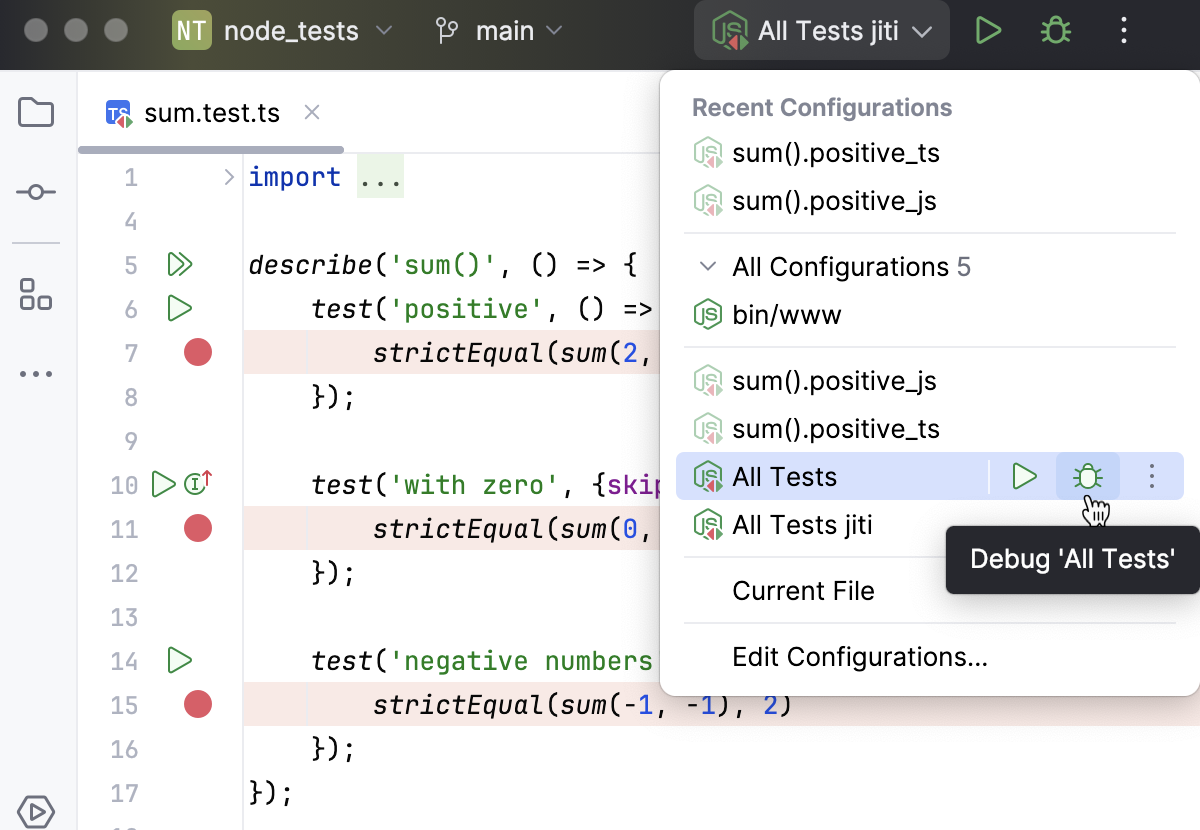
Alternatively, from the Run widget, select an existing run/debug configuration and click
next to it.
Test results are shown in the Run tool window.
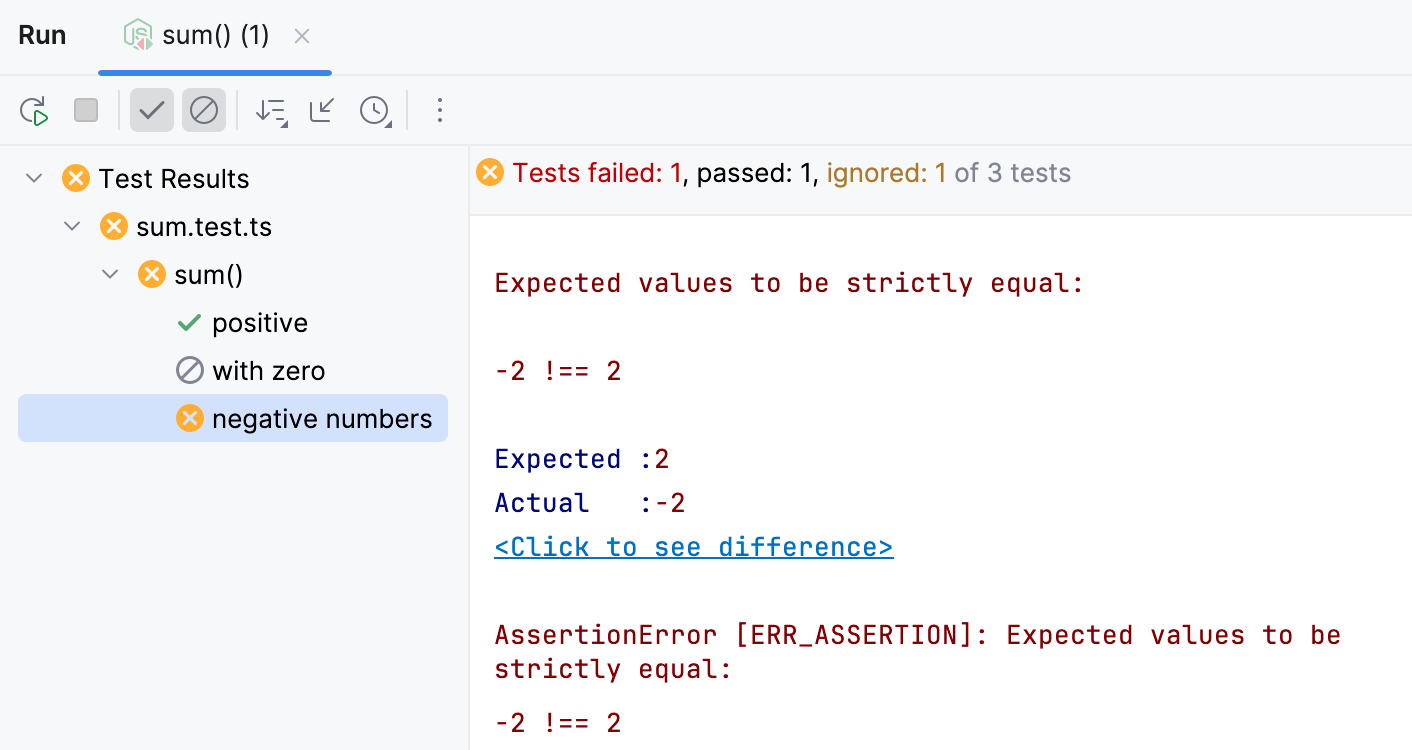
Learn more from Explore test results.
To rerun a single test, select it in the Run tool window and select Run '<test name>' from its context menu or press AltShift0R.
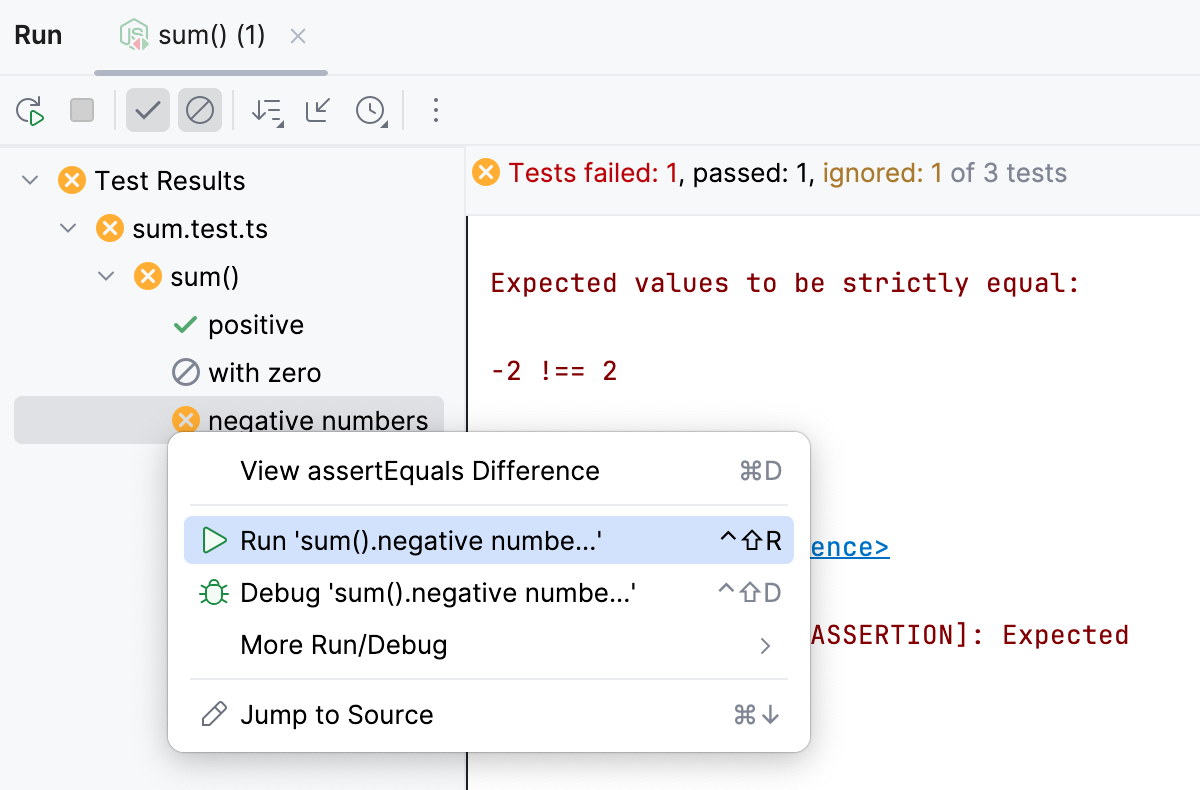
Alternatively, use the gutter icon next to the test to rerun. Click
,
or
to rerun an ignored, failed, or successful test and select Run '<test name>' from the list.
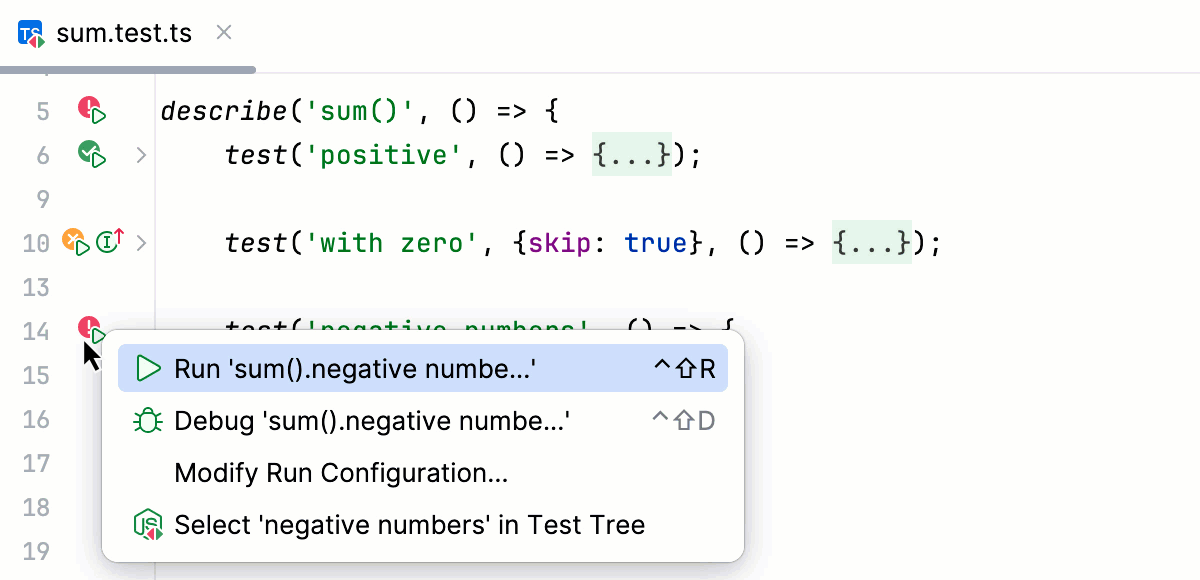 Gif
GifTo rerun the whole suite, click the gutter icon next to the suite and select Run '<suite name>' from the list.
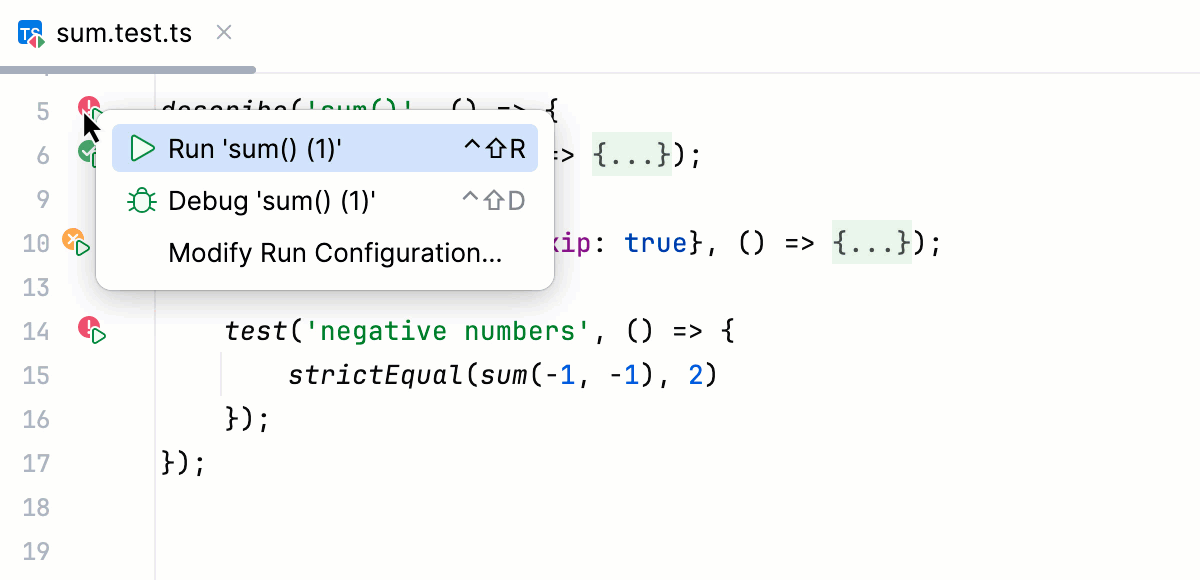 Gif
GifTo rerun all the tests from the previous session, click
on the toolbar of the Run tool window.
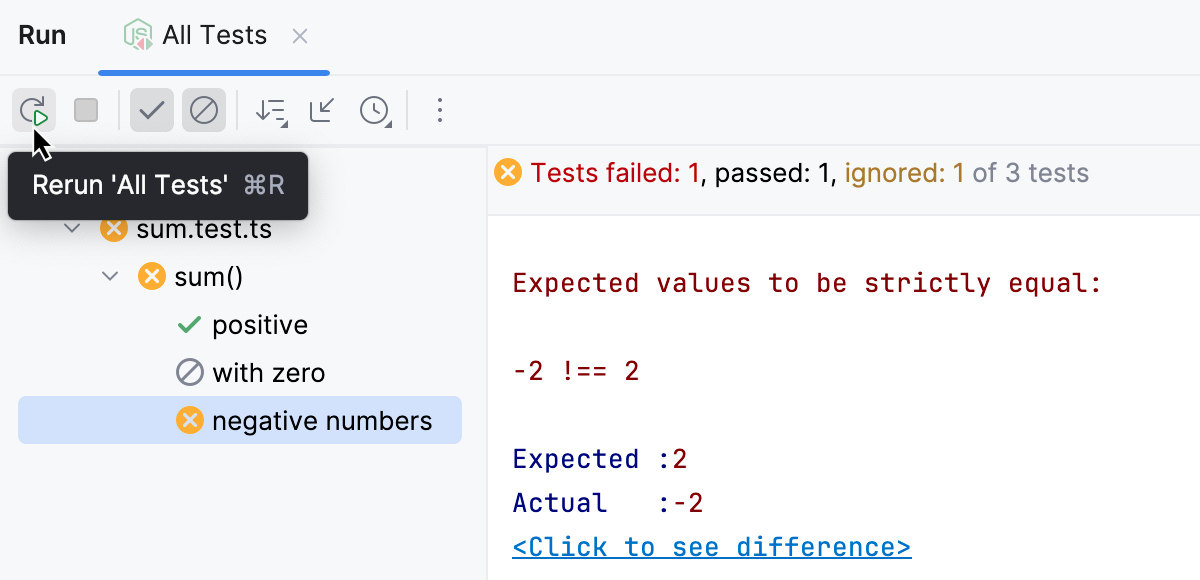
Set the breakpoints as necessary.
Start debugging:
To debug a test, click
in the gutter next to the test and then select Debug '<test name>' from the list.
To debug all tests in a suite, click
in the gutter next to the suite and then select Debug '<suite name>' from the list.

Alternatively, create a run/debug configuration of the type Node.js Test Runner as described above, select it from the Run widget, and click
next to it.
Thanks for your feedback!