Create a Helpdesk Project
To start managing incoming support requests, you can create a new helpdesk project.
When you create a helpdesk project, the following operations are performed automatically:
You are granted the Project Admin role in the project.
You are set as the Project owner in the general project settings.
You are added to the project team. This assignment grants you any roles that are assigned to members of the project team in the project.
The project team is added to the set of values for the Assignee field for issues in the project.
A saved search with the name Unassigned in <project ID> is automatically generated with your user account as its owner. This saved search uses the query
project: <project ID> #{Unassigned}. You are automatically subscribed to notifications when new tickets are created in the project.You can access and update this saved search at any time in your YouTrack profile. For more information, see Tags and Saved Searches.
To create a helpdesk project:
From the main navigation menu, select
Projects.
On the Projects page, click the New project button.
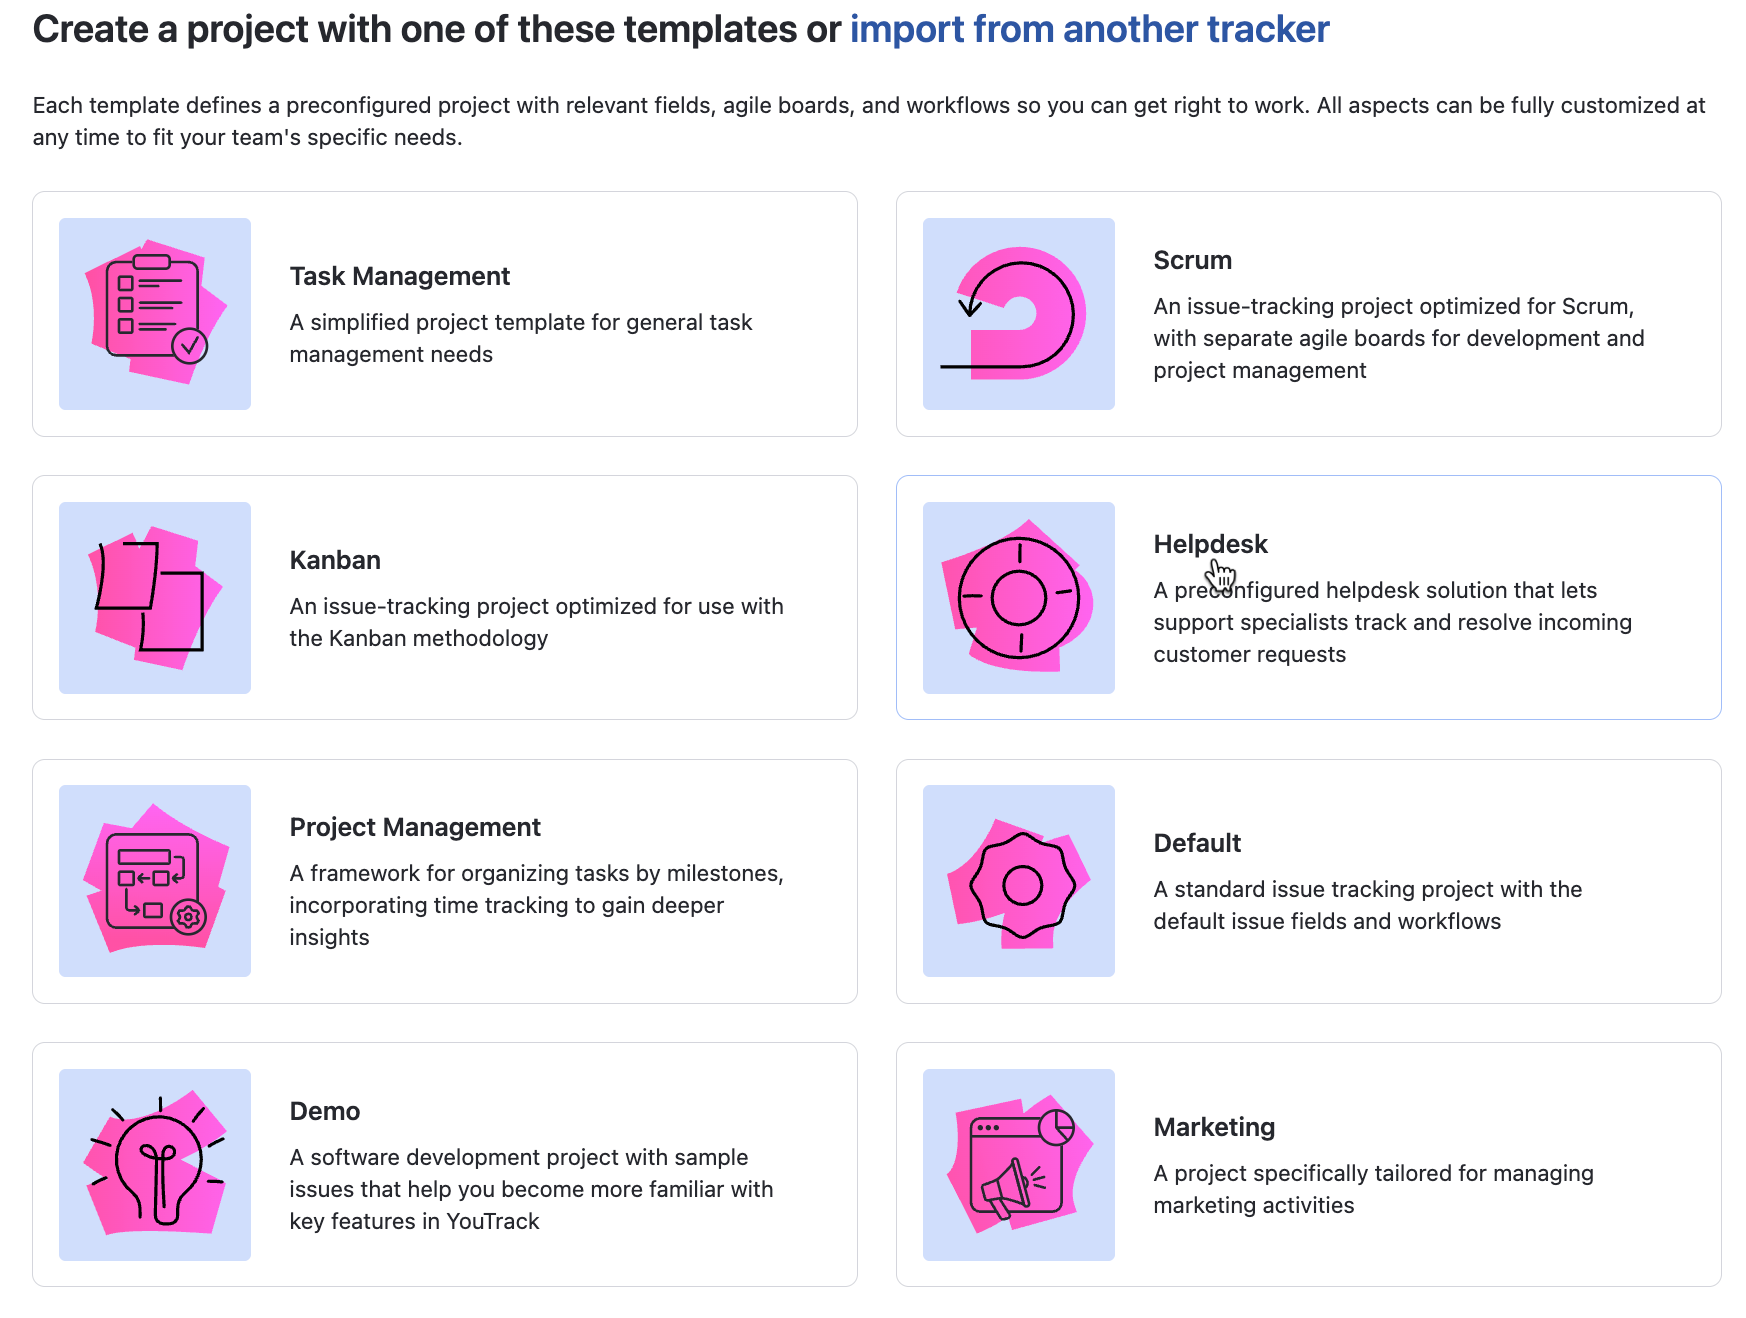
On the New Project page, select the Helpdesk project. Next, enter a name and unique project ID.

To start numbering issues with a number other than 1, enter a value in the Starting Number input field.
Enter an optional description of the project.
Select an optional organization to which the new project should belong.
In the Project Type section, select the Helpdesk project template.
Click the Create project button.
A new project with the specified settings is created.
The project overview page opens. To make changes to the default configuration, use the links in the sidebar to access the corresponding settings.
For more information, see Configure a Project.
You are granted the Project Admin role in the new project.
You are set as the Project owner in the general project settings.
You are added to the project team. This assignment grants you the Contributor role in the project.
The project team is added to the set of values for the Assignee field for issues in the project. Any user or group that is later added to the project team is also added to the set of values for the Assignee field.
A saved search with the name Unassigned in <project ID> is automatically generated with your user account as its owner. This saved search uses the query
project: <project ID> #{Unassigned}. You are automatically subscribed to notifications when new issues are created in the project.You can access and update this saved search at any time in your YouTrack profile. For more information, see Tags and Saved Searches.
Next Steps
Once you have created the project, follow these steps to complete the setup and start managing incoming customer requests:
Add the users who will be working as helpdesk agents to the project team. For instructions, see Add Users to Agents in a Project.
Set up the channels you want to make available for interacting with your helpdesk agents. For more information, see Channels.
Define a service-level agreement for handling tickets in this project. For instructions, see SLA Policies.
Customize the fields you want to use in your tickets. For instructions, see Manage Custom Fields.
Customize the templates used to send email messages in your project. For instructions, see Helpdesk Notification Templates.
Additional customization options are available on the following tabs in the project settings:
Use the controls on the Access tab to give fine-grained permission to people who aren't members of the helpdesk project team.
Use the controls on the Workflows tab to customize and automate how you process tickets in this helpdesk project.