Markdown
Configure: Settings CtrlAlt0S | Languages | Markdown
Filename patterns: *.md and *.markdown
Markdown is a lightweight markup language for adding formatting elements to plain text. DataGrip recognizes Markdown files, provides a dedicated editor with highlighting, completion, and formatting, and shows the rendered HTML in a live preview pane. Support is based on the CommonMark specification.
This functionality relies on the Markdown plugin, which you need to install and enable.
Press CtrlAlt0S to open settings and then select Plugins.
Open the Marketplace tab, find the Markdown plugin, and click Install (restart the IDE if prompted).
By default, DataGrip recognizes any file with the .md or .markdown extension as a Markdown file.
Right-click a directory in the Files tool window Alt02 and select New | File.
Alternatively, you can select the necessary directory, press AltInsert, and then select File.
Enter a name for your file with a recognized extension, for example: readme.md.
The Markdown editor provides several basic formatting actions in the floating toolbar that appears when you select a text fragment. You can use the preview pane to see the rendered HTML.

There is also completion for links to files in the current project or attached directory, for example, if you need to reference source code, images, or other Markdown files. For more information, refer to Links.
To insert a fenced code block, use triple backticks ``` before and after the code block. If you specify the language for the code block, by default, the Markdown editor injects the corresponding language.
This enables syntax highlighting and other coding assistance features for the specified language: completion, inspections, and intention actions.
If your code blocks are not meant to be syntactically correct, you may want to disable code injection and syntax errors in code blocks.
Press CtrlAlt0S to open settings and then select Languages | Markdown.
Clear the following options:
Inject languages in code fences
Show problems in code fences
Click OK to apply the changes.
When you clone a project, there is usually a README.md file with instructions and commands to run the application, configure your environment, and so on. DataGrip detects these commands and provides gutter icons for running the commands.
Click the corresponding gutter icon or press CtrlShiftF10 while the caret is at the command that you want to run.
note
DataGrip does not support shell scripts by default. To run shell commands from Markdown files, install the Shell Script plugin. For more information, refer to Shell Script and Plugins.
You can disable the gutter icons for running commands in Markdown files in IDE settings CtrlAlt0S under Languages & Frameworks | Markdown: clear the Detect commands that can be run right from Markdown files checkbox.
For more information, refer to Markdown language settings.
The Markdown editor can render diagrams defined with Mermaid and PlantUML. This is disabled by default and requires additional steps.
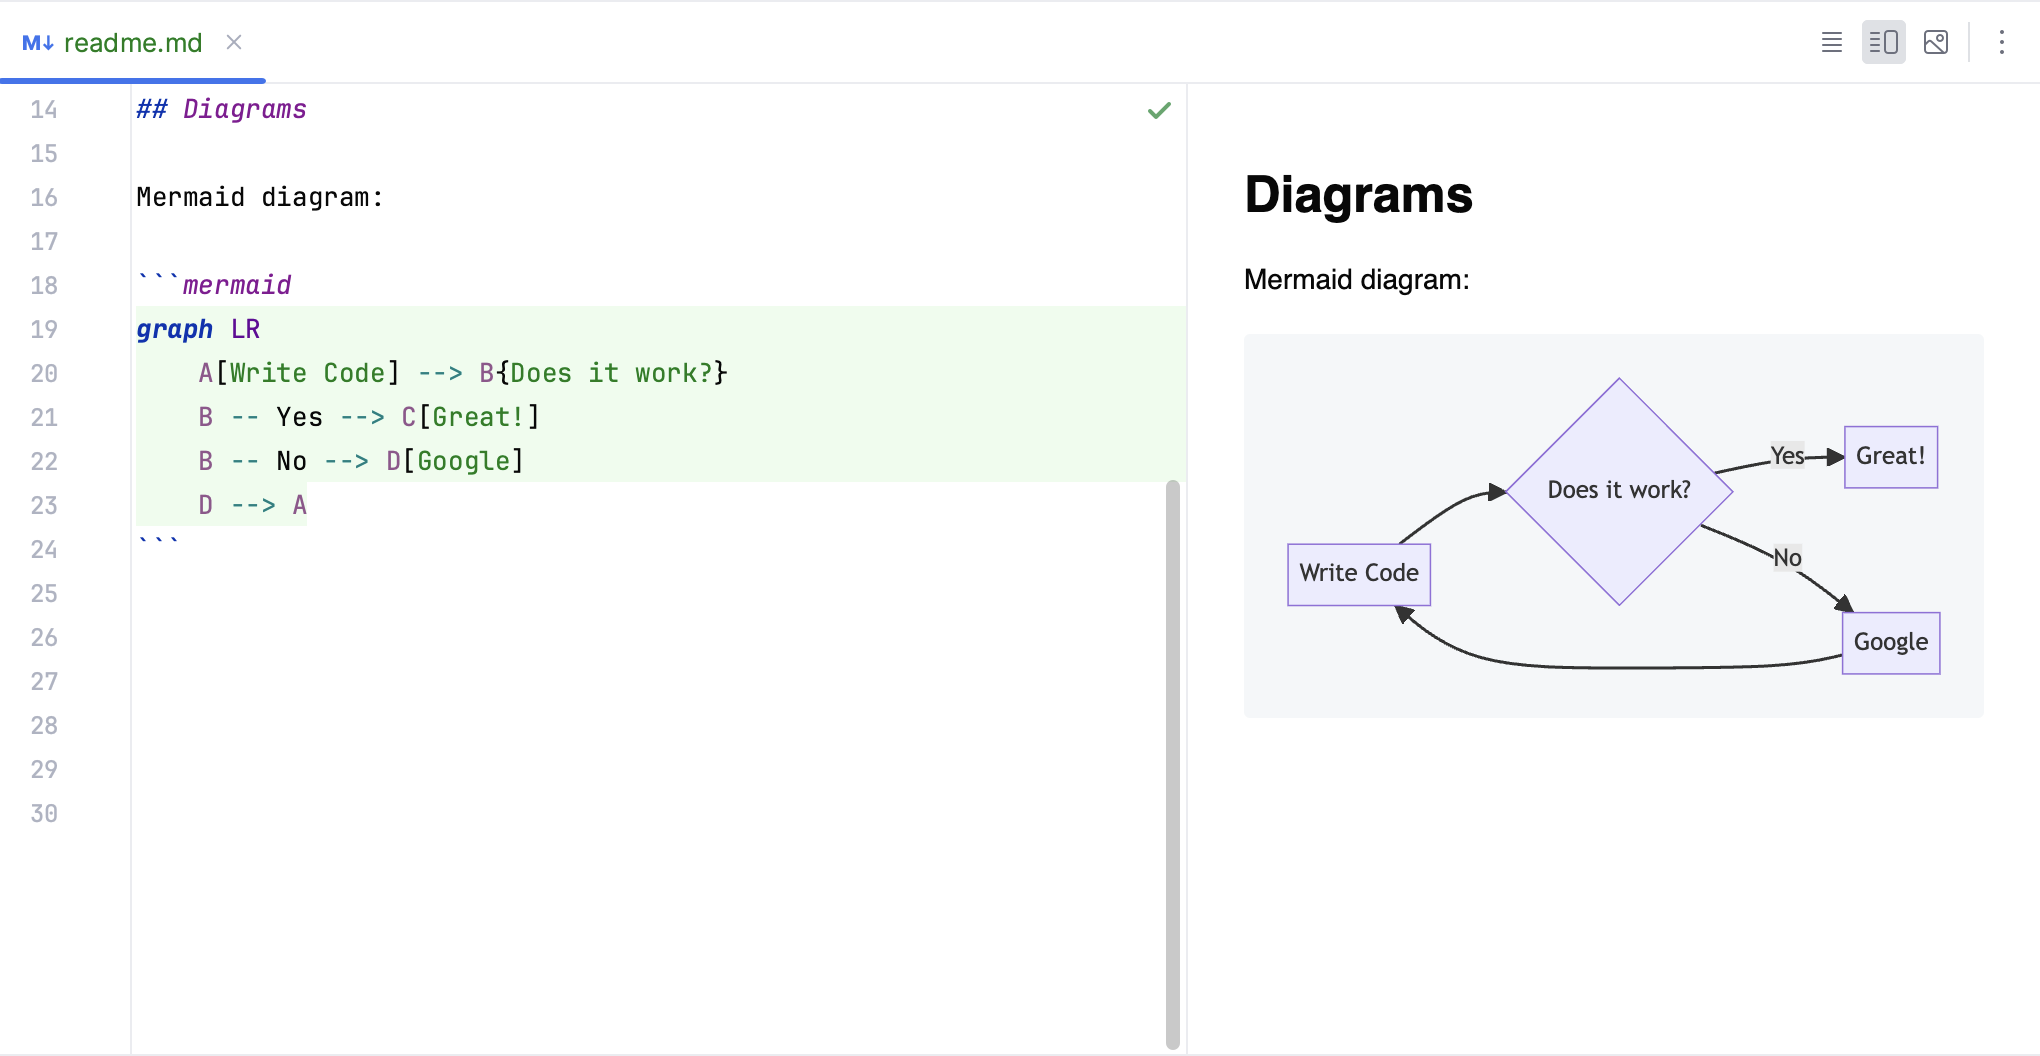
Press CtrlAlt0S to open settings and then select Plugins.
Find and install the Mermaid plugin.
Press CtrlAlt0S to open settings and then select Languages | Markdown.
Install and enable PlantUML under Markdown Extensions.
After DataGrip downloads the relevant extension, click OK to apply the changes.
note
The preview does not work on Android Studio. This is a known issue and there is a workaround: use JetBrains Runtime instead of the default Android Studio runtime. For more information, refer to Fix Markdown Plugin in Android Studio.
By default, the Markdown editor shows a preview pane for rendered HTML code next to the Markdown source. You can click Editor or
Preview in the top right corner of the Markdown editor to show only the editor or the preview pane.
By default, the editor and the preview are split vertically (side by side), which is convenient for wide monitors. You can also split it horizontally, so that the preview is displayed in the lower part of the editor, which is more convenient for portrait displays.
In the top-right corner of the editor, click
to open the Editor Preview pane.
Click
to split the editor and the preview horizontally.
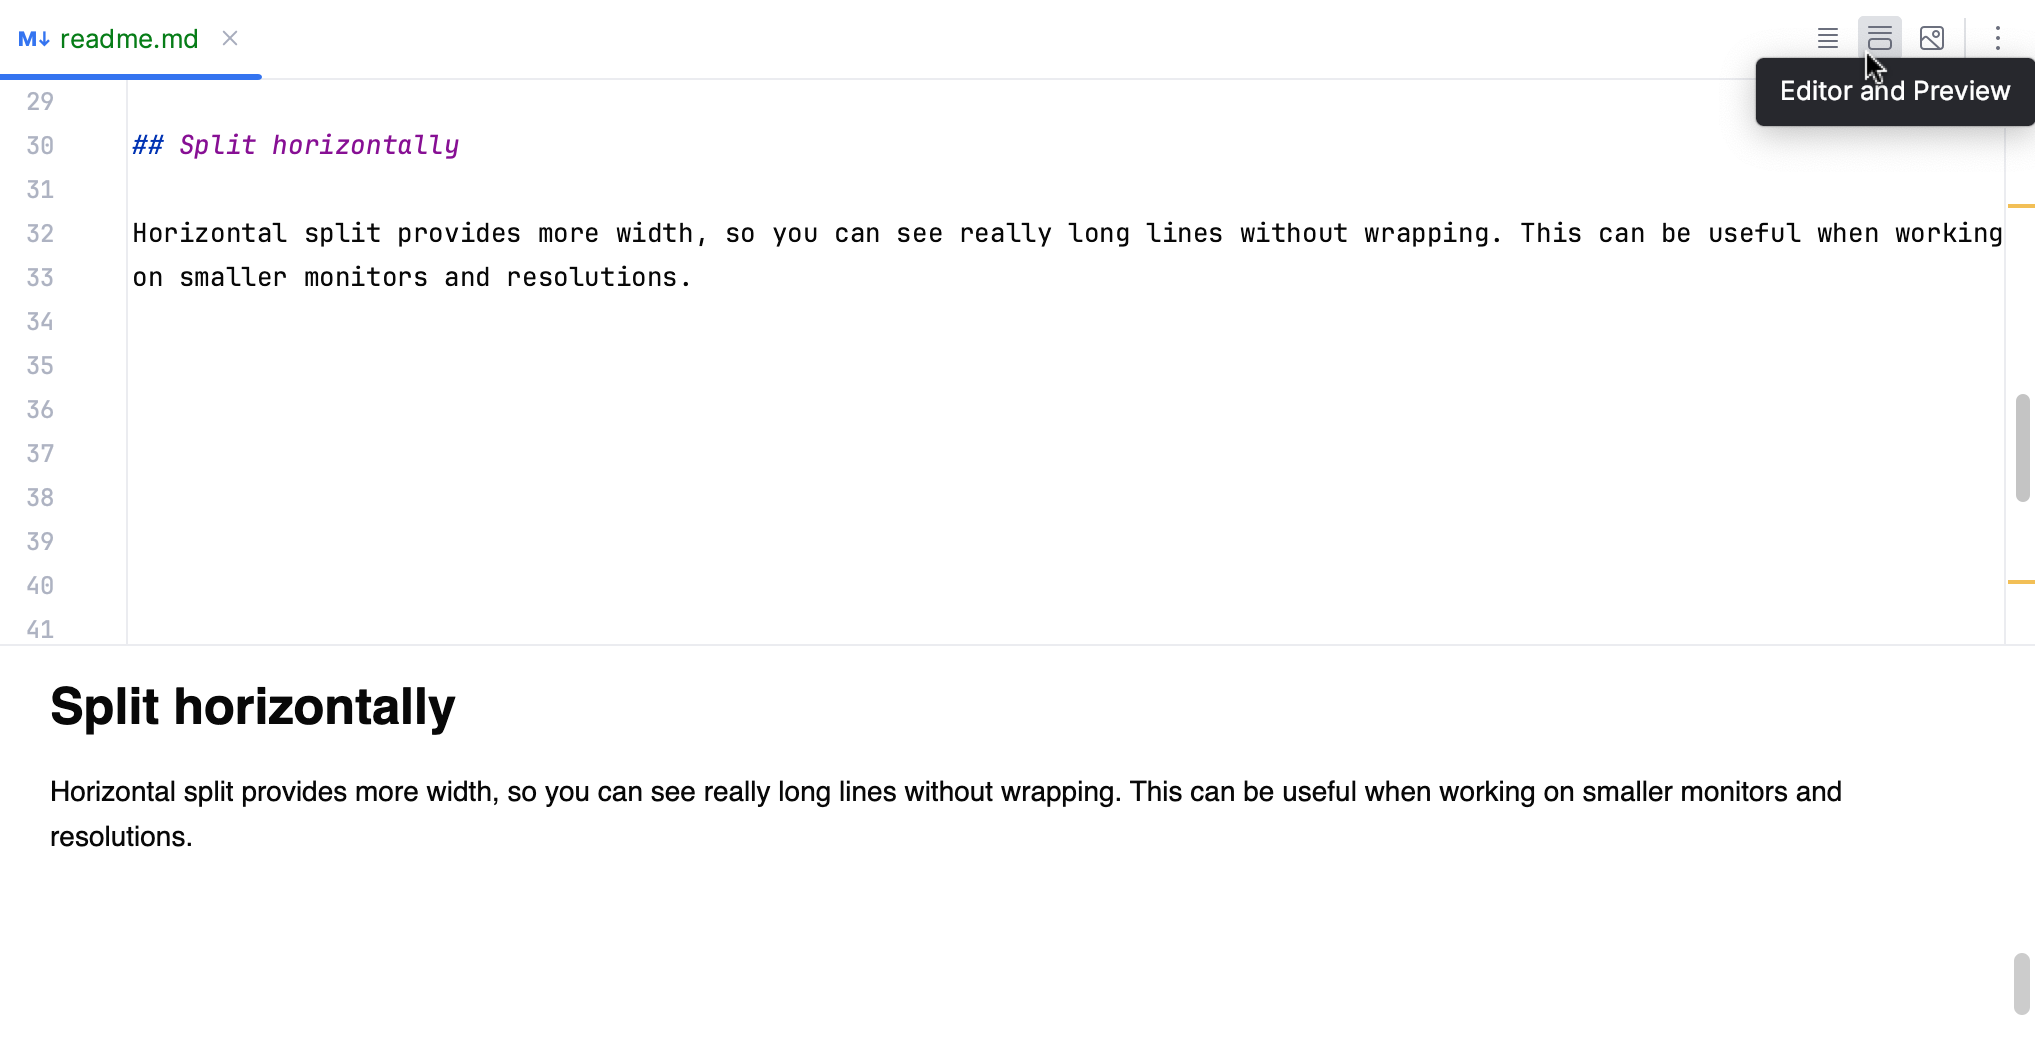
To configure the default layout of the preview, you can use the Preview layout list in Languages | Markdown.
By default, the scrollbars in the editor and in the preview pane are synchronized, meaning that the location in the preview pane corresponds to the location in the source.
Press CtrlAlt0S to open settings and then select Languages | Markdown.
Clear Sync scroll in the editor and preview.
Click OK to apply the changes.
Although you can define the font size for the preview by customizing the CSS, it is possible to set the font size for the built-in style sheets.
Press CtrlAlt0S to open settings and then select Languages | Markdown.
Set the font size in the Preview font size field.
Click OK to apply the changes.
If you often need to adjust the preview font size, instead of changing it in the settings, assign shortcuts to the following two actions: Increase Preview Font Size and Decrease Preview Font Size.
DataGrip provides default style sheets for rendering HTML in the preview pane. These style sheets were designed to be consistent with the default UI themes. You can configure specific CSS rules to make small presentation changes: for example, change the font size for headings or line spacing in lists. Or you can provide an entirely new CSS to better match your expected output: for example, if you want to replicate the GitHub Markdown style.
Press CtrlAlt0S to open settings and then select Languages | Markdown.
Configure the settings under Custom CSS:
Select Load from to specify the location of a custom CSS file.
Select CSS rules rules to enter specific CSS rules that you want to override.
Click OK to apply the changes.
Here is an example of custom CSS rules:
body {
    background: #DDDDDD;
    color: #888888;
    font-size: 250% !important;
}

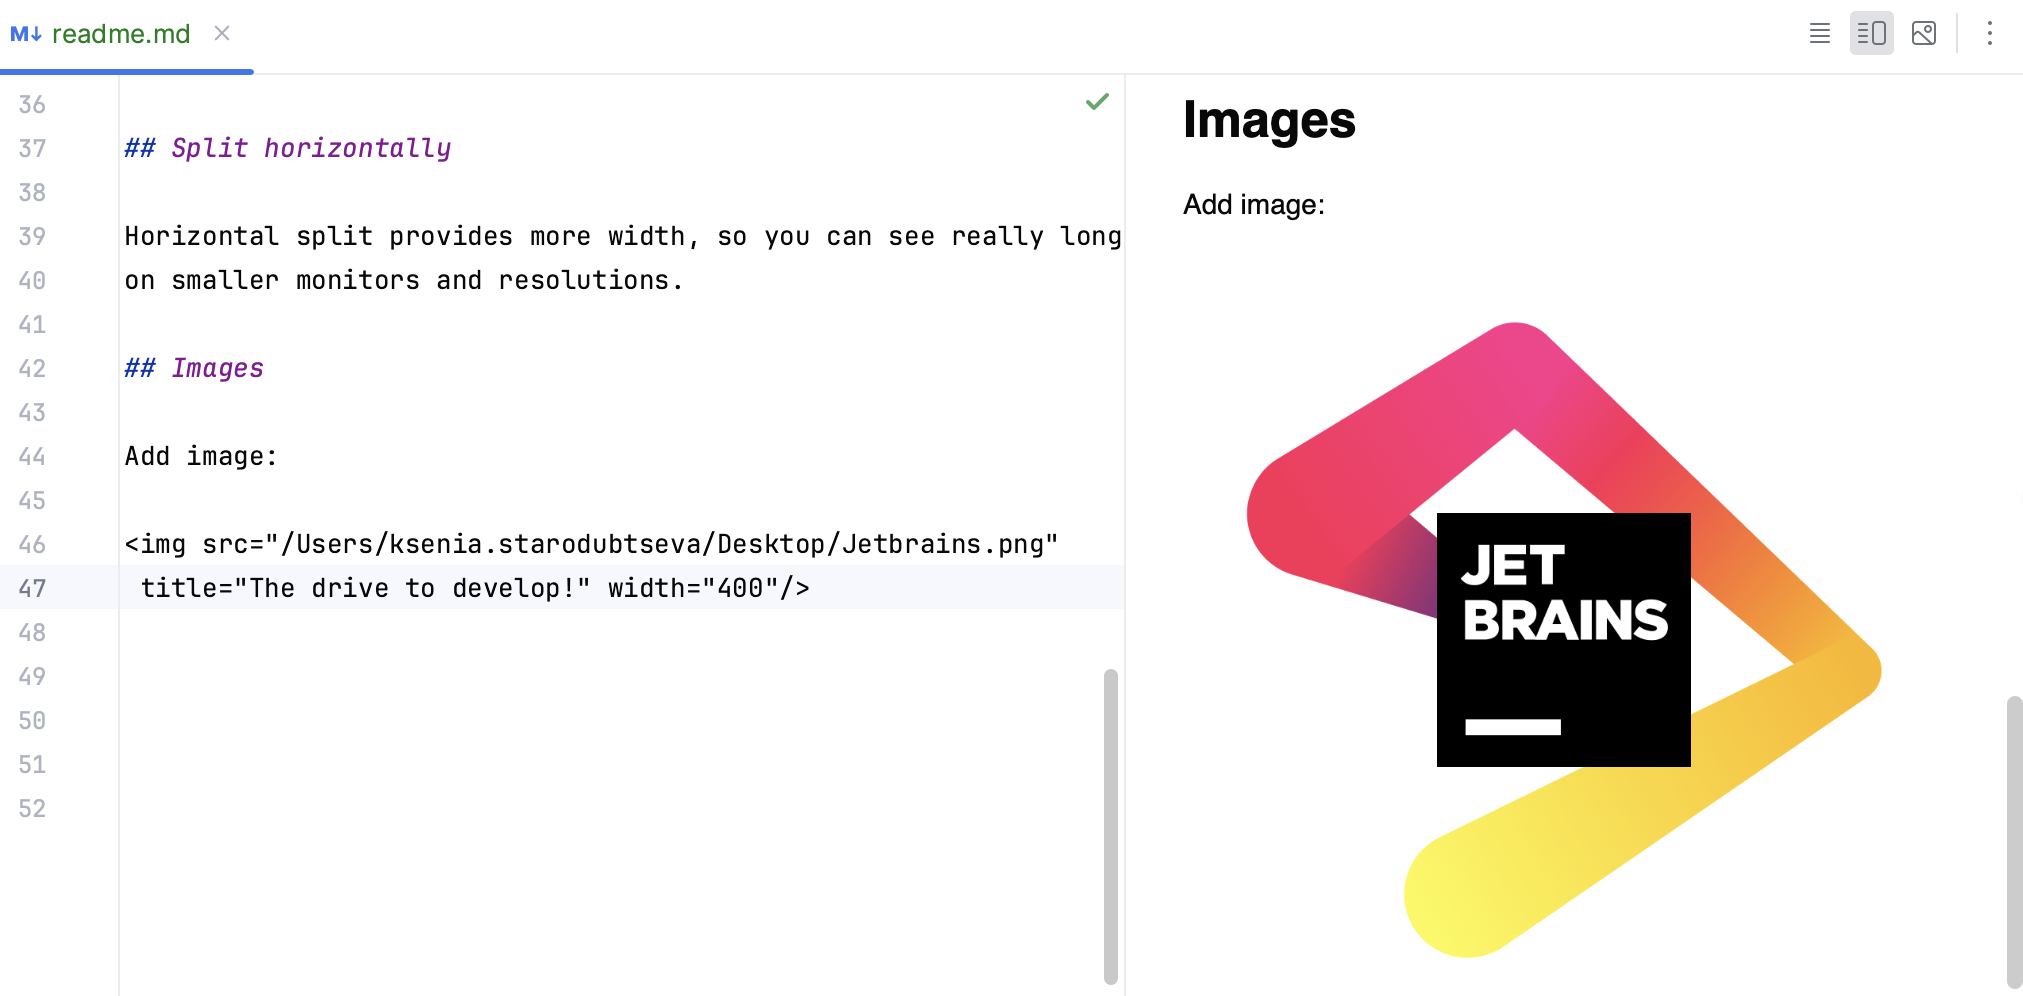
strong { text-decoration: underline; }By default, Markdown uses the following syntax for images, which you can enter yourself with completion for paths inside your project or attached directory:
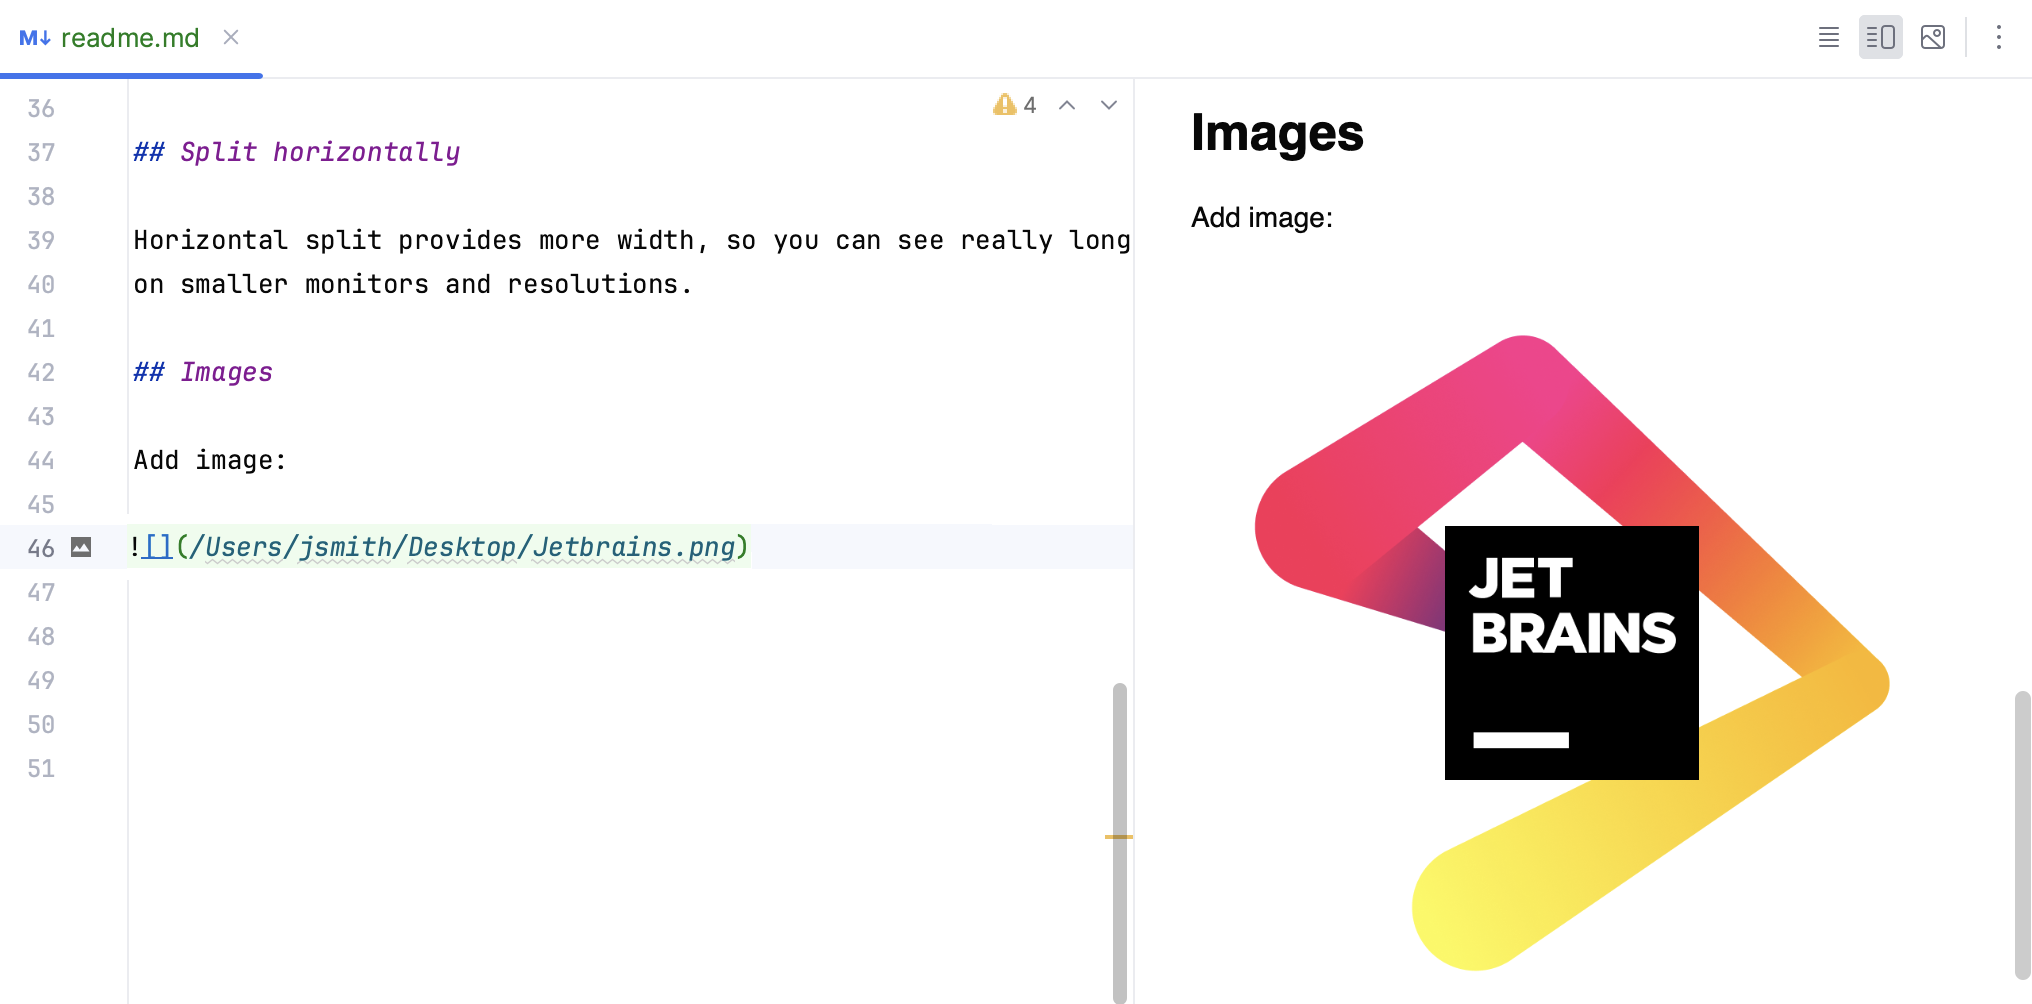
Press AltInsert to open the Generate popup, and select Insert Image.

Specify the path to the image in the Insert Image dialog.

Click OK.
To configure the image, click in the gutter on the line where the image is inserted. For example, you can select Convert to HTML in the Insert Image and Configure Image dialogs to insert the image with raw HTML markup in the Markdown file.
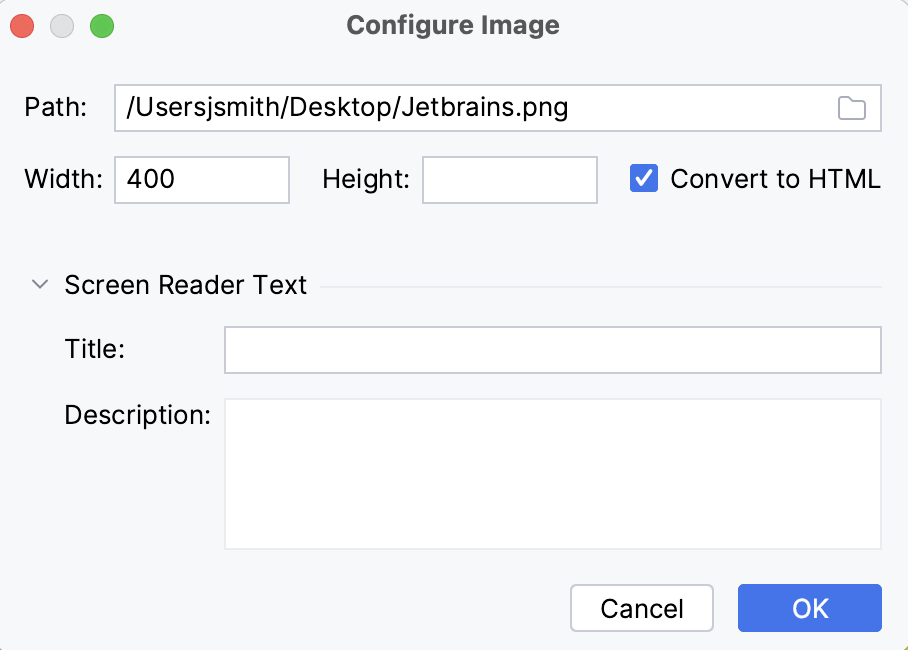
This will produce the following:
You can define links with the following syntax:
[link-text](link-url "optional-title")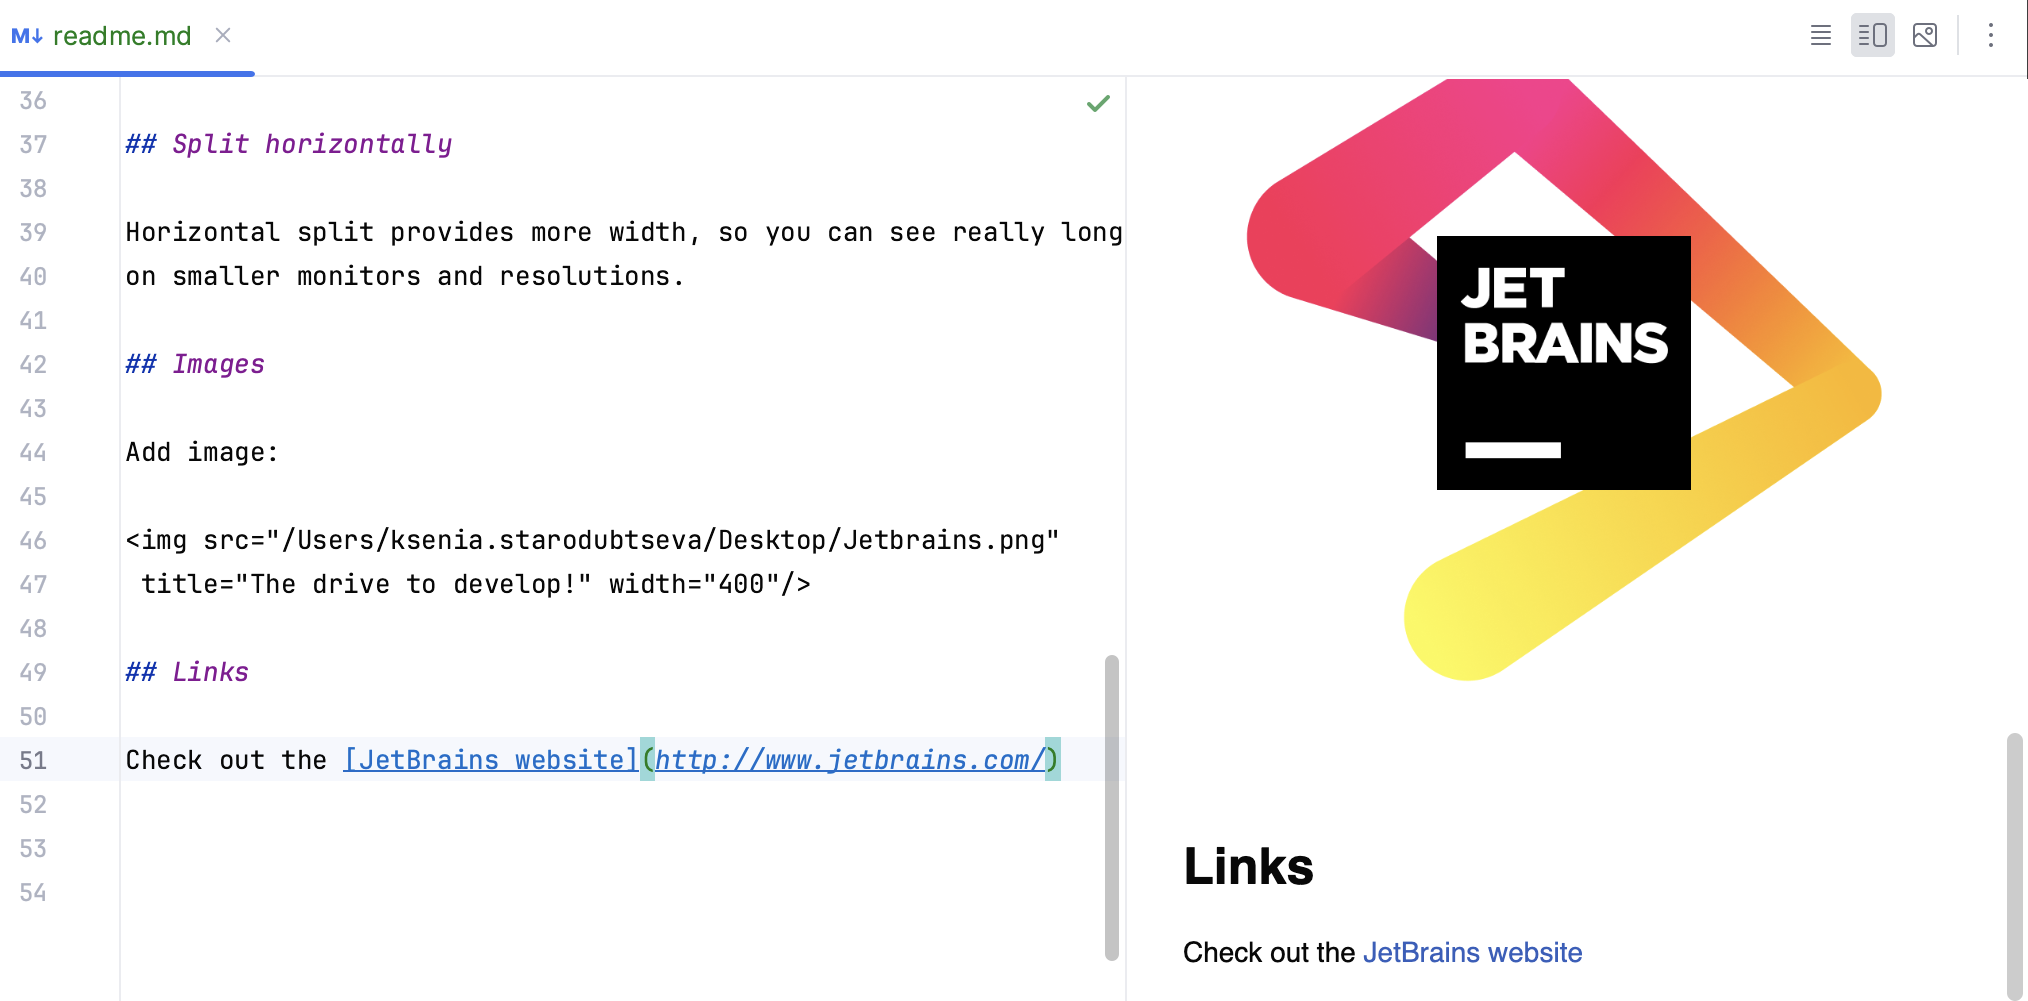
Press AltInsert to open the Generate popup, and select Create Link.

If you had some text highlighted, it will be enclosed in [ ] as the text of the link. If you had a URL copied to the clipboard, it will be enclosed in ( ) as the link URL.
The optional title appears when you hover over the link.
Besides URLs, you can add links to any header in the current file:
# This is a chapter

Link to [this chapter](#this-is-a-chapter)
You can also link to any other file relative to the current file:
# This is a chapter

Link to [a chapter in another file](another-file.md#some-chapter)
DataGrip provides completion for link labels that are available in the current context: files relative to the current file and valid header labels.
CtrlClick on a link label to navigate to the referenced header.
You can invoke Find Usages AltF7 on a header or label to see all the links pointing to this label. You can also invoke the Rename refactoring ShiftF6 on a header or label to rename it along with all relevant usages.
You can generate a properly indented list of headers available in the current file.
Place the caret where you want to add the table of contents for the current file and press AltInsert to open the Insert popup.
Select Table of Contents.

If you already have a table of contents in this file, select Update Table of Contents to update it after you add, remove, or rename some headers.
The table of contents is enclosed in <!-- TOC --> comment tags.
<!-- TOC -->
* [Main title](#main-title)
    * [Subtitle](#subtitle)
    * [Another subtitle](#another-subtitle)
* [Another main title](#another-main-title)
    * [Secondary subtitle](#secondary-subtitle)
        * [Third level header](#third-level-header)
<!-- TOC -->DataGrip provides support for creating and editing tables in Markdown.
Press AltInsert to open the Insert popup, and select Table.

Select the size of the table (number of rows and columns).
Type the contents of each cell and press Tab to move the caret from one cell to the next. To add a new row, press ShiftEnter. As you type, DataGrip automatically adjusts the rows and columns to properly fit the contents in table cells.
For information about disabling assistance features when editing tables, see Smart Keys: Markdown
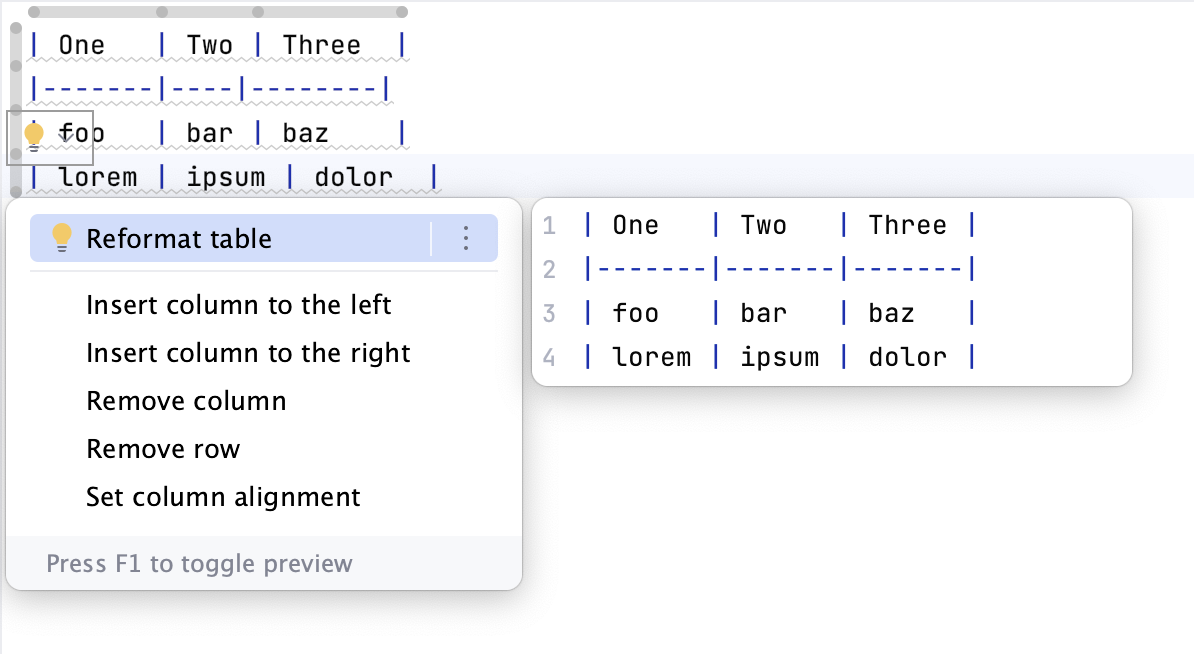
DataGrip highlights any table with incorrect formatting and allows you to fix it. When you select a quick fix from the list, DataGrip displays a preview with the result of applying the quick fix.
By default, DataGrip shows table column and row markers in the editor. Use these markers to select, move, insert, remove, and align the columns and rows. The markers are a special type of inlay hints specific to Markdown files. If you don't see these markers, press CtrlAlt0S to open the IDE settings, go to Editor | Inlay Hints, and check the Other | Markdown | Table inlays option.
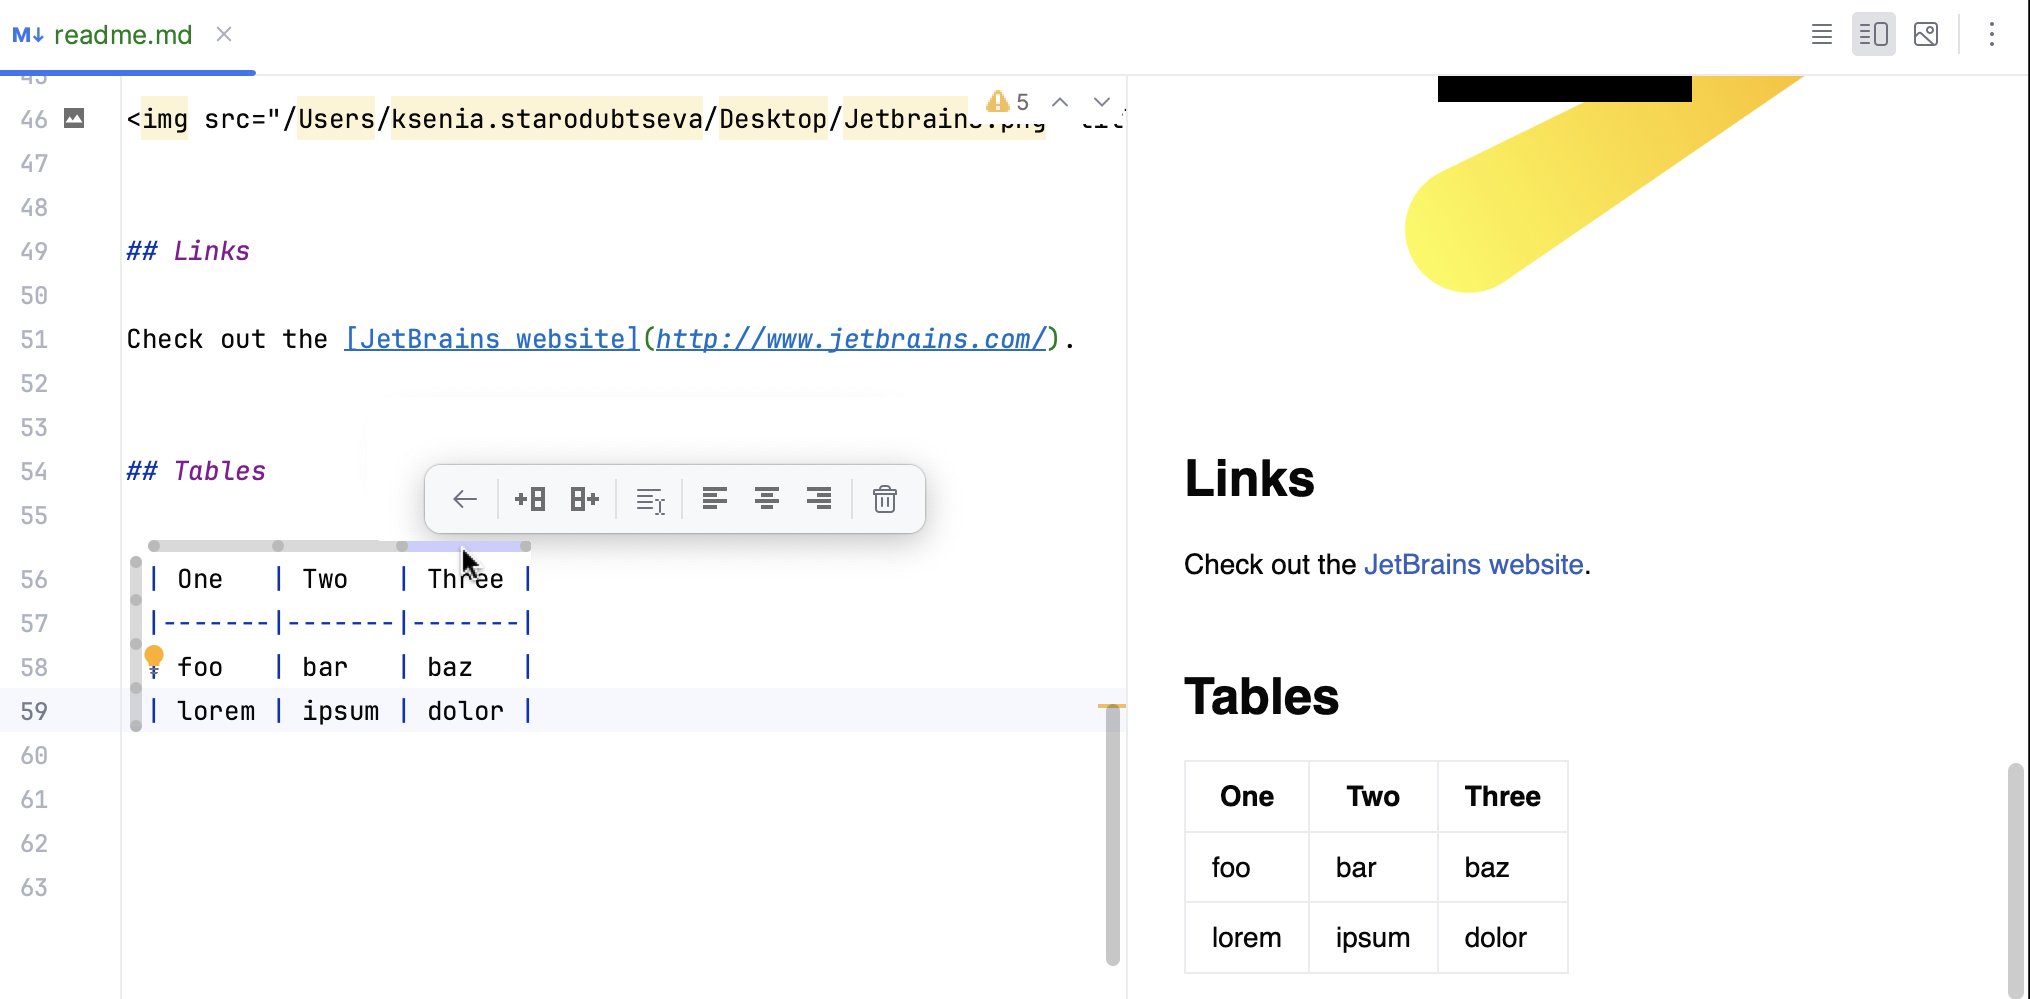
Click the column marker to perform the following actions:
Move Column Left
Move Column Right
Insert Column Left
Insert Column Right
Select Column Cells
Align Left
Align Center
Align Right
Remove Column
Click the row marker to perform the following actions:
Move Row Up
Move Row Down
Insert Row Above
Insert Row Below
Select Row
Remove Row
The Markdown plugin supports TeX and LaTeX syntax for adding mathematics to a document. Use single dollar characters $...$ to denote an inline math formula and double dollar characters $$...$$ for math blocks.

If you want to insert literal dollar characters, escape them with a backslash: \$ or \$$.
When you select some text in a Markdown file, DataGrip shows a floating toolbar with various formatting options.
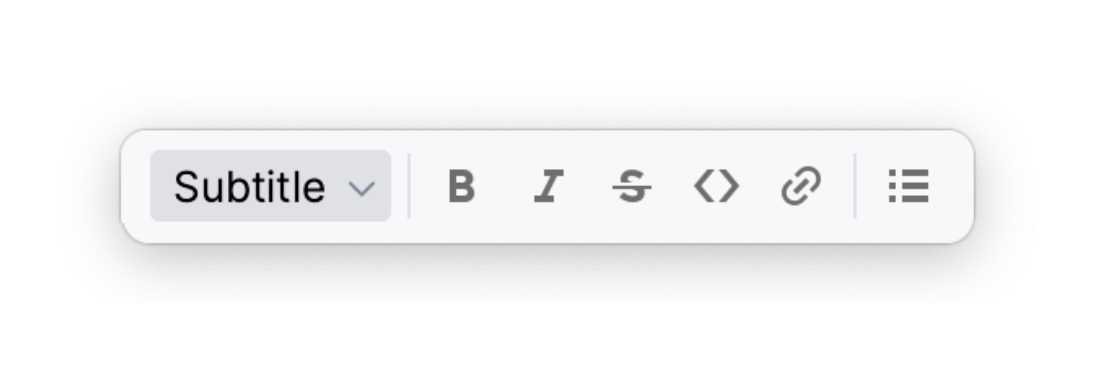
Select between regular text and a header with levels from H1 to H6.
Bold Ctrl0B
Italic Ctrl0I
Strikethrough CtrlShift0S
Code CtrlShift0C
Create Link CtrlShift0U
Unordered List
Ordered List
Checkmark List
Press CtrlAlt0S to open settings and then select Appearance & Behavior | Menus and Toolbars.
Add or remove the necessary actions under Markdown Editor Floating Toolbar.
For more information, refer to Menus and toolbars.
Click OK to apply changes.
Press CtrlAlt0S to open settings and then select Advanced Settings.
Select Hide floating toolbar under Markdown.
Click OK to apply changes.
DataGrip can reformat Markdown files with proper line wrappings, blank lines, and indentation.
You can trigger reformatting automatically on VCS commits, when running builds, or some other action, or you can invoke it manually at any time:
In the main menu, go to Code | Reformat Code or press CtrlAlt0L.
DataGrip formats the contents according to the code style settings for Markdown files.
Press CtrlAlt0S to open settings and then select Editor | Code Style | Markdown.
The Markdown plugin can export your Markdown files to HTML and PDF out of the box. If you configure Pandoc, it will also be able to export to and import from Microsoft Word files (DOCX).
DataGrip should be able to detect your Pandoc installation automatically. If not, perform the following:
In the main menu, go to Tools | Markdown | Configure Pandoc.
Under Pandoc Settings specify the location of the Pandoc executable and the location where you want to store images imported from Microsoft Word documents.
Click OK to apply the changes.
In the main menu, go to Tools | Markdown | Import Word Document.
Specify the location of the document.
DataGrip can export to Microsoft Word (requires Pandoc), PDF, and HTML.
Click
Editor and Preview or
Preview to show the HTML preview pane in the editor.
note
DataGrip relies on rendered HTML to export Markdown to another format, so without the preview pane all export options will be disabled.
In the main menu, go to Tools | Markdown | Export Markdown File To.
In the Export Markdown dialog, specify the name, location, and format for the output file and click OK.

DataGrip highlights various Markdown elements according to the color scheme settings.
In the Settings dialog (CtrlAlt0S) , select Editor | Color Scheme | Markdown.
Select the color scheme, accept the highlighting settings inherited from defaults, or customize them as described in Colors and fonts.
Use the Structure tool window Alt07 or the File Structure popup CtrlF12 to view and jump to the relevant headings.
Markdown does not have dedicated syntax for commenting out lines. However, it is possible to emulate a comment line using a link label without an address, like this:
[comment]: <> (Your comment text)note
There must be a blank line before the link label.
Place the caret at the line that you want to comment out and press Ctrl0/.
This will add a link label with the commented out text in parentheses and a blank line before it if necessary. Press the same shortcut to uncomment.
By default, DataGrip doesn't add hard wraps to long lines automatically. It will wrap lines when you reformat the file.
Press CtrlAlt0S to open settings and then select Editor | Code Style | Markdown. Configure Markdown code style settings to enable automatic line breaks when typing.
Alternatively, disable hard wraps entirely to preserve paragraphs that are longer than the configured maximum line length.
You can also use the Edit | Fill Paragraph action to add line breaks only for the paragraph where the caret is.
Thanks for your feedback!