Run a database in a Docker container
Install the Docker plugin
This functionality relies on the Docker plugin, which you need to install and enable.
Press Ctrl+Alt+S to open settings and then select .
Open the Marketplace tab, find the Docker plugin, and click Install (restart the IDE if prompted).
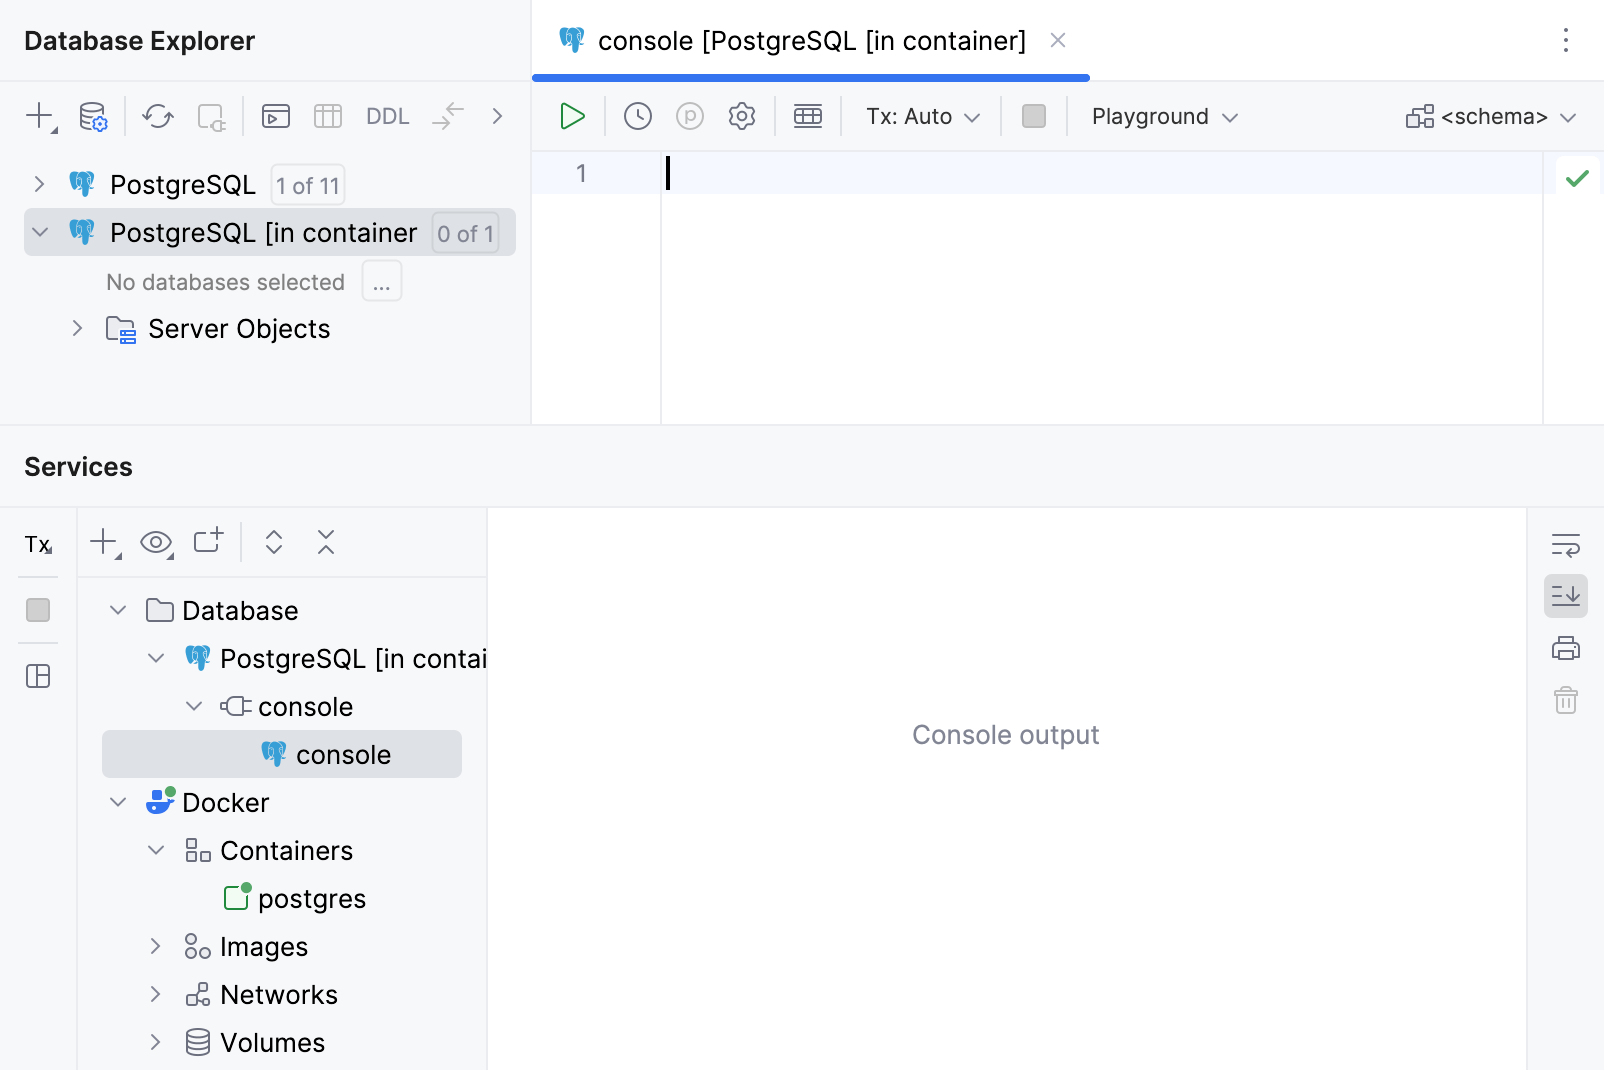
You can use Docker to run a database in a container. This tutorial describes how to run a Docker container with a PostgreSQL server and connect to it using DataGrip.
Step 1. Pull a PostgreSQL server image
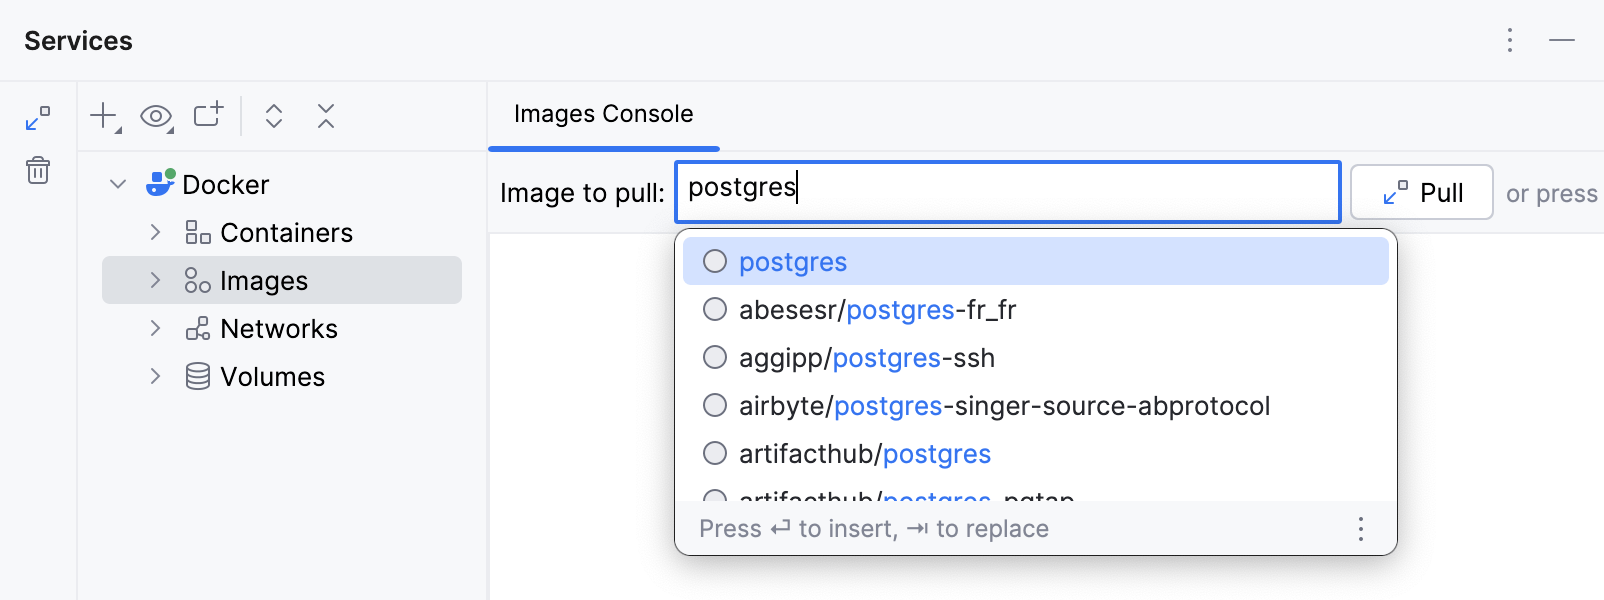
In the Services tool window, expand your Docker connection and select the Images node.
In the Image to pull field, start typing
postgresand select the necessary image repository. For example, selectpostgresto pull the defaultpostgres:latestimage.Press Ctrl+Enter and wait until Docker pulls the image.
Step 2. Run a container from the PostgreSQL server image
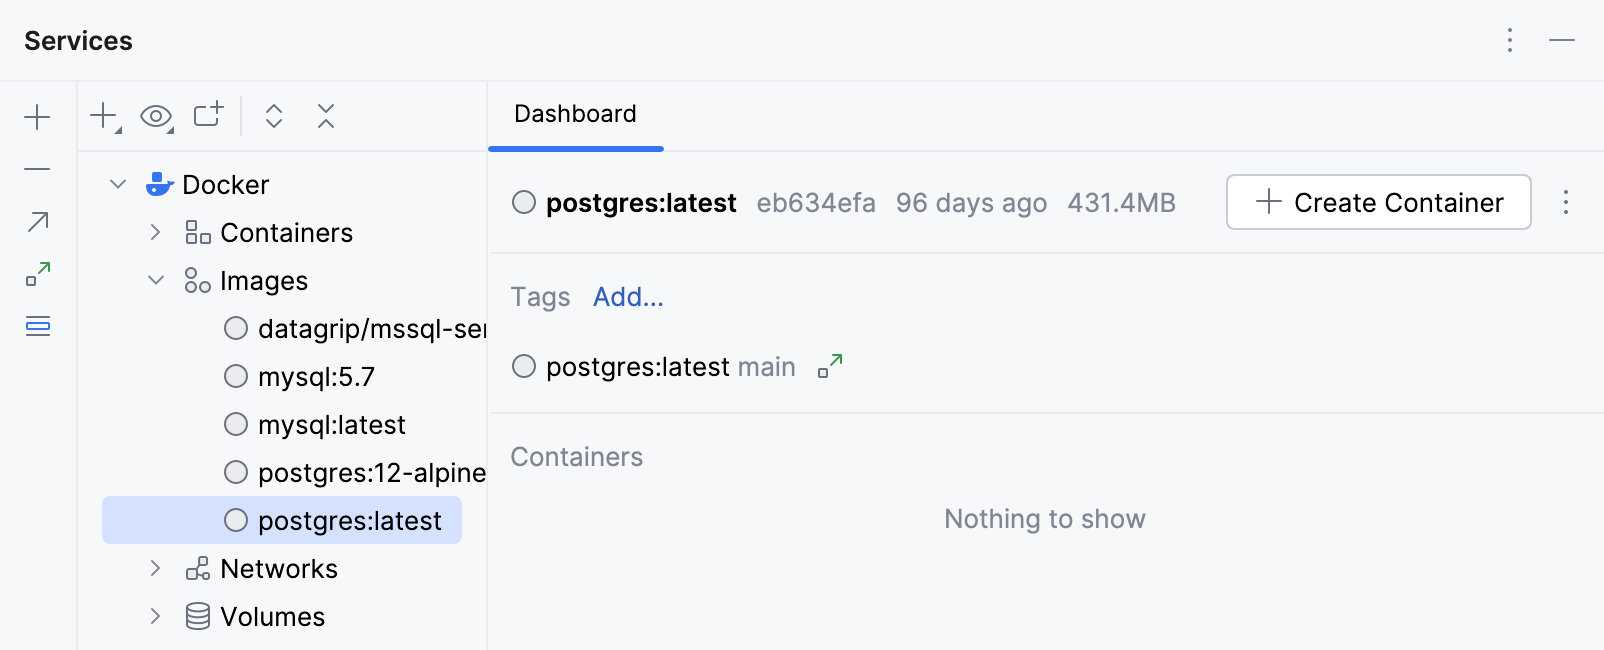
Expand the Images node, select the PostgreSQL server image, and click
Create Container.
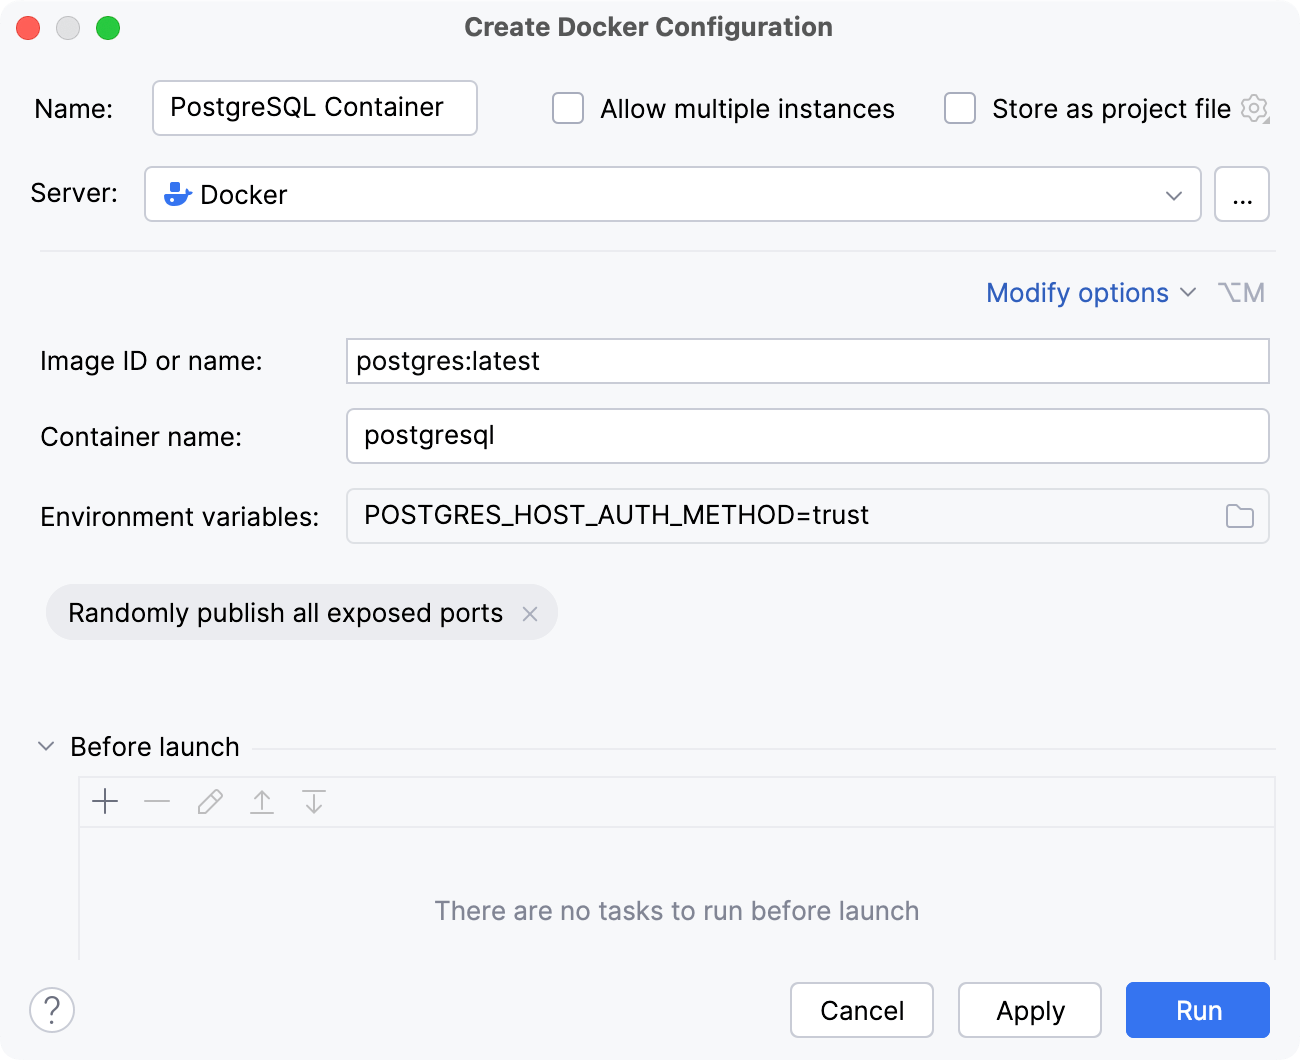
In the Create Docker Configuration dialog, do the following:
Click Modify options and select Randomly publish all exposed ports to publish all exposed container ports to the host interfaces. For a more secure setup, you will need to define specific port bindings, of course. However, in this tutorial, we assume that your local machine is secure enough and there is nothing important.
Click Modify options, select Environment variables, and configure environment variables that define the authentication settings for your PostgreSQL server. For the purposes of this tutorial, we can use Trust Authentication. Keep in mind that this will enable anyone who can connect to the PostgreSQL server to access the database with any username of their choice. In the Environment variables field, click
and add the
POSTGRES_HOST_AUTH_METHODvariable with the valuetrust.For more information about authenticating, see the official PostgreSQL Docker Hub image page.
Optionally, you can specify custom names for the configuration and the container.
Step 3. Connect to the PostgreSQL server
Docker automatically maps the default PostgreSQL server port 5432 in the container to a host port within the ephemeral port range (typically from 32768 to 61000). This tutorial assumes that port 55000 was used. To check what the actual mapping is, right-click the PostgreSQL container in the Services tool window under the Containers node, click Inspect, and then find the value of the HostPort field in the Inspection output.

Open data source properties by doing one of the following:
Navigate to .
On the Database Explorer (⌘ 1) toolbar, click
Data Sources.
Press Ctrl+Alt+Shift+S.

In the Data Sources and Drivers dialog, click the Add icon (
) and select PostgreSQL.
Check if there is a Download missing driver files link at the bottom of the connection settings area. Click this link to download drivers that are required to interact with a database. For a direct download link, refer to the JetBrains JDBC drivers page.

Location for the downloaded JDBC drivers is the DataGrip configuration directory.
You can also use your drivers for the database instead of the provided ones. For more information about connecting to a database with your driver, refer to Add a user driver to an existing connection.
If there is no Download missing driver files link, then you already have the required drivers.
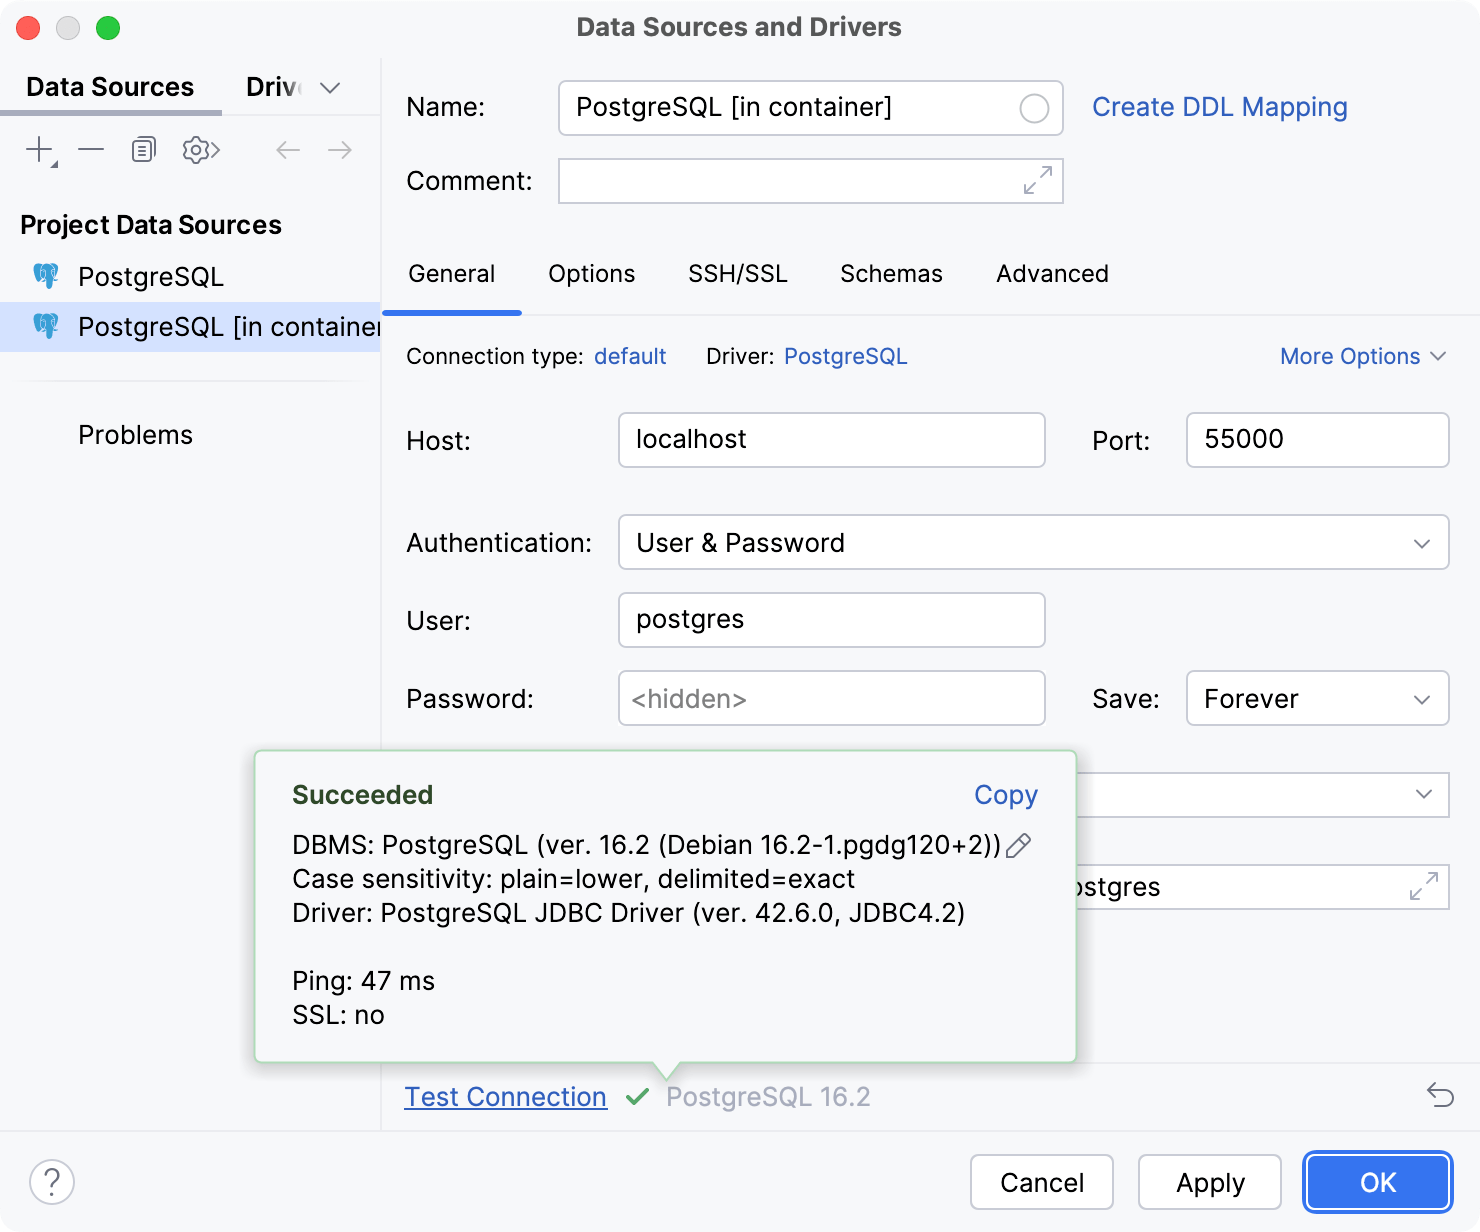
Set the host name to
localhost, the port number to55000(or whatever host port it was mapped to), the default database and user topostgres. No password is required since we usedtrustauthentication to run the PostgreSQL server.Ensure that the database connection can be established using the provided details. To do this, click the Test Connection link at the bottom of the connection details section.

If you encounter any connection issues, refer to the Cannot connect to a database page.
(Optional) By default, only the default database and schema are introspected and available to work with. If you also want to work with other databases and schemas, in the Schemas tab, select them for the introspection.

Click OK to create the data source.
Step 4. Work with your database
Once the database is running in the container, you can start working with it.
For more information about working with database objects in DataGrip, refer to Database objects.
To write and run queries, open the default query console by clicking the data source and pressing F4.
To view and edit data of a database object, open Data editor and viewer by double-clicking the object.
To learn about importing and running dump files in DataGrip, refer to Import and Import SQL dump files.
