Troubleshooting
In case something goes wrong with your Datalore installation, we recommend checking the logs as your first troubleshooting step. The most important log types are described below.
If the server is running and accessible, you can export the logs via Admin panel. This method is preferable.
You can use an alternative method of log extraction using a console command:
$kubectl logs pod/datalore-0 -n datalore
note
Adjust the pod name and namespace accordingly to your deployment.
$sudo docker compose logs datalore
While the notebook agent is alive, you can read its logs in the same way as with the Datalore server. Because there can be multiple agents running in parallel, it is recommended to obtain its agent ID prior to this step. You can obtain the agent ID from the agent pod metadata.
Once the required pod is identified, proceed with acquiring its logs: kubectl logs pod/datalore-agent-.... -n datalore
In some certain circumstances, you may encounter the following error during notebook agent startup: Kernel failed: Failed to install packages. The error log is available in the notebook Attached Files.
note
Most likely, this is caused by a dependency conflict in environment.yml.
To investigate further, access the notebook's attached files and find an error log with the timestamp matching the time the error occurred.
There are two ways to adjust the logging level. Choose the one that suits you best:
Per notebook:
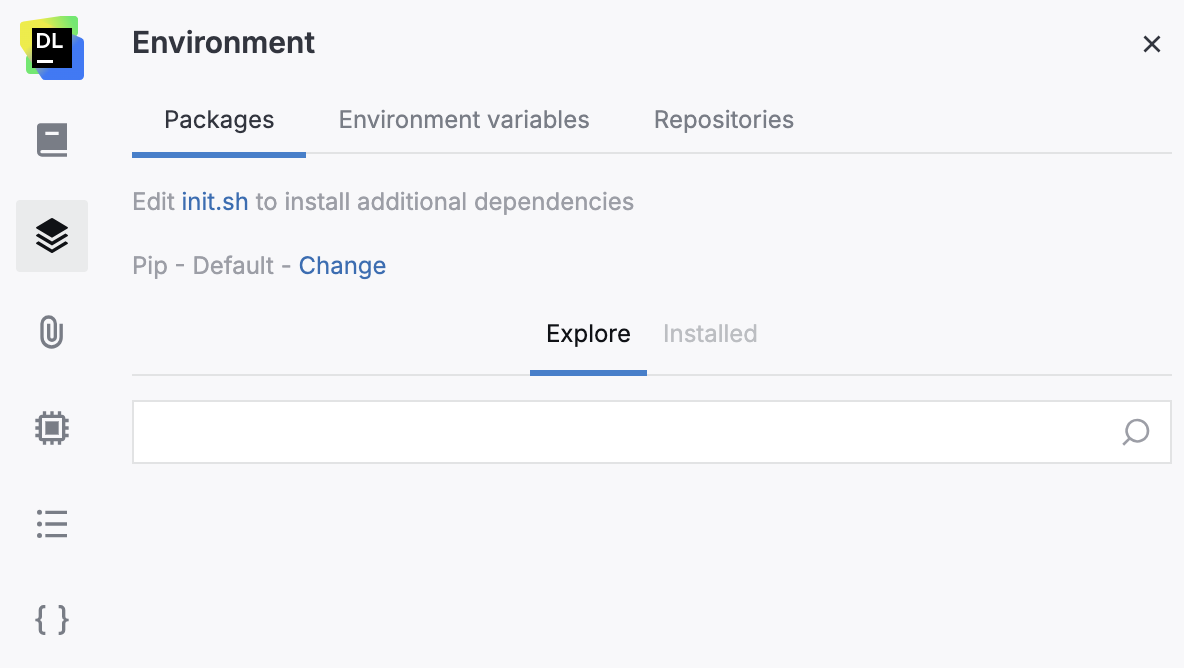
Open the Environment tool from the left-hand sidebar. You may need to start the machine to enable the environment management interface in this tool.

Click Edit init.sh to install additional dependencies. This will open the init.sh file in the file viewer on the right side of the editor.
Add the following line:
./set_log_level.sh <LOG_LEVEL>*
Per Agent (server restart is required):
KubernetesDockerOpen the datalore.values.yaml file.
For the required instance, add the environment variable as shown in the example below:
agentsConfig:
  external:
    ...
    instances:
      - id: external-agent
        ...
          env:
           - name: AGENT_LOG_LEVEL
             value: "<LOG_LEVEL>"
Redeploy your instance with the updated configuration.
Open the agents-config.yaml file.
For the required instance, add the environment variable as shown in the example below:
external:
  ...
  instances:
    - id: external-agent
      ...
        env:
         - name: AGENT_LOG_LEVEL
           value: "<LOG_LEVEL>"
Redeploy your instance with the updated configuration.
* The accepted string values for <LOG_LEVEL>: TRACE, DEBUG, INFO, WARN, ERROR, ALL or OFF. The special case-insensitive value INHERITED, or its synonym NULL, will force the level of the logger to be inherited from higher up in the hierarchy. This comes in handy if you set the level of a logger and later decide that it should inherit its level.
Most of the time, these logs are self-explanatory and can be helpful in identifying a problem root cause so appropriate actions can be taken. However, if you are stuck, feel free to refer to our support resources.