Using AI Assistant to build an application
This tutorial demonstrates how to use the AI Assistant in GoLand to build a web application from scratch. It covers project creation, generating an application with AI-driven suggestions, running and testing the application, modifying and enhancing its functionality, and finally managing it with version control.
AI Assistant in GoLand might improve the efficiency of routine tasks and make complex challenges more manageable.
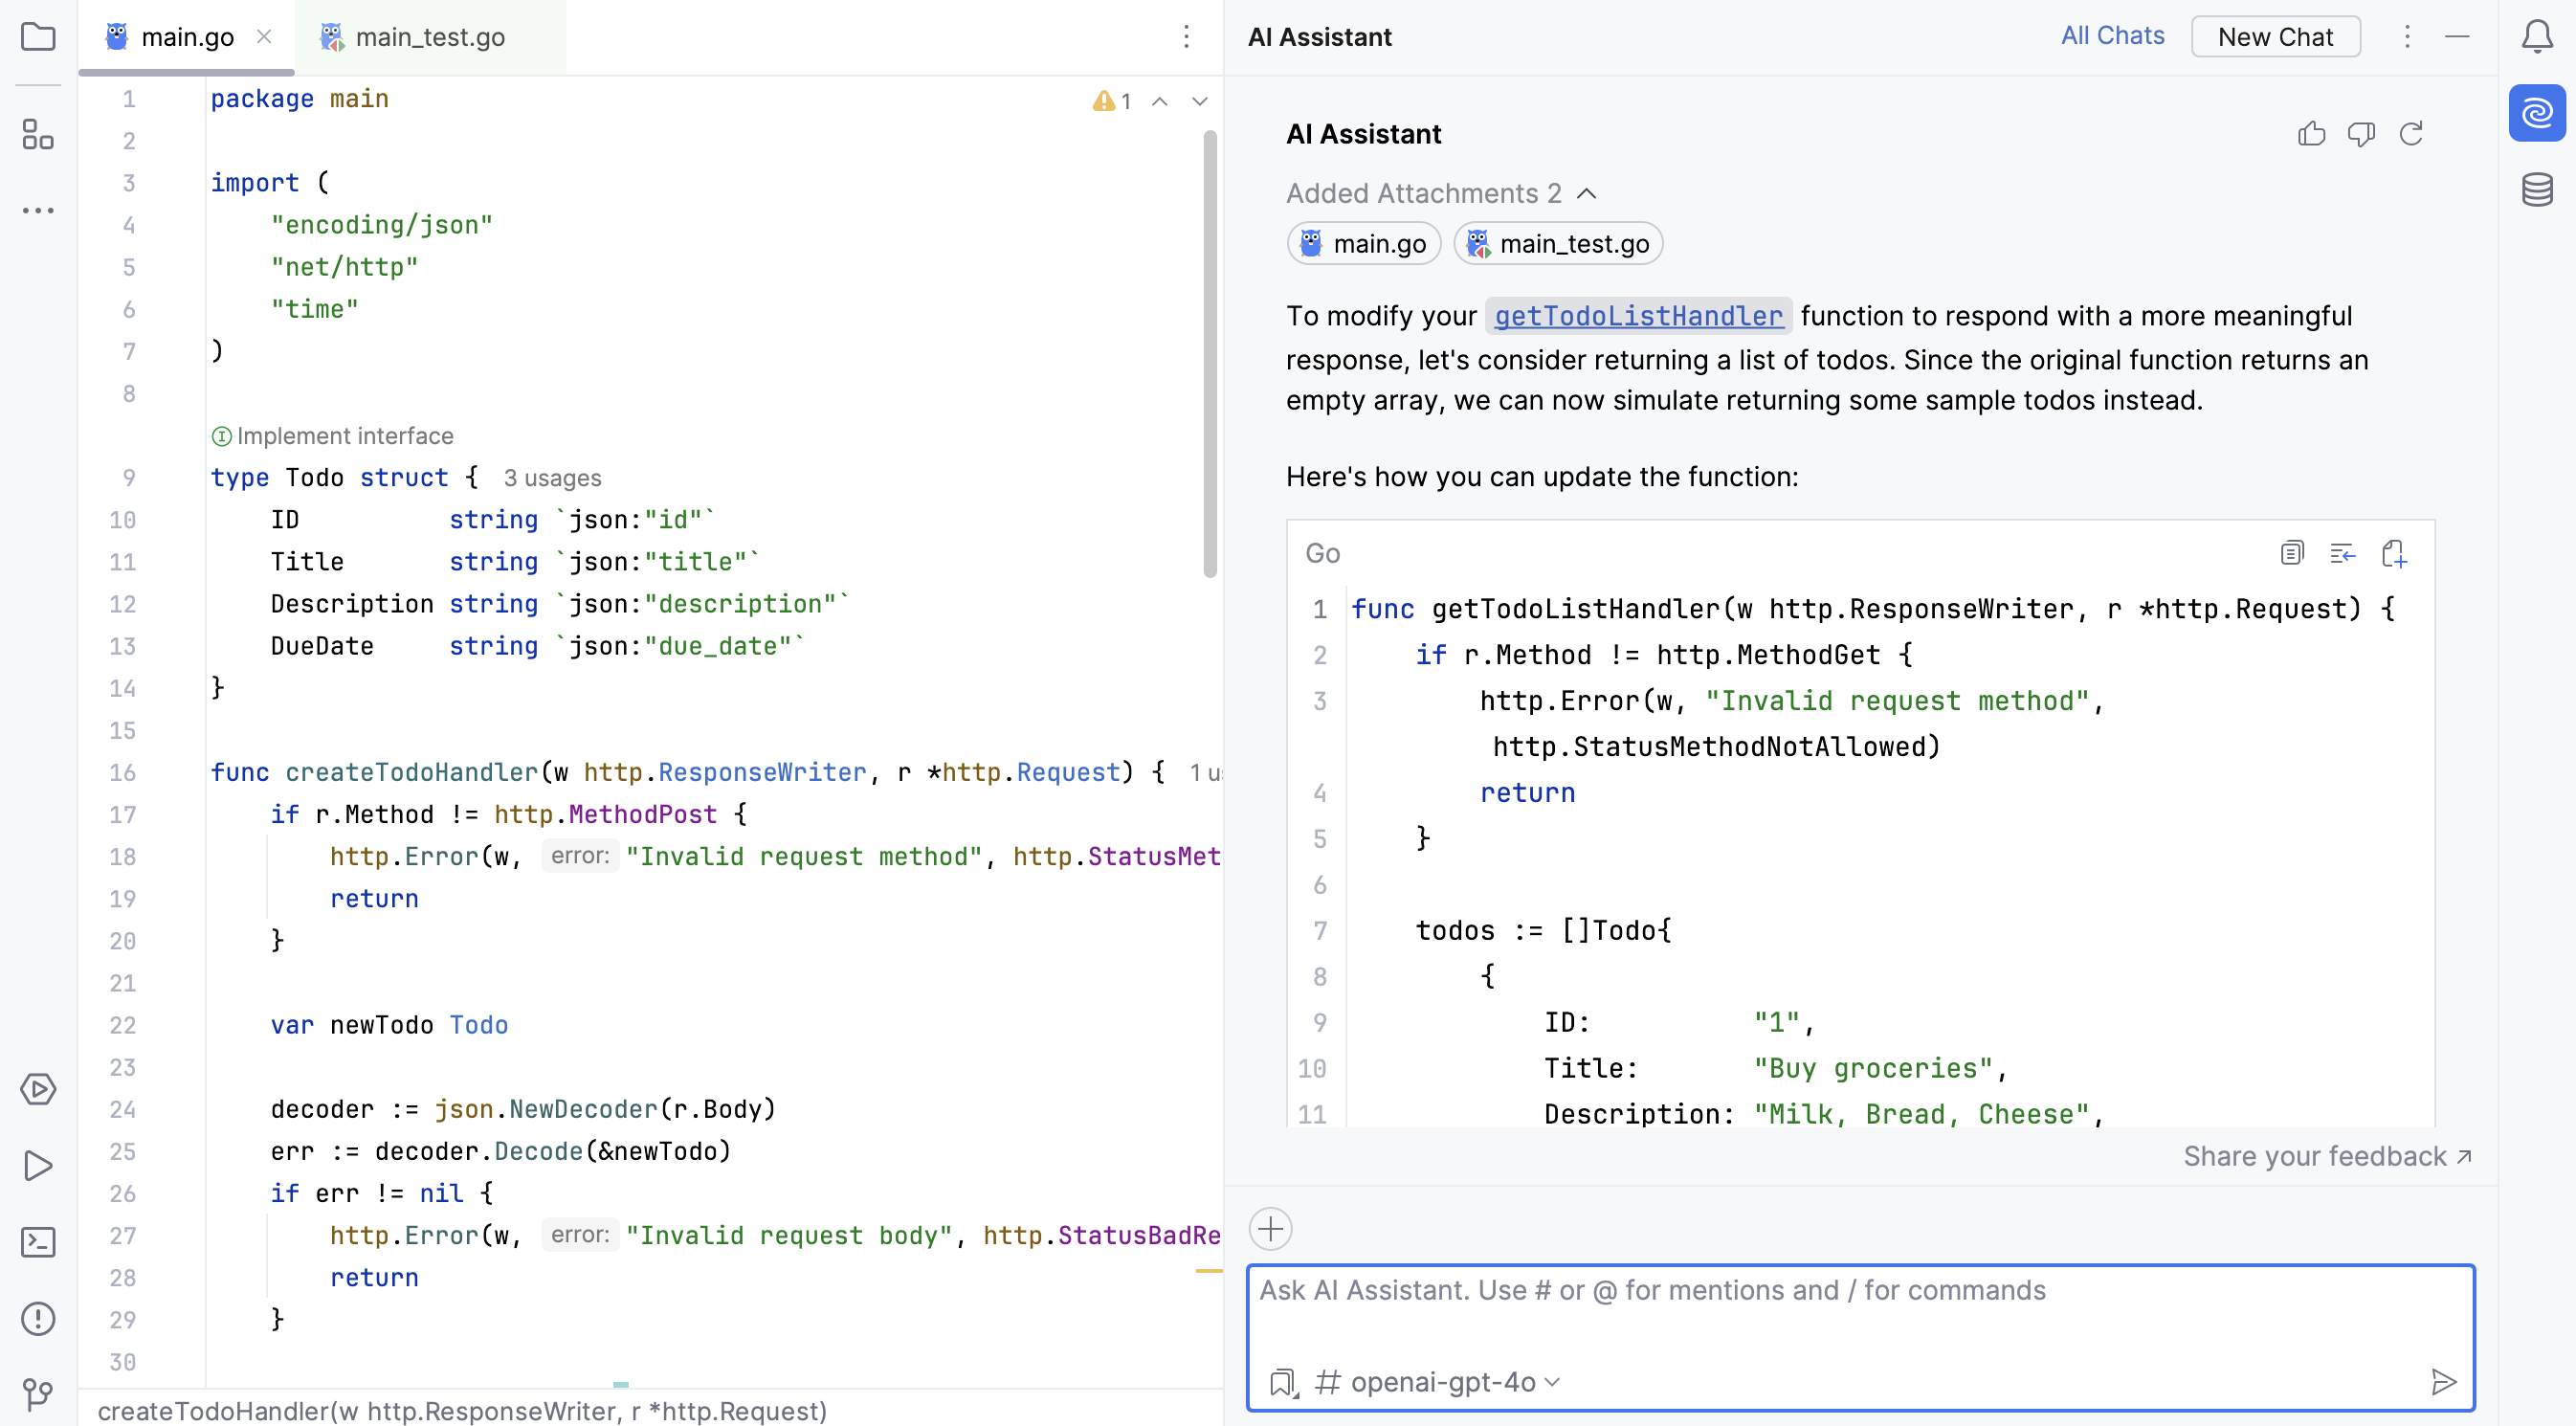
Step 1. Create an empty project
During this step, we are going to create a new project and ensure that the necessary Go SDK configuration is set up.
General procedure of creating a project
Click . Alternatively, on the Welcome screen, navigate to New | Project.
On the New Project page, select the type of project you want to create. You can refer to the available options in the Project types table.
In the GOROOT field, specify the location of your Go installation. GoLand usually detects this location automatically.
To change or install a new Go SDK version, click Add SDK (
) and choose one of the following options:
Local: to use an existing SDK from your local system.
Download: to download a Go SDK version from the official repository.
(Optional) To prevent GoLand from creating a
main.gofile with sample code, clear the checkbox. When selected, GoLand creates this file to demonstrate basic IDE functionality.Click Create.
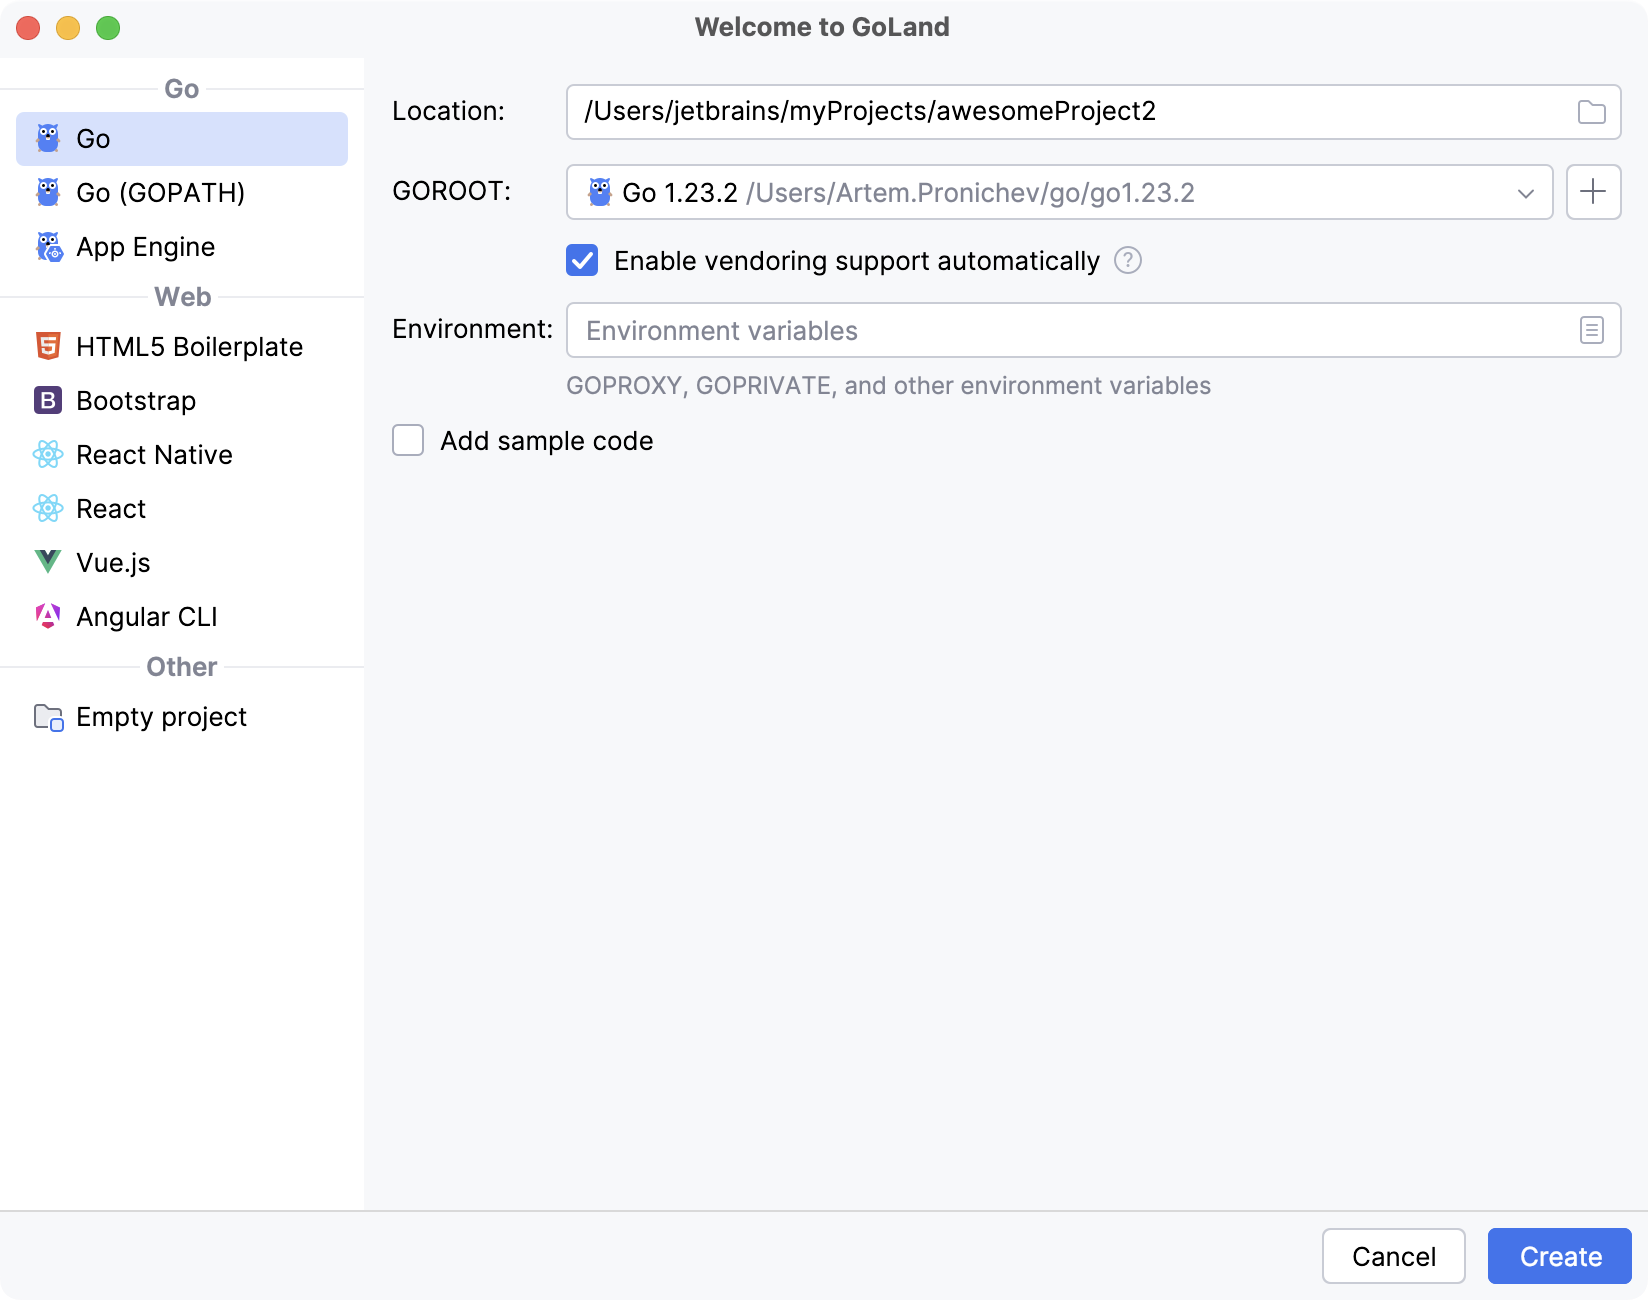
With a new project set up, we can proceed to generate an application using the AI Assistant.
Step 2. Generating an application
Next, we are going to generate a web application using the AI Assistant, focusing on code creation for backend and web interfaces.
From the main menu, select .
In the input field, select a model that you want to use. For example,
anthropic-claude-3.5-sonnet.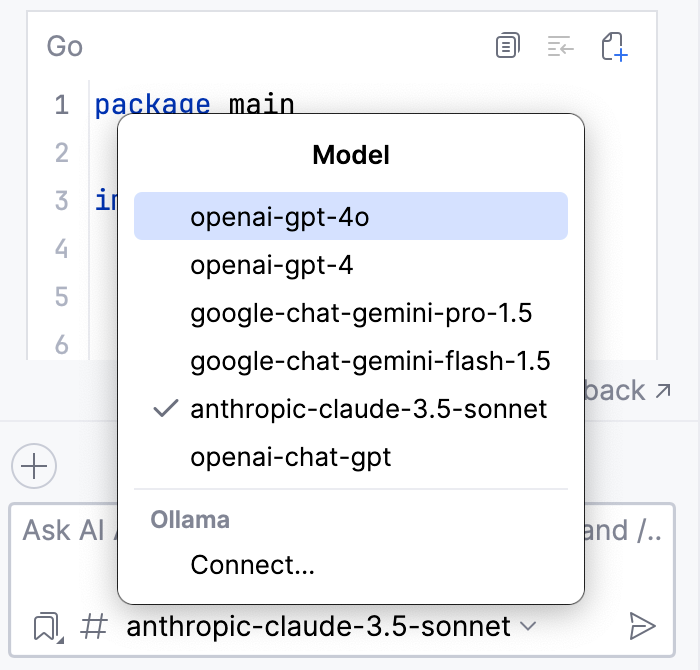
In the input field, write the following prompt and press Enter:
Generate a web application with Go and JavaScript that lists to-do items in the browser. The `createTodoHandler` should handle POST requests for creating a new to-do item. The `ToDoItem` struct should have an ID, Title, and Description, using only standard Go packages.Wait for the generation to complete.
The model should generate code for the backend and a web form.
Click the Create File from Snippet icon in the snippet frame.
Create two files: one for the web form and one for the backend, as instructed by the model.
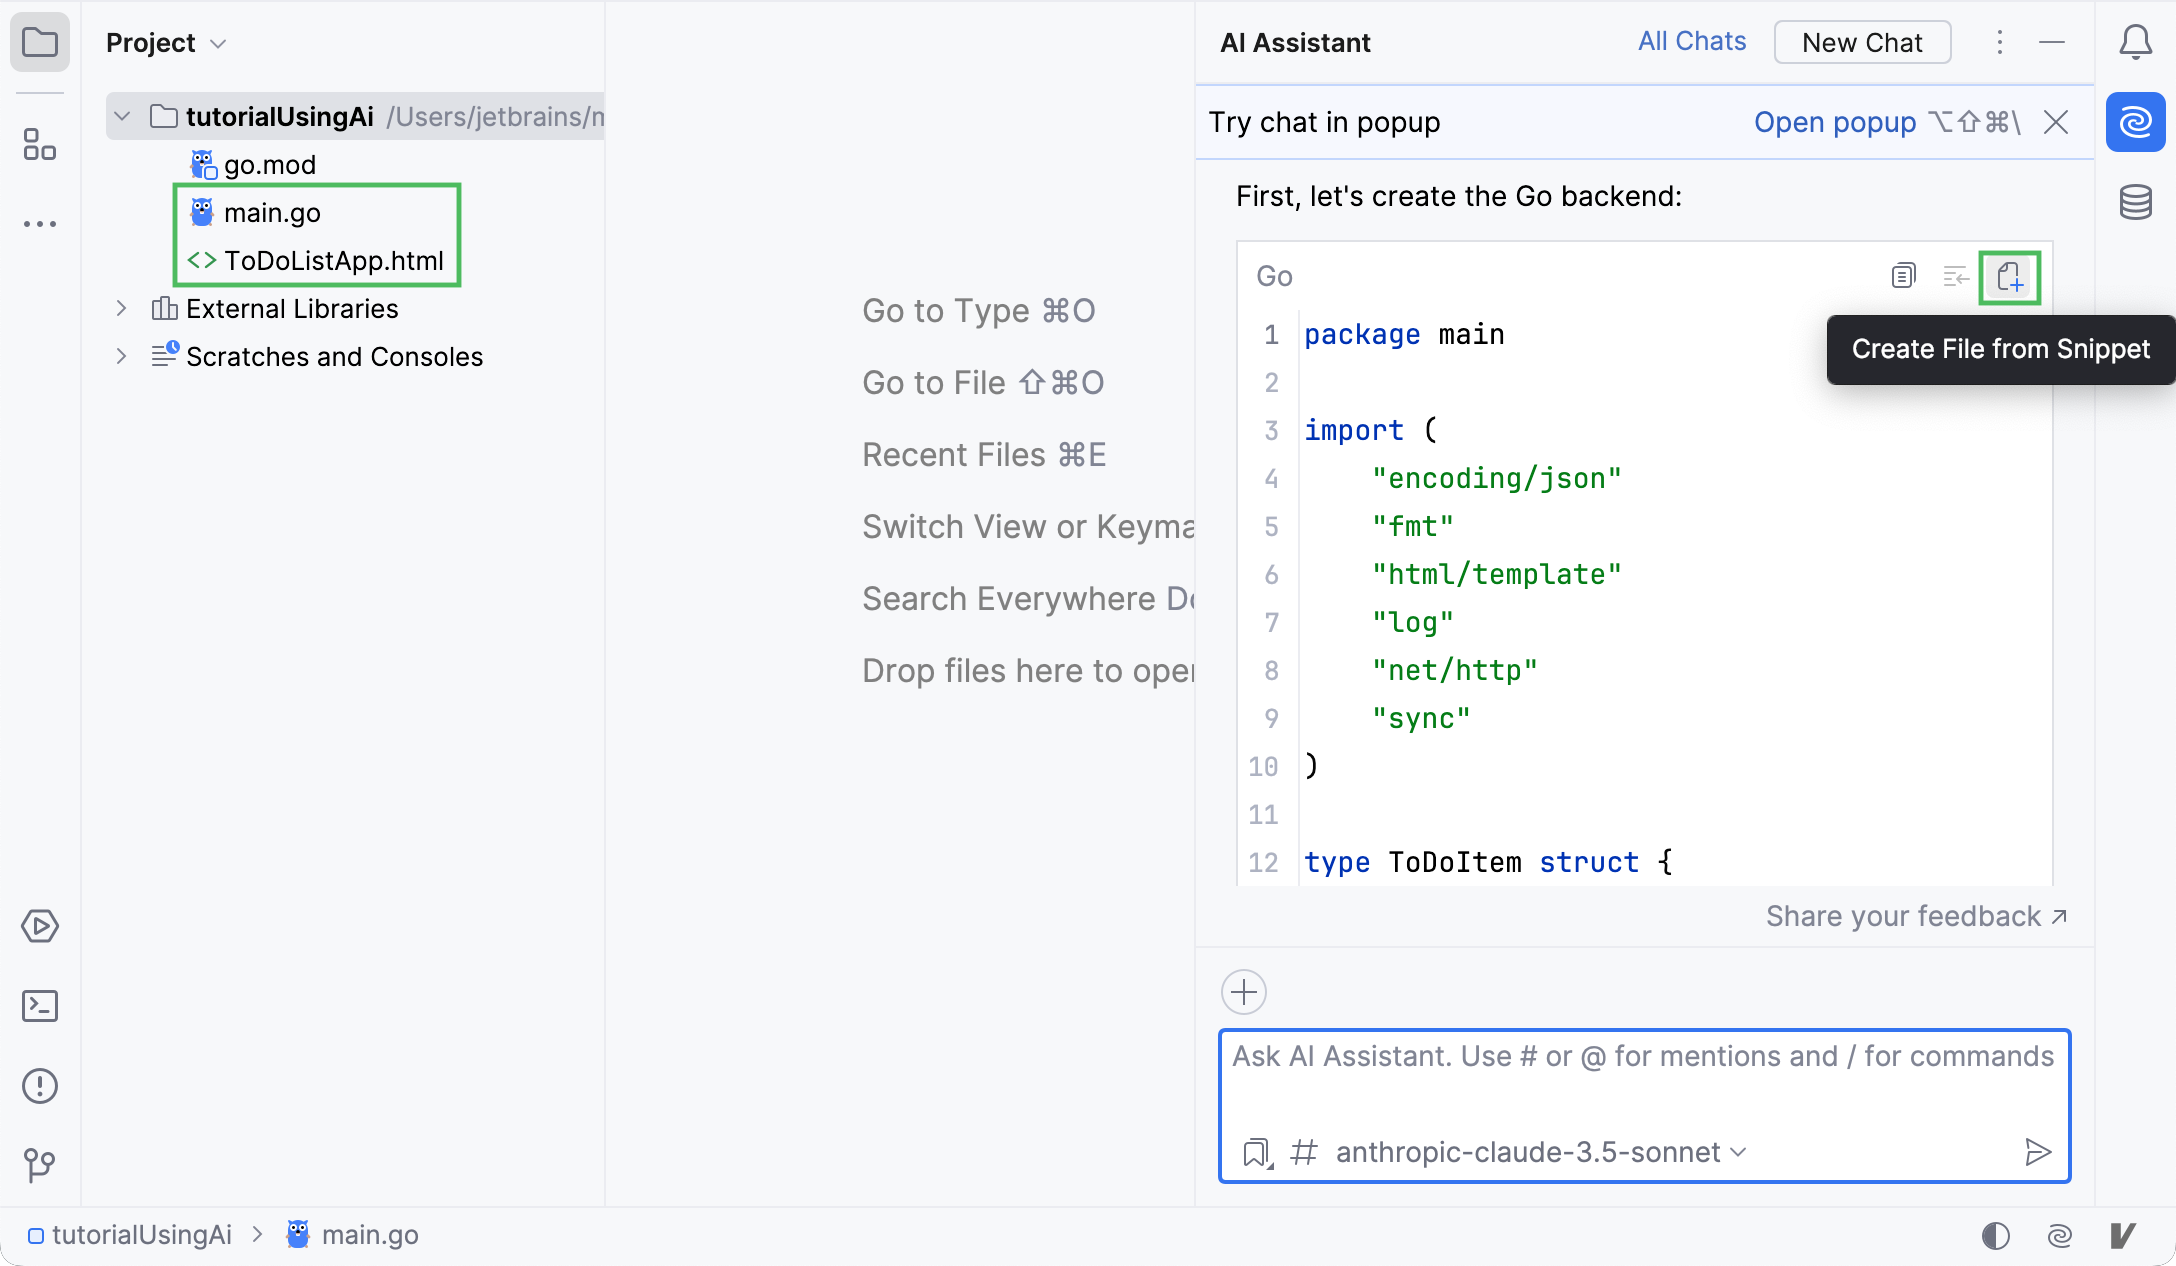
(Optional) Follow naming for generated files. In this tutorial, names should be
main.goandindex.html. So, we need to renameToDoListApp.htmltoindex.html.To rename the file, press Shift+F6 or right-click a file and select .
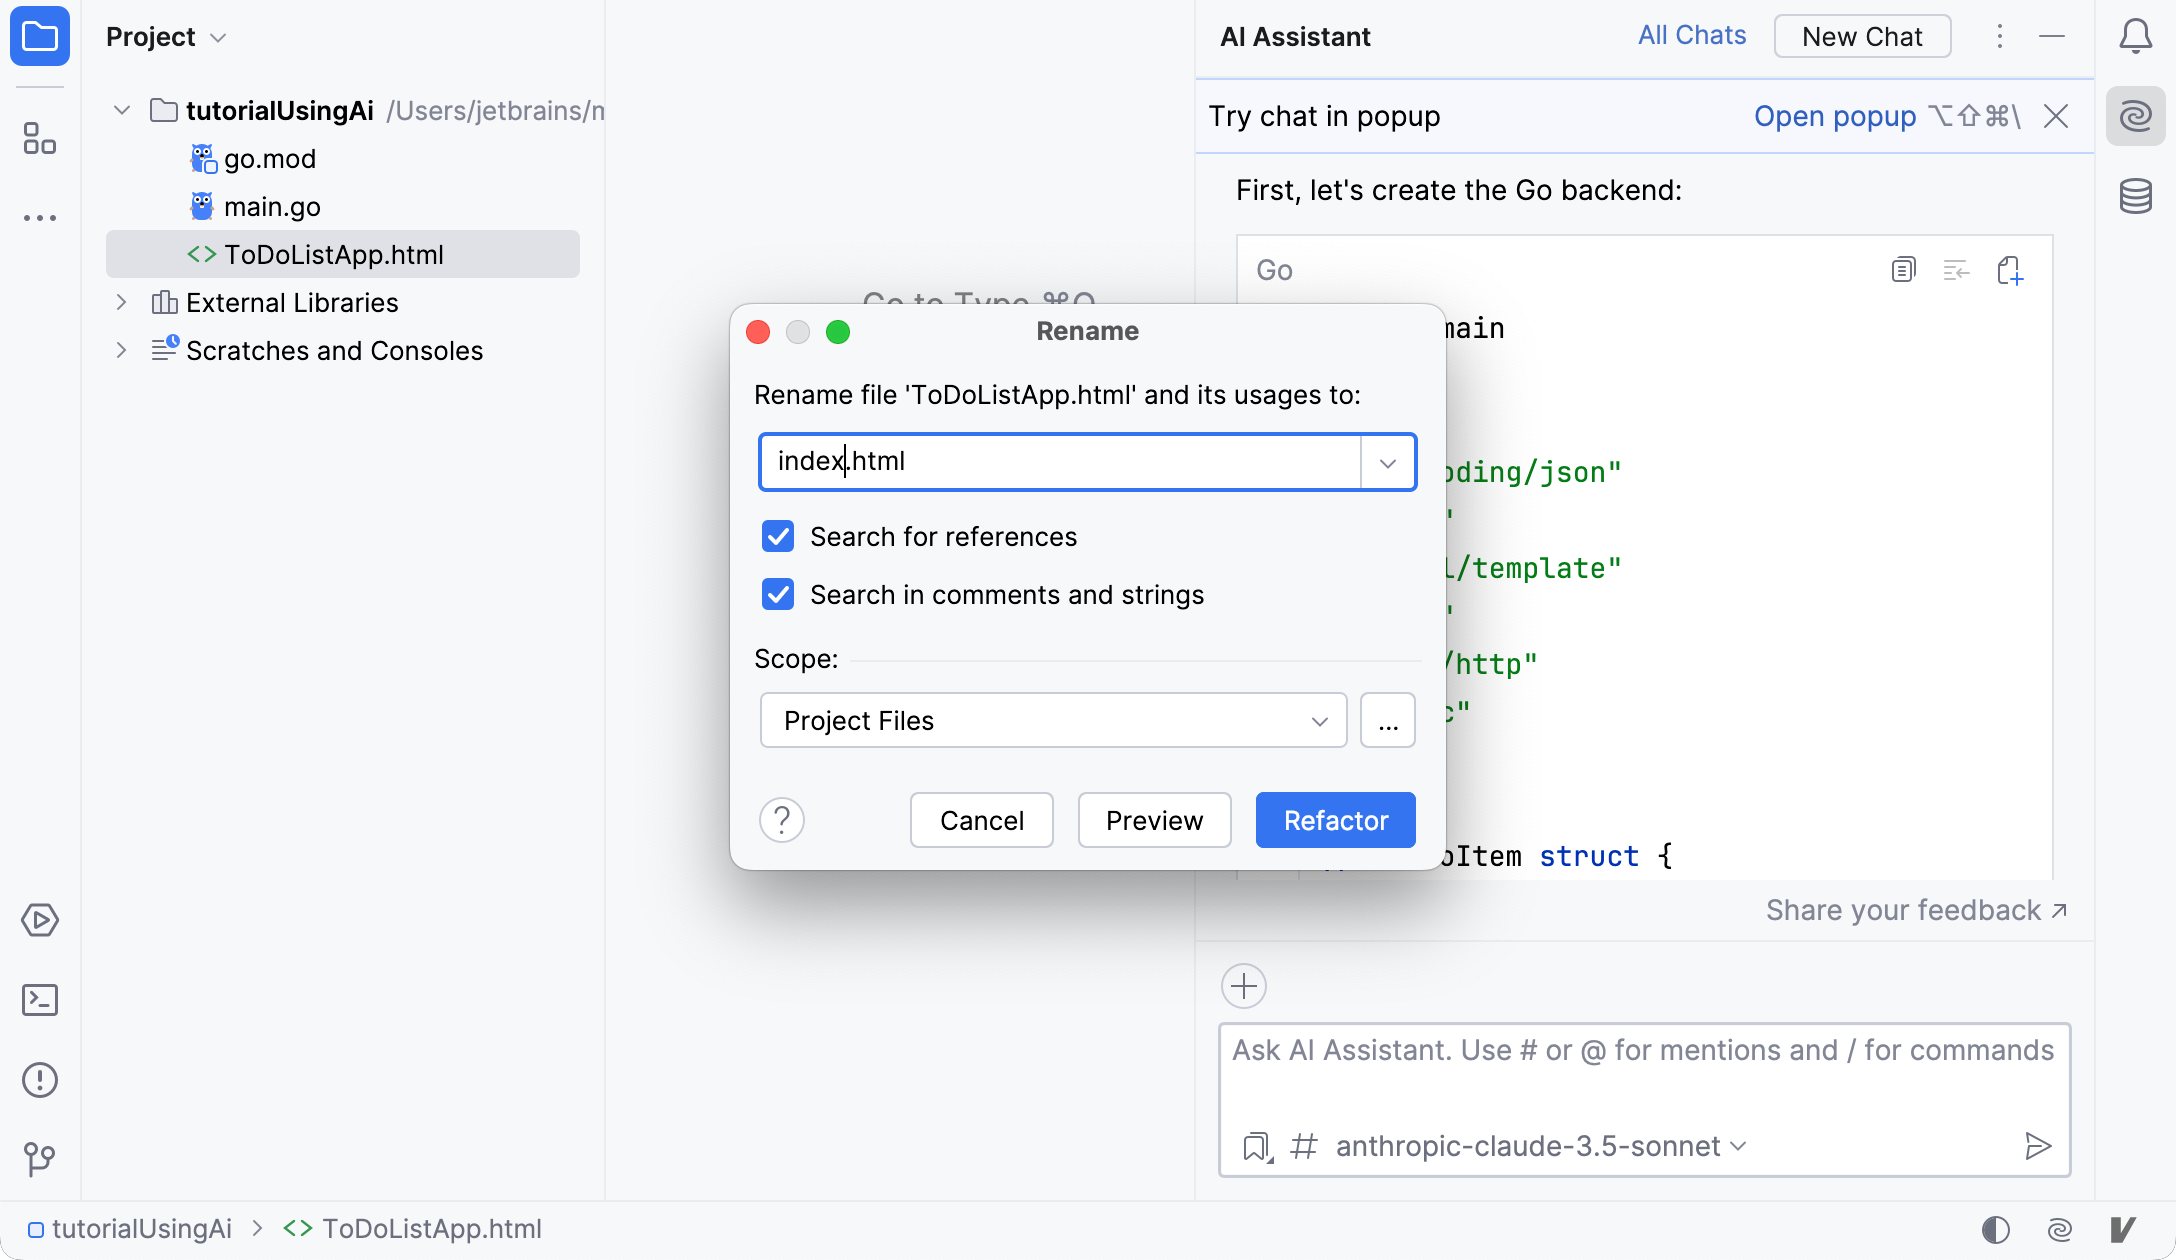
We have now generated the initial application structure. Let us ensure it works by running it.
Run the application
Click
in the gutter near the
mainfunction and select Run.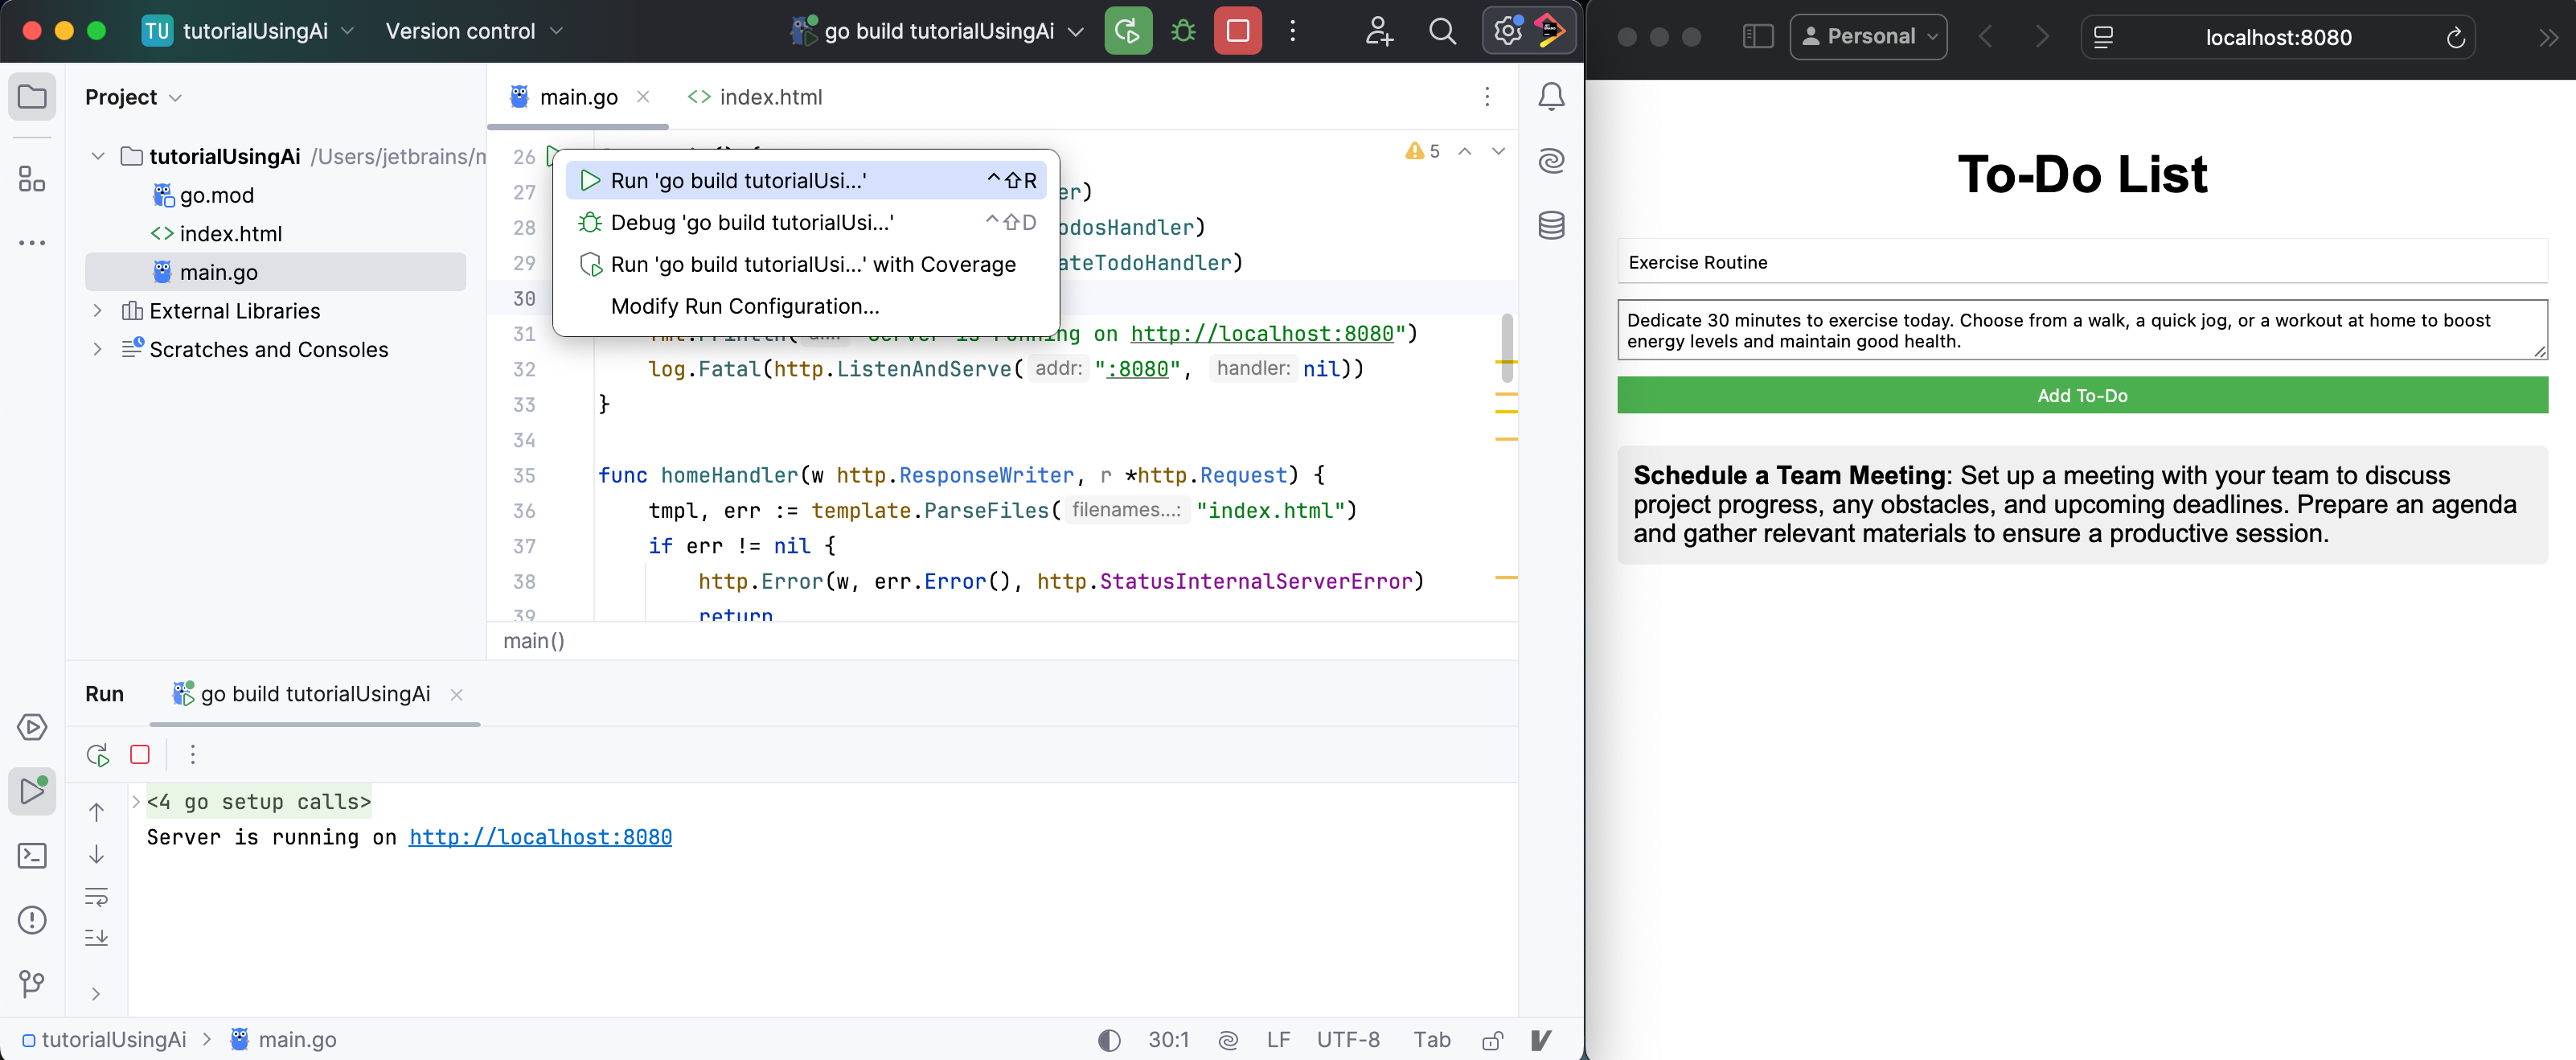
After you ensured that everything is working, you can stop it by pressing Ctrl+F2 or the Stop button on the toolbar.
Step 3. Updating the handler
Let's enhance the application by adding new fields to existing structures and updating associated components using the AI Assistant.
First, we will update the application by adding due dates to our to-do items. This modification does not require navigating to the AI Assistant tool window.
Adding a field to the struct
Find the
ToDoItemstruct inmain.go.Select the whole struct and press Ctrl+\.
In the input field, write the following prompt and press Enter:
Update the ToDoItem struct to include a DueDate field.
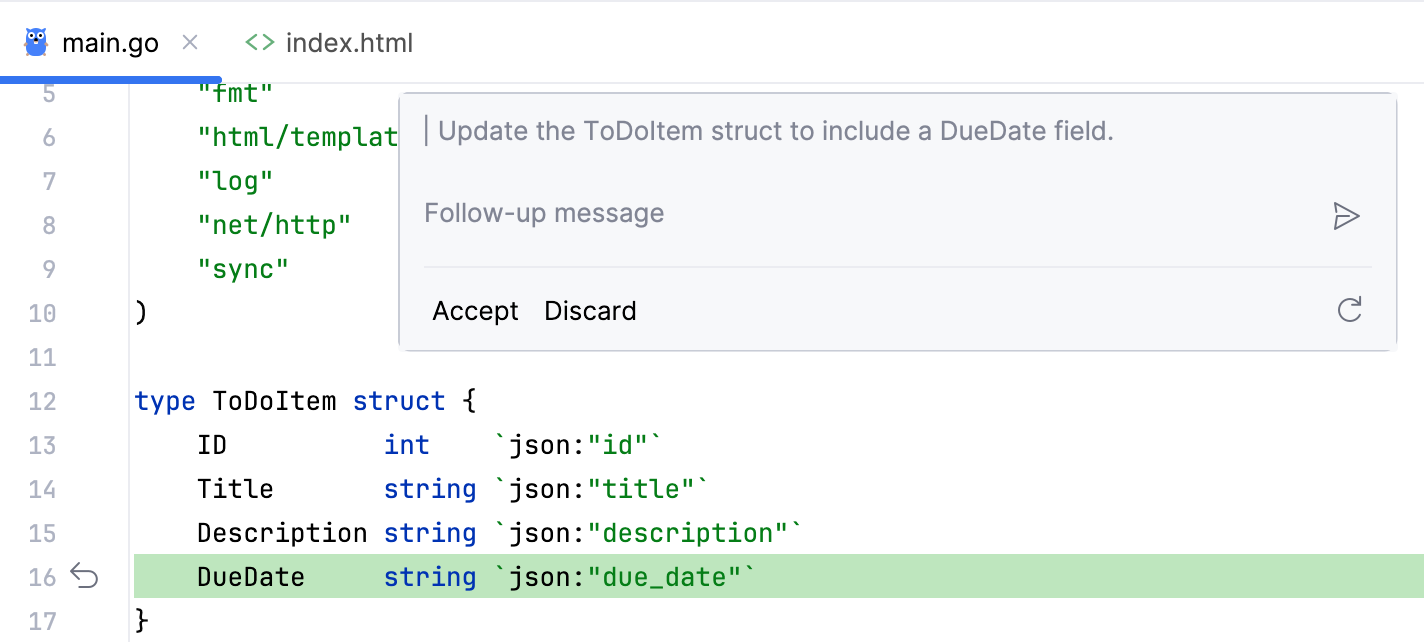
Second, to reflect this change in the web form, let us proceed with updating JavaScript in the HTML form.
Updating the web form
Double-click
index.htmlto open it in the editor.From the main menu, select .
In the input field, select a model that you want to use. For example,
anthropic-claude-3.5-sonnet.
To add the context to the prompt form, click the plus icon and select two files:
main.goandindex.html.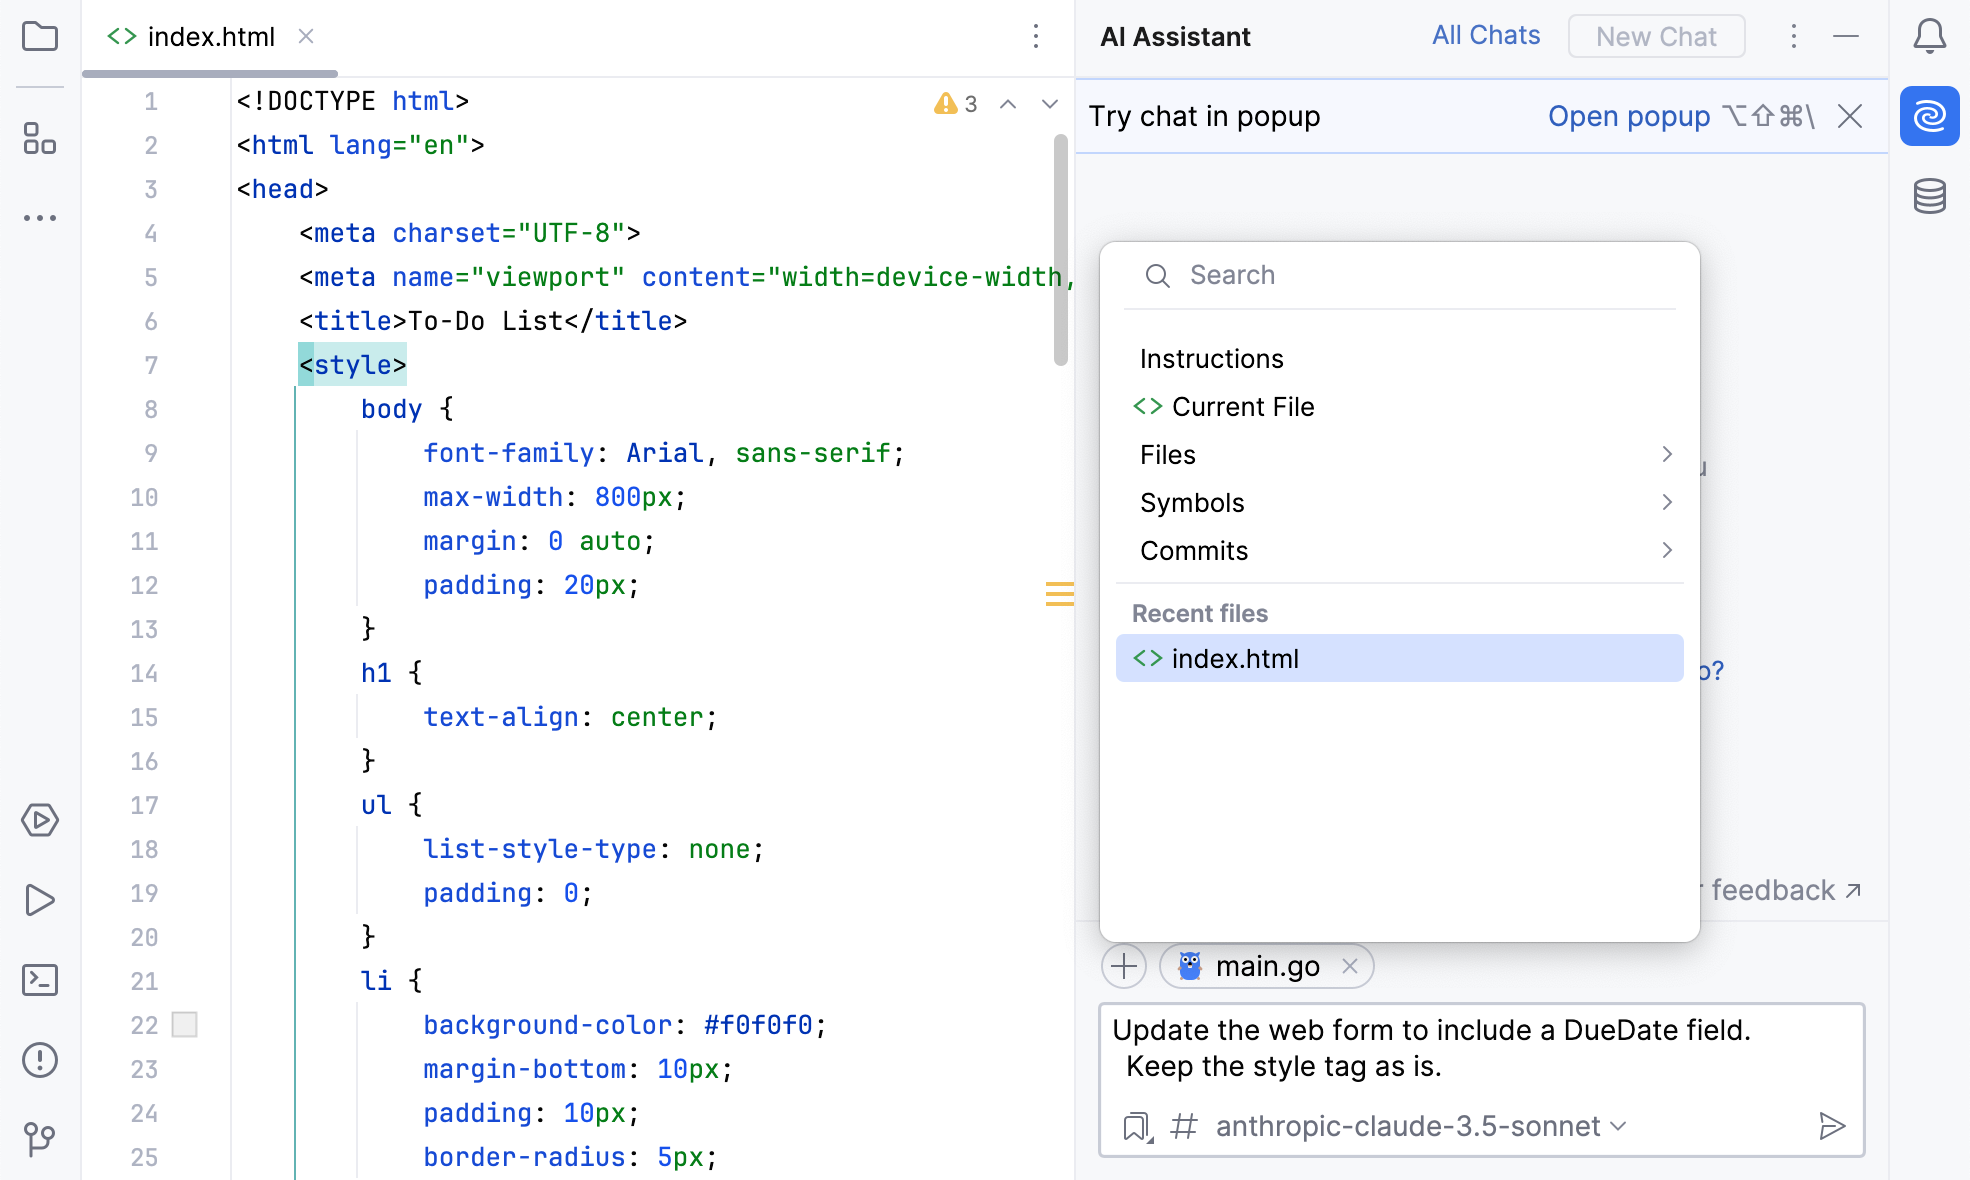
In the input field, write the following prompt and press Enter:
Update the web form to include a `DueDate` field. Output the updated HTML file and keep all code.Wait for code generation, then select all code in
index.htmland click the Insert Snippet at Caret icon in the generated code frame in the AI Assistant tool window.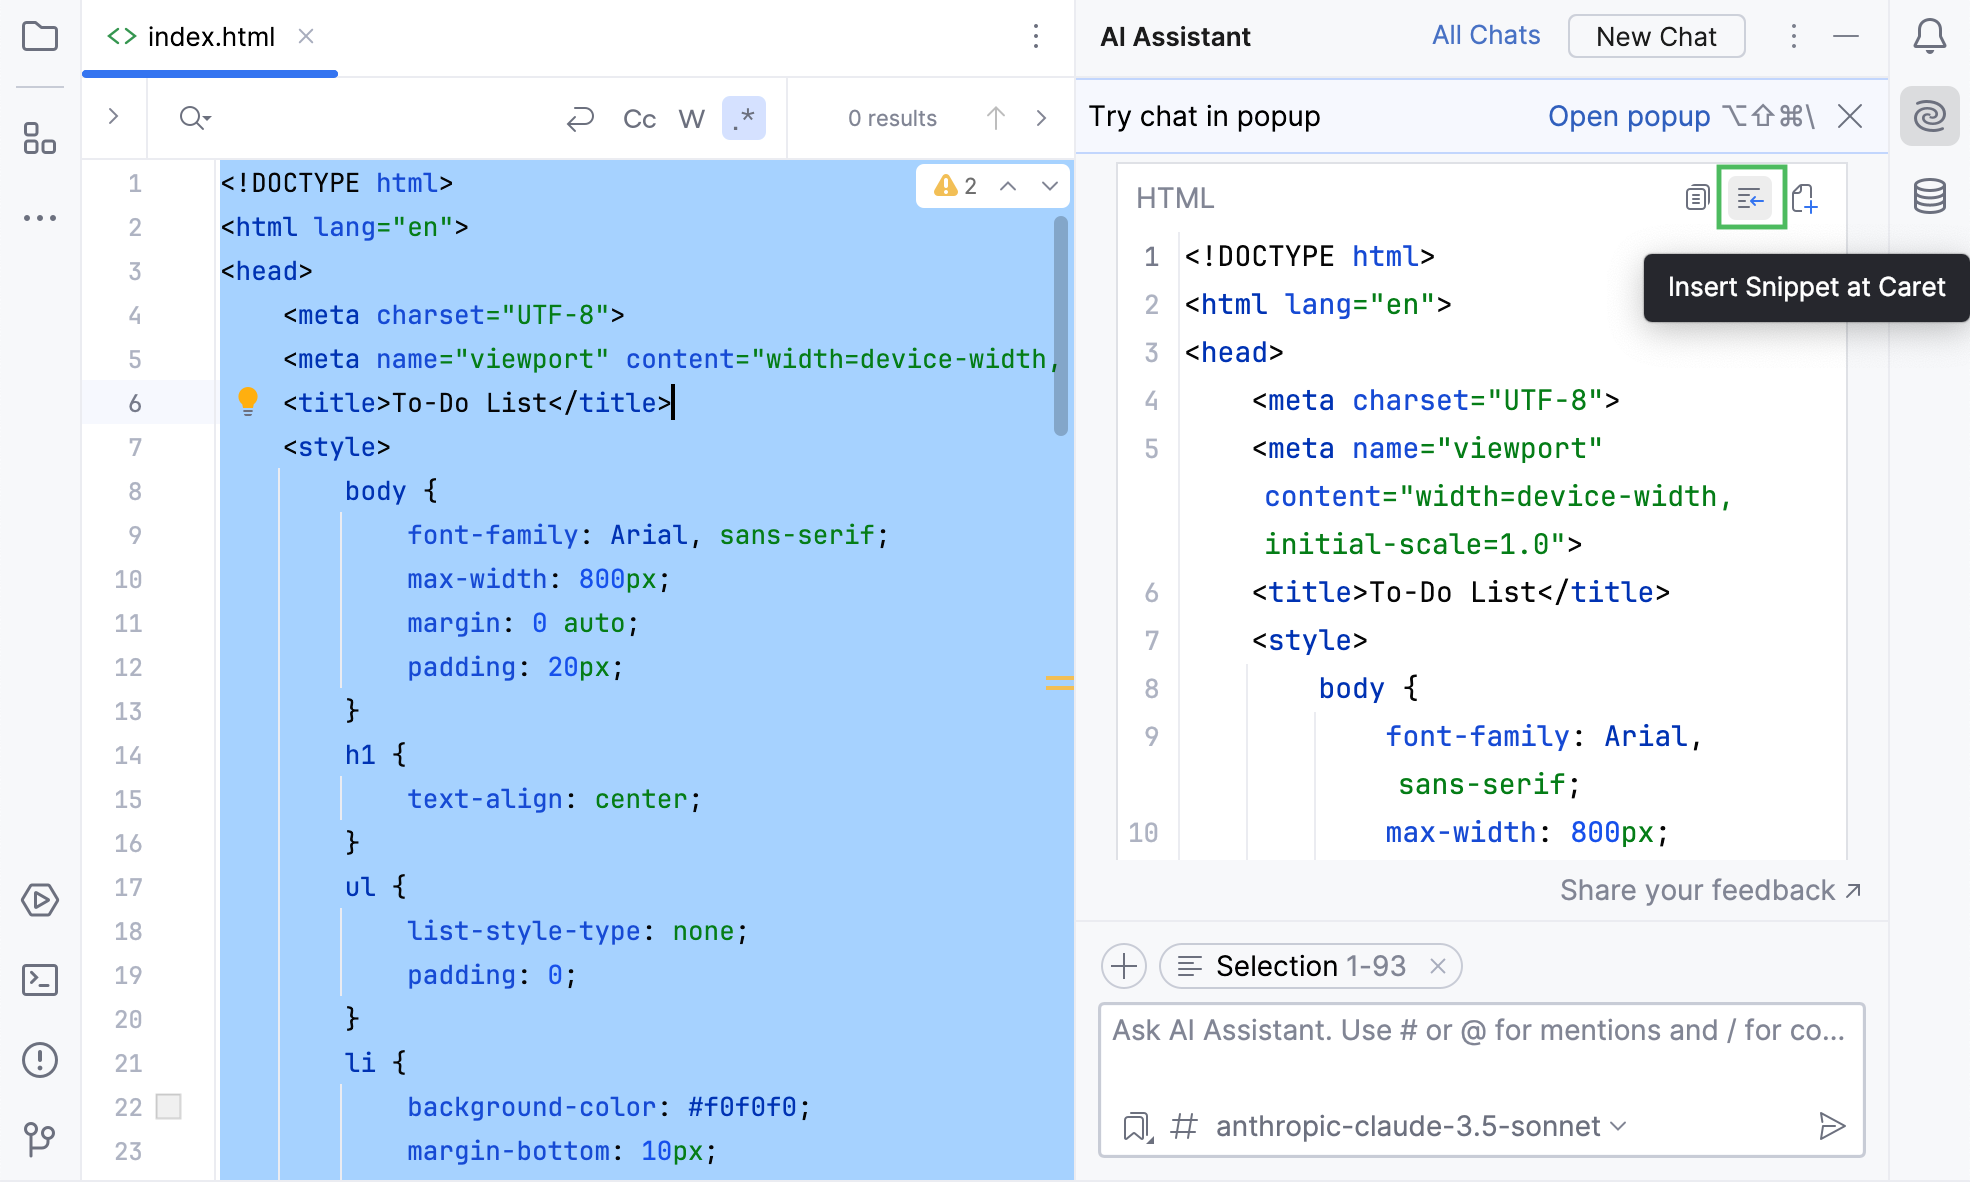
Run the modified application
Click
in the gutter near the
mainfunction and select Run.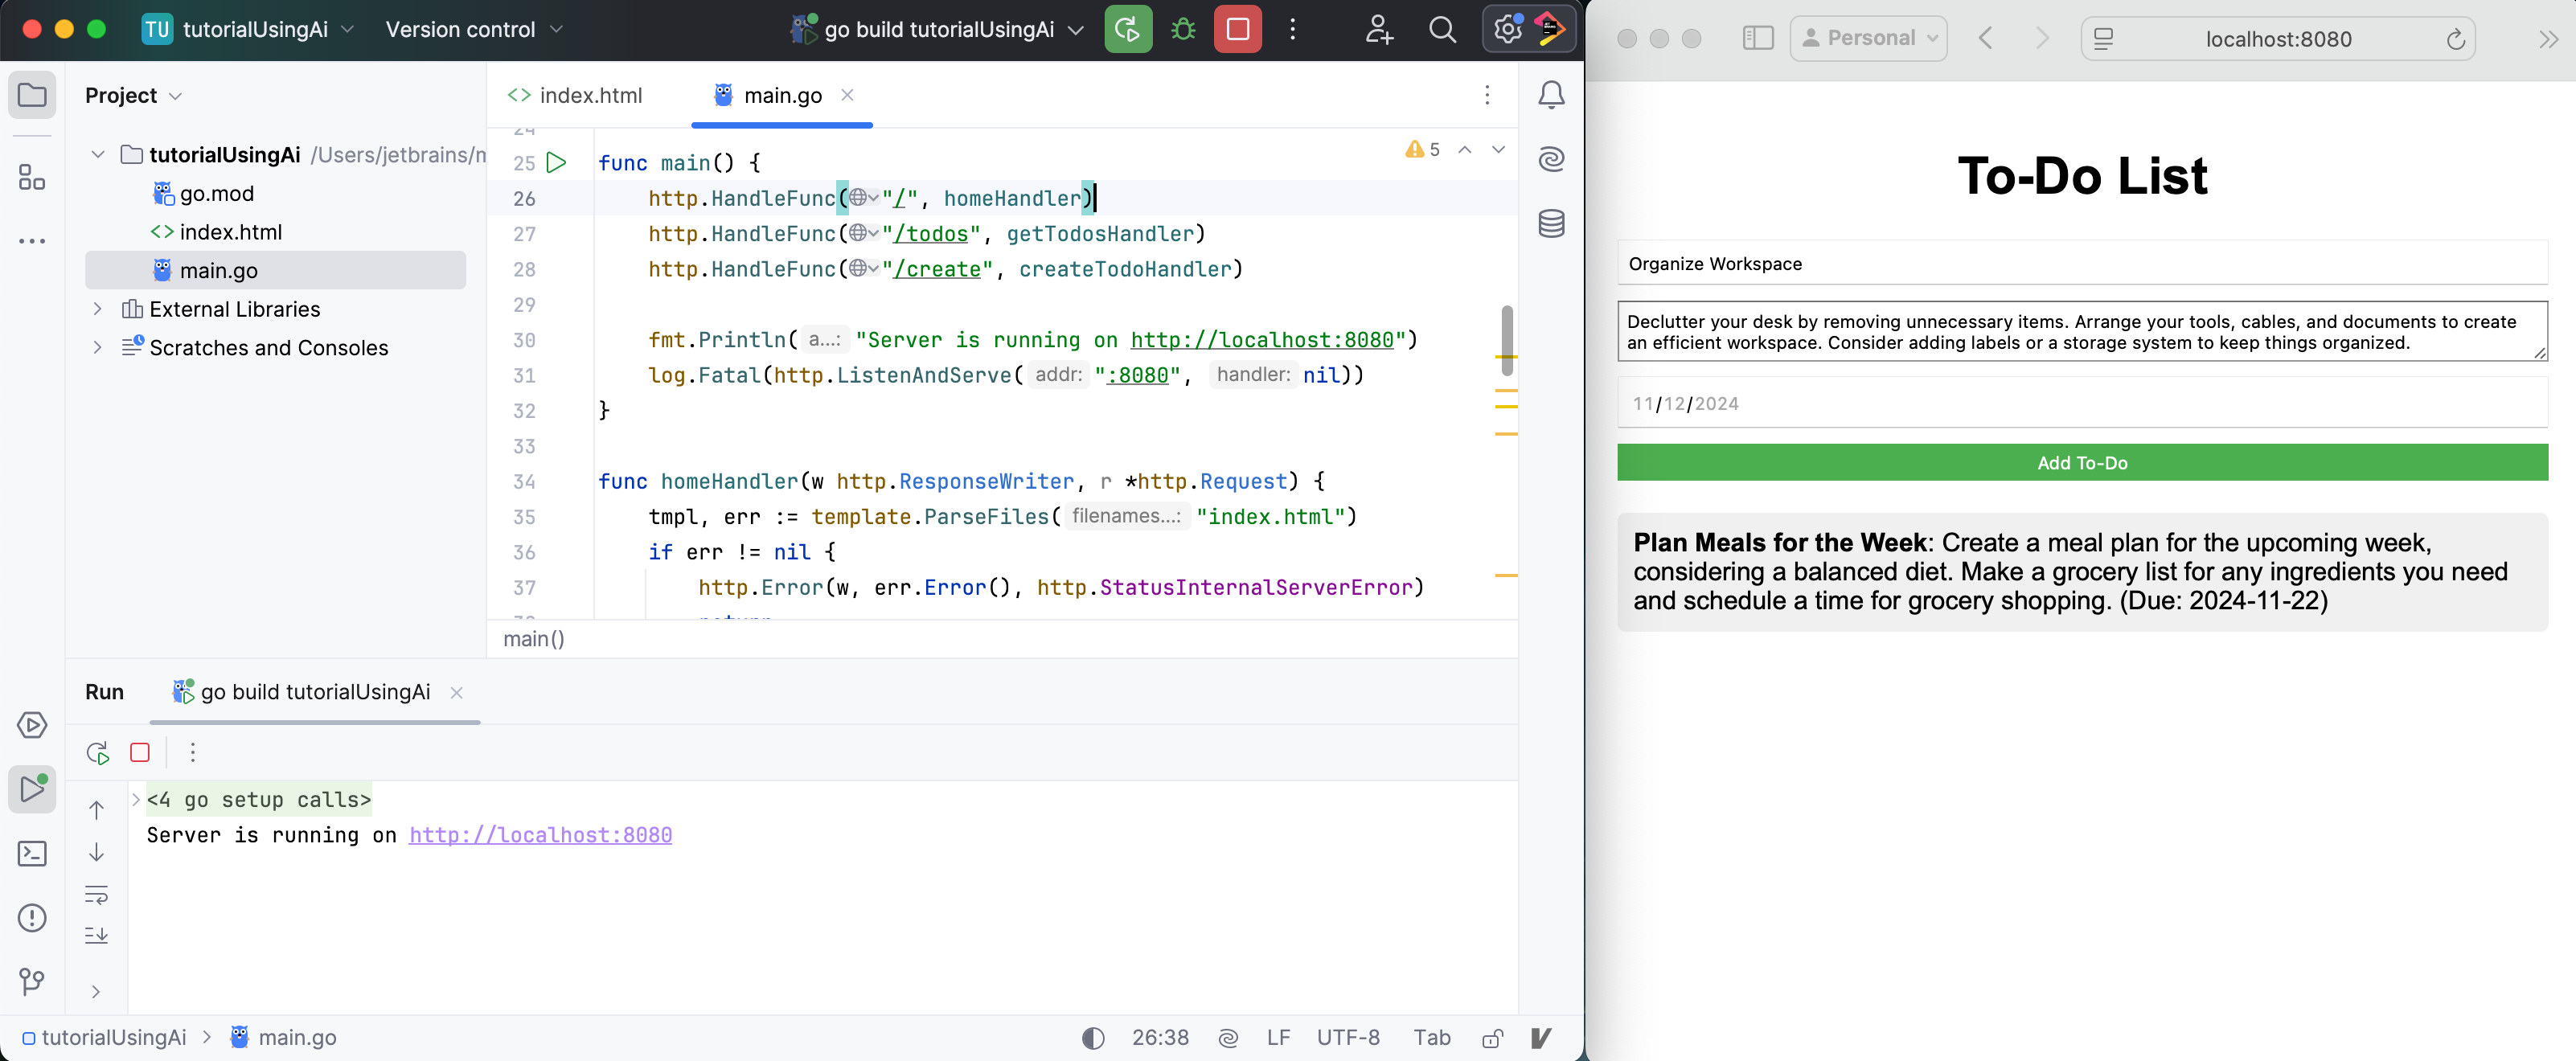
Once again, let us run the modified application to verify that the new field has been correctly added.
After you ensured that everything is working, you can stop it by pressing Ctrl+F2 or the Stop button on the toolbar.
This time the form should include the Due field. You can try and add some information into the fields and press the button if it was generated.
Step 4. Generating tests
The AI Assistant can help you create tests for your code.
Open
main.goin the editor, right-click anywhere in the code, and navigate to .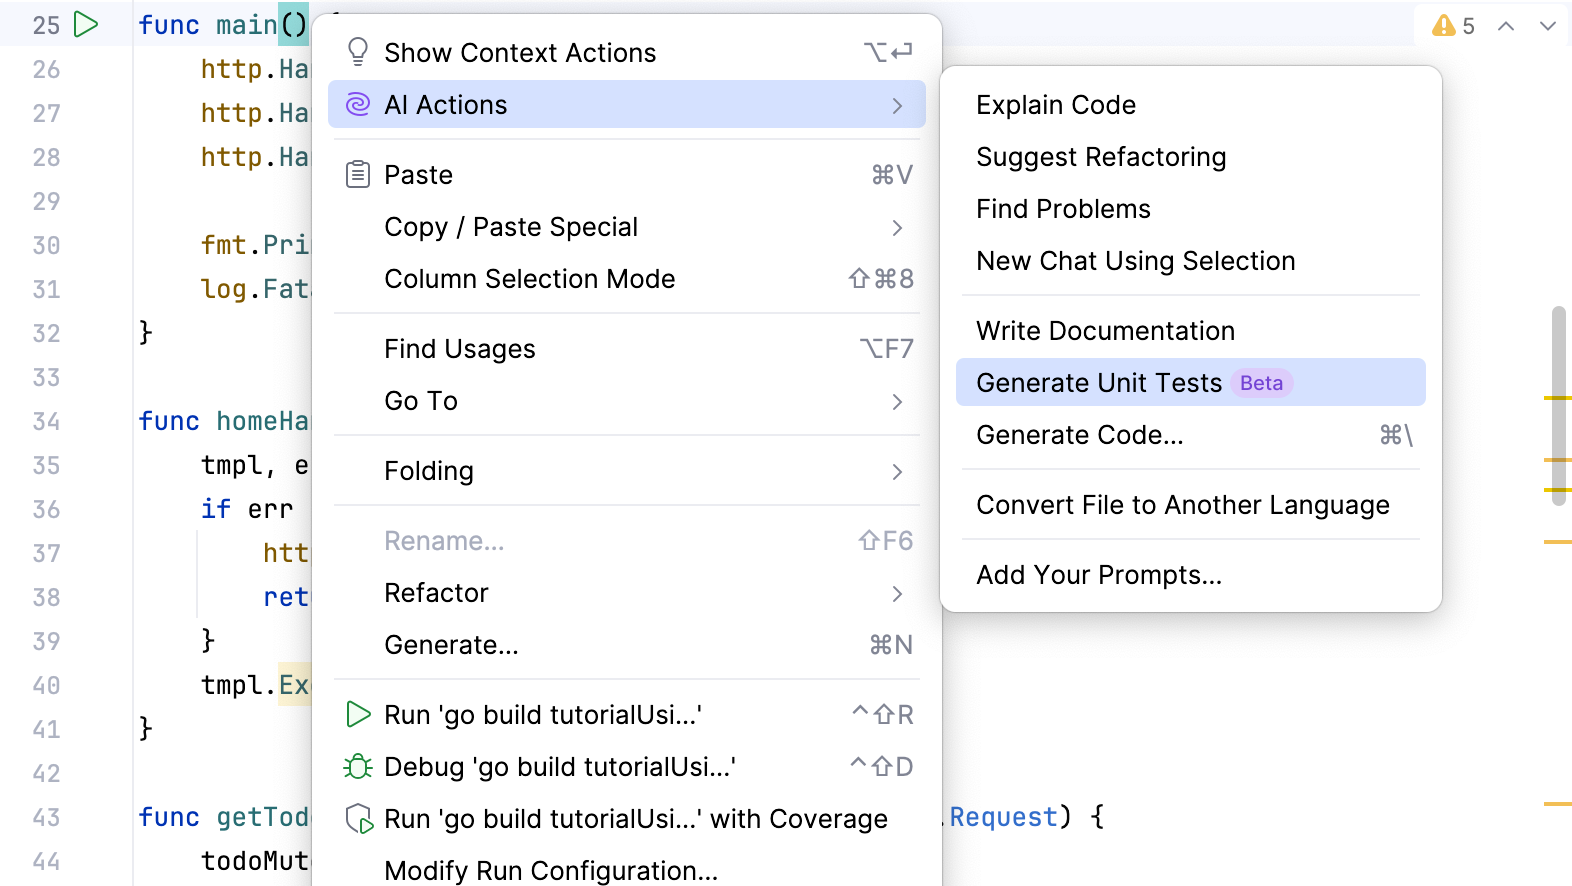
Wait for the generation to complete.
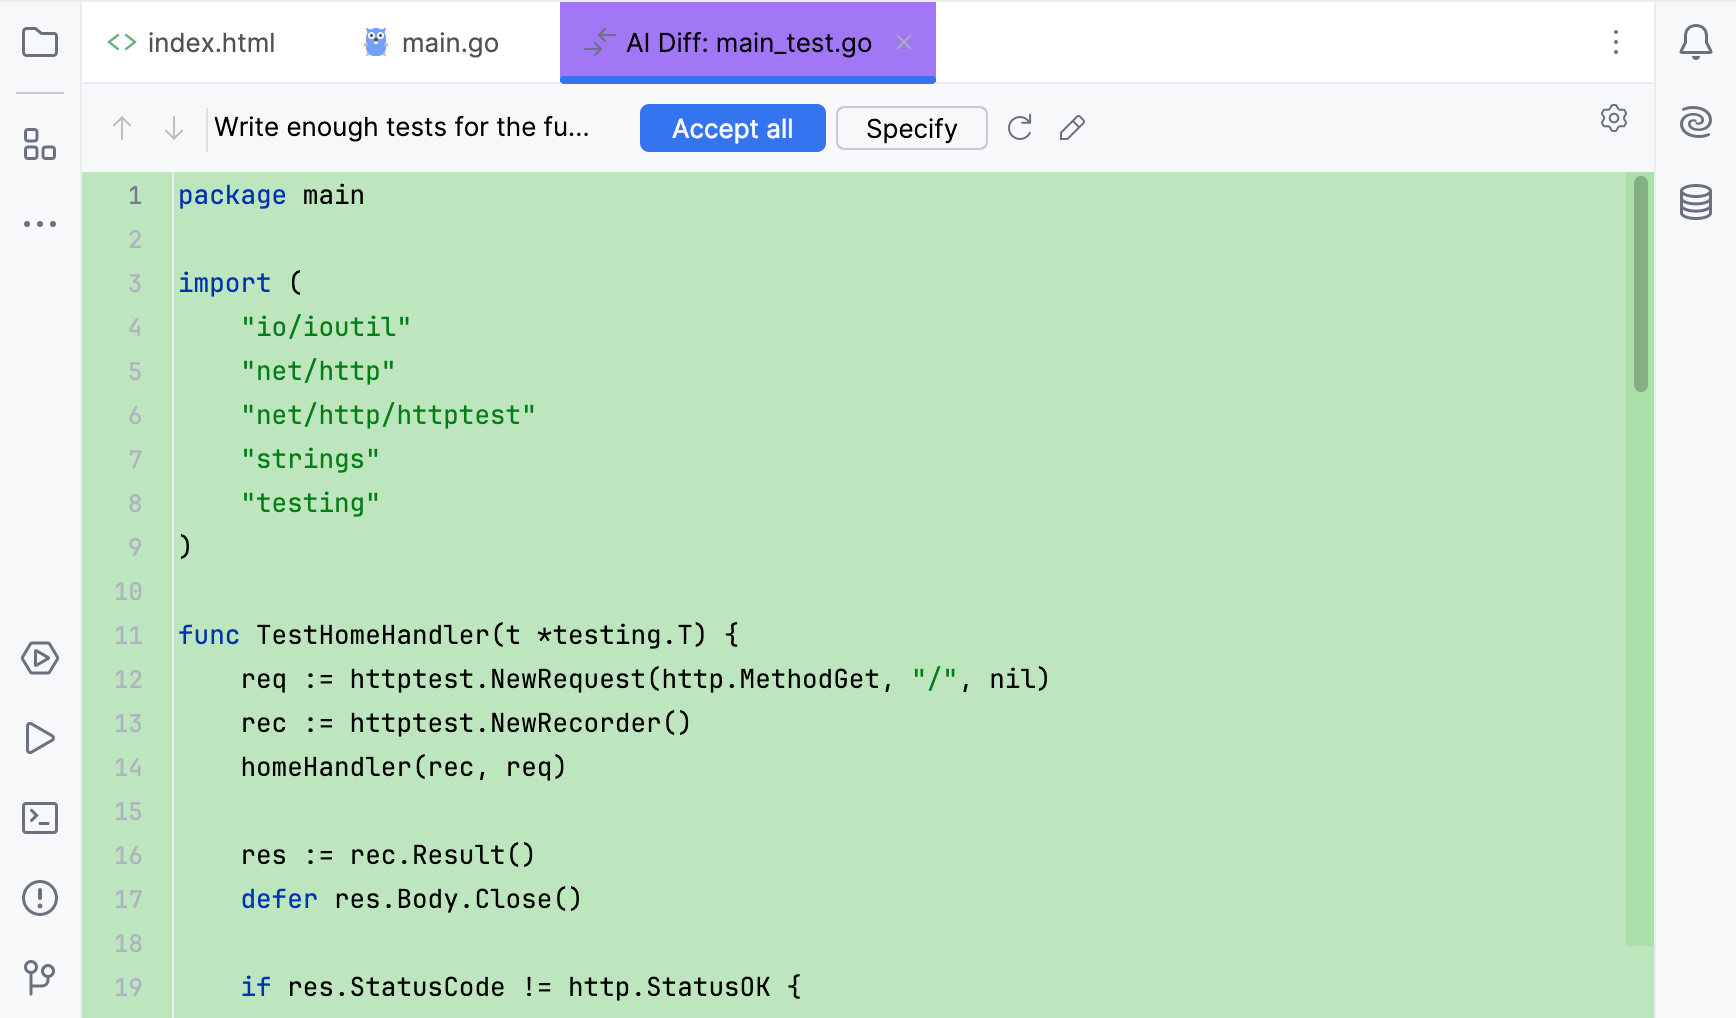
GoLand will open a window with generated test code.
If the generated code is satisfactory, click Accept all.
Run generated tests
Click
in the gutter near the
mainfunction and select Run.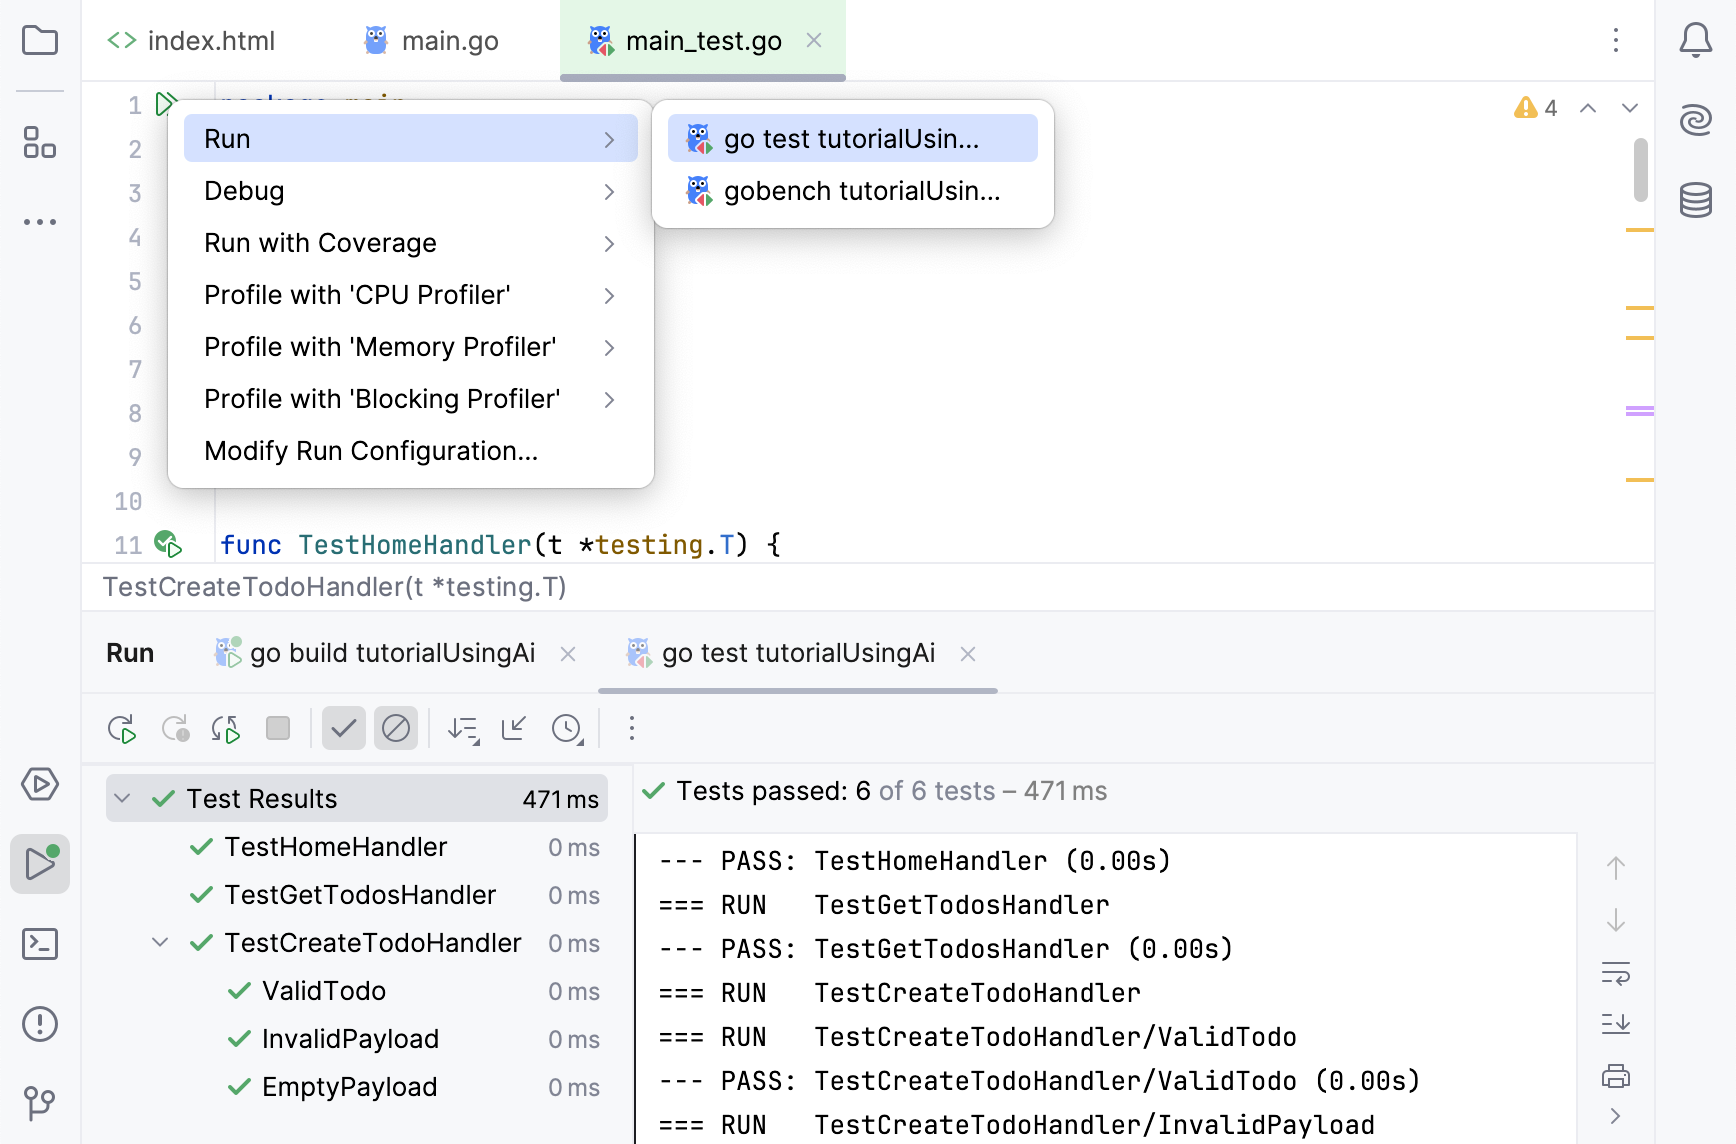
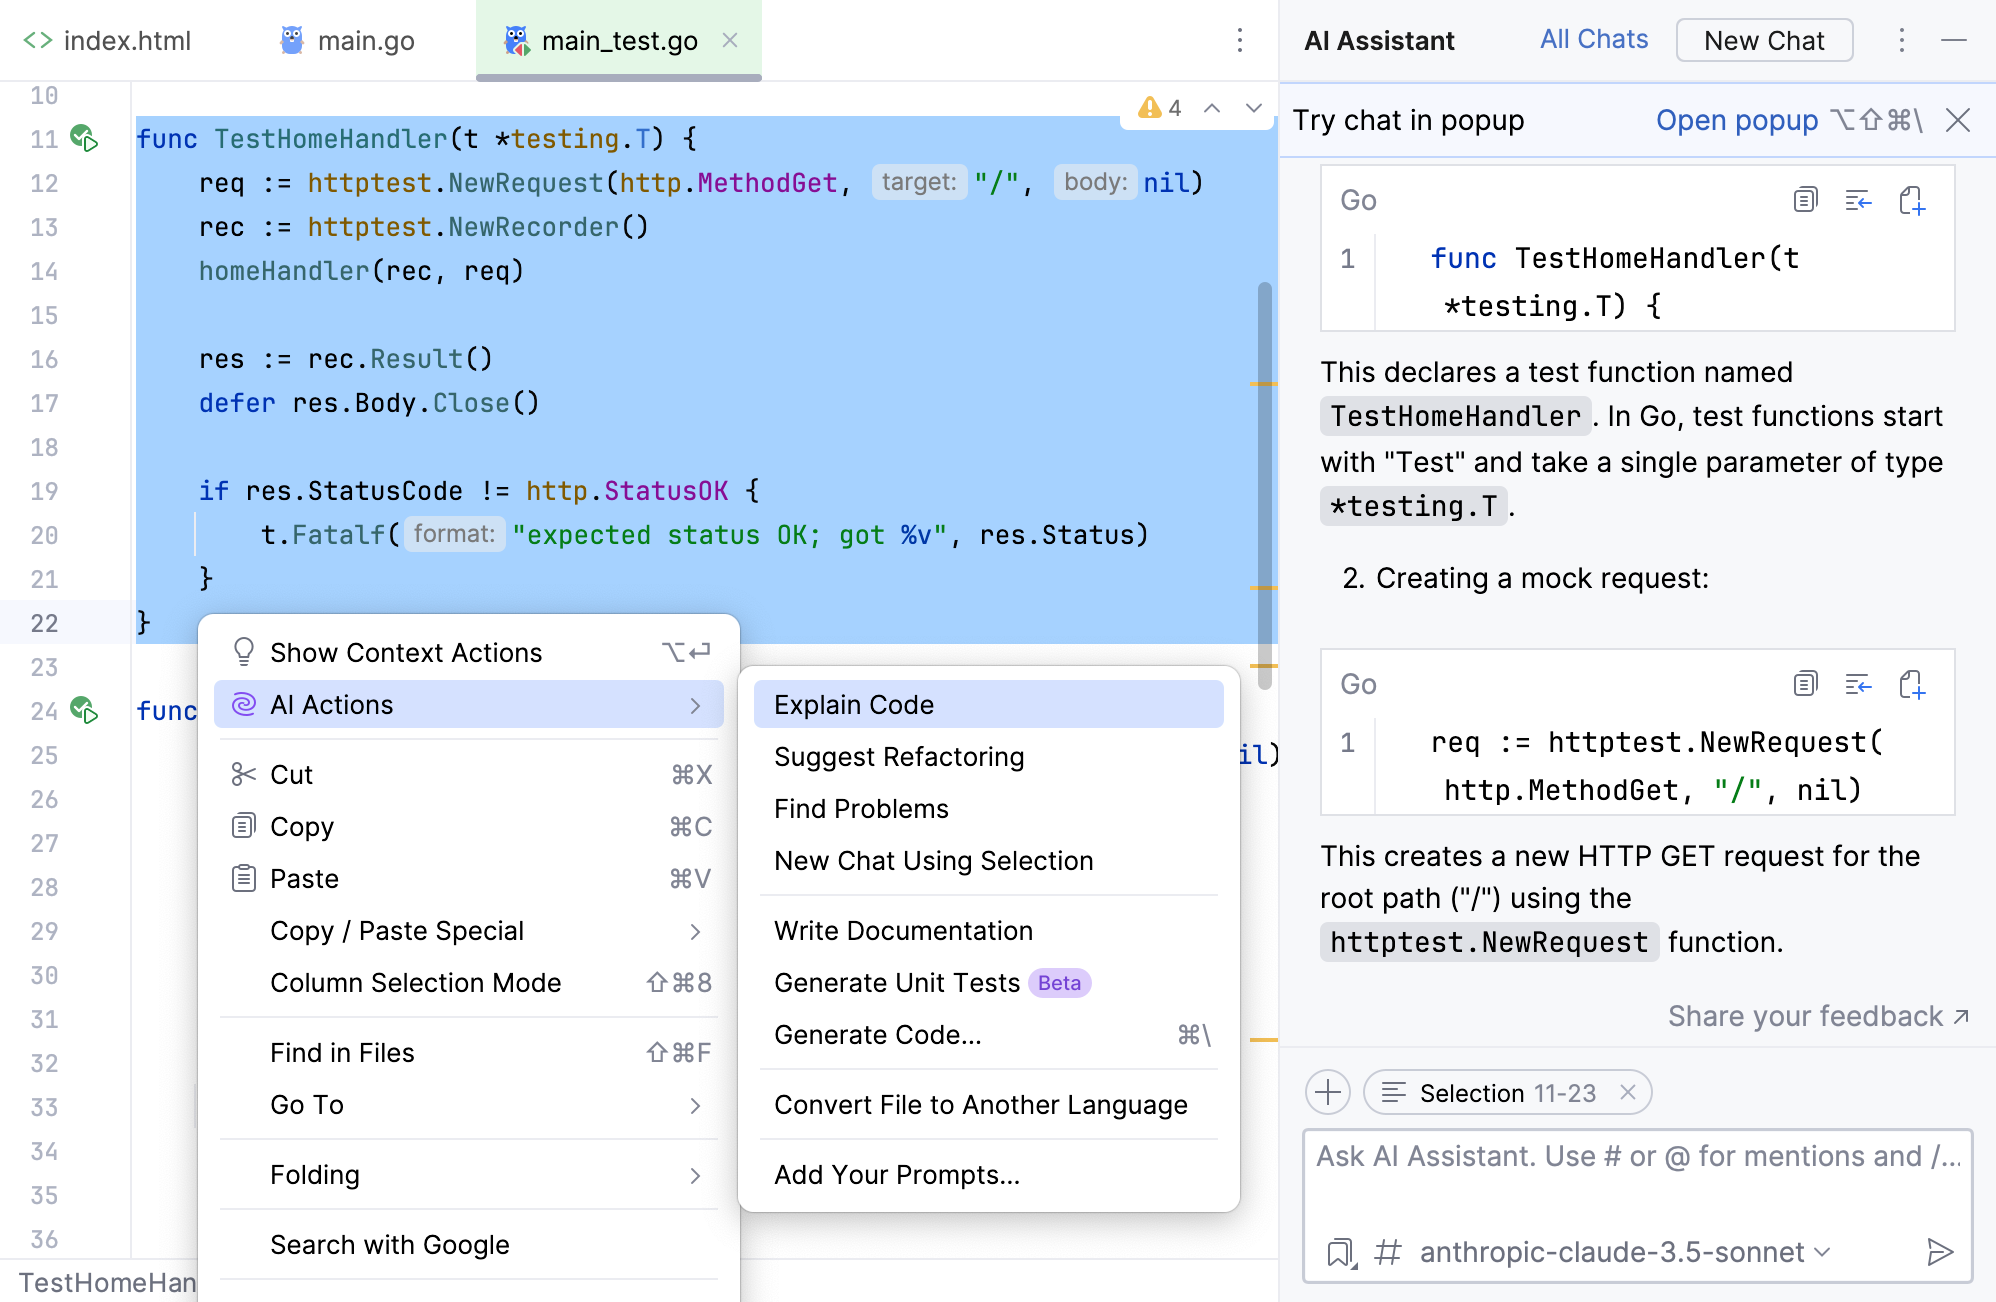
If you do not understand a code section, use the Explain code action for detailed explanations.
Explaining code
Select code that you want to explain.
Right-click the selection and navigate to .
Step 5. Running the application from the terminal
This step covers using the terminal to run your application with custom settings.
And if you do not remember the necessary parameters or commands, you can ask the AI Assistant to generate them.
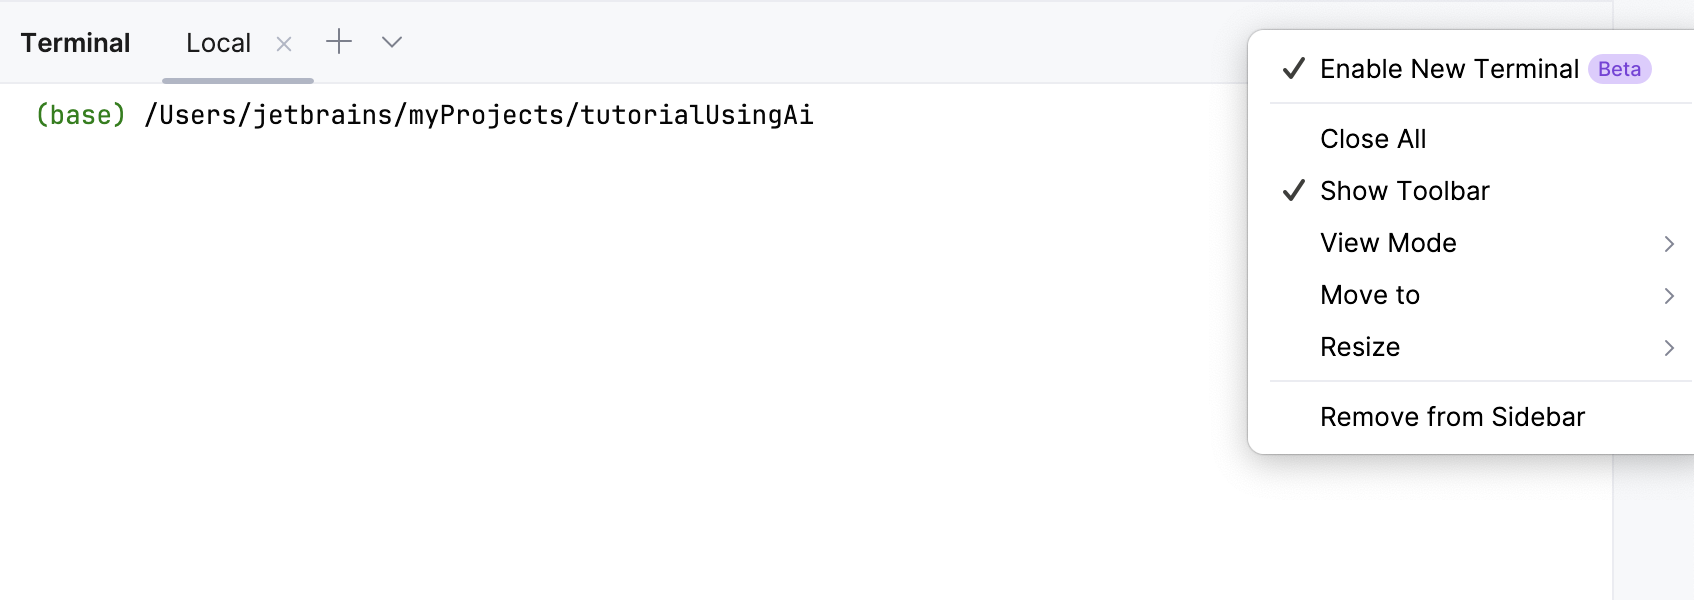
Enable functionality of a new terminal
Select from the main menu.
In the Terminal tool window, click the Options icon (
) and select Enable New Terminal.
Generating a terminal command
Select from the main menu.
In the Terminal tool window, click the Ask AI Assistant icon (
).
In the input field, write the following prompt and press Enter:
Run this Go application on port 8080 with race condition detection enabled.Wait for the generation to complete.
GoLand will generate a command like
go run -race main.go -port 8080.Press Enter to run the command.
After you ensured that everything is working, you can stop it by pressing Ctrl+F2 or the Stop button on the toolbar.
Step 6. Push your changes to the VCS
Finally, with our application ready, we can generate commit messages and push the changes to our version control system.
Generate a commit message
Select from the main menu.
Click the Generate Commit Message with AI Assistant icon (
).
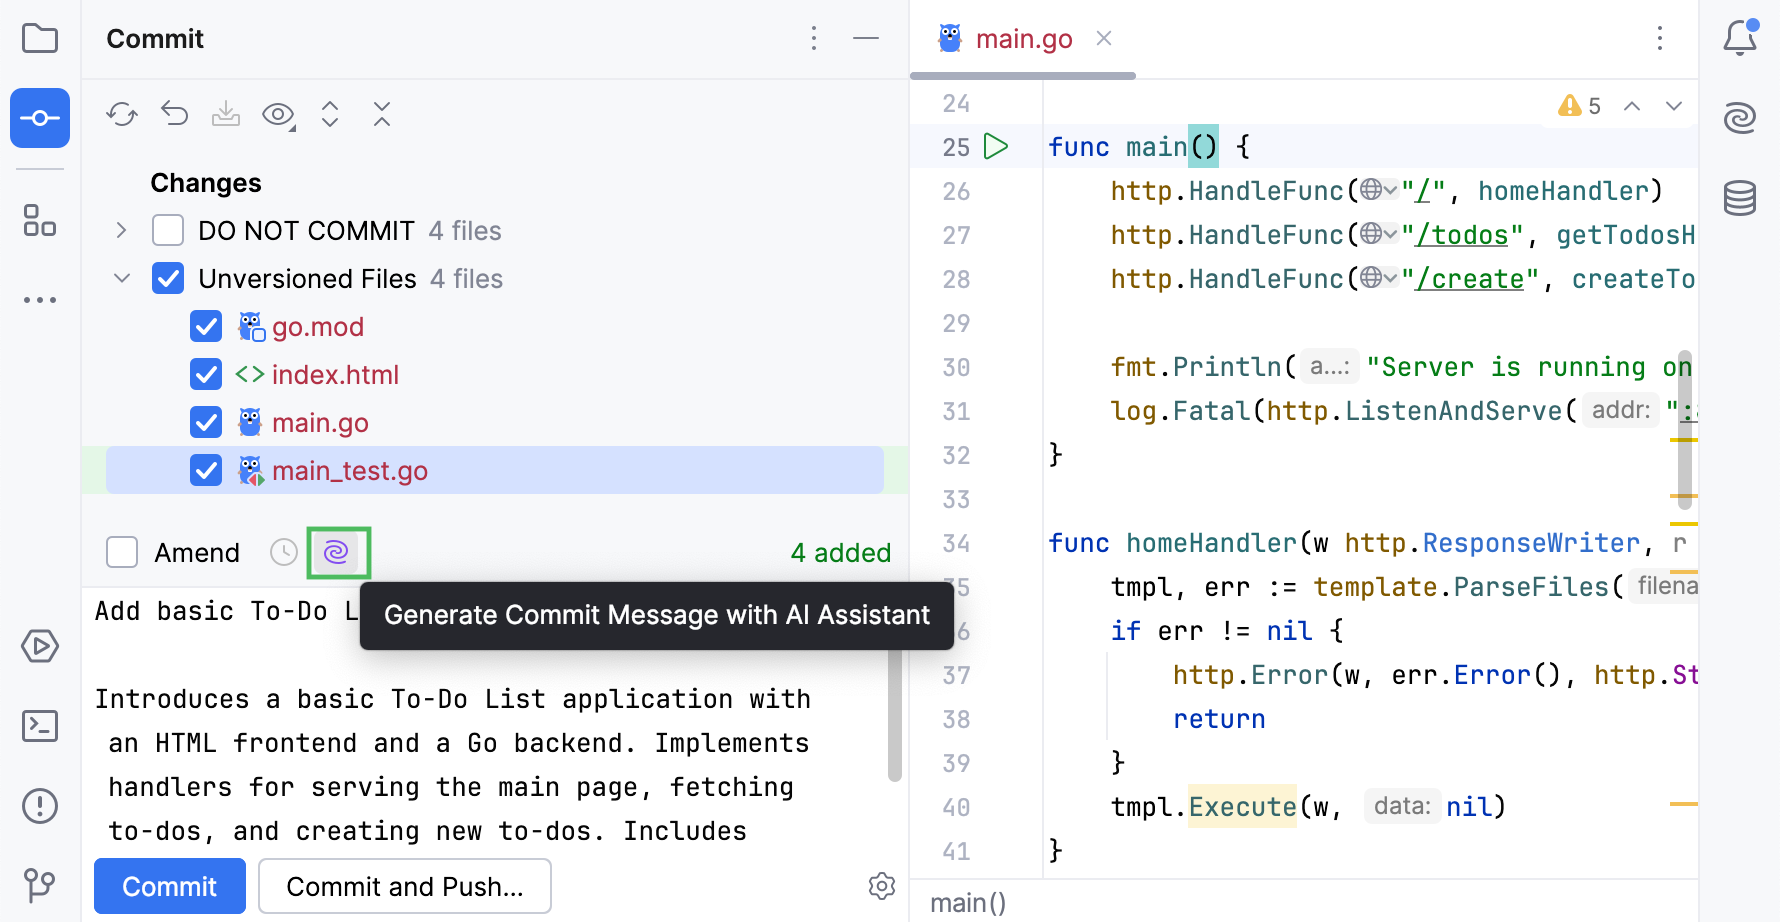
Wait for the generation to complete.
Commit and push your changes
In the Commit tool window, click Commit and Push.